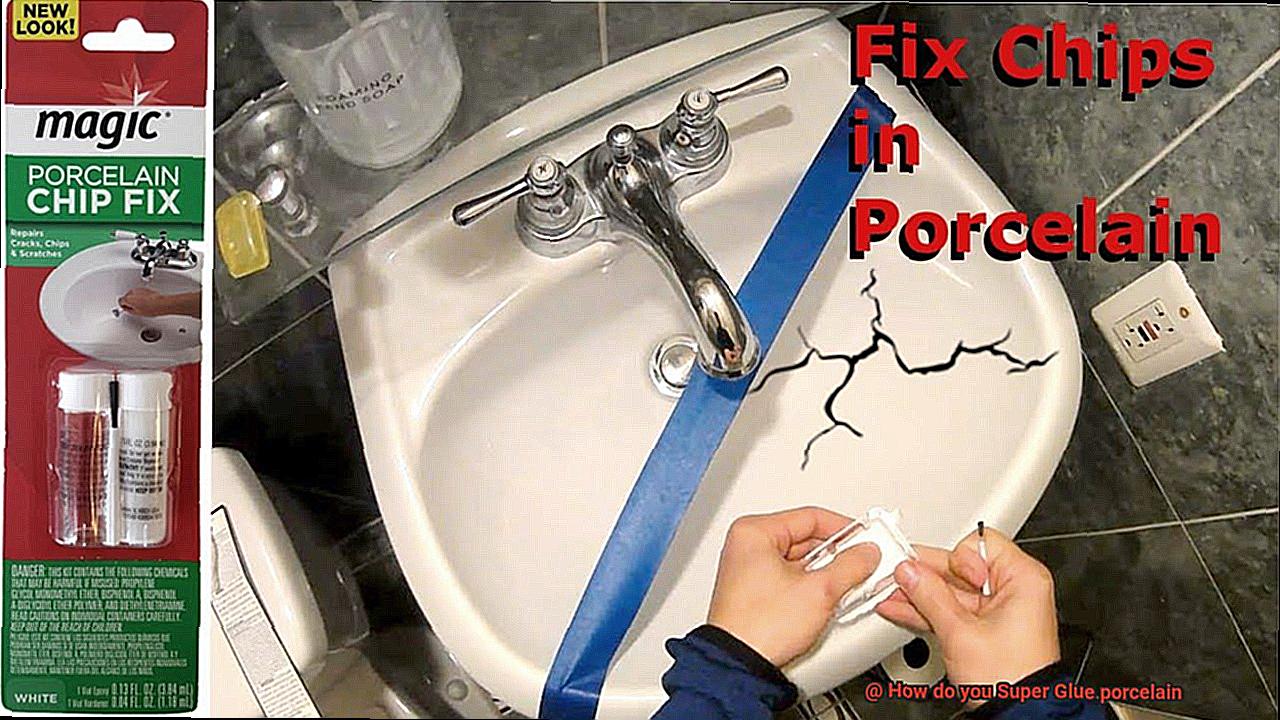
Picture this: the heart-stopping moment when your clumsy hands accidentally send your grandmother’s beloved porcelain figurine crashing to the ground, shattering it into a thousand delicate fragments. Panic washes over you as you face the daunting task of restoring this priceless treasure. But fear not. We have the ultimate solution that will bring your shattered porcelain back to life: super glue.
Super glue, also known as cyanoacrylate adhesive, possesses an incredible power to work miracles when it comes to repairing porcelain. However, before delving into the intricate world of porcelain restoration, it is crucial to grasp the right techniques and take necessary precautions.
In this captivating blog post, we will unveil the secrets of using super glue like a pro to bond porcelain pieces together. Whether you’re a DIY enthusiast or simply want to salvage a precious porcelain item, you’ve come to the perfect place.
Hook:
Contents
Did you know that even ancient Chinese artisans utilized similar adhesive tricks to restore their breathtaking porcelain masterpieces? Now, you too can become a master of this ancient art.
Main points to be highlighted:
- Selecting the perfect super glue: Navigate through a plethora of super glue options with our expert guidance and choose the one that best suits your specific porcelain restoration needs.
- Preparing the fractured fragments: Discover how to meticulously clean, align, and prepare broken porcelain parts for a seamless repair that will leave no trace of its former damage.
- Pro tips for an unbreakable bond: Dive into our treasure trove of expert tips and techniques that guarantee your porcelain restoration withstands the test of time, creating an almost indestructible masterpiece.
- Tackling delicate repairs with finesse: Embark on a journey through the intricate world of repairing fine details, tiny chips, and hairline cracks as we provide invaluable insights on how to achieve flawless results that will leave your porcelain looking as good as new.
With our step-by-step guidance, you will emerge as a true master of porcelain restoration, breathing new life into shattered mementos and cherished heirlooms. Embrace the art of bonding porcelain with super glue and unlock a world of endless possibilities in preserving and cherishing your porcelain treasures for generations to come.
So, gear up for this exhilarating journey, and let’s embark together on this enchanting adventure into the realm of porcelain restoration.
What is Porcelain and Why Super Glue it?
Porcelain, an exquisite and resilient ceramic material, has been cherished for centuries for its elegance and durability. However, accidents happen, and cherished porcelain items can break or chip. Fortunately, super glue is a versatile adhesive that can effectively mend these delicate pieces back together. In this article, we will explore the art of super gluing porcelain and discover why it is the go-to method for repairing and restoring the beauty of these precious objects.
Understanding Porcelain:
Porcelain, a fusion of clay, feldspar, and silica, stands as a testament to craftsmanship and creativity. Its fired composition results in a hard, non-porous substance known for its strength, durability, and stunning finish. From pottery to dishware, bathroom fixtures to decorative items, porcelain has adorned our lives with its timeless elegance.
The Benefits of Super Glue:
Enter super glue, the superhero of adhesives. Its rapid action and formidable strength make it the perfect companion for bonding porcelain. With the ability to form an unbreakable union when exposed to moisture, super glue ensures a secure connection between different materials. Instead of parting ways with beloved porcelain items after breakage, super glue offers a simple and effective solution to mend them back together.
Proper Preparation:
Before embarking on the delicate process of gluing porcelain, meticulous preparation is key. Thoroughly cleanse the surfaces that require bonding, banishing any dirt or grease that might sabotage the adhesive’s effectiveness. With mild soap and water or rubbing alcohol as your allies, restore cleanliness to these prized possessions. Moreover, gently roughen the surfaces using sandpaper or a file to create tiny scratches and grooves that amplify the bond between porcelain pieces and super glue.

Choosing the Right Super Glue:
Not all super glues are created equal when it comes to porcelain repairs. Seek out brands that specialize in ceramics or porcelain, ensuring a match made in adhesive heaven. These specialized formulas guarantee a robust and long-lasting bond, making them the perfect companions for restoring delicate porcelain items to their former glory.
Cleaning the Porcelain Surfaces
Step into the world of porcelain surfaces, where elegance meets fragility. These exquisite pieces deserve meticulous care and attention, especially when it comes to preparing them for a super glue application. As an expert in the art of porcelain preservation, I am thrilled to share my invaluable tips on how to clean porcelain surfaces before embarking on your super glue journey. So, let’s embark on this adventure together.
Step 1: Liberating Your Surface from Dust
To embark on this cleansing odyssey, we must first liberate your porcelain surface from the clutches of dust and debris. Equip yourself with a soft brush or a dry cloth, and delicately whisk away any particles that might have settled on your precious porcelain item. This simple act sets the stage for the super glue’s transformative powers.
Step 2: Unleashing a Gentle Cleaning Elixir
Now that your porcelain surface is free from dust, it’s time to concoct a gentle cleaning elixir. Embrace the warmth of water and infuse it with a mild detergent, ensuring a harmonious blend that won’t harm your cherished porcelain. Steer clear of abrasive cleaners and harsh chemicals, as they are notorious for causing unsightly discoloration or damage. Dip a soft cloth or sponge into this divine solution, ensuring there’s no excess liquid weighing down your cleaning prowess.
Step 3: Caressing Your Porcelain with Tender Strokes
With your damp cloth or sponge in hand, channel your inner artist and caress the porcelain surface with tender strokes. Employ graceful circular motions to ensure no inch is left unattended. Remember, porcelain demands the gentleness of a lover’s touch; thus, resist the urge to apply excessive pressure that could mar its delicate facade. Allow yourself to revel in this cleansing ritual as you sweep across the surface, leaving no nook or cranny untouched. This meticulous attention guarantees a flawless canvas for the super glue’s grand debut.
Selecting the Right Adhesive
In our previous adventure, we discovered the transformative powers of super glue, and now it’s time to dive deeper into the mystical realm of selecting the right adhesive for super gluing porcelain. Prepare to unlock the secrets to a flawless bond that will withstand the tests of time. So grab your wand (or rather, your research notes), and let’s embark on this magical journey.
Know Thy Porcelain:
Just like characters in a fairy tale, each type of porcelain has its unique attributes. From glossy to matte and textured surfaces, it’s crucial to consider the composition and finish of the material. Different adhesives are tailored to specific types of porcelain, ensuring a bond that leaves no room for cracks or imperfections in our enchanted tale.
The Strength Within:
Porcelain may be delicate, but its resilience should not be underestimated. When selecting an adhesive, prioritize one specifically designed for bonding porcelain or ceramics. We need an adhesive that can hold everything together without causing any harm or damage to our precious porcelain treasures.
Timing is Everything:
In our enchanting journey, timing plays a vital role. Consider the drying time of the adhesive you choose. Some adhesives set quickly, while others allow for some adjustment time before they fully set. This flexibility is especially valuable when aligning delicate porcelain pieces or making precise adjustments during the bonding process.
A Battle Against Temperature Extremes:
Our porcelain creations face various temperature challenges – from scorching heat to icy winds – so we must equip them with an adhesive that can withstand extreme conditions without losing its grip. Look for an adhesive that boasts exceptional temperature resistance, ensuring that your magical bond remains unbreakable regardless of what Mother Nature throws its way.
The Art of Invisibility:
In the world of super gluing porcelain, aesthetics are everything. We want our adhesive to work its magic while remaining invisible once it dries. Seek out an adhesive that dries transparently, leaving no visible residue or discoloration behind. After all, who wants a fairy tale ending marred by unsightly adhesive marks?
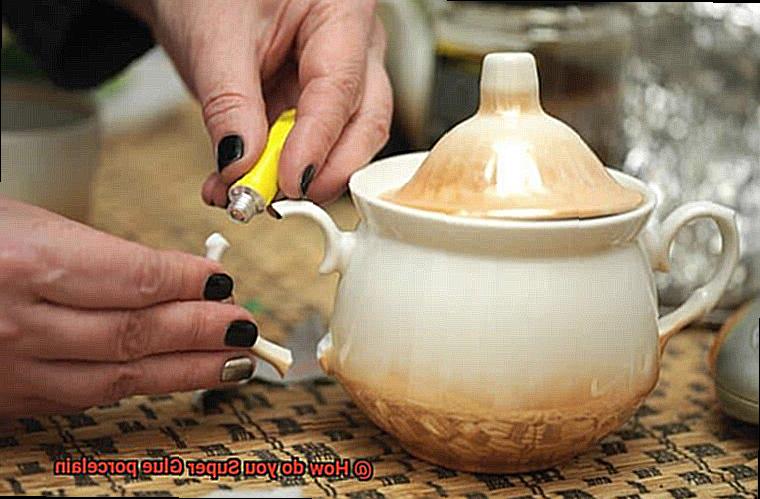
Applying Super Glue to Porcelain
Get ready to unlock the secrets of successful bonding between delicate porcelain pieces. Let’s delve into the precise steps and expert techniques that will ensure a flawless result.
Step 1: The Art of Cleanliness
To achieve a strong bond, cleanliness is paramount. Rid your porcelain surfaces of any dirt, dust, or grease that could hinder the adhesive’s effectiveness. Treat your porcelain with care by using mild soap and warm water for a gentle cleanse. Avoid abrasive materials and harsh chemicals that may mar its delicate surface.
Step 2: The Perfect Adhesive
Selecting the right glue is crucial for a successful bond. Seek out specialized adhesives specifically designed for porcelain or ceramic materials. These remarkable formulas are formulated to provide unparalleled strength and durability on fragile surfaces.
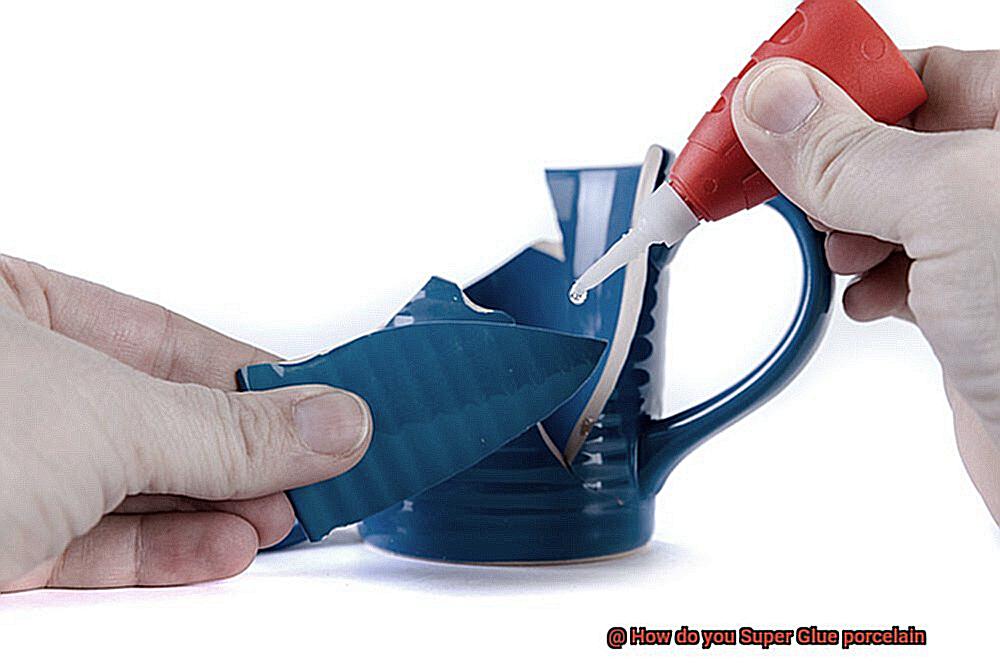
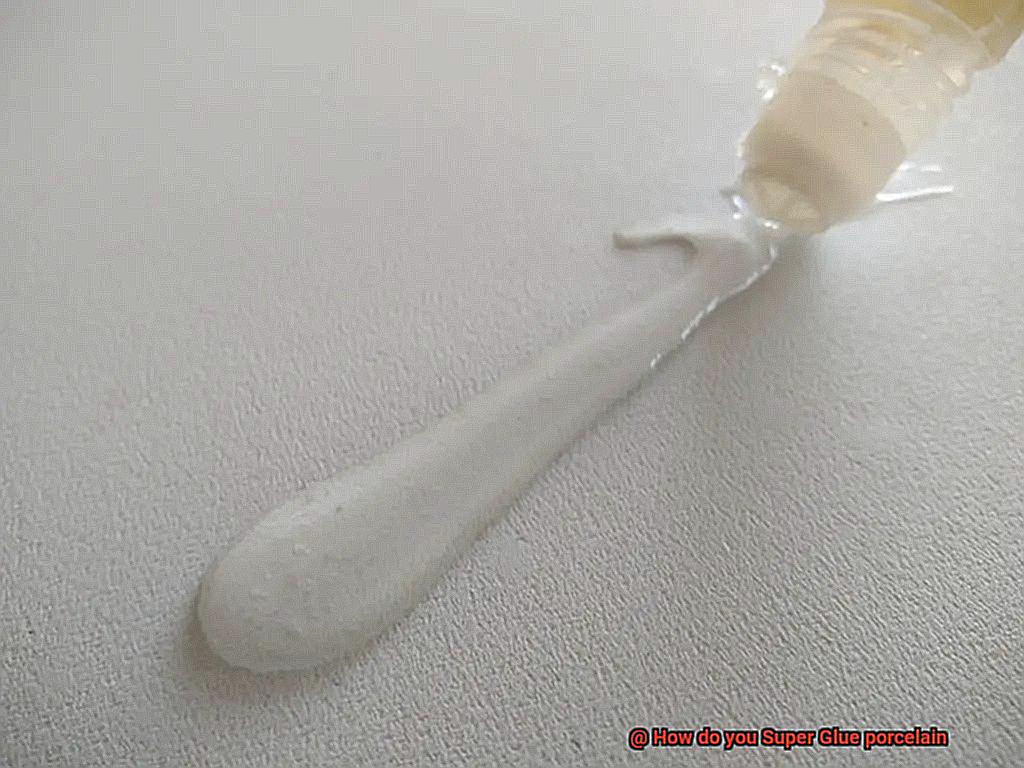
Step 3: Less is More
Remember, a little goes a long way when it comes to applying super glue. Avoid excessive amounts of adhesive, as it can lead to messy and uneven bonding. Instead, opt for a thin, even layer applied with precision using a toothpick or small brush.
Step 4: Align and Embrace Pressure
Prepare for an exhilarating moment as you carefully align the porcelain pieces and press them together with confidence. Take your time to ensure perfect alignment before applying pressure. If needed, enlist the help of clamps or tape to hold the pieces in place during the bonding process.
Step 5: Patience is a Virtue
Now comes the waiting game – a test of your patience. Hold the pieces firmly together for a few minutes, allowing the adhesive to work its magic. This initial bonding period is critical for establishing a robust connection. Afterward, resist all temptation and let the glued porcelain sit undisturbed for at least 24 hours. This period allows the adhesive to fully cure and fortify the bond between the pieces.
Step 6: Tidying Up the Masterpiece
In the pursuit of perfection, even the smallest imperfections must be addressed. If excess glue oozes out during the bonding process, act swiftly to remove it. Super glue dries rapidly and can be challenging to remove once cured.
Employ a gentle touch with a cotton swab or soft cloth dampened with acetone or nail polish remover to wipe away the excess glue. Take care not to apply excessive pressure, as we must protect the porcelain’s delicate surface.
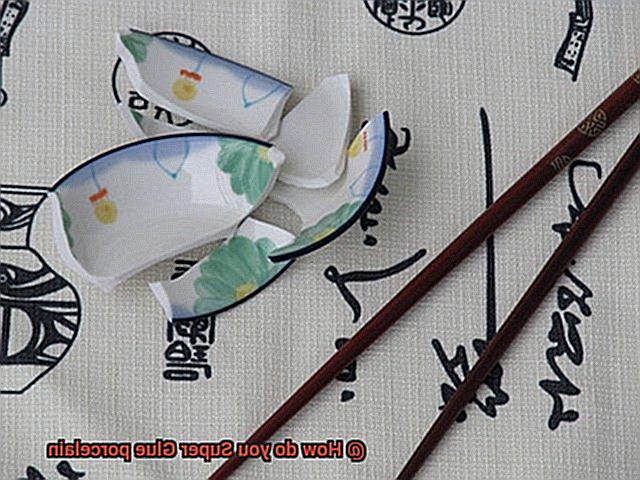
Positioning the Pieces Together
Welcome, fellow porcelain enthusiasts, to the next chapter in our pursuit of perfection. We’ve already selected the ideal adhesive and learned the secrets to a flawless bond. Now, let’s dive into the pivotal step that can make or break our porcelain repair: positioning the pieces together.
This is the moment where precision and finesse truly shine. So, let’s embark on this journey and discover how to position the pieces together flawlessly.
First things first, before we begin our delicate dance of alignment, we must ensure that our porcelain surfaces are pristine. Imagine a blank canvas waiting for a masterpiece to unfold. Cleanse your pieces with a gentle soap and warm water, banishing any pesky dust, dirt, or debris that might hinder our quest for perfection. Once they’re pure and spotless, take the time to dry them thoroughly before proceeding.
Now that we have prepared our canvas, it’s time to unveil our secret weapon: super glue. But remember, my friends, we must exercise restraint. A minuscule drop or two is all it takes to achieve greatness. We don’t want a river of glue overwhelming our delicate masterpiece. Apply the glue to one piece with utmost care and precision, ensuring it is evenly distributed.
With glue in place, it’s time for the magic to happen – the moment when broken edges seamlessly reunite. Like pieces of a puzzle finding their rightful place, we must be meticulous in this endeavor. Precision is our guiding star as we align those fragments flawlessly. Take your time; savor the process. Make any necessary adjustments before the glue sets, ensuring a bond so tight it defies gravity.
As we hold our breath in anticipation, those few minutes are crucial for the glue to weave its spell and forge an unbreakable bond. But beware, my friends, different super glues have varying temperaments. Consult the instructions on the packaging to determine the exact duration for setting. During this sacred time, let stillness be your ally. Avoid any movements that might jostle our delicately positioned pieces.
Securing the Pieces in Place
Get ready to embark on a journey that combines precision, finesse, and a touch of magic as we explore the techniques and tips for creating unbreakable bonds with porcelain. In this chapter, we will delve into the secrets of effectively securing porcelain pieces together using super glue. So, grab your favorite cup of tea and let’s dive in.
Clean and Prepare the Surfaces:
Prepare your porcelain canvas for greatness by banishing any dust or debris. Gently cleanse the surfaces with mild soap and warm water, ensuring they are pristine and ready for transformation. Remember, cleanliness is key to achieving a flawless bond.
Choose the Right Super Glue:
Just like every masterpiece requires the perfect brush, the right super glue is essential for porcelain bonding. Look for a super glue specifically formulated for ceramics or porcelain. These specialized glues offer higher bond strength and are designed to work harmoniously with delicate materials like porcelain. Seek guidance from experts at your local hardware store—they’ll help you find the best glue for your specific needs.
Apply the Super Glue Sparingly:
Less is more when it comes to applying super glue. Think of it as delicate brushstrokes on your artwork; you want just enough to create a strong bond without overwhelming the delicate porcelain. Use a small brush or applicator to apply a thin layer of super glue to one surface. Be cautious not to apply too much glue, as excess can lead to messy bonding and detract from the beauty of your porcelain.
Align and Hold in Place:
The moment of truth has arrived. Carefully align the two porcelain pieces together, ensuring a precise fit before proceeding further. Just like assembling a puzzle, every piece must find its rightful place. Once aligned, hold the pieces firmly for at least a minute. This allows the super glue to work its magic and create an initial bond that defies gravity.
Use Clamps or Support Structures:
Become a master sculptor and employ clamps, rubber bands, or other support structures to securely hold the pieces together. This not only maintains alignment but also provides extra stability during the bonding process. Embrace the artistry of support—without excessive pressure that could crack or damage the porcelain.
Allowing Time for Curing
In our previous discussion, we explored the intricate realm of super gluing porcelain, where precision and finesse reign supreme. Today, we embark on a captivating journey to unravel the secrets behind the importance of allowing sufficient time for curing when bonding porcelain with super glue. So grab your favorite cup of tea and let’s dive into this fascinating topic together.
The Importance of Curing:
Curing, my friends, is the magical process that brings our adhesive masterpiece to life. When it comes to bonding porcelain with super glue, allowing ample time for curing is absolutely essential. Let’s explore why this crucial step is an art form in itself:
Strength Matters:
Just like a masterpiece needs a sturdy canvas, a strong bond is vital for any porcelain project. Allowing sufficient time for curing ensures that the super glue achieves its maximum strength. While some adhesives may dry quickly, it can take up to 24 hours for the bond to reach its full potential. So exercise patience and let the bond mature like a fine wine.
Factors at Play:
The art of curing is influenced by various factors that dance together to determine the duration of this enchanting process. The type of adhesive used, temperature, and humidity levels all have a role to play in the length of time it takes for the glue to cure. Remember these factors as you embark on your porcelain bonding journey and adjust accordingly.
Handle with Care:
During the curing process, treat your bonded porcelain with utmost care. Just as an artist wouldn’t touch a wet painting, avoid handling or putting pressure on the glued pieces until the curing is complete. This delicate period ensures that the bond remains strong and undisturbed, allowing it to set firmly.
Read the Instructions:
While intuition guides artists, it’s wise to also consult the instructions provided by the adhesive manufacturer. Each adhesive has its own recommended curing time, a hidden gem within the artistic process. Take a moment to familiarize yourself with these guidelines and unlock the full potential of your adhesive. Trust me, your future self will thank you for it.
Removing Excess Adhesive
In our previous exploration, we discovered the delicate process of curing, breathing life into our adhesive masterpieces. Now, let us embark on a captivating journey, delving into the realm of removing excess adhesive from porcelain. Just as a skilled artist corrects mistakes on their canvas, we too can master the art of adhesive removal. So gather your tools and prepare to unlock the secrets of porcelain restoration.
Acetone: Unleashing the Power of Solvent Sorcery
When confronted with excess adhesive on porcelain, there is one ally that reigns supreme – acetone, a mighty solvent capable of taming even the most stubborn super glue. However, be forewarned. Certain types of porcelain may succumb to its powerful touch. To ensure success, test acetone on a small, inconspicuous area before using it on the entire surface. Now, let’s unveil the steps to utilize this magical elixir:
- Begin by delicately applying a small amount of acetone onto a cotton swab or soft cloth.
- Gently dab the acetone onto the excess adhesive, allowing it to work its transformative spell.
- Grant the acetone a few minutes to soften the grip of the glue.
- Armed with a clean cloth or paper towel, tenderly wipe away the now malleable adhesive.
- Repeat this mesmerizing ritual until every trace of excess glue fades into oblivion.
Heat: Sculpting Super Glue’s Surrender
In our quest for adhesive mastery, heat emerges as an invaluable tool. By subjecting super glue to warmth, we coax it into surrendering its tenacious hold on porcelain. Allow us to guide you through this artistic process:
- Equip yourself with a hairdryer or heat gun, set to low heat.
- Direct the gentle warmth towards the excess adhesive, moving it back and forth in rhythmic harmony.
- As the glue succumbs to the seductive dance of heat, seize a plastic scraper or employ your fingernail to delicately scrape or peel off the adhesive, revealing porcelain’s pristine beauty.
Conclusion
The art of Super Gluing porcelain requires finesse and precision. To ensure a strong bond, follow these steps:
- Prepare the surfaces: Clean both the broken pieces of porcelain with warm soapy water and dry them thoroughly. Any dirt or grease can hinder the adhesive’s effectiveness.
- Choose the right glue: Opt for a high-quality cyanoacrylate adhesive specifically designed for bonding porcelain. These glues are known for their fast-drying and strong-holding properties.
- Apply sparingly: Less is more when it comes to Super Glue. Apply a thin layer of adhesive to one of the broken edges using the nozzle or a toothpick. Avoid over-applying, as excess glue can seep out and create unsightly marks.
- Press firmly: Align the broken pieces precisely and press them together firmly for at least 30 seconds. This ensures that the glue spreads evenly and creates a solid bond.
- Allow time to cure: Give the glued porcelain ample time to cure before handling or putting any stress on it. Follow the manufacturer’s instructions regarding curing time, which is typically around 24 hours.
- Finishing touches: Once fully cured, check if any excess glue remains visible or protruding from the joint line. If so, carefully remove it using a razor blade or sandpaper.
Remember, Super Gluing porcelain requires patience and attention to detail. By following these steps, you can restore your cherished porcelain items with confidence and precision.