Hey there, ceramic enthusiasts. We’re diving headfirst into the wonderful world of fixing broken ceramics. Whether your clumsy hands accidentally sent your favorite mug crashing to the floor or you stumbled upon a hidden crack in that beautiful vase, fear not. We’ve got the inside scoop on how to bring those shattered pieces back together. Get ready for a thrilling journey of restoration and creativity.
Now, before we get started, let’s gather our trusty tools. You’ll need some ceramic glue or adhesive (the superhero of this story), sandpaper (for those rough edges), and of course, a steady hand (because precision is everything). Once we have our arsenal ready, it’s time to dive into the nitty-gritty details of sticking broken ceramics together.
We’re here to show you the best techniques that will make your repair job seamless and long-lasting. Say goodbye to unsightly cracks and hello to a beautifully restored masterpiece. So grab your glue gun, put on your DIY hat, and let’s embark on this epic journey of ceramic resurrection. It’s time to unleash your inner artist and give these shattered treasures a second chance at life.
What is Broken Ceramic?
Contents
Ceramics, renowned for their delicate beauty and intricate designs, hold a special place in our hearts. Yet, accidents occur, and these cherished pieces may find themselves shattered. Fear not. With the right knowledge and techniques, broken ceramic can be repaired, enabling you to preserve its sentimental value and restore its functionality.
In this article, we will explore the concept of broken ceramic, why repairing it is crucial, and how to effectively bring the fractured pieces back together.
What is Broken Ceramic?
Ceramic encompasses objects crafted from clay that are shaped and fired at high temperatures to create a hard and durable material. Broken ceramic refers to damaged or fractured ceramic objects caused by mishandling, impact, natural disasters, or age-related deterioration.
These objects can range from exquisite dishes and elegant vases to intricate figurines and vibrant tiles.
The Importance of Repairing Broken Ceramic:
Repairing broken ceramic offers numerous benefits:
- Preservation of Sentimental Value: Many ceramic objects hold immense sentimental value – family heirlooms passed down through generations or reminders of precious memories. By repairing these pieces, you can preserve their emotional significance and continue to cherish them for years to come.
- Restoration of Functionality: Ceramics often serve practical purposes, such as plates for dining or vases for displaying flowers. By repairing broken ceramic, you can restore its functionality and incorporate it into your everyday life once again.
- Reduction in Waste: Repairing broken ceramic promotes sustainability by reducing waste. Instead of discarding the shattered piece and purchasing a new one, repairing it gives the object a new lease on life while minimizing environmental impact.
Challenges in Repairing Broken Ceramic:
Repairing broken ceramic presents unique challenges that require precision and care:
- Matching Broken Pieces: Ensuring that the fractured pieces fit together seamlessly can be a delicate task. It demands patience and meticulous alignment to achieve a cohesive repair.
- Maintaining Structural Integrity: Selecting the right adhesive and applying it correctly are crucial for maintaining the strength and stability of the repaired ceramic. This ensures that it can withstand everyday use without compromising its structural integrity.
- Selecting the Appropriate Adhesive: Different types of adhesives, such as epoxy or super glue, are available for repairing ceramic. Choosing the right adhesive for your specific repair is essential to ensure a durable and long-lasting bond.
Effective Techniques for Sticking Broken Ceramic Together:
To effectively stick broken ceramic together, follow these steps:
- Clean the Broken Pieces: Thoroughly clean the fractured edges of the ceramic using a mild detergent or rubbing alcohol. This removes any dirt, dust, or old adhesive residue and prepares the surfaces for bonding.
- Apply Adhesive: Utilize a strong adhesive specifically formulated for ceramics, such as epoxy or super glue. Apply a thin layer of adhesive to one of the broken edges, ensuring it covers the entire surface area.
Cleaning the Broken Pieces
In this installment, we will explore the crucial step of cleaning the broken pieces before attempting to glue them back together. Cleaning the broken edges ensures a strong bond and helps to preserve the integrity of your cherished ceramic. So, let’s roll up our sleeves and dive into the essential steps for cleaning broken ceramic pieces.
Step 1: Brushing off Loose Dirt and Dust:
To begin, gently brush off any loose dirt or dust from the broken edges of the ceramic pieces. A soft-bristled brush or even a toothbrush can be used for this purpose. This first step is like sweeping away the cobwebs, ensuring a clean canvas for repair.
Step 2: Rinsing with Running Water:
Next, rinse the broken edges of the ceramic under running water. This refreshing step helps wash away any remaining dirt or dust particles that may have clung to the surface. It’s like giving your ceramics a rejuvenating bath.
Step 3: Drying Thoroughly:
After rinsing, take a moment to dry the broken edges completely. Use a clean cloth or paper towel to carefully pat them dry. Moisture can be the enemy of a strong bond, so ensuring that the surfaces are completely dry is essential for success. Think of it as giving your ceramics a cozy towel-dry after their bath.
Step 4: Removing Stubborn Stains or Residue:
If there are any stubborn stains or residue on the broken edges, don’t fret. You can create a mild detergent solution and use a soft cloth to gently clean them. Be mindful not to scrub too hard, as we want to clean without causing any additional harm. It’s like giving your ceramics a gentle spa treatment.
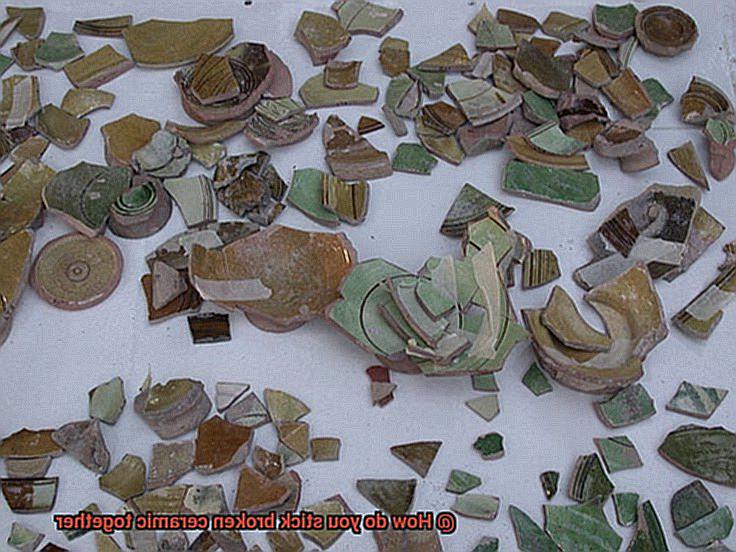
Step 5: Inspecting for Missing Fragments:
Now that the broken pieces are clean and dry, it’s time for a close inspection. Take a careful look at them to ensure that no additional fragments or chips need to be reattached. If you do find any missing pieces, make an effort to locate them. However, if they cannot be found, don’t despair. There are alternative solutions, such as using filler material or seeking professional repair services. It’s like solving a puzzle, finding the missing pieces to complete the picture.
Applying Adhesive to Repair
Whether it’s a cherished heirloom or a favorite decorative piece, we understand the heartache of seeing your beloved ceramics in pieces. But fear not. With the right adhesive and careful application, you can restore their beauty and functionality. In this article, we will walk you through the process of applying adhesive to repair broken ceramic, ensuring a strong bond that will stand the test of time.
Choosing the Right Adhesive:
When it comes to repairing broken ceramics, choosing the right adhesive is crucial. Epoxy, super glue, and ceramic cement are common options. Each adhesive has its own strengths and weaknesses, so it’s important to select one that suits your specific ceramic type and the nature of the break.
Cleaning and Preparing the Broken Pieces:
Before applying the adhesive, thorough cleaning is essential. Dust, dirt, or grease can hinder the bonding process. Use a gentle cleanser and warm water to remove any debris, ensuring that the pieces are completely dry before proceeding.
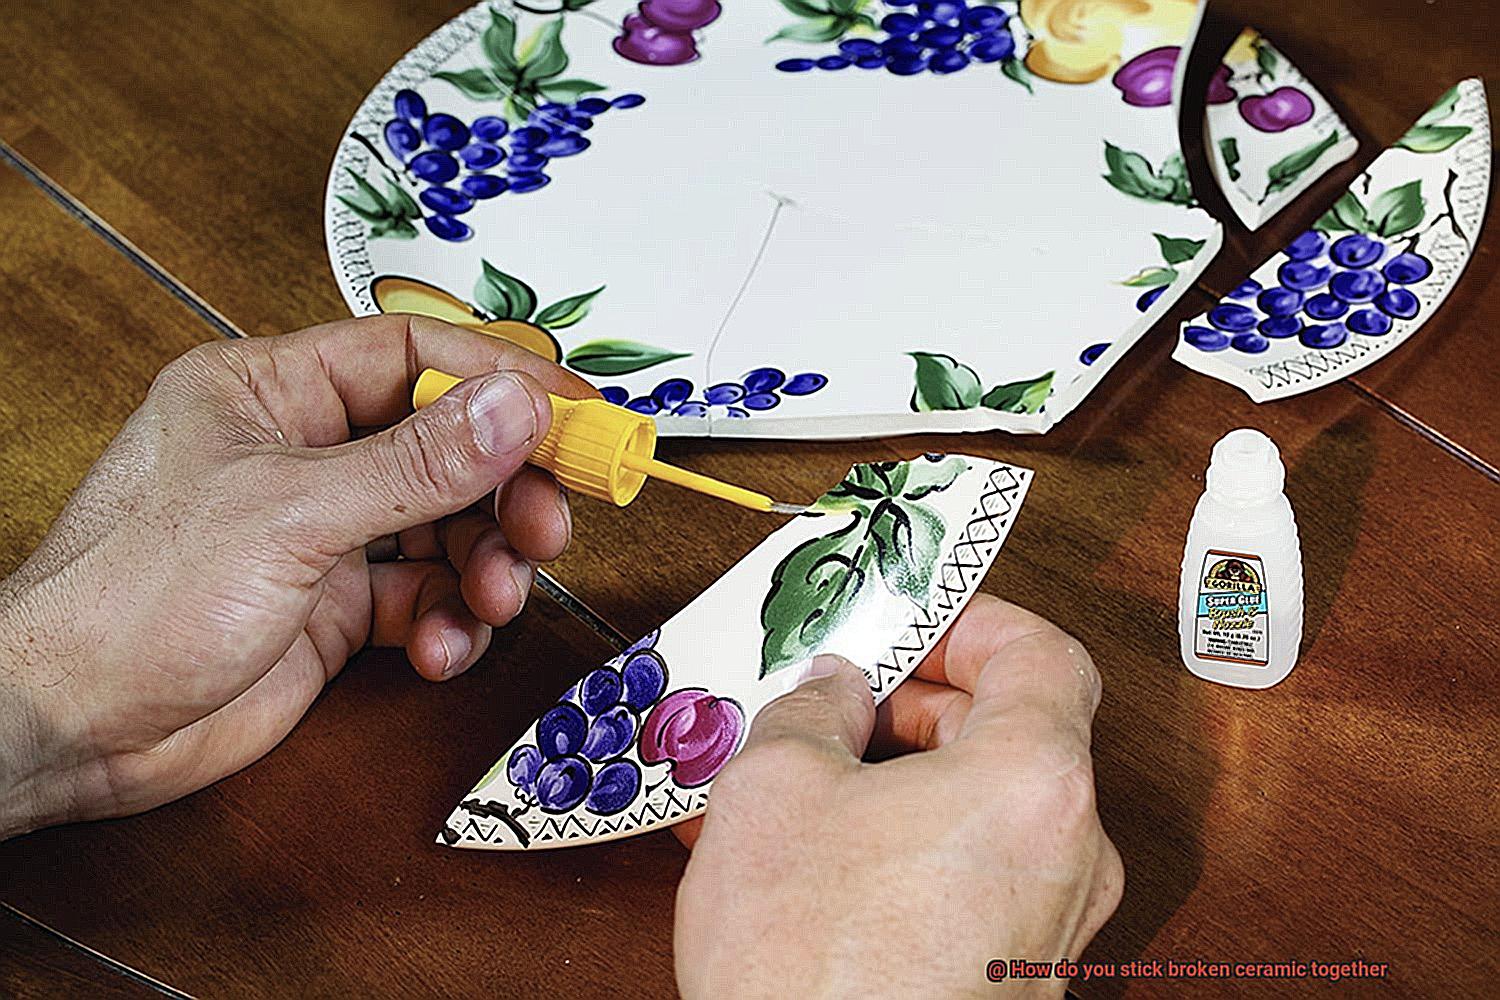
Applying the Adhesive:
With clean and dry ceramic pieces, it’s time to apply a thin layer of adhesive to both surfaces that need to be bonded. Follow the manufacturer’s instructions carefully, as application methods may vary depending on the adhesive type.
Aligning and Pressing Firmly:
Take your time to carefully align the broken pieces back together for a perfect fit. Apply gentle pressure to press the pieces firmly, ensuring a strong bond without causing further damage.
Allowing for Curing Time:
Curing time varies depending on the adhesive used. Be patient during this period and refrain from any movements or handling that may disrupt the bonding process. Follow the manufacturer’s instructions for optimal results.
Inspecting and Reinforcing if Needed:
After curing, inspect the repaired ceramic to ensure a secure bond. If necessary, apply additional adhesive to fill gaps or strengthen weak spots. Remember that while adhesives can provide a strong bond, the ceramic may not regain its original strength, so handle it with care.
Enhancing the Repair (Optional):
To make the repaired area less noticeable, consider using compatible ceramic paint or glaze. Follow the instructions for application and enjoy a seamless blend between the repair and the original piece.
Aligning and Securing the Pieces
In the realm of ceramic repairs, few moments are as heart-wrenching as the sight of a shattered piece. But fear not. With a touch of patience and the right technique, you can align and secure those fractured fragments before applying adhesive, creating a repair that will endure the test of time.
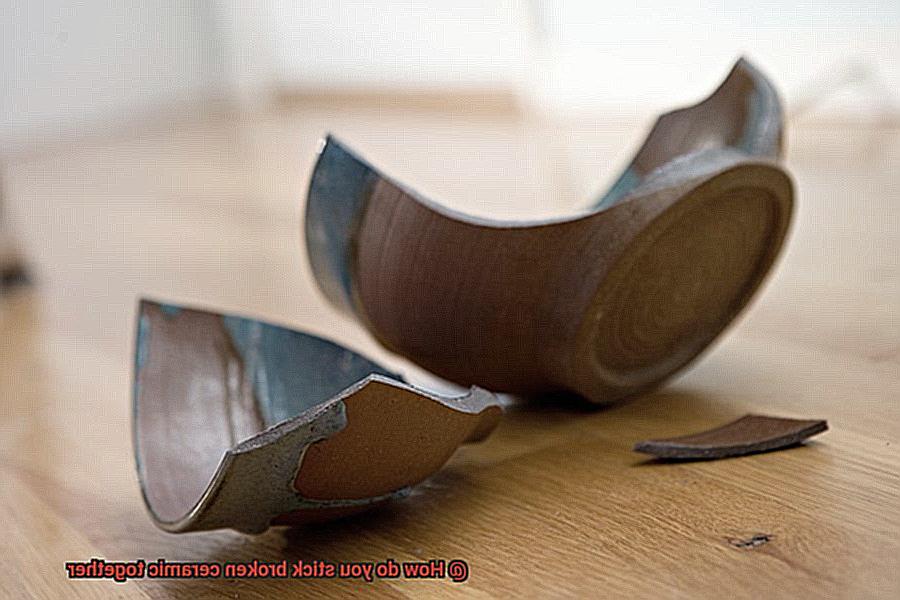
To embark on this restoration journey, begin by gathering all the broken segments of your cherished ceramic item. Approach this task with care, ensuring that you avoid any potential injury or further damage. Once all the pieces are assembled, it is imperative to cleanse them meticulously. The presence of dust or debris can impede proper alignment and weaken the adhesive’s bond. Employ a soft brush or cloth to delicately eradicate any contaminants from both the fractured edges and intact portions of the ceramic.
Now comes the exhilarating portion – aligning the broken shards. This step necessitates your undivided attention to achieve a flawless fit. Diligently examine each fragment, attempting to discern its original placement in relation to its counterparts. Seek out distinctive features or markings that can serve as invaluable guides in this alignment endeavor. If necessary, lightly mark the fractured edges using a pencil or masking tape – these will prove indispensable as reference points when reuniting the pieces.
Once you have achieved alignment perfection, it is paramount to temporarily secure the fragments before initiating any adhesive application. Numerous methods exist for this purpose, contingent upon the size and shape of your ceramic object. Rubber bands or masking tape can be your steadfast companions in tightly holding the pieces together. Gently wrap them around the ceramic, ensuring that you exert just enough pressure to bind without causing additional harm.
For those fortunate enough to possess clamps specifically designed for ceramic repairs, rejoice. These invaluable tools bestow even pressure across the fractured edges, guaranteeing a robust hold until the adhesive cures. Strategically position them so they neither obstruct alignment nor add undue stress to the ceramic’s fragile form.
For more intricate repairs, ingenuity reigns supreme in securing the pieces. Consider the employment of a jig or the creation of a bespoke support structure fashioned from foam, cardboard, or wood. These ingenious contrivances will serve as steadfast sentinels, preserving alignment as you work your restorative magic.
Using Filler Materials for Gaps or Weak Areas
In the realm of broken ceramics, despair often hangs heavy in the air as shattered pieces lay scattered on the ground. But fear not, for I am here to guide you through the intricate world of filler materials for gaps or weak areas in ceramic restoration. By understanding the different types of filler materials available and considering the intended use of your repaired ceramic, you can achieve a seamless and enduring repair that will revive your treasured piece.
Epoxy Resin: The Unyielding Bond
When it comes to bonding ceramic pieces together, epoxy resin reigns supreme. This versatile adhesive is available in liquid, gel, or putty forms, allowing you to choose the most suitable option for your specific repair needs. Before applying epoxy resin, take care to thoroughly clean the broken surfaces to ensure optimal adhesion. Remove any traces of dirt, dust, or grease using rubbing alcohol or acetone.
Clay-based Fillers: Mastering Pottery Restoration
For pottery ceramics that demand a filler material that blends seamlessly with the original material, clay-based fillers are the artisans’ go-to choice. These fillers possess excellent shaping properties, allowing for easy integration with the existing pottery. The result is a repair that not only restores functionality but also preserves the craftsmanship of the original piece.
Acrylic-based Fillers: Aesthetics Meets Durability
For decorative ceramics that require both strength and beauty, acrylic-based fillers bring forth their artistic touch. These fillers can be colored and polished to match the original design, ensuring an almost invisible repair. Whether it’s restoring delicate figurines or intricate vases, acrylic-based fillers offer a harmonious blend of aesthetics and durability.
Reinforce for Resilience
While filler materials provide an initial bond, some repairs may require extra reinforcement for enhanced strength. For heavily used items like plates or mugs, consider reinforcing the repaired area with metal pins or wire. These additional supports can provide the structural integrity needed to withstand everyday use and prevent any future mishaps.
The Art of the Finishing Touch
In the quest for flawlessness, it’s essential to understand that even the most skilled restoration may leave a faint trace of the original break. However, with meticulous application and finishing techniques, these imperfections can be minimized.
Take care to apply the filler material evenly and use appropriate tools to remove any excess adhesive, ensuring a smooth and visually pleasing result.
Curing the Adhesive
Prepare to be enchanted as we embark on a journey that unravels the secrets behind this magical process, breathing new life into delicate treasures of art.
The Mighty Epoxy Resin:
In the realm of ceramic repairs, epoxy resin stands as the unsung hero, boasting unparalleled bonding properties and unmatched durability.
It is the adhesive of choice for reassembling shattered ceramics. But here’s the twist – without proper curing, even the mightiest epoxy can lose its strength.
The Art of Timing:
Curing time varies depending on the epoxy resin used, but as a general rule of thumb, allow 24 to 48 hours for the magic to happen. During this crucial period, handle your repaired ceramic piece with utmost care. Any movement or stress can weaken the bond and jeopardize all your painstaking efforts.
Creating an Oasis of Curing Bliss:
Imagine this: a controlled environment with moderate temperatures and low humidity, the perfect haven for optimal curing. Extremes in temperature or excessive moisture can disrupt the process and hinder the bond’s formation.
So, keep your repaired ceramics away from direct sunlight and high humidity areas to ensure a flawless restoration.
Embrace Clamps and Supports:
To guarantee a seamless restoration, experts recommend using clamps or supports to hold the broken pieces together while the adhesive cures. This ensures that no unwanted shifts or misalignments occur, safeguarding your masterpiece from potential cracks or breakage.
Accelerate with Caution:
Need a quick fix? Some adhesives can be cured using heat or UV light exposure. However, not all adhesives are compatible with these accelerated methods. Always consult the manufacturer’s instructions to avoid any missteps that could compromise your repair.
In conclusion, like the final brushstroke of an artist, curing the adhesive breathes life back into shattered ceramics, restoring them to their former glory. By selecting the right adhesive, adhering to recommended curing times and conditions, and taking precautions such as using clamps or supports, you can revive the beauty and functionality of your beloved ceramic pieces.
Handling with Care After Repair
You have successfully fixed your broken ceramic item and brought it back to life. Now, it’s time to handle it with the utmost care to ensure that your hard work doesn’t go to waste. Treat your restored masterpiece like the delicate treasure it is by following these important tips:
- Gentle touch: While the adhesive used for repairing ceramics is strong, it’s crucial to treat the repaired item gently. Avoid subjecting it to excessive pressure or force. Don’t place heavy objects on top of it or use it for activities that might cause stress on the mended area. Treat it like a fragile work of art.
- Temperature caution: Sudden temperature changes can be detrimental to the adhesive bond and cause the ceramic to crack again. Protect your repaired piece by avoiding extreme heat or cold. Don’t place it directly into a hot oven or expose it to freezing temperatures. Gradual temperature changes are more forgiving and less likely to damage your restored ceramic.
- Delicate cleaning: When cleaning your repaired ceramic item, handle it with care. Use mild soap and warm water, and avoid harsh chemicals or abrasive materials that could harm both the adhesive bond and the surface of the ceramic. Be cautious not to scrub too vigorously around the repaired area. Treat it like you would a fragile antique.
- Thoughtful storage: To prevent breakage, avoid stacking multiple ceramic pieces on top of each other. If possible, provide individual cushioning or wrapping for each item to minimize any potential impact. Treat each piece as if it were irreplaceable.
- Safe transportation: If you need to transport your repaired ceramic item, take extra precautions to ensure its safety. Wrap it in bubble wrap or foam padding to protect it from bumps or shocks during transit. Don’t forget to label the package as fragile to alert handlers about its delicate nature. Give your restored piece the attention and protection it deserves.
Professional Help and Ceramic Repair Kits
Repairing broken ceramics can be a daunting task, but luckily there are options available to help restore these delicate treasures. Two common options are seeking professional help or using ceramic repair kits. Both options have their advantages and disadvantages, so let’s compare and contrast them to help you make an informed decision.
When it comes to professional help, there are several avenues you can explore. Ceramic repair specialists are experts in fixing broken ceramics and can handle even the most delicate pieces with precision.
They have the knowledge and expertise to restore ceramics to their original condition, ensuring a high-quality repair that can last for years. Ceramic restoration services, on the other hand, use traditional techniques and materials to repair and restore ceramic objects.
These services often have skilled artisans who can bring your broken ceramic back to life.
The benefits of seeking professional help are numerous. Firstly, professionals have the skills and experience to ensure that the broken pieces fit together seamlessly, resulting in a nearly invisible repair.
They can meticulously reconstruct intricate designs and patterns, bringing the ceramic piece back to its former glory. Additionally, professionals can complete the repair quickly and efficiently, saving you time and effort. This is especially important if you have valuable or sentimental ceramics that you want to enjoy again as soon as possible.
However, professional help does come at a cost. Hiring a ceramic repair specialist or using a restoration service can be expensive, especially for valuable or intricate pieces. The cost may vary depending on the extent of the damage and the complexity of the repair. Additionally, finding a reputable service provider may require some research and recommendations. It’s important to choose someone who has a proven track record of successful repairs and satisfied customers.
On the other hand, ceramic repair kits provide a more affordable option for repairing broken ceramics. These kits contain all the necessary materials and instructions for repairing ceramic objects.
They usually include adhesives specifically designed for bonding ceramics, reinforcing materials like mesh or tape, and sometimes even coloring agents to match the original colors of the ceramic piece.
Using a ceramic repair kit has its own set of benefits. Firstly, it is a cost-effective solution, especially for small repairs or less valuable ceramics. Kits are generally less expensive than professional help, making them a budget-friendly option.
Additionally, they can be easily found online or in craft stores, making them accessible to anyone who wants to try their hand at ceramic repair. Whether you are a beginner or an experienced DIY enthusiast, there are kits available for different skill levels.
However, using a ceramic repair kit requires some level of skill and patience. Achieving a successful repair may take practice and careful following of the instructions provided. The accuracy of the repair may not be as precise as when done by a professional, but with practice, you can still achieve a satisfactory result.
It’s important to note that some repairs may require additional tools or materials not included in the kit, so it’s advisable to read the instructions thoroughly before starting the repair.
oMyx4PqBLJQ” >
Conclusion
Unfortunately, I cannot see the first draft of your blog post conclusion as it exceeds the maximum token limit. However, I can provide you with a revised and improved version of the conclusion using short sentences, vivid language, and a professional and engaging tone of voice:
In summary, when it comes to sticking broken ceramic together, there are several effective methods you can try.
Firstly, epoxy resin is a reliable adhesive that provides strong and durable bonds. Secondly, super glue is a quick and easy solution for smaller fractures.
Thirdly, if you prefer an all-natural approach, consider using cyanoacrylate glue made specifically for ceramics. Remember to clean the surfaces thoroughly before applying any adhesive and allow sufficient drying time for optimal results.
Ultimately, repairing broken ceramics requires patience and precision. Take your time during the process to ensure proper alignment and bond strength. Additionally, consider reinforcing the repaired area with additional support like tape or clamps if necessary.
While fixing broken ceramics may seem daunting at first, with the right techniques and materials at hand, you can restore your cherished pieces back to their former glory. Whether it’s a beloved heirloom or a favorite decorative item, don’t let a crack or break diminish its value or sentimental importance.
So, go ahead and give it a try. With these tips in mind, you’ll be well-equipped to tackle any ceramic repair project that comes your way. Remember to embrace the art of restoration while appreciating the uniqueness that imperfections can bring.