Title: Say Goodbye to Sticky Nightmares: Removing Painted-Over Wallpaper Glue Made Simple.
Introduction:
- Imagine this: you’re ready to give your space a fresh makeover, only to be met with the horror of old wallpaper glue lurking beneath layers of paint. It’s enough to make even the most experienced DIYers break into a cold sweat. But fear not. We’ve got your back. In this guide, we’ll spill the secrets on how to banish that stubborn residue and reclaim your walls like a pro.
- Picture it now: you’re armed with our step-by-step solutions, ready to tackle that pesky wallpaper glue clinging onto your walls like a mischievous ghost. From everyday household tricks to specialized products designed for this exact battle, we’ve gathered all the techniques you need to conquer this sticky challenge.
So roll up your sleeves, embrace your inner DIY guru, and let’s dive headfirst into this conundrum together. With our expert advice, a sprinkle of patience, and a dash of elbow grease, you’ll soon enjoy a beautifully refurbished space free from any remnants of that defiant wallpaper glue. Ready? Let’s get started.
Understanding the type of glue and painted surface
Contents
- 1 Understanding the type of glue and painted surface
- 2 Preparing the workspace
- 3 Method 1: Using a wallpaper steamer
- 4 Method 2: Using a wallpaper adhesive remover
- 5 Method 3: Scraping off the glue residue
- 6 Dealing with stubborn or resistant glue residue
- 7 Cleaning the wall after removing the glue
- 8 Priming and repainting the wall
- 9 Conclusion
Removing old wallpaper glue from a painted surface can be a challenging task, but with the right knowledge and approach, it becomes an art form. Understanding the type of glue used and the painted surface it is adhered to is essential for a successful removal process that minimizes damage. In this comprehensive guide, we will delve into the importance of understanding glue types and painted surfaces when tackling this intricate task.
Understanding Glue Types:
- Cellulose-based glue: This water-soluble adhesive, commonly found on older wallpapers, is forgiving and can often be removed with warm water and a sponge or cloth.
- Wheat paste: Known for its strength and resistance, wheat paste may require a more intensive approach. Consider using a wallpaper steamer or a commercial wallpaper remover for effective removal.
- Vinyl adhesive: Infamously stubborn, vinyl adhesive used with vinyl wallpapers demands special attention. Look for solvents or adhesive removers specifically designed for vinyl materials.
Evaluating Painted Surfaces:
- Oil-based paint: Renowned for its durability and water resistance, removing wallpaper glue from an oil-based paint surface can be more challenging. Prepare stronger solvents to effectively dissolve the adhesive.
- Latex paint: Unlike its oil-based counterpart, latex paint is more susceptible to water. For surfaces painted with latex, a gentler method involving warm water and mild soap may suffice for removing wallpaper glue.
Factors to Consider:
- Condition of the painted surface: Assess whether the paint exhibits any peeling or cracking. If the paint is in good condition, proceed with a removal method that minimizes damage. However, compromised or poor-quality paint requires extra precautions during the removal process.
- Removal methods: Depending on the glue type and painted surface, different removal methods come into play. Consider options such as a wallpaper steamer, adhesive removers, or scraping with caution.
Preparing the workspace
Removing stubborn wallpaper glue that has been painted over may seem like a daunting task, but fear not. With careful preparation, you can transform this challenge into a seamless and efficient process. In this article, we will explore the essential steps to preparing your workspace for this endeavor. So, let’s roll up our sleeves and dive into the world of wallpaper glue removal.
Clear the area:
Before embarking on your project, it is crucial to create a clutter-free workspace. Remove any furniture, decorations, or other items from the room to provide ample space for maneuvering. This not only prevents damage to your belongings but also allows you to work with ease. Don’t forget to cover the floor with a drop cloth or plastic sheeting to safeguard against spills and drips.
Prioritize ventilation:
Ventilation is key when working with chemicals or solvents involved in wallpaper glue removal. Open up windows and doors to usher in fresh air and promote circulation throughout the room. For an added boost, utilize fans or wear a mask to enhance airflow and minimize potential health risks associated with inhaling fumes.
Safety first:
Safety should always be at the forefront of any DIY project. Gear up with protective wear such as gloves, safety goggles, and a dust mask to shield yourself from potential hazards. Additionally, keep a fire extinguisher nearby in case of accidents involving flammable materials.
Gather the necessary tools:
To tackle the task of removing old wallpaper glue effectively, arm yourself with the essential tools. Equip yourself with a wallpaper scraper or putty knife for gently scraping away the adhesive. Fill a spray bottle with warm water to moisten the glue and facilitate its removal. Have a sponge or cloth at the ready for wiping away excess water and residue. And don’t forget a trusty bucket for convenient waste disposal.
Prepare removal solutions:
The ideal removal solution for your project depends on the type of wallpaper glue and paint used. Conduct research to identify the most suitable method for your specific situation. You may need warm water mixed with dish soap or vinegar, a commercial adhesive remover, or even homemade mixtures employing baking soda or fabric softener.
Method 1: Using a wallpaper steamer
Method 1: Using a Wallpaper Steamer
Transforming your walls by removing old wallpaper and stubborn glue can be a challenging endeavor. But fret not. Armed with the right tools and a touch of patience, you can achieve flawlessly smooth walls that are primed for a fresh new look. In this article, we will delve into the first method: Using a Wallpaper Steamer.
Preparing the room:
Shield your furniture and floors from potential damage by diligently covering them with drop cloths or plastic sheets. This precautionary measure ensures that moisture or falling debris won’t cause any harm during the removal process.
Filling the wallpaper steamer:
Carefully follow the manufacturer’s instructions to fill the wallpaper steamer with water. For optimal performance, consider using distilled water to prevent mineral buildup inside the steamer. Allow the steamer to heat up until wisps of steam begin to form.
Steaming the wallpaper:
To soften the adhesive beneath the wallpaper, hold the steam plate against each section for approximately 20-30 seconds. This allows the penetrating steam to work its magic. Move on to the next area and repeat this process until you have covered all surfaces.
Removing the wallpaper:
Once a section has been steamed, employ a scraper or putty knife to gently peel away the loosened wallpaper. Begin at a corner or edge, gradually working your way across. Exercise caution to avoid causing any damage to the underlying wall surface.
Repeat if necessary:
In some instances, certain areas may require additional steaming. Should you encounter stubborn spots, allocate more time for steaming before attempting to remove the wallpaper once again.
Conquering the glue:
After removing the wallpaper, remnants of adhesive may persist on your walls. To eliminate them, dampen a sponge or cloth with warm water and mild detergent. Employ a gentle scrubbing motion to eradicate any lingering glue while being mindful not to exert excessive force that might harm the wall surface.
Rinse and dry:
Once all traces of glue have been banished, rinse the wall with clean water to eliminate any soap residue. Allow the wall to air dry completely before proceeding with your next decorating endeavor.
Method 2: Using a wallpaper adhesive remover
Before we dive into the step-by-step process, let’s gather our supplies. You’ll need a reliable wallpaper adhesive remover, a sponge or cloth, a scoring tool or sandpaper, and a trusty scraper or putty knife. Armed with these tools, let’s get started.
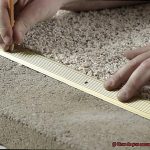
Begin by scoring the painted wallpaper surface with a scoring tool or sandpaper. This seemingly trivial step is crucial as it allows the wallpaper adhesive remover to penetrate and work its magic effectively.
Apply the wallpaper adhesive remover onto the painted wallpaper surface, following the instructions on the product label. The label will provide detailed instructions on the recommended application method and duration. Just follow them closely.
Allow the adhesive remover to sit for the specified amount of time. Patience is key here. This waiting period allows the solution to penetrate and dissolve that stubborn glue.
Once the recommended time has passed, gently wipe away the dissolved wallpaper glue using a sponge or cloth. Be thorough yet gentle to ensure all residue is removed.
For hard-to-reach areas or stubborn glue spots, use a scraper or putty knife to carefully scrape off any remaining glue. Take care not to damage the underlying surface; smooth walls are our goal.
Hooray. You’ve successfully removed all traces of wallpaper glue. Rinse the area with clean water to remove any residual adhesive remover.
Give your walls ample time to dry before moving forward with any further wall preparations or treatments. Patience pays off here; don’t rush this step.
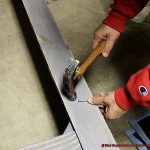
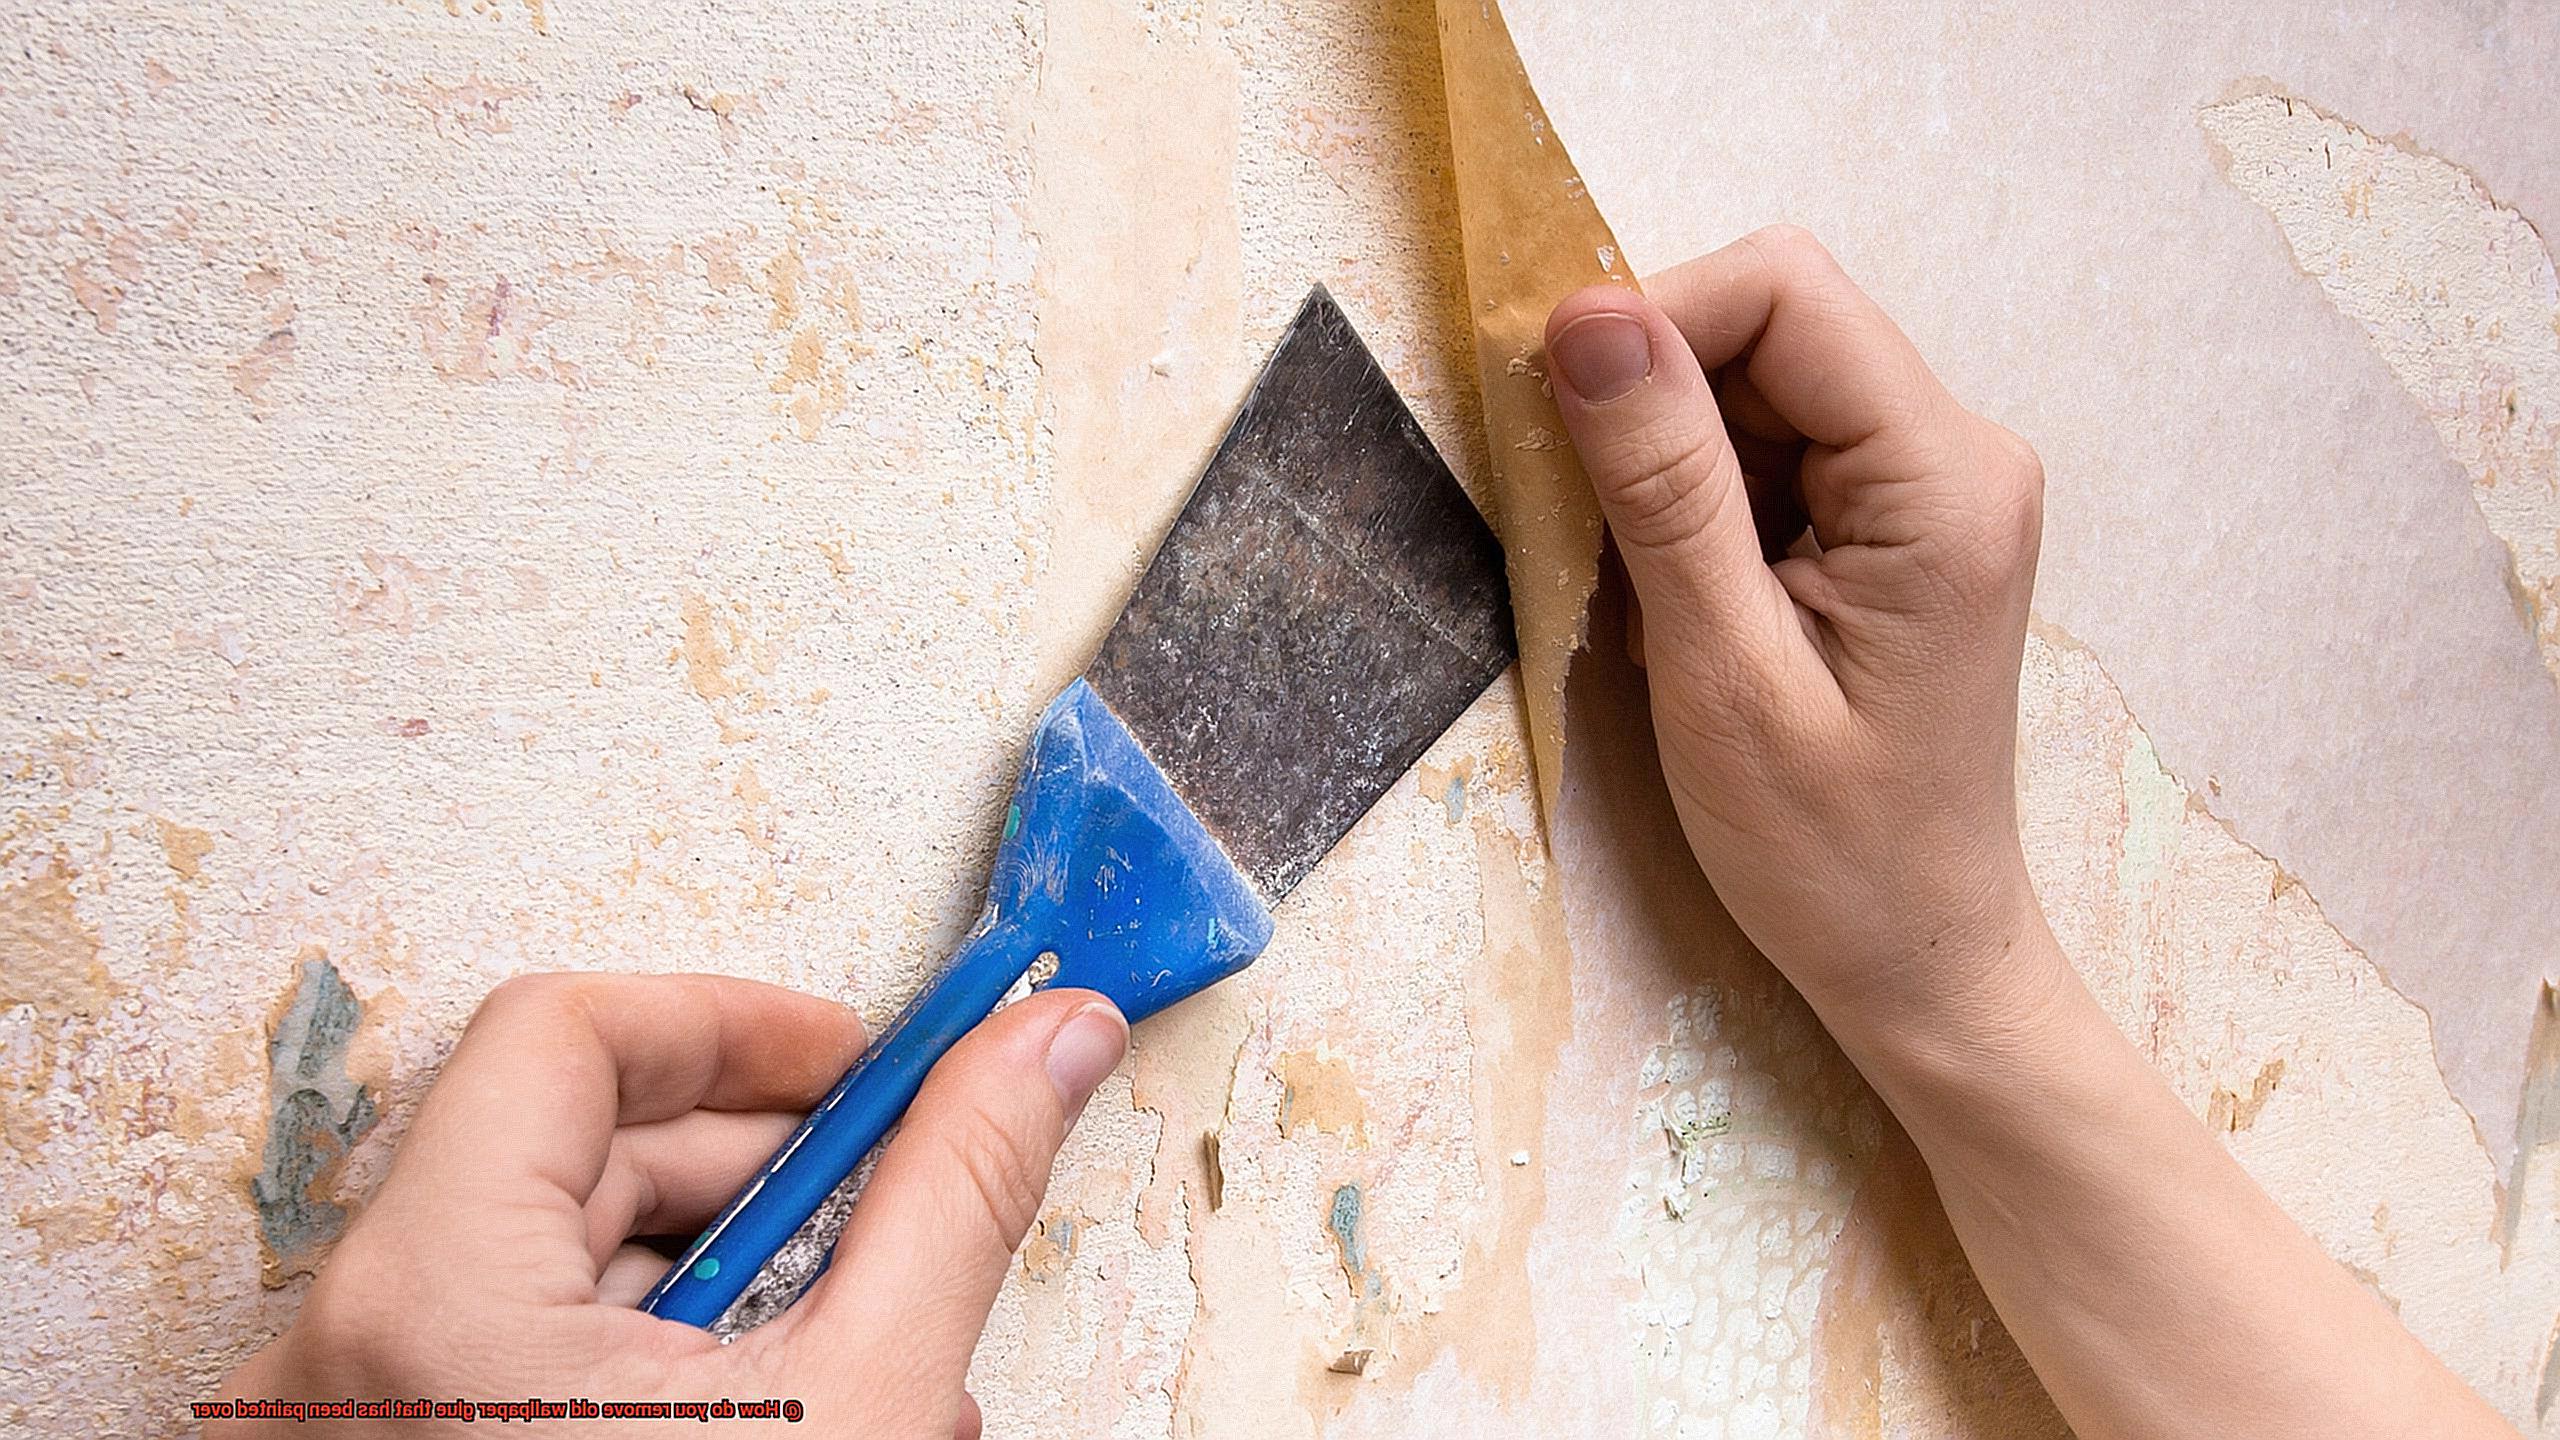
Method 3: Scraping off the glue residue
Don’t fret, we’ve got the solution for you. In this article, we’ll be diving into Method 3: Scraping off the Glue Residue, a hands-on approach to physically remove stubborn glue residue. Get ready to bid farewell to that pesky glue and restore your walls to their former glory.
Step 1: Prepare the area
Before starting the scraping process, it’s crucial to prepare the area properly. Shield your floor and nearby furniture by covering them with drop cloths or plastic sheets. Prioritize safety by donning protective gloves and safety goggles.
Step 2: Begin the scraping
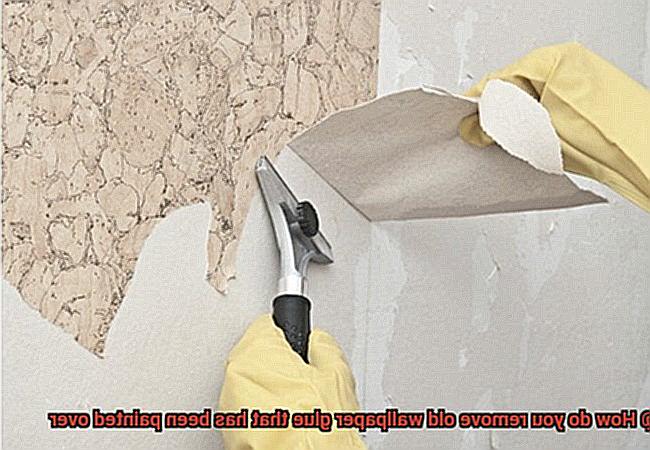
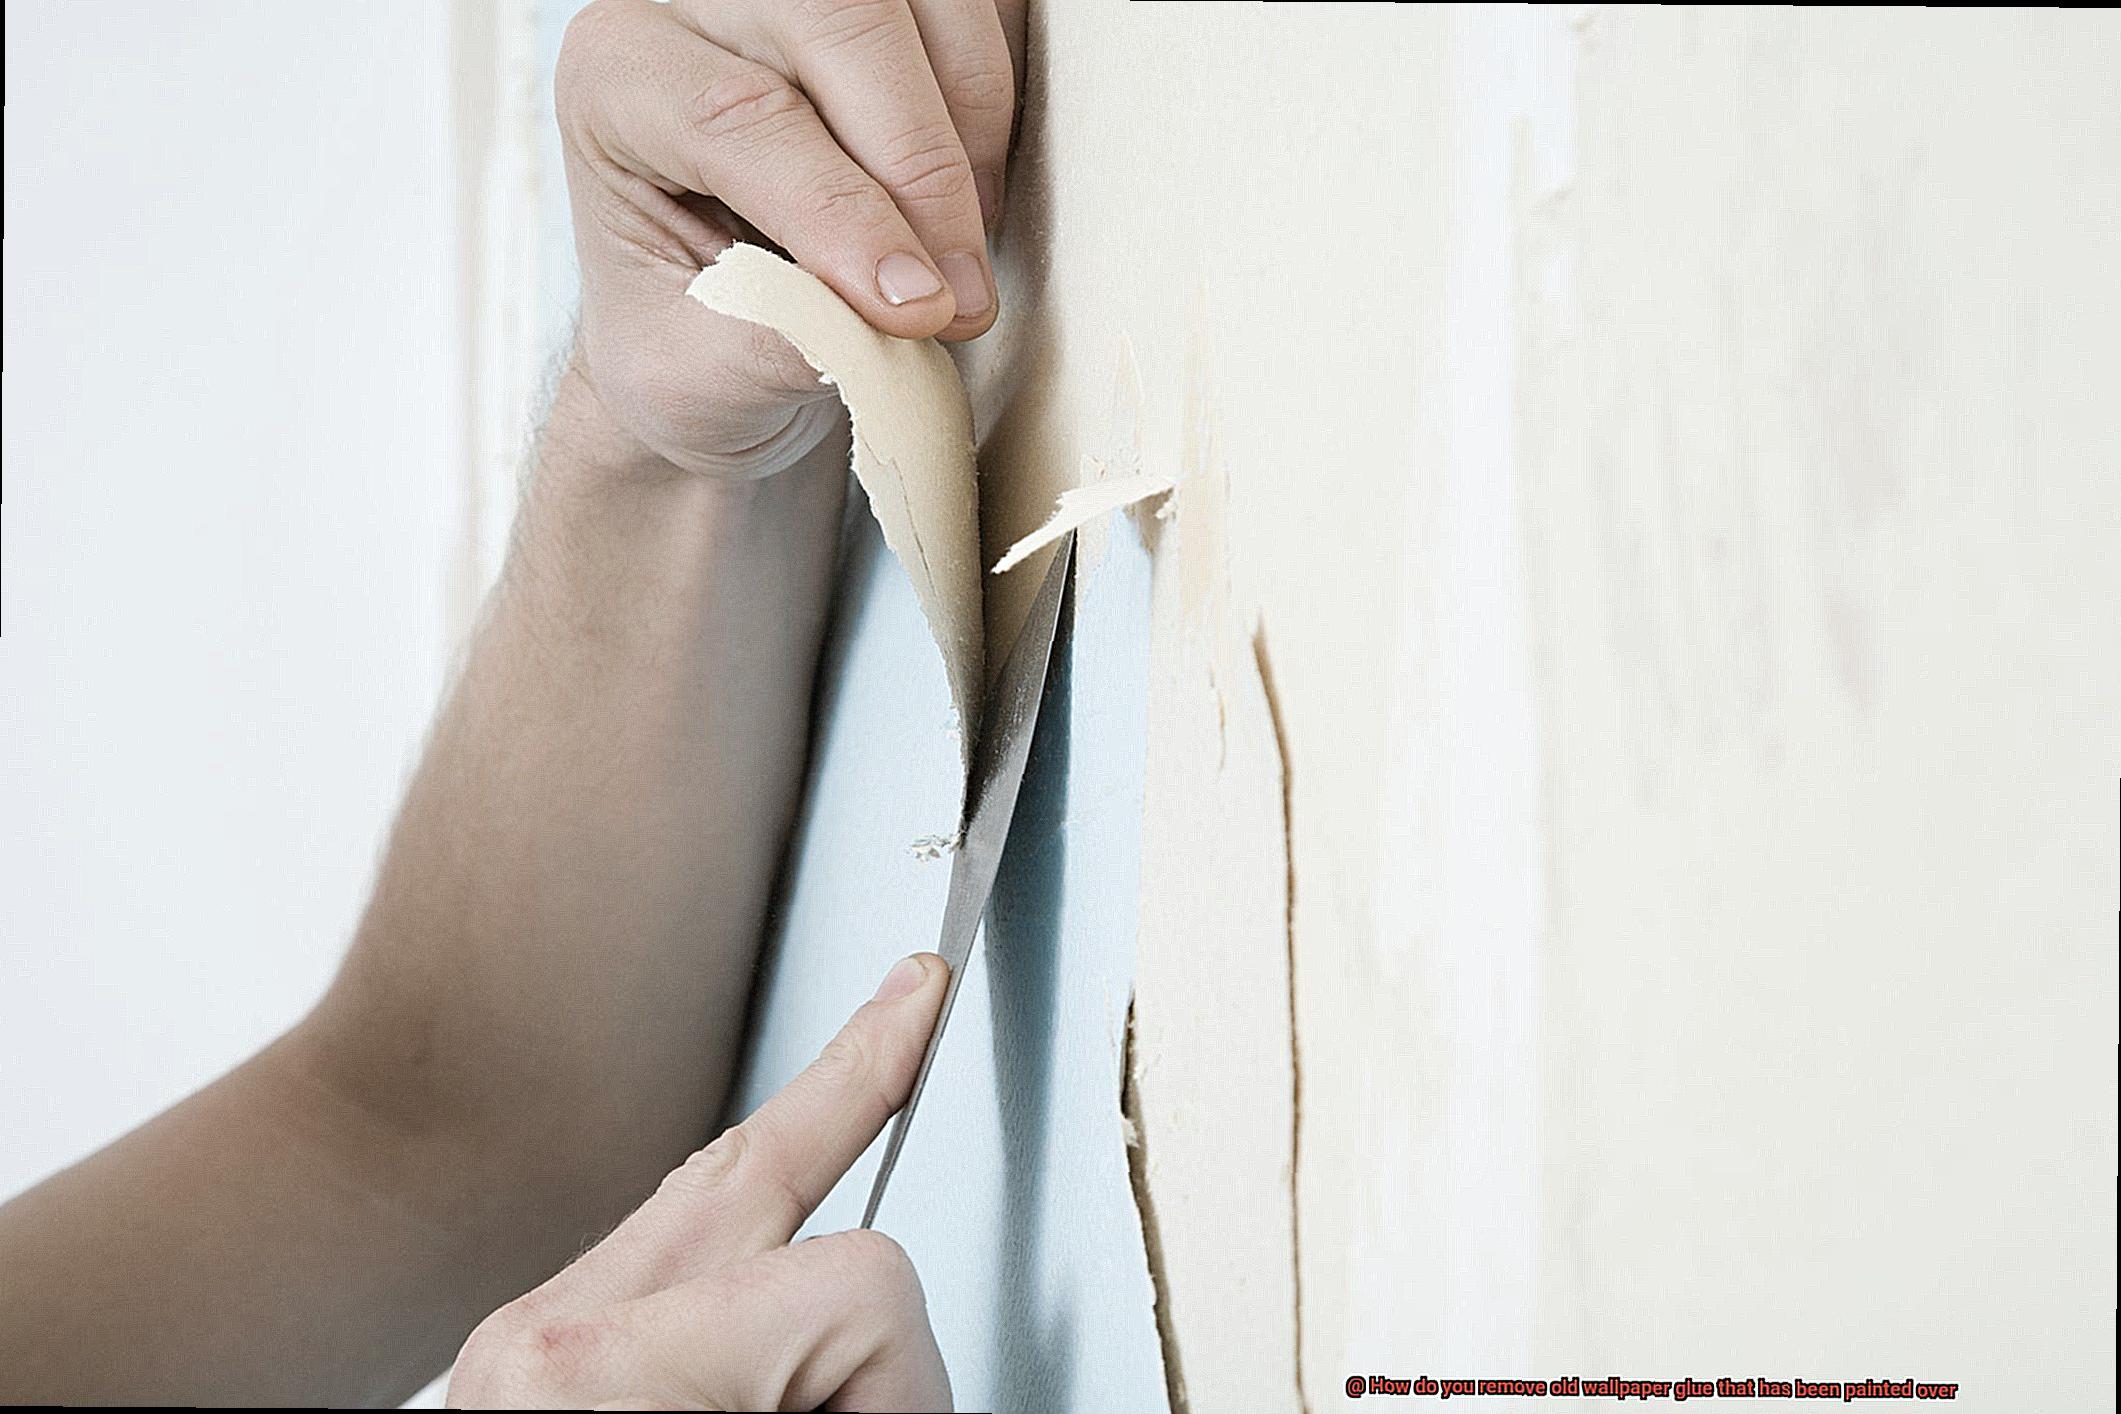
Armed with a scraper or putty knife, gently scrape off the top layer of the painted wallpaper glue. Take it slow, working in small sections, and apply even pressure while scraping. Steer clear of excessive force to avoid damaging the underlying surface.
Step 3: Moistening stubborn residue
For stubborn areas of glue residue, moisten them with warm water. Dampen a sponge or cloth and let it soak on the area for a few minutes before attempting to scrape off the residue again.
Step 4: Utilize wallpaper removal solutions
When facing more challenging glue residue, consider using wallpaper removal solutions or adhesive removers. These specialized products effectively loosen and dissolve the glue, making it easier to scrape off. Follow the manufacturer’s instructions diligently and ensure proper ventilation in the room.
Step 5: Clean your tools
Regularly clean your scraper or putty knife during the process to prevent any glue buildup on the tool. This simple practice will maintain its effectiveness and make your job easier.
Step 6: Thoroughly clean the walls
Once all the glue residue has been scraped off, give your walls a thorough cleaning with warm soapy water. This will remove any leftover residue or adhesive remover solution. Rinse the walls with clean water and allow them to dry completely before moving on to further wall treatments or painting.
Step 7: Tackle stubborn spots (optional)
If there are still stubborn spots of glue residue, try using a fine-grit sandpaper or an abrasive pad to gently sand the area. Be cautious not to damage the wall surface and always test a small area first before proceeding.
Step 8: Dispose of the glue residue
Properly dispose of the scraped-off glue residue by sealing it tightly in a garbage bag or container. Follow local waste disposal regulations for safe and responsible disposal.
Dealing with stubborn or resistant glue residue
We all know how frustrating it can be, especially when it’s hidden beneath layers of paint. But fear not, my fellow glue warriors, because I’m here to share some expert tips and tricks that will help you conquer that sticky situation once and for all.
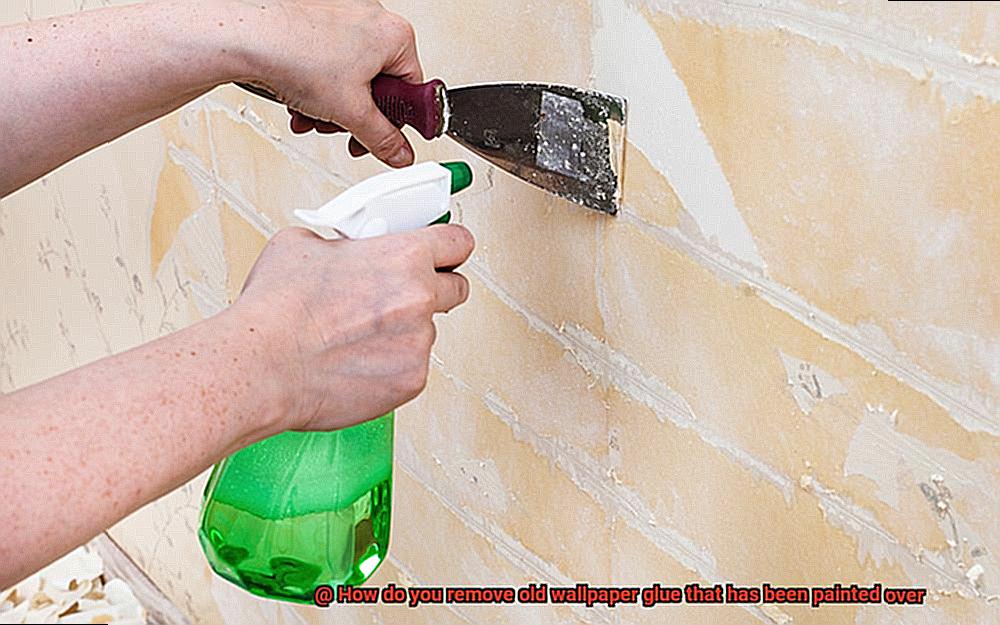
Let’s start with the tried-and-true method of using a commercial adhesive remover. These powerhouses are specifically formulated to break down tough adhesives. Just make sure to choose one that is safe for painted surfaces, and don’t forget to carefully follow the instructions. Trust me, you don’t want to end up with a new paint job on your hands.
If you prefer a more DIY approach, I’ve got you covered too. Whip up your very own adhesive remover by combining equal parts vinegar and warm water. Add a few drops of dish soap for some extra cleaning power. Apply this magical mixture to the glue residue and let it sit for a few minutes. Then grab a sponge or soft brush and gently scrub away the stubborn glue. It’s like watching magic happen before your eyes.
But what if the glue still won’t budge? Don’t worry, my friend, because we have some secret weapons up our sleeves. Introducing scraping tools – the putty knife and razor blade. These trusty companions will help you scrape away even the most stubborn residue. Remember, though, to be gentle and work slowly to avoid damaging the surface underneath.
Now, here’s where things get really interesting – heat. Grab that hairdryer of yours and set it on high heat. Hold it a few inches away from the glue residue and keep it moving constantly. The heat will work its magic by softening the glue, making it easier for you to scrape off. Just be careful not to overheat or scorch the paint – we definitely don’t want any accidental DIY disasters.
Now, I have to be honest with you – removing stubborn glue residue takes time and patience. You may need to repeat these steps several times before achieving victory. But remember, my fellow glue warriors, don’t give up. Keep at it until that glue becomes nothing but a distant memory.
Once you’ve successfully vanquished the stubborn glue, don’t forget to give your surface a good cleaning with warm soapy water. We want to make sure there’s no residue from the adhesive remover hanging around.
And if, despite your valiant efforts, the glue still won’t surrender, it might be time to call in the professionals. They have the skills and tools to tackle even the toughest glue residue without causing any damage.
Cleaning the wall after removing the glue
You have conquered the relentless challenge of removing stubborn wallpaper glue, and now it’s time to restore your walls to their former glory. In this guide, I will unveil my expert tips and tricks on how to clean walls after removing glue, ensuring a pristine canvas for your next renovation adventure. So, grab your cleaning supplies and embark on this transformative journey with me.
Step 1: Evaluate the Paint Type
Before commencing the cleaning process, it is crucial to determine the type of paint used over the glue. Different paints necessitate distinct cleaning methods to safeguard the integrity of your wall. Latex-based paint boasts water-resistance, permitting more aggressive cleaning techniques. Conversely, oil-based paint calls for gentler approaches to prevent damage.
Step 2: Assemble Your Arsenal
To guarantee triumph in your cleaning mission, gather the essential materials beforehand. Equip yourself with a bucket, warm water, mild detergent or dish soap, a soft cloth or sponge, a scraper or putty knife, and potentially additional cleaning products for stubborn residue.
Step 3: Invigorate with Soapy Water
Fill your bucket with warm water and add a small amount of mild detergent or dish soap. Immerse your sponge or soft cloth in this invigorating elixir and gently scrub the wall in circular motions. Begin from the top and gracefully descend to avoid unsightly streaks.
Step 4: Conquer Stubborn Residue
Should certain spots defy your soapy water’s persuasive powers, it’s time to bring out the heavy artillery. Employ a scraper or putty knife with finesse to vanquish any remaining glue. Exercise caution to avoid applying excessive pressure or resorting to sharp blades that may mar the wall surface.
Step 5: Specialized Cleaning Products (if necessary)
For walls that prove to be formidable glue battlegrounds, specialized cleaning products ride in as the cavalry. These adhesive removers are specially formulated to combat stubborn residue. Follow the instructions diligently and conduct a small test in an inconspicuous area before applying it more extensively.
Step 6: Rinse and Revel in Victory
Once you have triumphed over the glue remnants and thoroughly cleansed the wall, rinse it with clean water to eliminate any lingering cleaning solution. Wipe the wall with a damp cloth or sponge, ensuring no traces of cleaning residue remain. Allow your wall to revel in its triumph by drying completely before embarking on the next phase of your renovation.
Priming and repainting the wall
Today, we embark on a transformative journey to restore your walls to their former glory after conquering the relentless challenge of removing stubborn wallpaper glue. Buckle up and prepare to unleash the magic of priming and repainting as we create a pristine canvas for your next renovation adventure.
Step 1: Choosing the Right Primer:
Before diving into the exciting world of primers, take a moment to consider your paint type. Are you going for an oil-based or water-based paint? Select a primer that plays well with your desired paint type to ensure compatibility and a flawless finish.
Step 2: Preparing the Wall:
A clean surface is key to success. Grab a damp cloth or sponge and wipe away any dust or dirt lingering on the wall. Pay extra attention to those trouble spots where glue residue may still be lurking, ensuring they are pristine before moving forward.
Step 3: Primer Application:
The moment has arrived. Start by cutting in around the edges of the wall using a brush, creating a neat border. Then, grab a trusty roller and apply an even coat of primer to the rest of the surface. Be attentive, avoiding streaks or brush marks that could mar your masterpiece.
Step 4: Drying Time:
Patience is a virtue in this process. Allow the primer to dry thoroughly according to the manufacturer’s instructions. This timeframe can vary from a couple of hours to overnight, depending on your chosen primer. Use this time wisely by planning your next steps.
Step 5: Paint Selection:
Now that our primed canvas awaits its transformation, it’s time to choose the perfect paint for your project. Consider factors like desired finish (matte, satin, or glossy) and any specific requirements for your space (e.g., moisture-resistant paint for bathrooms or kitchens).
Step 6: Protect and Paint:
Before diving into the colorful world of paint, take a moment to protect any areas you don’t want to be painted. Safeguard trim and furniture with painter’s tape and drop cloths, ensuring a clean and tidy masterpiece. Begin by cutting in around the edges with a brush and then use a roller to apply the paint evenly across the rest of the surface.
Step 7: Multiple Coats:
Depending on your paint type, you may need to apply multiple coats for full coverage. Remember to let each coat dry completely before applying the next. Follow the manufacturer’s instructions regarding drying times to avoid rushing this crucial step.
Step 8: Finishing Touches:
As you near the end of your journey, remove any painter’s tape and drop cloths with care. Take a moment to inspect your masterpiece for any touch-ups that may be needed, making necessary corrections to ensure perfection.
IpyTzHydVBQ” >
Conclusion
Removing old wallpaper glue that has been painted over can be a challenging task. However, with the right techniques and some patience, you can achieve a clean and smooth surface. Here are some effective methods to help you get rid of that stubborn glue:
Start by preparing your workspace. Lay down drop cloths or plastic sheets to protect your floors and furniture from any potential mess.
Begin the process by scoring the painted surface using a scoring tool or sandpaper. This will create small grooves in the paint, allowing the removal solution to penetrate more effectively.
Next, prepare a mixture of warm water and liquid dish soap in a bucket. Dip a sponge or cloth into the solution and apply it generously to the painted surface. Let it sit for several minutes to soften the glue.
Once the glue is softened, use a putty knife or scraper to gently scrape off as much of the residue as possible. Be careful not to damage the underlying wall or surface.
For any remaining stubborn spots, you can use a commercial wallpaper adhesive remover or try rubbing alcohol or vinegar on a cloth and gently scrubbing the area.
After removing all traces of glue, wipe down the surface with clean water and a sponge to remove any residue from the cleaning solution.
Finally, allow the wall to dry completely before applying new paint or wallpaper.
Remember, this process may require multiple attempts depending on how well-adhered the glue is to the painted surface. Take your time, work methodically, and be patient throughout the process.