You’ve got dried glue on your drywall. Whether it’s the result of a craft project gone haywire or a clumsy spill, tackling dried glue can feel like a sticky situation. But don’t panic. With a few simple steps and some handy tips, you’ll be able to banish that glue and restore your drywall to its former glory.
Before we dive into the removal process, it’s important to note that different types of glue may require slightly different approaches. However, fear not. The following method covers the basics and should work well for most dried glue mishaps.
Step 1: Prepare for battle
Contents
- 0.1 Step 1: Prepare for battle
- 0.2 Step 2: Scrape away the gunk
- 0.3 Step 3: Soften up that mess
- 0.4 Step 4: Gently does it
- 0.5 Step 5: Patience pays off
- 0.6 Step 6: The final touch
- 1 What Kind of Glue is Used?
- 2 Removing Water-Based Glues
- 3 Scraping Away Stubborn Glue
- 4 Using Rubbing Alcohol or Acetone
- 5 Removing Construction Adhesive or Epoxy
- 6 Using Heat to Soften Glue
- 7 Freezing Hot Glue
- 8 Cleaning the Area Thoroughly
- 9 Conclusion
First things first, protect the surrounding areas from collateral damage. Lay down a drop cloth or some old towels to catch any debris or excess glue that might fall during the removal process. And don’t forget to gear up with gloves and protective eyewear – safety first.
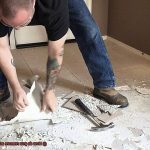
Step 2: Scrape away the gunk
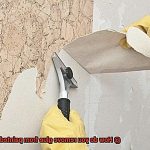
Grab yourself a plastic scraper or putty knife and gently scrape off as much of that stubborn dried glue as you can. Be careful not to go overboard with pressure – we want to save your drywall, not destroy it.
Step 3: Soften up that mess
Now it’s time to soften the glue so it becomes easier to remove. Soak a clean white cloth or sponge with warm water and press it firmly against the dried glue. Let the water work its magic for a few minutes, but make sure not to drown your poor drywall.
Step 4: Gently does it
Once the glue has had its soak, grab another clean cloth or sponge and start rubbing in gentle circular motions. Begin from the outer edges and work your way towards the center – this prevents any smearing or spreading of the dreaded goo.
Step 5: Patience pays off
Removing dried glue requires some patience, especially if it’s been lurking on your drywall for a while. If the glue puts up a fight, soak your cloth or sponge in warm water again and repeat the rubbing process. And remember, take breaks if you need to – we don’t want any tired hand muscles here.
Step 6: The final touch
Congratulations. You’ve conquered the dried glue monster. Now, give the area one last wipe with a clean, damp cloth to remove any residue. If you want to go the extra mile, use a mild detergent solution for an extra thorough clean. And before you move on to
What Kind of Glue is Used?
Glue is an essential component in drywall applications, serving various purposes such as hanging wallpaper and constructing structures. However, different types of glues are used for different purposes, each with unique properties and removal methods. In this comprehensive guide, we will explore the various types of glues used on drywall, their characteristics, and effective removal techniques.
Types of Glues Used on Drywall:
Construction Adhesive:
- Formulated with strong adhesives like polyurethane or epoxy.
- Provides exceptional strength and durability for heavy-duty bonding.
- Challenging to remove once dried; may require specialized removal techniques.
Wallpaper Adhesive:
- Water-based adhesive designed specifically for wallpaper hanging.
- Becomes sticky when wet and dries clear.
- Easier to remove as it is water-soluble; can be done with warm water and gentle scraping.
Wood Glue:
- Commonly used in woodworking projects to bond wood pieces.
- Made from resin and water; sets by drying out and hardening.
- Can be removed with water and scraping, but may leave residue.
Craft Glue:
- Water-based adhesive used in arts and crafts projects.
- Dries clear when fully cured.
- Often removable by soaking in warm water or using rubbing alcohol.
Super Glue:
- Fast-drying, strong adhesive that bonds quickly to various materials.
- Removing dried super glue can be challenging; may require acetone or specialized remover.
Effective Removal Techniques:
Water-Based Glues (White Glue, Wallpaper Adhesive, Craft Glue):
- Soften the glue with warm water and dish soap; gently rub with a soft cloth or sponge.
- For stubborn residue, use rubbing alcohol or acetone on a clean cloth or cotton ball.
Construction Adhesive and Epoxy:
- Heat the glue using a heat gun or hairdryer on low heat to soften it.
- Scrape off the softened glue with a plastic scraper or putty knife.
Hot Glue:
- Freeze the glue by placing an ice pack or ice cubes over it.
- Once hardened, peel off or scrape away the glue with a plastic scraper.
Removing Water-Based Glues
Accidents happen, especially during DIY projects. If you find yourself with water-based glue spilled on drywall or remnants of wallpaper glue that need to be removed, fear not. With the right approach and techniques, you can tackle this sticky situation effectively. In this blog post, we’ll guide you through a step-by-step process of removing water-based glues from drywall, ensuring a clean and damage-free surface.
Step 1: Gather Your Materials:
Before diving into glue removal, make sure you have the necessary tools at hand. You’ll need a plastic scraper or putty knife for gentle scraping, warm water, mild detergent or dish soap for creating a soapy mixture, a sponge or cloth for dabbing and soaking, and a bucket for mixing the solution. Additionally, protect surrounding areas with drop cloths or newspapers to prevent any accidental damage or staining.
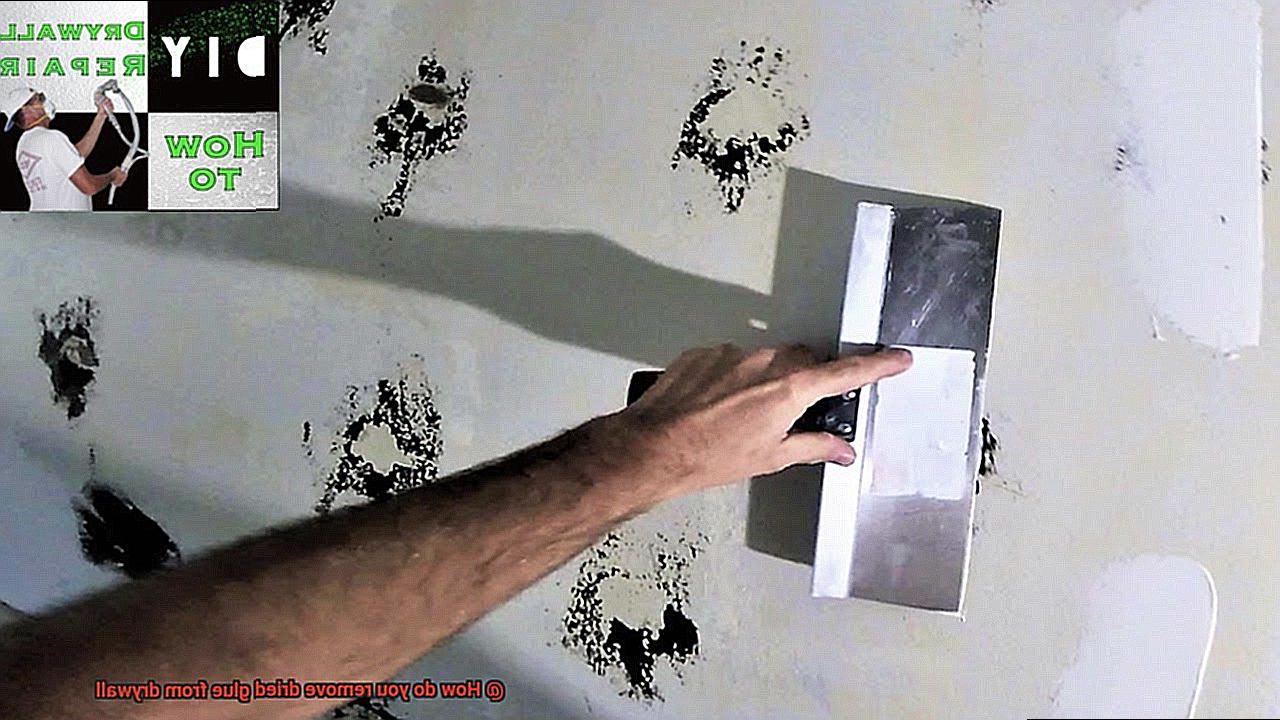
Step 2: Scrape Off Excess Glue:
Using a plastic scraper or putty knife, gently scrape off as much dried glue as possible. Be careful not to damage the drywall surface while doing this. Take your time and work at a slight angle to avoid scratching the wall.
Step 3: Create a Soapy Mixture:
Prepare a solution of warm water and mild detergent or dish soap in a bucket. Mix it well to create a soapy mixture. The soapy water will help soften and loosen the glue for easier removal.
Step 4: Dab and Soak:
Dip a sponge or cloth into the soapy water, wring out any excess liquid, and gently dab the affected area. Allow the soapy water to penetrate the glue for a few minutes, softening it further and making it easier to remove. Take breaks as needed to let the solution work its magic.
Step 5: Scrape Again:
After letting the soapy water sit for a few minutes, use your plastic scraper or putty knife to scrape off any remaining glue. The softened glue should come off more easily at this point. Use gentle, controlled motions to avoid damaging the drywall.
Step 6: Repeat if Necessary:
For stubborn remnants of glue, repeat the process of applying the soapy water and allowing it to sit before scraping again. Persistence is key. Take your time and be thorough to ensure all traces of glue are removed.
Step 7: Rinse and Dry:
Once all the glue has been removed, rinse the area with clean water using a sponge or cloth to remove any soap residue. This will reveal a pristine drywall surface. Wipe dry with a clean cloth or allow it to air dry.
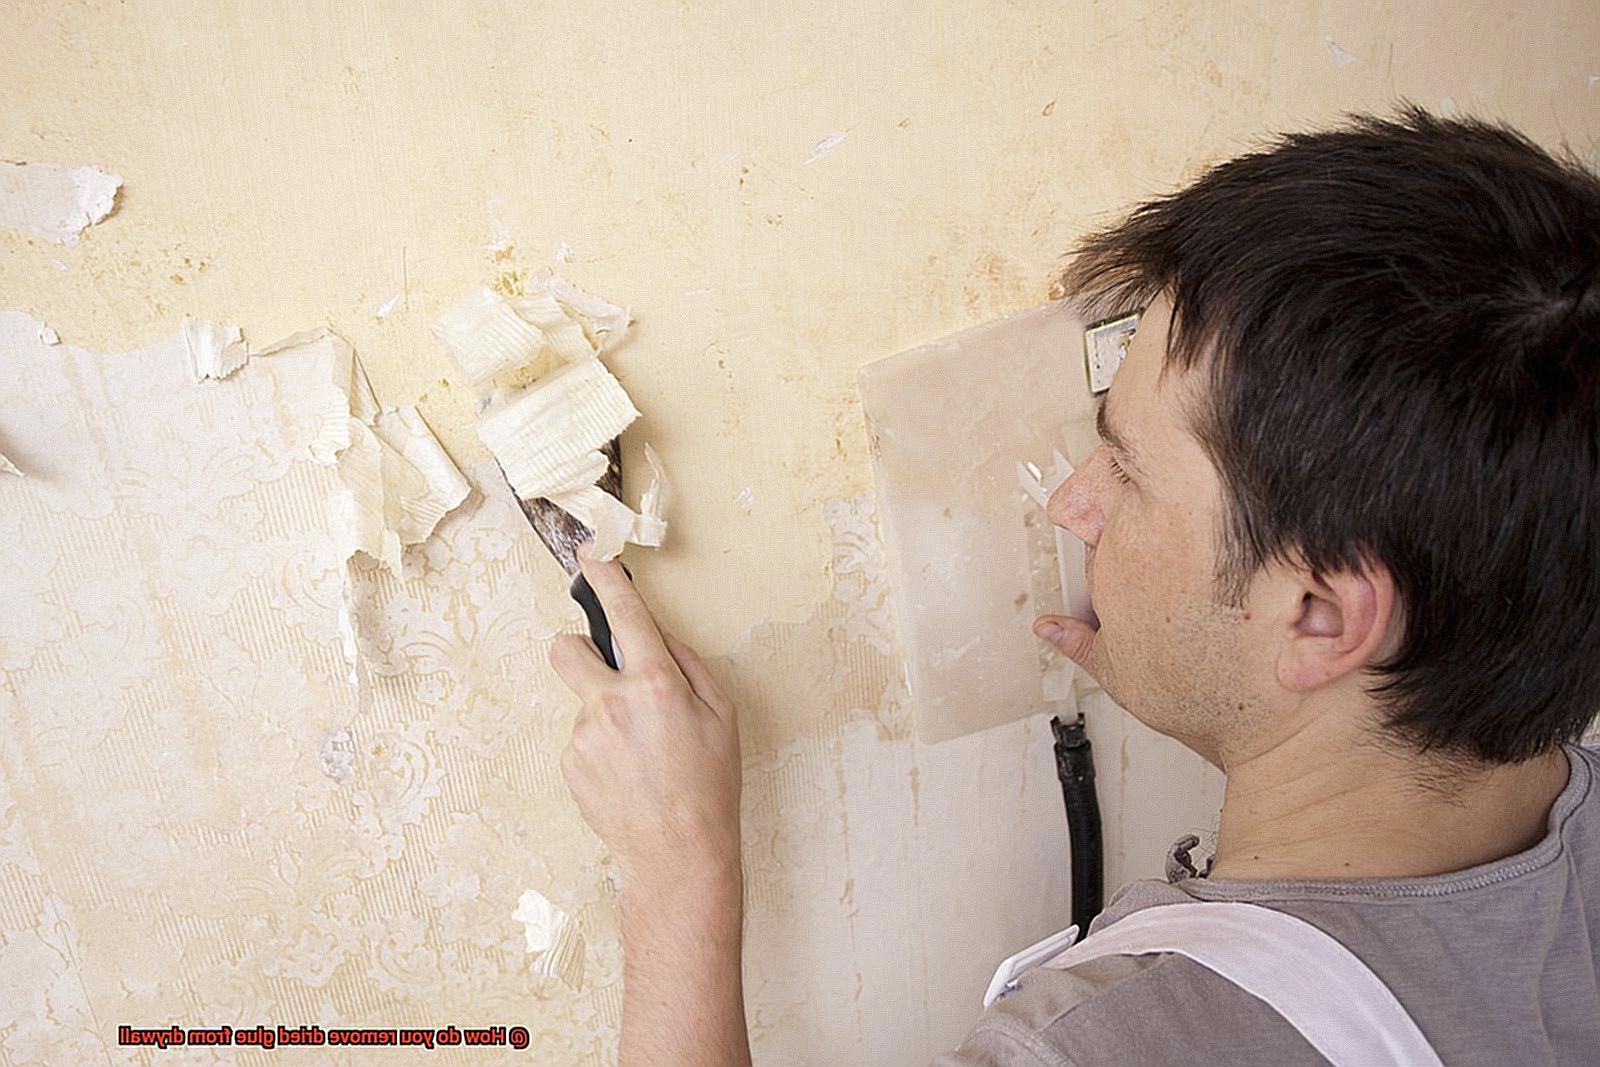
Scraping Away Stubborn Glue
We’ve all been there – that frustrating moment when you peel away tape or remove a sticker, only to be left with stubborn glue residue on your drywall. But fear not. In this guide, we’ll walk you through the steps and precautions to take when scraping away that pesky glue, ensuring your drywall remains unscathed.
Step 1: Gather your tools
Before diving into the scraping process, make sure you have the necessary tools at hand. A putty knife or scraper with a sharp edge will do the trick. Remember, we want to scrape away the glue, not damage the drywall. Also, keep a container nearby to collect the scraped-off glue and prevent it from spreading.
Step 2: Ensure the glue is completely dry
Patience is key here. Before even thinking about scraping, ensure that the glue is fully dried. Attempting to scrape off wet or tacky glue will only make matters worse, spreading it further and causing unnecessary frustration.
Step 3: Gently press and scrape
It’s time to put that scraper to work. With gentle pressure and a low angle, press the edge of the scraper against the dried glue. Slowly move the scraper across the glue, lifting it gradually without digging into the drywall. Remember, perseverance pays off.
Step 4: Soften stubborn glue
If the dried glue refuses to budge, don’t panic. We have a couple of tricks up our sleeves. One option is to apply heat using a hairdryer or heat gun set on low. The heat will soften the glue, making it easier to scrape off. Alternatively, commercial adhesive removers or DIY solutions using warm water and vinegar or dish soap can also do wonders in breaking down stubborn glue.
Step 5: Clean up and finish strong
After successfully scraping away the dried glue, it’s time for a victory lap. But wait – we’re not done just yet. Thoroughly clean the area using a damp cloth or sponge to remove any remaining residue or adhesive remover. Allow the drywall surface to dry completely before moving forward with any further repairs or finishing touches.
Using Rubbing Alcohol or Acetone
Imagine completing a DIY project only to find stubborn dried glue stains on your drywall. Don’t worry. This blog post will show you how to use two household solvents, rubbing alcohol and acetone, to tackle this common problem. Get ready to conquer that dried glue with your trusty putty knife.
Rubbing Alcohol – The Gentle Warrior
- Rubbing alcohol introduction and versatile uses
- Materials needed: rubbing alcohol, soft cloth or sponge
- Dampen cloth/sponge with rubbing alcohol
- Gently dab the affected area to loosen the glue
- Let rubbing alcohol sit for a few minutes
- Use scraper or plastic putty knife to gently scrape away softened glue
- Repeat if necessary
Acetone – The Mighty Dissolver
- Acetone introduction and adhesive-dissolving properties
- Materials needed: acetone, soft cloth or sponge
- Dampen cloth/sponge with acetone
- Gently dab the affected area to dissolve the glue
- Allow acetone to sit for a few minutes
- Use scraper or plastic putty knife to gently scrape away softened glue
- Repeat if needed
Safety First – Precautions and Tips
- Emphasize safety precautions due to flammability of solvents
- Work in well-ventilated area, away from open flames/sparks
- Perform spot test on inconspicuous area before applying solvent
- Avoid excessive pressure while scraping to prevent damage
Removing Construction Adhesive or Epoxy
Have you ever found yourself in a battle against stubborn dried glue stains on your drywall? Fear not. We have the ultimate guide to help you conquer those unsightly remnants of construction adhesive or epoxy and restore your walls to their former glory. In this comprehensive guide, we will walk you through the step-by-step process of removing construction adhesive or epoxy from drywall, including the necessary tools, techniques, and safety precautions.
Assessing the Condition and Gathering the Tools:
Before embarking on the removal process, it is crucial to assess the condition of your drywall. If the glue is still wet or tacky, exercise patience and wait until it fully dries before attempting removal.
To effectively remove construction adhesive or epoxy, gather the following tools:
Heat gun or hairdryer – to soften stubborn glue for easier removal.
Rubbing alcohol or adhesive remover – for eliminating any lingering residue.
Rag or sponge – to apply rubbing alcohol or adhesive remover and gently rub off residue.
Sandpaper – for buffing away any remaining glue remnants.
The Battle Begins: Scraping Away Dried Glue
Once you have prepared your arsenal of tools, it’s time to dive into battle. Begin by using a putty knife or scraper to gently scrape away as much of the dried glue as possible. Be cautious not to apply excessive force, as we want to fix the glue stains rather than create new ones.
Conquering Stubborn Glue: The Power of Heat
If the dried glue refuses to budge, fear not. It’s time to bring out the big guns – heat. Grab your trusty heat gun or hairdryer and hold it a few inches away from the glue. Apply heat for a few seconds, allowing the glue to become more pliable and easier to scrape off. Witness the victory as the stubborn remnants surrender.
Eliminating Lingering Residue: Rubbing Alcohol or Adhesive Remover to the Rescue
Now that you have successfully removed as much glue as possible, it’s time to tackle any lingering residue. Enter stage right: rubbing alcohol or adhesive remover. Apply a small amount of either substance onto a rag or sponge and gently rub the residue until it loosens and comes off. Watch in awe as those stubborn remnants vanish like magic.
The Final Touch: Buffing Away Remaining Glue
If traces of glue still persist, don’t despair. Grab your trusty sandpaper and gently buff away the remaining residue. Remember to use a fine-grit sandpaper and be cautious not to damage the drywall surface. With perseverance and care, those last remnants of glue will disappear, leaving your drywall clean and pristine.
Using Heat to Soften Glue
We have just the solution for you – using heat to soften and remove glue from drywall surfaces. It’s like a superhero swooping in to save the day.
Heat is a commonly used method to soften and remove dried glue from drywall surfaces. The heat helps break down the adhesive properties of the glue, making it easier to remove. Fortunately, you don’t need any fancy equipment for this task – a trusty hairdryer or a heat gun will do the trick.
Before you start, make sure your drywall surface is clean and clear of any loose debris or dust. Give it a gentle wipe with a damp cloth to ensure a smooth canvas for your glue-removing adventure.
Now, get ready to unleash the power of heat. Hold your hairdryer or heat gun a few inches away from the glued area and keep that hot air flowing. Remember, constant movement is key to avoid any damage to your precious drywall.
As the glue heats up, it will start to soften and become more pliable. This is when you can grab your plastic putty knife or any other similar tool and carefully scrape off the softened glue. Take your time and be patient – we don’t want any accidental gouges or damages here.
If the glue doesn’t come off easily, don’t fret. Just apply a little more heat and repeat the process until you’ve conquered every last trace of glue.
Now, here’s a pro tip for you – before going all-in with that heat, test a small inconspicuous area first. Some types of drywall paint or wallpaper can be sensitive to excessive heat and may end up discolored or damaged. Better safe than sorry, right?
Once all the glue is gone, it’s time for some final touches. Any residue left behind can be easily cleaned using a mild detergent solution and a clean cloth. Give it a gentle scrub in circular motions to lift off any sticky remnants. Then, rinse the area with clean water and let it dry completely before you move on to any repairs or painting.
Freezing Hot Glue
We’ve all experienced it – a little too much hot glue here, a misplaced blob there, and suddenly our once pristine drywall is marred with dried glue. But fear not. We have an ingenious solution that combines the power of freezing and hot glue to save the day. Get ready to bid farewell to those stubborn glue stains with this simple and effective technique.
The Freezing Method:
Are you ready to tackle those unsightly glue stains? Here’s what you’ll need: a plastic bag or freezer bag, and ice cubes or an ice pack. It’s time to take action.
Gather your supplies and place the ice cubes or pack inside the bag.
Seal the bag tightly, ensuring no water can escape.
Position the bag directly on top of the dried hot glue on your drywall, making sure it has good contact.
Let the magic happen. Leave the bag in place for at least 30 minutes, allowing the glue to freeze and weaken its bond.
The Removal Process:
Now it’s time to reveal the frozen hot glue and banish it from your walls forever.
Carefully remove the bag, exposing the frozen glue.
Armed with a plastic scraper or putty knife, gently begin scraping off the frozen glue from the drywall.
Remember to use a light touch and avoid sharp tools that could damage your wall surface.
If necessary, repeat the freezing and scraping process until every last bit of dried glue is gone.
Finishing Touches:
To ensure a flawless finish, follow these steps:
Clean any residue left behind on your wall using a mild detergent mixed with warm water and a soft cloth.
Give the area a gentle scrub to eliminate any remnants of glue.
Don’t forget to test a small inconspicuous area before proceeding with the full removal process, especially if you’re unsure about your drywall’s compatibility.
Cleaning the Area Thoroughly
When it comes to cleaning an area thoroughly, attention to detail is essential. Whether you’re dealing with dried glue stains on drywall or any other stubborn marks, a systematic approach will ensure effective results. In this comprehensive guide, we will walk you through the necessary steps and techniques to clean an area thoroughly, leaving it fresh and spotless.
Step 1: Assess the situation
Before diving into the cleaning process, take a moment to assess the area. Identify the type of stain and determine the appropriate cleaning method. Different stains may require specific solutions or tools for optimal results.
Step 2: Gather your supplies
To clean an area thoroughly, gather all the necessary supplies beforehand. This may include cleaning agents such as mild detergents, disinfectants, or specialized stain removers. Additionally, gather tools like microfiber cloths, scrub brushes, sponges, and buckets to facilitate the cleaning process.
Step 3: Clear the area
Remove any objects or debris from the area you plan to clean. This ensures that you have full access and visibility to effectively address every nook and cranny.
Step 4: Dust and vacuum
Start by removing loose dust and dirt from the area. Use a microfiber cloth or a duster to wipe surfaces, paying close attention to corners and crevices. Follow up with a thorough vacuuming to eliminate any remaining debris.
Step 5: Pre-treat stains
For stubborn stains, pre-treatment is often necessary. Apply the appropriate cleaning solution directly to the stained area and let it sit for a few minutes. This allows the solution to penetrate and break down the stain for easier removal.
Step 6: Scrub and rinse
Using a scrub brush or sponge, gently scrub the stained area in circular motions. Apply moderate pressure while being mindful not to damage delicate surfaces. Rinse the area with clean water to remove any residue and cleaning solution.
Step 7: Sanitize and deodorize
To ensure a truly thorough clean, sanitize the area using a disinfectant. This helps eliminate bacteria and germs that may be present. Additionally, consider using deodorizing agents or air fresheners to leave the area smelling fresh and clean.
Step 8: Dry and inspect
Allow the area to air dry or use clean towels to expedite the drying process. Once dry, carefully inspect the cleaned surface to ensure that no stains or residue remain. Address any missed spots or lingering marks promptly.
1Cpm4iHxeQw” >
Also Read: How to Remove Gorilla Glue from Wall?
Conclusion
Removing dried glue from drywall can be a challenging task, but with the right techniques and tools, it can be done effectively.
One method is to start by scraping off as much of the dried glue as possible using a putty knife or scraper. Be careful not to damage the drywall surface while doing this.
After scraping, you can try using heat to soften the glue. A hairdryer or heat gun can be used to warm up the glue, making it easier to remove.
Once softened, gently scrape off any remaining residue. Another option is to use a solvent or adhesive remover specifically designed for removing glue.
Apply the solvent to the affected area and let it sit for a few minutes to allow it to penetrate the glue. Then, using a clean cloth or sponge, gently rub away the softened glue until it is completely removed.
It may take some time and effort, but with patience and persistence, you can restore your drywall to its original condition.