Ever found yourself in a sticky situation, literally? Dried glue wreaking havoc on your prized possessions? Whether it’s an accidental spill on your favorite shirt, a gunky residue on your kitchen countertops, or a craft project gone haywire, removing dried glue can be a maddening task. But fret not. We’ve got the ultimate guide to save the day and restore your items to their former glory.
Imagine this: You’ve just completed a creative masterpiece, only to find your fingers glued together in an epic battle against an unyielding adhesive. While many of us might instinctively resort to aggressive pulling and scraping, it often results in damage or discoloration. But fear not. There are safer and more effective methods for removing dried glue without causing harm.
In this captivating journey, we’ll explore tried-and-true techniques endorsed by experts to conquer dried glue once and for all. Say goodbye to those unsightly patches and hello to a world where stubborn glue holds no power.
Throughout this blog post, we’ll dive deep into the plethora of solutions at your disposal. From household heroes like vinegar and baking soda to specialized commercial products, we’ll uncover the secret formula for successfully eliminating dried glue from various surfaces and materials. Leather, fabric, glass, wood – no matter the canvas, we’ve got you covered.
So whether you’re a parent dealing with endless art projects or a craft enthusiast seeking perfection, buckle up and prepare to unravel the mystery of dried glue removal. Get ready to bid farewell to those pesky stains and rediscover the joy that comes with restoring your cherished possessions flawlessly.
Don’t let dried glue hold you hostage any longer – let’s dive in together and discover how it disappears like magic.
Using Solvents or Adhesive Removers
Contents
Dried glue can be a stubborn foe, but fear not. There are powerful weapons in the form of solvents and adhesive removers that can help you conquer this sticky situation. In this comprehensive guide, we will delve into the world of solvents and adhesive removers, exploring their effectiveness and providing invaluable tips for successful glue removal.
Harnessing the Magic of Solvents and Adhesive Removers:
- Solvents and adhesive removers are remarkable concoctions designed to dissolve adhesives, effectively freeing surfaces from the clutches of dried glue.
- These potent products work by cunningly breaking down the adhesive properties of glue while safeguarding the integrity of the surface.
Selecting the Perfect Potion:
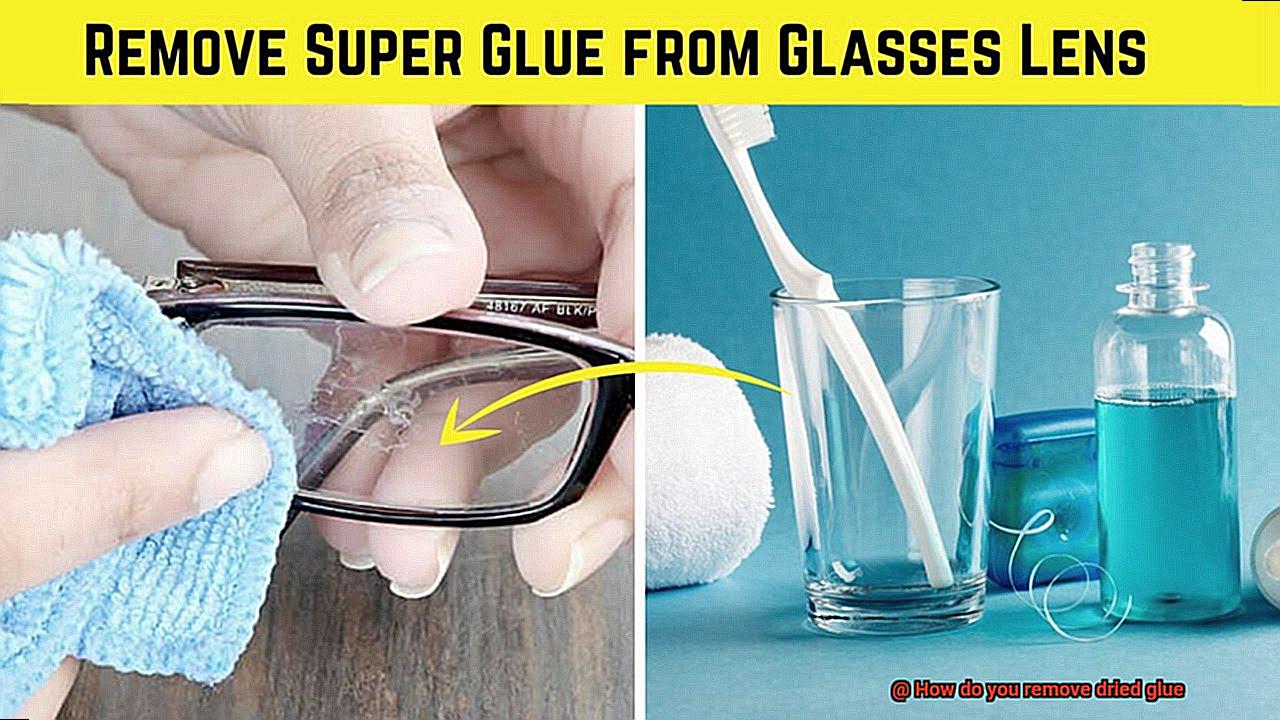
- Acetone, a prominent ingredient in nail polish removers, is a go-to choice for eliminating glue from non-porous surfaces like glass or metal. However, exercise caution as it can pose a threat to certain materials such as plastic or painted surfaces.
- For a gentler alternative, turn to rubbing alcohol or isopropyl alcohol. This versatile solution can battle against dried glue on countertops, tiles, or laminate floors, albeit with a bit more time and effort required for complete dissolution.
- Goo Gone, a household name in adhesive removal, boasts a formulation that revolves around citrus-based ingredients. With its ability to break down adhesive properties without causing harm, it is a reliable partner in your quest for glue eradication.
The Art of Proper Application:
- To achieve victory over dried glue, dutifully follow the instructions provided by the manufacturer when utilizing solvents or adhesive removers.
- Armed with a clean cloth or sponge, gently massage the affected area in circular motions—this technique ensures maximum effectiveness.
- Remember that patience is a virtue; multiple applications may be necessary to fully vanquish the stubborn glue.
Safety: Your Shield of Protection:
- When engaging in battle with solvents or adhesive removers, always prioritize safety.
- Seek refuge in a well-ventilated area to shield yourself from the potent fumes that may arise.
- Donning gloves and eye protection is strongly advised, fortifying your defense against potential skin and eye irritations.
Applying Heat
In our relentless quest to liberate surfaces from the clutches of sticky residue, we’ve explored the enchantment of solvents and adhesive removers. But now, it’s time to turn up the heat.
Brace yourselves, for applying heat is about to revolutionize your fight against dried glue. Grab your hairdryers, heat guns, and irons (set on low), as we embark on a scorching journey into the world of heat application.
The Science Behind It:
Before we dive headfirst into the mesmerizing realm of heat, let’s first understand its magical workings. Glue is a cunning concoction of polymers designed to bond and harden upon exposure to air or moisture.
However, by applying heat, we can unravel its spellbinding grip. The warmth melts away the glue’s stubbornness, allowing it to be effortlessly banished from various surfaces. Prepare to witness the power of melting away those sticky frustrations.
Consider the Surface and Glue Type:
But before you unleash the fiery forces upon your nemesis, there are two crucial factors to consider: the surface and the type of glue used. Each material possesses its own tolerance for heat, and excessive temperatures can spell disaster.
So, proceed with caution. Delicate surfaces like wood or plastic require a gentle touch – opt for lower heat settings and perform a trial run on an inconspicuous area. After all, we wouldn’t want to trade sticky glue for unsightly scorch marks.
The Heat Arsenal:
Now that we’ve armed ourselves with knowledge, let’s explore the formidable heat sources at our disposal. Behold, these weapons in our arsenal hold unique benefits:
- Hairdryer: This trusty companion is a versatile ally in your battle against dried glue. Set it ablaze on high and keep it in constant motion, sweeping away any chance of localized damage. The warm current of air gracefully envelops the glue, coaxing it to soften without harm.
- Heat Gun: When confronted with a thicker layer of dried glue, the heat gun emerges as your savior. Its fiery intensity matches your determination, but remember to keep it in motion to prevent unintended destruction. With its fierce heat output, the heat gun conquers even the most stubborn glue messes.
Using a Razor Blade or Scraper
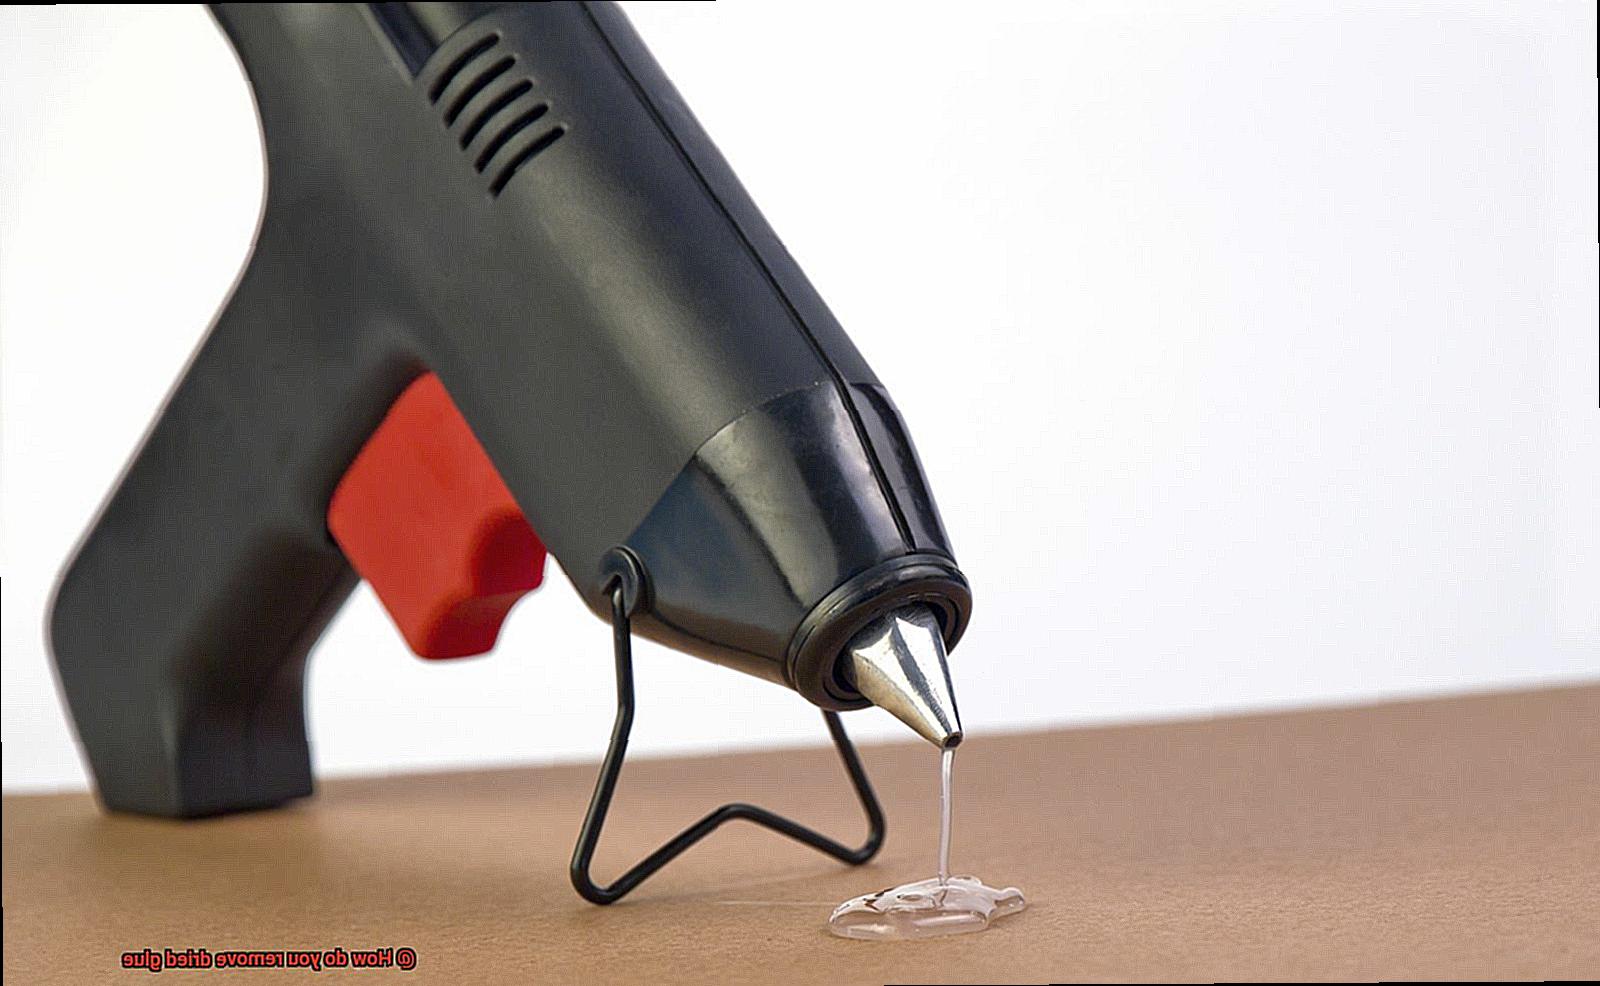
Glue spills and mishaps can turn your beautiful surfaces into sticky nightmares. But fear not. In this guide, we will embark on a journey to uncover the secrets of using a razor blade or scraper to conquer dried glue and restore your surfaces to their former glory. Get ready to become a master of glue removal.
The Right Tools for the Job:
Before we dive into the world of glue removal, let’s gather our arsenal. A sharp razor blade or scraper is the key to unlocking success. Ensure it is pristine, free from debris, and ready to unleash its power.
The Technique:
- Angle is Everything: Hold your blade or scraper at a slight angle, almost parallel to the surface. This strategic positioning allows you to slide underneath the dried glue with finesse, avoiding any harm.
- Apply Gentle Pressure: Embrace your inner gentle giant as you apply light pressure and slowly scrape away the glue. Remember, there’s no need for brute force here – a delicate touch will do wonders.
- One Direction Only: To prevent the dreaded glue smearing and creating chaos, move your blade or scraper in one determined direction. This ensures a precise and clean removal that will leave you feeling victorious.
Conquering Stubborn Glue:
Sometimes, even the mightiest glues require extra persuasion. If you find yourself facing an adhesive worthy of a challenge, moisten it slightly with warm water or a cleaning solution. This act of kindness softens the glue’s grip, making it easier to bid farewell. However, exercise caution with liquids on certain surfaces, as they may betray you with damage or discoloration.
Surfaces that Deserve Special Attention:
While the razor blade or scraper technique reigns supreme on hard surfaces like glass, metal, or countertops, not all materials can handle its mighty edge. Delicate surfaces like wood or painted finishes demand a gentler touch. Test a small, inconspicuous area first to ensure your actions do not cause unintended harm.
Safety First:
When it comes to wielding sharp tools, safety must take center stage. Don your protective gloves, shielding your hands from potential injuries. Keep your fingers at a safe distance from the blade and handle it with the utmost care. Let’s avoid any glue-related mishaps and emerge triumphant.
Utilizing Household Items
Prepare to triumph over the dreaded dried glue dilemma with the incredible abilities of ordinary household items. These unsung heroes possess the power to dissolve and remove stubborn glue, yet often go unnoticed. Unlock the secrets of vinegar, rubbing alcohol, baking soda, and cooking oil as we embark on a mission to rescue your surfaces. Let’s join forces and emerge victorious in the battle against dried glue.
Vinegar: The Acid Avenger
Harness the versatile cleaning prowess of vinegar to conquer dried glue. Its acidic properties will break down the glue’s chemical bonds, effortlessly restoring your surfaces. Follow these steps to harness vinegar’s power:
- Immerse a cloth or sponge in vinegar.
- Apply it to the affected area and allow it to penetrate for a few minutes.
- Employ a brush or sponge to gently scrub the area.
- Repeat these steps until every trace of glue is dissolved and removed.
Rubbing Alcohol: The Solvent Savior
Unleash the adhesive-dissolving solvents of rubbing alcohol and witness dried glue vanish before your eyes. Embrace its remarkable capabilities through these simple actions:
- Soak a cotton ball or cloth in rubbing alcohol.
- Apply it to the glued surface, granting the alcohol time to break down the glue.
- Employ a brush or sponge to gently scrub away the remnants of glue.
- Repeat this process as necessary until all traces of adhesive are eradicated.
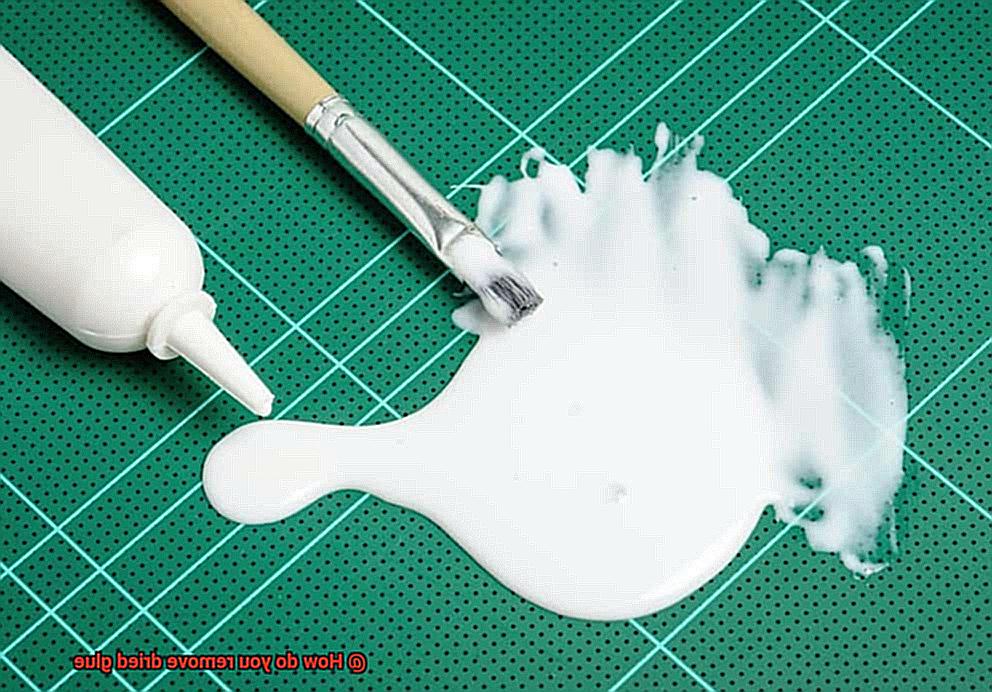
Baking Soda: The Abrasive Avenger
Baking soda is renowned for its culinary talents, but its abrasive powers can also triumph over dried glue. Safely scrub away the stubborn remnants of glue with these steps:
- Create a paste-like consistency by combining baking soda with water.
- Apply this potent mixture to the glued area, allowing it to settle for a few minutes.
- Engage a brush or sponge to gently scrub the surface.
- Rinse the area with water, ensuring all residue is removed.
Cooking Oil: The Adhesive Assassin
Prepare for a surprising ally in your quest against dried glue – cooking oil. This unexpected hero possesses the skills to dismantle adhesive properties, ensuring effortless removal. Follow these steps to harness the power of cooking oil:
Soaking in Warm Soapy Water
As a glue removal expert, I am thrilled to unveil the secret weapon in your arsenal: soaking in warm soapy water. Get ready to bid farewell to stubborn glue stains and restore your surfaces to their former glory with this magical method.
The Magic Behind Soaking in Warm Soapy Water:
Prepare to be amazed by the science behind this simple yet effective solution:
Loosening the Grip:
Dried glue doesn’t stand a chance against the power of warm water. Its gentle heat loosens the adhesive properties, making removal a breeze. Get ready to witness the transformation as that stubborn glue begins to let go.
Soap: The Glue’s Worst Nightmare:
Adding soap to the warm water solution takes the removal process to a whole new level. Soap works tirelessly to break down oils and residue, ensuring no trace of glue is left behind. Say goodbye to sticky nightmares.
The Step-by-Step Guide to Glue-Free Surfaces:
Step 1: Prepare Your Soaking Sanctuary:
Create your ultimate soaking station by filling a basin or sink with comfortably warm water. Remember, we’re aiming for warmth, not scalding temperatures. Enhance the power of your solution by adding a small amount of mild dish soap or laundry detergent. Leave harsh chemicals and abrasive cleaners behind, as they can cause more harm than good.
Step 2: Dive into the Soapy Oasis:
Gently place the item with dried glue into the soapy water, allowing it to luxuriate in its newfound haven. Let it soak for at least 30 minutes, allowing time for the magic to work its wonders. For stubborn or larger glue stains, extend the soaking time and watch as the glue’s grip weakens.
Step 3: Embrace the Gentle Scrub:
After the glorious soak, it’s time to take action. Armed with a soft brush or sponge, embark on a gentle scrubbing session. Be cautious and apply just the right amount of pressure, especially when dealing with delicate fabrics. We’re aiming for glue removal, not collateral damage.
Effectiveness of Different Methods
Fear not, for we have the key to freedom. In this enlightening exploration, we will delve into the realm of glue removal methods and uncover their varying degrees of effectiveness. Prepare yourself for a journey filled with short sentences, vivid language, and a treasure trove of sub-topics and lists. Let’s liberate ourselves from sticky situations together.
Method 1: The Fiery Embrace of Heat
Embrace the power of heat as your ally in the battle against dried glue. Unleash the scorching might of a hairdryer or heat gun upon the adhesive enemy, rendering it pliable and easily scraped off or wiped away. But beware, not all glues yield to the sizzling touch of heat. Test its power on a small area before engaging in full-scale warfare.
Method 2: Chemical Warriors to the Rescue
When heat fails to vanquish your adhesive foe, call upon the mighty chemical warriors to join your crusade. Specialized solvents and chemicals stand ready to break down the adhesive properties of glue, making removal a breeze. However, tread with caution, as some solvents may be harsh and pose a threat to certain surfaces. Test their loyalty on a hidden corner before unleashing their power.
Method 3: Embrace Your Inner Warrior
Sometimes, victory lies in getting your hands dirty. Channel your inner warrior as you engage in mechanical combat against dried glue. Arm yourself with a trusty putty knife or scraper for scraping away the hardened enemy. Should the battle escalate, wield sandpaper or an abrasive tool for sanding away stubborn layers of glue. Remember, this method demands patience and perseverance.
Factors to Consider:
As you embark on your quest for glue removal, consider these crucial factors. The type of glue and the surface material hold the key to determining the most effective method. Furthermore, the length of time the glue has languished in its dried state influences its tenacity and resistance to removal. Fear not if one method falters, for alternative approaches await your command.
Taking Necessary Precautions
As we embark on our mission to conquer the stubborn stickiness of dried glue, let us never underestimate the importance of taking necessary precautions. Just like any battle, handling glue removers and solvents requires careful consideration to ensure a triumphant outcome. So, gear up with your gloves, don your protective eyewear, and let’s delve into the world of safety measures.
Protect Your Skin:
First and foremost, we must shield our hands from the potential harm that glue removers and solvents can inflict on our delicate skin. Donning a pair of sturdy gloves not only acts as a barrier against direct contact but also empowers us to fearlessly tackle any adhesive challenge that comes our way.
Embrace Fresh Air:
Inhale courage, exhale caution – but definitely not the fumes from glue removers. It is crucial to work in a well-ventilated area to safeguard our respiratory well-being. By opening windows or utilizing a fan, we can disperse those pesky odors and ensure proper air circulation. Remember, fresh air is the wind beneath our wings.
Shield Those Beautiful Eyes:
As we embark on this adhesive eradication journey, let us not overlook the importance of protecting our precious peepers. Whether dealing with potent glue removers or wielding tools like scrapers, wearing protective eyewear becomes an indispensable shield against accidental splashes or debris, preserving our vision’s pristine clarity.
Follow Your Guidebook:
Every hero needs a trusty guidebook, and similarly, every glue removal endeavor requires careful adherence to instructions. Before embarking on this noble quest, take a moment to read and follow the guidance provided on your chosen glue remover’s packaging. Each product may unveil specific safety precautions tailored to ensure effective and secure removal.
Test, Test, Test:
Now, it’s time to unveil a sneak peek before diving headfirst into the battle. Prioritize the well-being of your material by conducting a small, inconspicuous area test with the glue remover or solvent. By doing so, we can prevent potential discoloration, damage, or adverse reactions. Remember, an ounce of prevention is worth a pound of cure.
Seeking Professional Help
Before you embark on a solo mission, consider this: sometimes, it’s best to leave it to the pros. While DIY methods have their time and place, certain scenarios call for the expertise and arsenal of a professional. In this captivating blog post, we’ll explore why seeking professional help is crucial when it comes to removing dried glue.
Delicate Surfaces:
Imagine delicate surfaces, like antique furniture, valuable artwork, or fragile fabrics, tainted with dried glue. Attempting to remove it yourself could unleash havoc and irreversible damage. That’s when professionals step in as the glue whisperers. Their extensive knowledge and experience guarantee the safe eradication of glue without causing a single blemish. Preserve your cherished possessions and trust the experts.
Industrial Strength Glue:
We’ve all encountered those Herculean glues that defy all odds. Epoxy or industrial adhesives can be a real menace to eliminate. Conquering these mighty glues demands more than brute force; it requires specialized solvents and techniques. Fear not, for professional cleaners and technicians possess the secret formulas and battle-tested procedures needed to vanquish these formidable foes.
Extensive or Large Areas:
Picture an expansive landscape covered in a daunting sea of dried glue. It’s enough to make even the bravest soul quiver. Don’t let the glue overwhelm you; instead, enlist the aid of professional warriors. Armed with cutting-edge equipment and an army of skilled experts, they’ll wage war against the glue with unparalleled efficiency. Witness the triumph of thoroughness and perfection.
Safety Concerns:
Did you know that certain glues house toxic chemicals or release harmful fumes when disturbed? It’s a health hazard waiting to strike if not handled with care. Professionals are the guardians of safety, trained to navigate hazardous substances unscathed. Clad in protective gear and armed with ventilations systems, they minimize any potential health risks during the glue removal process. Protect yourself and let the professionals take charge.
_59ZzuLJcTw” >
Also Read: How do you remove dried glue from rubber?
Conclusion
Removing dried glue can be a pesky task, but fear not. There are several effective methods to tackle this sticky situation. First and foremost, you’ll want to gather the necessary supplies: a plastic scraper, rubbing alcohol, warm soapy water, and a clean cloth.
To begin the removal process, gently scrape off as much of the dried glue as possible using the plastic scraper. Be careful not to damage the surface underneath. Once you’ve removed the excess glue, it’s time to bring out the big guns – rubbing alcohol.
Douse a clean cloth with some rubbing alcohol and dab it onto the dried glue. Let it sit for a few minutes to allow the alcohol to penetrate and loosen up the adhesive. Then, using firm yet gentle strokes, rub away at the glue until it starts to dissolve.
If rubbing alcohol isn’t readily available, warm soapy water can also do wonders. Mix some mild dish soap with warm water and apply it directly onto the dried glue. Allow it to soak for a few minutes before using your plastic scraper or a soft-bristled brush to scrub away at the stubborn residue.
For particularly stubborn or large areas of dried glue, you may need to repeat these steps multiple times until all traces of adhesive have been successfully removed. Remember to always test any cleaning solution on a small inconspicuous area first to ensure it doesn’t cause any damage or discoloration.
In conclusion, removing dried glue doesn’t have to be an arduous task. With patience and the right tools at hand, you can bid farewell to that sticky mess in no time.

