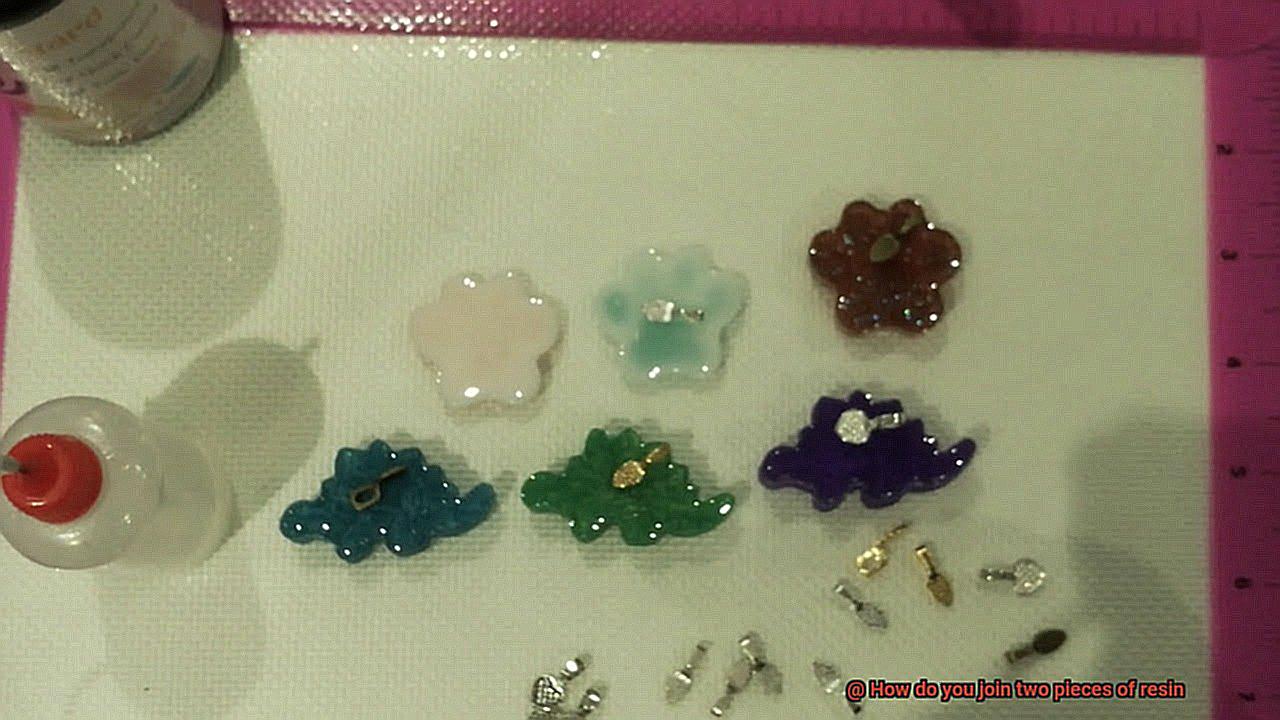
Get ready to embark on an exciting journey into the enchanting realm of joining two pieces of resin. Whether you’re a DIY lover or a seasoned artist, understanding the art of bonding resin opens up a world of endless possibilities for your projects.
Resin, with its mesmerizing colors and glossy allure, has taken the crafting world by storm. From crafting jaw-dropping jewelry to sculpting awe-inspiring art installations, the potential is as vast as your imagination. But here’s the secret sauce: mastering the delicate process of merging two resin pieces flawlessly.
In this interactive guide, we’ll dive headfirst into the captivating world of resin bonding. I’ll spill all my tried-and-true techniques that will take your projects to new heights. Together, we’ll explore different methods and tools needed to achieve sturdy and visually striking resin joints.

So, grab your favorite drink, slip on that trusty crafting apron, and let’s uncover the hidden gems behind creating rock-solid and impeccable resin bonds.
Adhesive Glue: Pros and Cons
Contents
- 1 Adhesive Glue: Pros and Cons
- 2 Heat Bonding: Techniques and Tips
- 3 Solvent Welding: Using Acetone or Methylene Chloride
- 4 Mechanical Fasteners: Screws, Bolts, and Rivets
- 5 Welding: Ultrasonic, Hot Plate, and Laser Welding
- 6 Surface Preparation for Joining Resin Pieces
- 7 Different Types of Resin and Their Bonding Requirements
- 8 Safety Precautions for Working with Resins
- 9 Conclusion
When it comes to bonding resin, adhesive glue is a popular choice due to its simplicity and versatility. However, it’s crucial to weigh the advantages and disadvantages before deciding if adhesive glue is the right method for your project. In this article, we will delve into the pros and cons of using adhesive glue for joining resin.
Advantages of Using Adhesive Glue:
- Ease of Use: Applying glue to resin surfaces is a breeze, requiring minimal equipment or expertise. This convenience makes it a convenient option for both beginners and DIY enthusiasts.
- Versatility: Adhesive glues come in various formulations designed to bond different materials, including resin. This allows you to find specialized glues that offer a strong and durable bond specifically for resin, ensuring project success.
- Fast Curing Time: Depending on the type of adhesive glue used, curing time can be relatively quick. Some glues bond resin pieces within minutes or hours, allowing you to move forward promptly.
Disadvantages of Using Adhesive Glue:
- Compatibility Issues: Not all adhesive glues work well with every type of resin. Some may not adhere properly to certain resin surfaces, resulting in weak bonds or complete failure. It’s crucial to select a glue compatible with your specific resin material.
- Weaker Bond Strength: While adhesive glues can be effective for many applications, they may not provide as strong a bond as other methods like mechanical fasteners or welding. For heavy-duty or high-stress situations, a stronger bonding method may be necessary.
- Susceptibility to Environmental Factors: Adhesive glues can be affected by environmental conditions such as temperature and humidity. Extreme temperatures or high humidity levels may compromise the bond’s integrity, making it unsuitable for certain applications.
- Visible Marks or Residue: Improper application of adhesive glue can result in visible marks or residue on the resin surface, impacting the aesthetic appeal of your finished product, especially if a smooth and flawless appearance is desired.
- Health and Safety Considerations: Some adhesive glues contain toxic chemicals or emit strong odors, requiring proper ventilation and personal protective equipment during application. It’s important to follow the manufacturer’s instructions and take necessary precautions to ensure your safety.
Heat Bonding: Techniques and Tips
In this blog post, we’ll explore the techniques and tips for successful heat bonding of resin pieces. Get ready to learn how to create strong and durable bonds that will withstand the test of time.
The Perfect Temperature:
Temperature is the key ingredient for a successful heat bonding process. Each type of resin has a specific melting point, so it’s crucial to know the temperature range for your particular resin. To achieve the perfect temperature, you can use a heat gun or a soldering iron with adjustable settings.
Surface Preparation:
Before applying heat, ensure that the surfaces you plan to bond are clean and free from any dirt or oils. A quick wipe with a mild detergent or solvent will do the trick. For an even stronger bond, consider roughening the surfaces slightly using sandpaper.
Applying Heat:
Now it’s time to bring on the heat. Directly apply heat to the resin surface or use a separate heating tool. Remember to move the heat source in a circular motion to distribute the heat evenly and prevent overheating or burning of the resin.
Joining the Resin:
When your resin reaches its melting point, it becomes soft and pliable. This is your cue to quickly join the two pieces together, applying gentle pressure for a strong bond. Hold them in place until the resin cools and solidifies again.
Tips for Success:
To take your heat bonding skills to the next level, here are a couple of tips. First, use a release agent on the surfaces before heating to make it easier to remove the bonded resin later on. Second, consider using a backing material like aluminum foil or heat-resistant tape to prevent sagging or distortion during heating.
Solvent Welding: Using Acetone or Methylene Chloride
If you’re looking to create strong and durable connections between resin pieces, then you’ve come to the right place. In this article, we’ll explore the fascinating process of solvent welding using popular solvents like acetone and methylene chloride. So, let’s dive in and uncover the secrets behind this powerful bonding technique.
The Power of Acetone:
Acetone is a go-to solvent for resin welding due to its fast evaporation rate and versatility. It dissolves many types of resins, allowing for seamless bonding. When acetone comes into contact with the resin surface, it softens it, enabling it to bond effectively with another piece. This solvent is readily available and budget-friendly, making it perfect for DIY projects.
Methylene Chloride: A Stronger Bond:
For those seeking an even stronger connection between resin pieces, methylene chloride is the answer. This solvent provides a more aggressive action, resulting in a stronger bond. Its slower evaporation rate gives you more time to position and align the resin pieces before it evaporates. Methylene chloride is commonly used in industrial settings or for larger projects where a robust bond is essential.
The Step-by-Step Process:
Now that we know our solvents, let’s dive into the step-by-step process of solvent welding resin pieces together using acetone or methylene chloride:
- Clean the surfaces: Wipe both surfaces that will be bonded with a clean cloth dampened with acetone or methylene chloride to ensure they are free from debris.
- Apply the solvent: Use a brush or dropper to apply an even layer of solvent to both surfaces.
- Press and hold: Firmly press the two resin pieces together and hold them in place for a few minutes to allow the solvent to work its magic.
- Bonding time: The specific bonding time may vary based on the resin type, so consult the manufacturer’s instructions or seek expert advice for optimal results.
Compatibility Matters:
To achieve the best results, it’s crucial to ensure that the resins being joined are compatible. Different resins have different chemical compositions, which can affect their bonding ability using solvents. Therefore, always double-check compatibility and choose a suitable solvent that works for both resins.
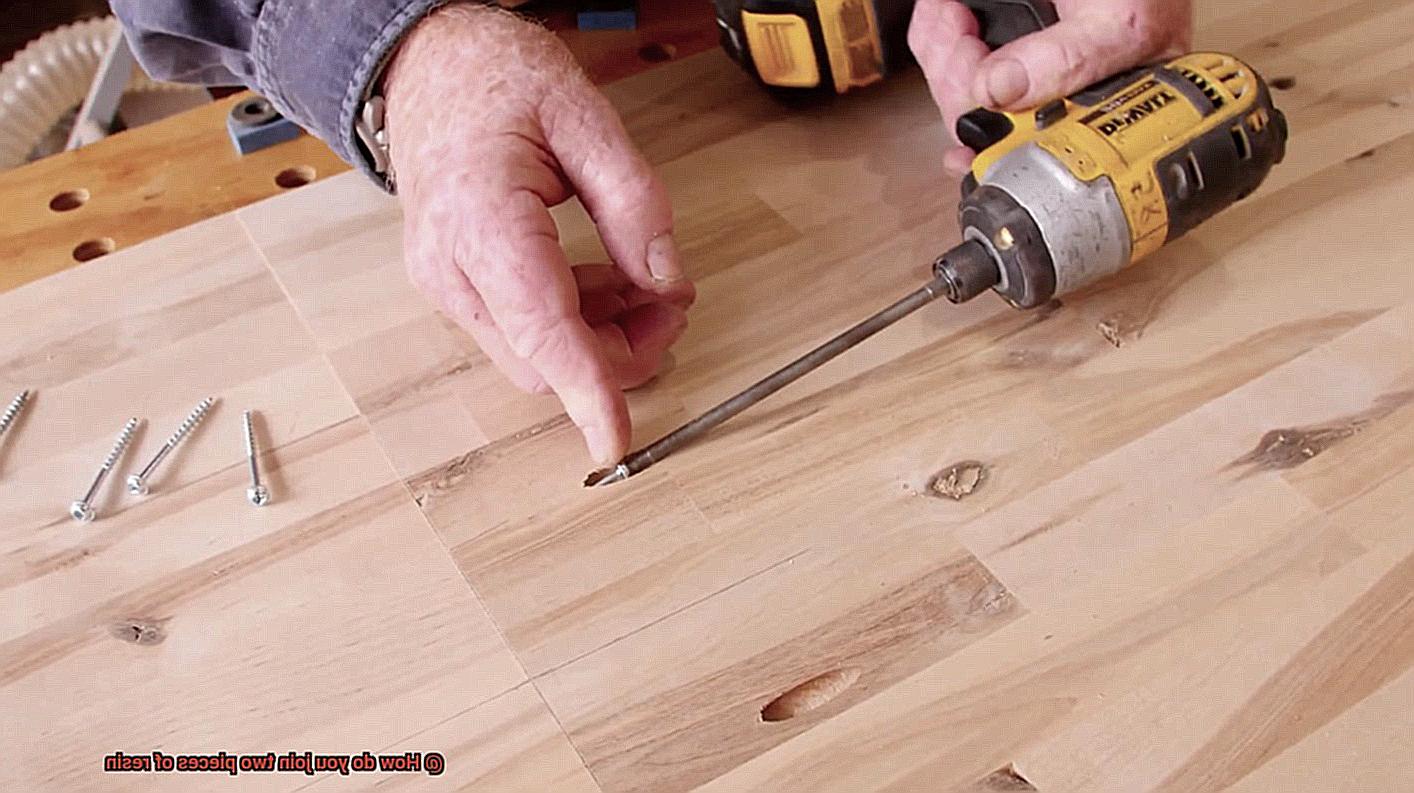
Mechanical Fasteners: Screws, Bolts, and Rivets
When it comes to joining two pieces of resin together, you need a connection as strong as your passion for your project. That’s where the power of mechanical fasteners comes into play. Screws, bolts, and rivets are versatile and effective tools that ensure a secure bond between resin pieces. In this article, we’ll delve into the world of mechanical fasteners and explore how they can unlock the full potential of your resin creations.
Screws: Versatility at Your Fingertips
By drilling pilot holes into the resin, you prevent unsightly cracks or splits. Align the resin pieces precisely, and insert screws through the prepared holes.
With a screwdriver or power drill in hand, tighten the screws until they’re snugly secured. This method offers flexibility and ease of use.
Bolts: Adding Strength with Nuts
Bolts bring an extra level of strength to your resin projects. Begin by drilling matching holes through both resin pieces. Thread a bolt through the holes and fasten it on one side with a nut.
On the other side, use another nut to firmly tighten and secure the bolt. This combination ensures a robust connection that can handle heavy loads.
Rivets: Forging Unbreakable Bonds
Rivets provide unparalleled reliability when joining resin pieces. Start by creating holes that perfectly match the diameter of the rivet body. Insert the rivet into one hole, ensuring that the tail end is on the opposite side of the resin piece.
With finesse and precision, use a rivet gun or hammer to deform or “mushroom” the tail end, creating an unbreakable bond between the resin pieces.
Remember: Factors to Consider
When selecting your fasteners, keep in mind three key factors. First, consider the specific requirements of your application to determine the type and strength of fastener needed.
Second, evaluate the load-bearing capacity to ensure your chosen fastener can withstand the forces involved. Finally, take into account your aesthetic preferences and how visible you want the fastener to be in your final piece.
Welding: Ultrasonic, Hot Plate, and Laser Welding
Joining resin materials can be a challenging task, but with the right welding technique, you can achieve strong and durable connections.
In this article, we will explore three popular methods for welding resin materials: ultrasonic welding, hot plate welding, and laser welding.
By understanding the advantages and considerations of each technique, you can make an informed decision that best suits your project’s needs.
Advantages of Ultrasonic Welding for Resin Materials:
Ultrasonic welding is a widely used technique that offers several advantages for joining resin materials.
Firstly, it is known for its speed and efficiency, making it ideal for high-volume applications. The high-frequency vibrations applied to the resin pieces generate heat, causing them to soften and fuse together quickly. This rapid production capability ensures timely completion of projects.
Secondly, ultrasonic welding creates a strong bond due to the direct contact and focused pressure applied during the process. The resulting joint resists breaking and withstands various stresses.

Lastly, ultrasonic welding is versatile and works well with various resin materials, including thermoplastics. This flexibility allows you to choose from a wide range of materials for your specific application.
Considerations for Ultrasonic Welding:
While ultrasonic welding offers many advantages, there are some considerations to keep in mind. Not all resin materials are suitable for this method. It is crucial to consider the thermal properties and compatibility of the resin before choosing ultrasonic welding.
Some resins may not respond well to the high-frequency vibrations or may have different melting temperatures that can affect the quality of the joint. Additionally, the geometry of the joint plays a significant role in the success of ultrasonic welding.
Complex or irregular shapes may require additional considerations to ensure proper bonding.
Advantages of Hot Plate Welding for Resin Materials:
Hot plate welding is another effective method for joining resin materials, offering its own set of advantages. One of the key advantages is the precise control over the heating process.
The heated plate allows for accurate temperature control and heating time, making it suitable for large or complex resin parts. This level of control ensures optimal melting and fusion of the resin surfaces, resulting in strong and durable joints.
The melted surfaces of the resin pieces fuse together during hot plate welding, creating connections that can withstand various stresses.
Considerations for Hot Plate Welding:
While hot plate welding offers precise control and strong joints, there are considerations to be aware of. Hot plate welding may require longer cycle times compared to other methods due to the need for controlled heating and cooling.
This longer cycle time should be taken into account when planning production schedules. Additionally, hot plate welding requires specialized equipment, which may increase the initial setup cost.
However, if you have large or complex resin parts that require precise heating, hot plate welding is a suitable option.
Surface Preparation for Joining Resin Pieces
Joining resin pieces together requires careful surface preparation to ensure a strong and durable bond. In this comprehensive guide, we will walk you through the necessary steps for preparing resin surfaces before joining them together, unlocking the secrets to creating stunning resin projects.
Step 1: Thoroughly Clean the Surfaces
Start by cleaning the resin pieces to remove dirt, dust, or grease. Use a mild detergent or isopropyl alcohol, rinse them with water, and let them dry completely. This ensures effective bonding without interference.
Step 2: Roughen the Surfaces
Create a slightly rough texture on the surfaces using fine-grit sandpaper or a sanding block. Sand evenly, avoiding excessive pressure that could weaken the resin. Roughening the surfaces enhances adhesion.
Step 3: Remove Sanding Residue
Wipe away any sanding residue with a clean cloth or use compressed air to blow away loose particles. This provides a clean surface for bonding and prevents interference with the adhesive.
Step 4: Select an Appropriate Adhesive
Choose an epoxy resin adhesive specifically designed for bonding resin materials. Epoxy adhesives are known for their strength and durability, making them ideal for joining resin pieces.
Step 5: Prime the Surfaces (Optional)
For an even stronger bond, prime the surfaces with a primer or bonding agent before applying the adhesive. Follow instructions for application and drying times.
Step 6: Apply the Adhesive
Using a small brush or toothpick, apply a thin layer of adhesive evenly across one surface. Press the two resin pieces together firmly, aligning them properly. Wipe away excess adhesive that squeezes out from the edges.
Step 7: Allow Sufficient Curing Time
Allow sufficient curing time for the adhesive to fully bond. Follow the manufacturer’s instructions for recommended curing time. Avoid applying stress or load on the joined pieces during the curing process to prevent damage.
Different Types of Resin and Their Bonding Requirements
Step into the enchanting realm of resin bonding, where creativity meets durability. Whether you’re an avid crafter or a DIY enthusiast, comprehending the various types of resin and their unique bonding requisites is essential for creating enduring and robust bonds. Brace yourself as we embark on a journey to explore this magical art.
Epoxy Resin: The Superhero of Bonding.
Behold the superhero of bonding, epoxy resin. With its incredible adhesive properties, it effortlessly binds materials like wood, metal, and plastic.
To achieve a powerful bond, cleanse the surface meticulously, leaving it squeaky clean and dry. Any contaminants or moisture can undermine the bond’s strength.
Master the art of mixing the resin and hardener in the precise ratios, then apply pressure or employ clamps during the curing process. Witness the birth of a bond that withstands the test of time.
Polyester Resin: Unleash Your Creative Powers.
Unleash your creative powers with polyester resin, often employed in fiberglass applications. This versatile resin necessitates a catalyst to initiate the curing process. Remember to embrace ample ventilation while working with it, as its potent scent can be overpowering.
So, fling open those windows wide and let your imagination soar.
Polyurethane Resin: The Flexible Friend.
Renowned for its durability and ability to bond diverse materials like plastics, metals, and ceramics, it is a trusted ally in countless projects. For optimal bonding prowess, ensure the surface is cleaned meticulously and roughened slightly.
Adhere faithfully to the manufacturer’s instructions regarding mixing ratios and curing times to achieve extraordinary results.
Acrylic Resin: The Clear Choice.
When transparency or optical clarity reigns supreme, acrylic resin emerges as the clear choice. Embracing a harmonious bond with materials such as glass, metal, ceramics, and plastics, it effortlessly enhances their beauty.
Prepare the surface by eradicating any oils or contaminants to ensure optimal adhesion. In certain cases, sanding or etching may be necessary to foster a secure bond.
Cyanoacrylate Resin: The Speedy Savior.
When time is of the essence, enter cyanoacrylate resin, the speedy savior. This fast-setting adhesive boasts the ability to bond a wide range of materials in mere seconds. Apply sparingly, for excessive amounts may impede bonding. Remember, a little goes a long way.
Safety Precautions for Working with Resins
Today, we’re going to dive into the essential safety precautions that should always be on our minds when embarking on resin projects.
While working with resins can be a fun and rewarding experience, we must prioritize safety to protect ourselves and others from potential hazards. So, let’s explore some crucial safety measures to ensure a safe and enjoyable resin crafting experience.
- Read and Understand Safety Instructions: Before even thinking about mixing that resin, take a moment to read and understand the safety instructions provided by the manufacturer. These instructions will guide you on proper ventilation, protective clothing, and other precautions specific to the resin you’re using. Following these instructions is vital to prevent any mishaps.
- Work in a Well-Ventilated Area: Ventilation is key when working with resins, as they can release harmful fumes during the curing process. Make sure to work in a well-ventilated area, such as a room with open windows or a dedicated workspace with an exhaust fan. Breathing in fresh air will keep your lungs happy and healthy.
- Personal Protective Equipment (PPE): Suit up. Personal protective equipment (PPE) is a must when working with resins. Wear gloves to protect your skin from direct contact, goggles to shield your eyes from potential splashes or irritants, and a respirator mask to prevent inhalation of any fumes. Remember, safety first.
- Maintain a Clean and Organized Workspace: A clean and organized workspace is crucial for resin safety. Clear any clutter, ensuring you have enough room to work comfortably. Keep all tools and materials within easy reach but stored safely when not in use. Let’s avoid any unnecessary accidents.
- Follow Mixing Instructions Diligently: When it comes to mixing your resin, follow the manufacturer’s instructions diligently. Use designated measuring cups and mixing tools to ensure accurate ratios and avoid any unwanted reactions. Precision is key here.
- Pay Attention to Curing Guidelines: If your resin requires heat curing or drying, pay close attention to the recommended temperature and time guidelines. Overheating or incomplete curing can be dangerous, so follow those instructions like a resin wizard. Safety is all about timing.
- Be Prepared for Accidents: Accidents happen, so it’s essential to be prepared. Have a spill kit readily available with absorbent materials like paper towels or kitty litter to contain and clean up any spills promptly. Dispose of waste materials responsibly according to local regulations. Being prepared means being proactive.
- Keep Resins out of Reach: Last but not least, keep your resins out of reach of children and pets. Store them securely in a designated place away from food or beverages to prevent accidental ingestion. Remember, safety is a team effort.
Mlt8O6YurWU” >
Conclusion
Joining two pieces of resin can be achieved through various methods, each with its own unique advantages and considerations.
One popular technique is using epoxy resin adhesive, which creates a strong and durable bond between the two surfaces. Another option is to employ heat to melt the resin and fuse the pieces together, ensuring a seamless connection.
Whichever method you choose, it’s essential to ensure proper surface preparation, clean edges, and precise alignment for a successful join.