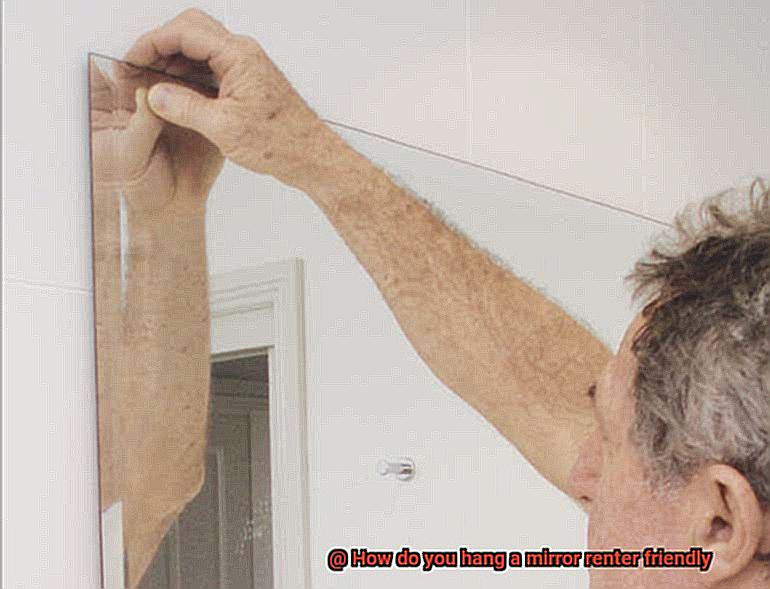
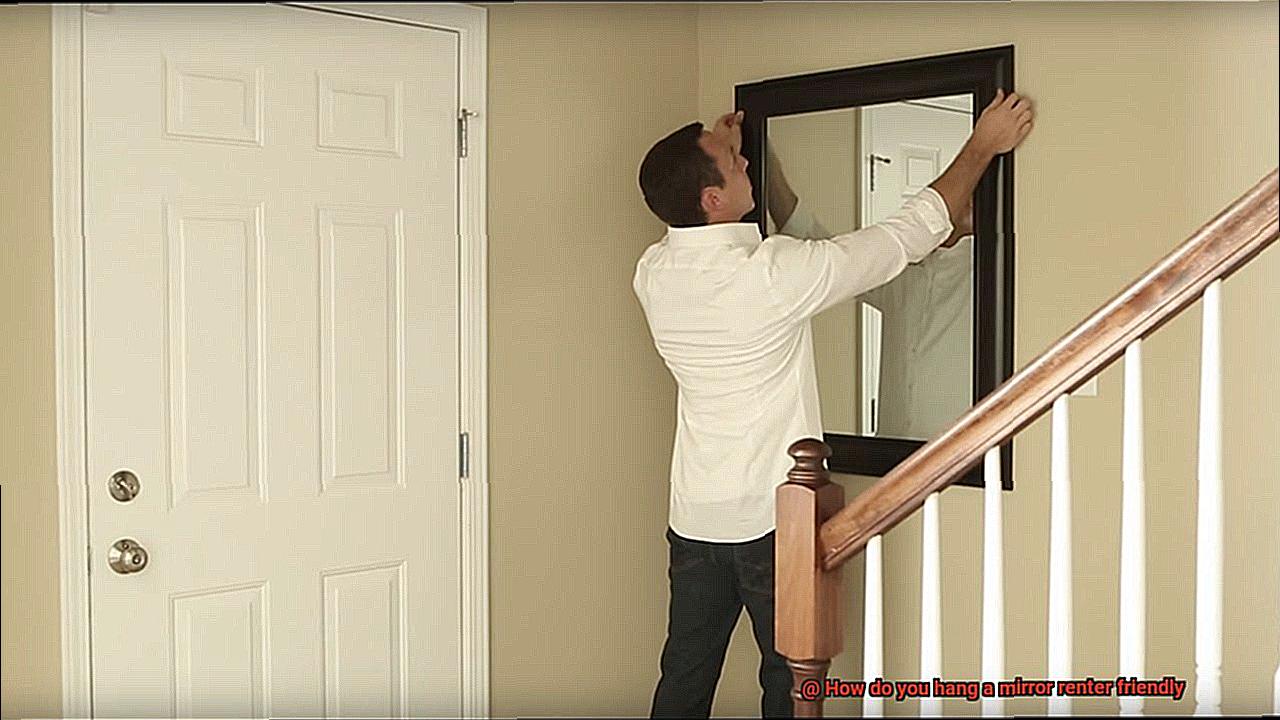
Want to spruce up your rental space with a mirror, but afraid of damaging the walls?
Fear not. We’ve got the ultimate guide to hanging mirrors in a renter-friendly way.
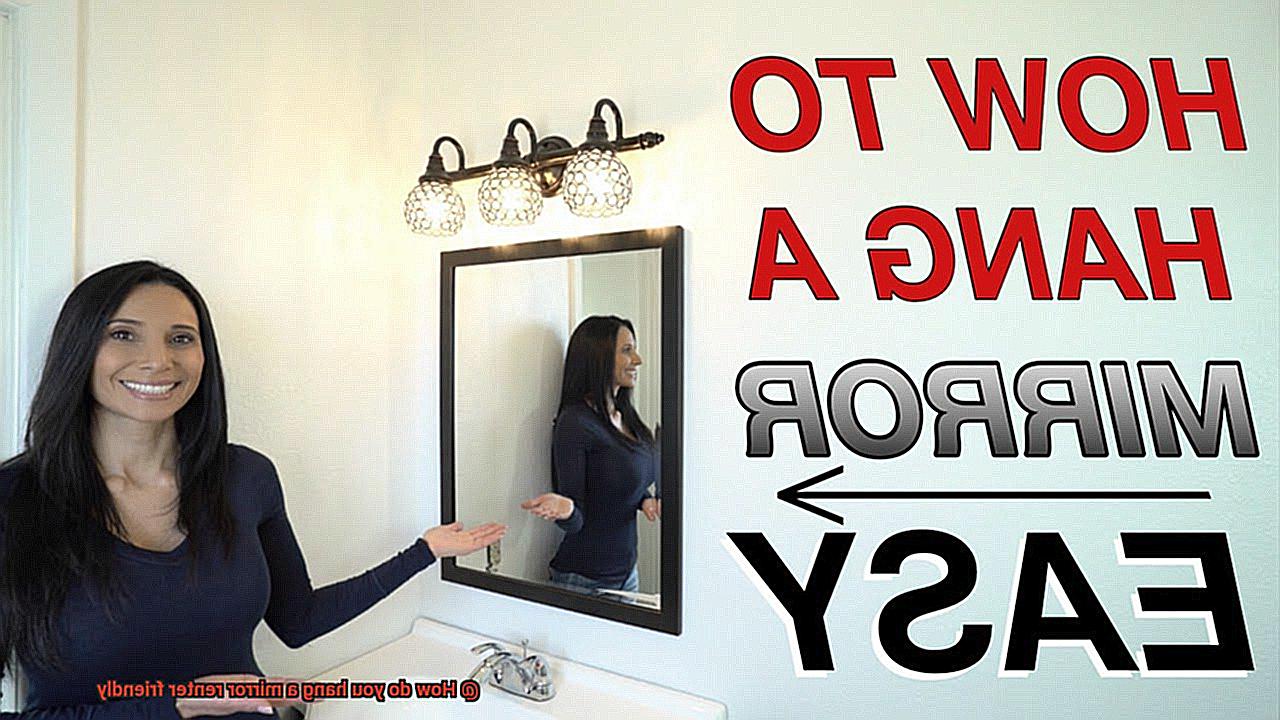
Mirrors can work wonders, making your place feel bigger and adding a touch of style. In this blog post, we’ll break down the process for you, step-by-step.
So let’s get started and learn how to hang a mirror effortlessly while keeping those walls intact.
Adhesive Hooks and Strips – The Most Popular Renter-Friendly Option
Contents
- 1 Adhesive Hooks and Strips – The Most Popular Renter-Friendly Option
- 2 Preparing the Wall Surface for Adhesive Hooks or Strips
- 3 Installing Adhesive Hooks or Strips
- 3.1 Step 1: Choose the perfect adhesive hooks or strips
- 3.2 Step 2: Prepare the surface for a strong bond
- 3.3 Step 3: Mark your mirror’s spot with precision
- 3.4 Step 4: Apply the adhesive hooks or strips
- 3.5 Step 5: Check for secure attachment
- 3.6 Step 6: Hang your mirror like a pro
- 3.7 Step 7: Removing your mirror gracefully
- 4 Hanging the Mirror with Adhesive Hooks or Strips
- 5 Extra Security with Additional Adhesive Hooks or Strips
- 6 Removable Adhesive Putty and Poster Tape – Another Renter-Friendly Option
- 7 Applying Removable Adhesive Putty or Poster Tape to the Mirror
- 8 Hanging the Mirror with Removable Adhesive Putty or Poster Tape
- 9 Considerations for Using Renter-Friendly Methods
- 10 Conclusion
When it comes to decorating a rental space, finding renter-friendly options for hanging mirrors can be a challenge. You want a solution that is easy to install, won’t damage the walls, and can be easily removed when it’s time to move out. That’s where adhesive hooks and strips come in. These versatile and affordable options have become the go-to choice for renters who want to add mirrors to their living spaces without any hassle. In this blog post, we will explore why adhesive hooks and strips are the most popular renter-friendly option for hanging mirrors.
Advantages of Adhesive Hooks and Strips:
- Easy to use: Adhesive hooks and strips offer simplicity in installation. No need for tools or drills, making them perfect for renters who may not have access to such equipment. Just remove the backing from the adhesive strip, press it firmly against the wall, and hold it in place for a few seconds to allow proper adhesion.
- No damage or residue: Unlike traditional hanging methods like nails or screws, adhesive hooks and strips leave no marks or residue on the walls. This benefit ensures that renters can avoid potential damage that could lead to the forfeiture of their security deposit.
- Versatility: These hooks and strips can be used on various surfaces, including painted walls, tiles, glass, and metal. This flexibility allows renters to hang mirrors in different rooms of their homes without worrying about compatibility issues.
- Weight capacity options: Adhesive hooks and strips come in various sizes and weight capacities. For larger mirrors, it’s recommended to use multiple hooks or strips to distribute the weight evenly. This ensures secure placement and prevents any sagging or falling off the wall.
- Affordable: Adhesive hooks and strips are budget-friendly options widely available in stores and online. They come in multipacks, allowing renters to hang multiple mirrors or lightweight items without breaking the bank.
Preparing the Wall Surface for Adhesive Hooks or Strips
When it comes to hanging a mirror on your wall, adhesive hooks or strips are the perfect solution for renters or anyone who wants to avoid drilling holes. However, proper preparation of the wall surface is crucial to ensure a secure and long-lasting hold. In this blog post, we will guide you through the necessary steps to prepare your wall surface before hanging a mirror using adhesive hooks or strips.
Step 1: Clean the Wall Surface
Start by thoroughly cleaning the wall surface with a mild detergent and water solution. Eliminate any dust, dirt, or grease that may have accumulated over time. Pay special attention to areas near windows or cooking areas, as they tend to gather more grime.
Step 2: Dry the Wall Surface
After cleaning, allow the wall surface to air dry completely or use a clean towel to pat it dry. Moisture can interfere with the adhesive’s effectiveness, so ensure that there is no residual moisture left on the wall.
Step 3: Inspect and Repair
Carefully examine the wall for imperfections such as bumps, cracks, or holes. Repair them using a spackling compound and a putty knife. Sand down any rough spots until the wall surface is smooth and even. This step guarantees a clean and solid surface for the adhesive hooks or strips.
Step 4: Prime the Wall Surface (Optional)
Priming the wall surface is an optional step but highly recommended for better adhesion and future damage prevention. Choose a paint primer suitable for your wall type and apply it according to the manufacturer’s instructions. Allow sufficient time for the primer to dry completely before proceeding.
Step 5: Choose the Right Adhesive Hooks or Strips
Consider the weight of your mirror and select adhesive hooks or strips capable of supporting its weight. Read the instructions provided with the hooks or strips carefully and follow them precisely. Some adhesive hooks require peeling off a backing strip, while adhesive strips usually have a pull-tab system for easy application.
Step 6: Position and Apply the Hooks or Strips
Carefully position the adhesive hooks or strips on the wall surface, ensuring they are level and aligned according to your desired mirror placement. Press firmly on the hooks or strips for a few seconds to ensure proper adhesion. Wait at least an hour before hanging the mirror to allow the adhesive to bond securely with the wall.
Step 7: Hang the Mirror
Follow the manufacturer’s instructions provided with the adhesive hooks or strips to hang your mirror securely. Be cautious while handling the mirror and make sure it is properly attached to prevent any accidents.
Installing Adhesive Hooks or Strips
Sprucing up your space as a renter doesn’t have to mean damaging the walls. With adhesive hooks or strips, you can easily hang mirrors without leaving behind any residue. In this guide, we’ll show you how to securely hang your mirror with these hassle-free solutions. Get ready to transform your space without any worries.
Step 1: Choose the perfect adhesive hooks or strips
- Consider your mirror’s weight and find hooks or strips with suitable weight capacities.
- Read the instructions before purchasing to ensure they’re the right fit for your needs.
Step 2: Prepare the surface for a strong bond
- Wipe down the area where you’ll attach the hooks or strips using rubbing alcohol or a mild cleaning solution.
- Remove all dirt, dust, and grease for a secure adhesive bond.
Step 3: Mark your mirror’s spot with precision
- Use a pencil and level to mark where you want your mirror to hang.
- This step ensures a straight and visually pleasing placement.
Step 4: Apply the adhesive hooks or strips
- Follow the package instructions for proper application.
- Peel off the backing and press the hook or strip firmly against the wall.
- Apply pressure for at least 30 seconds to activate the adhesive completely.
Step 5: Check for secure attachment
- Give the hook or strip a gentle tug to ensure it’s firmly attached.
- If it feels loose or unstable, remove and reapply following the provided instructions.
Step 6: Hang your mirror like a pro
- Lift the mirror and align its hanging mechanism with the hook or strip.
- Lower it gently onto the hook or strip, making sure it rests securely.
- Step back and check if it’s level and positioned perfectly. Make adjustments if needed.
Step 7: Removing your mirror gracefully
- Follow the manufacturer’s instructions for removing the mirror from the adhesive hooks or strips.
- Avoid pulling or yanking directly on the mirror to prevent damage to both the mirror and wall surface.
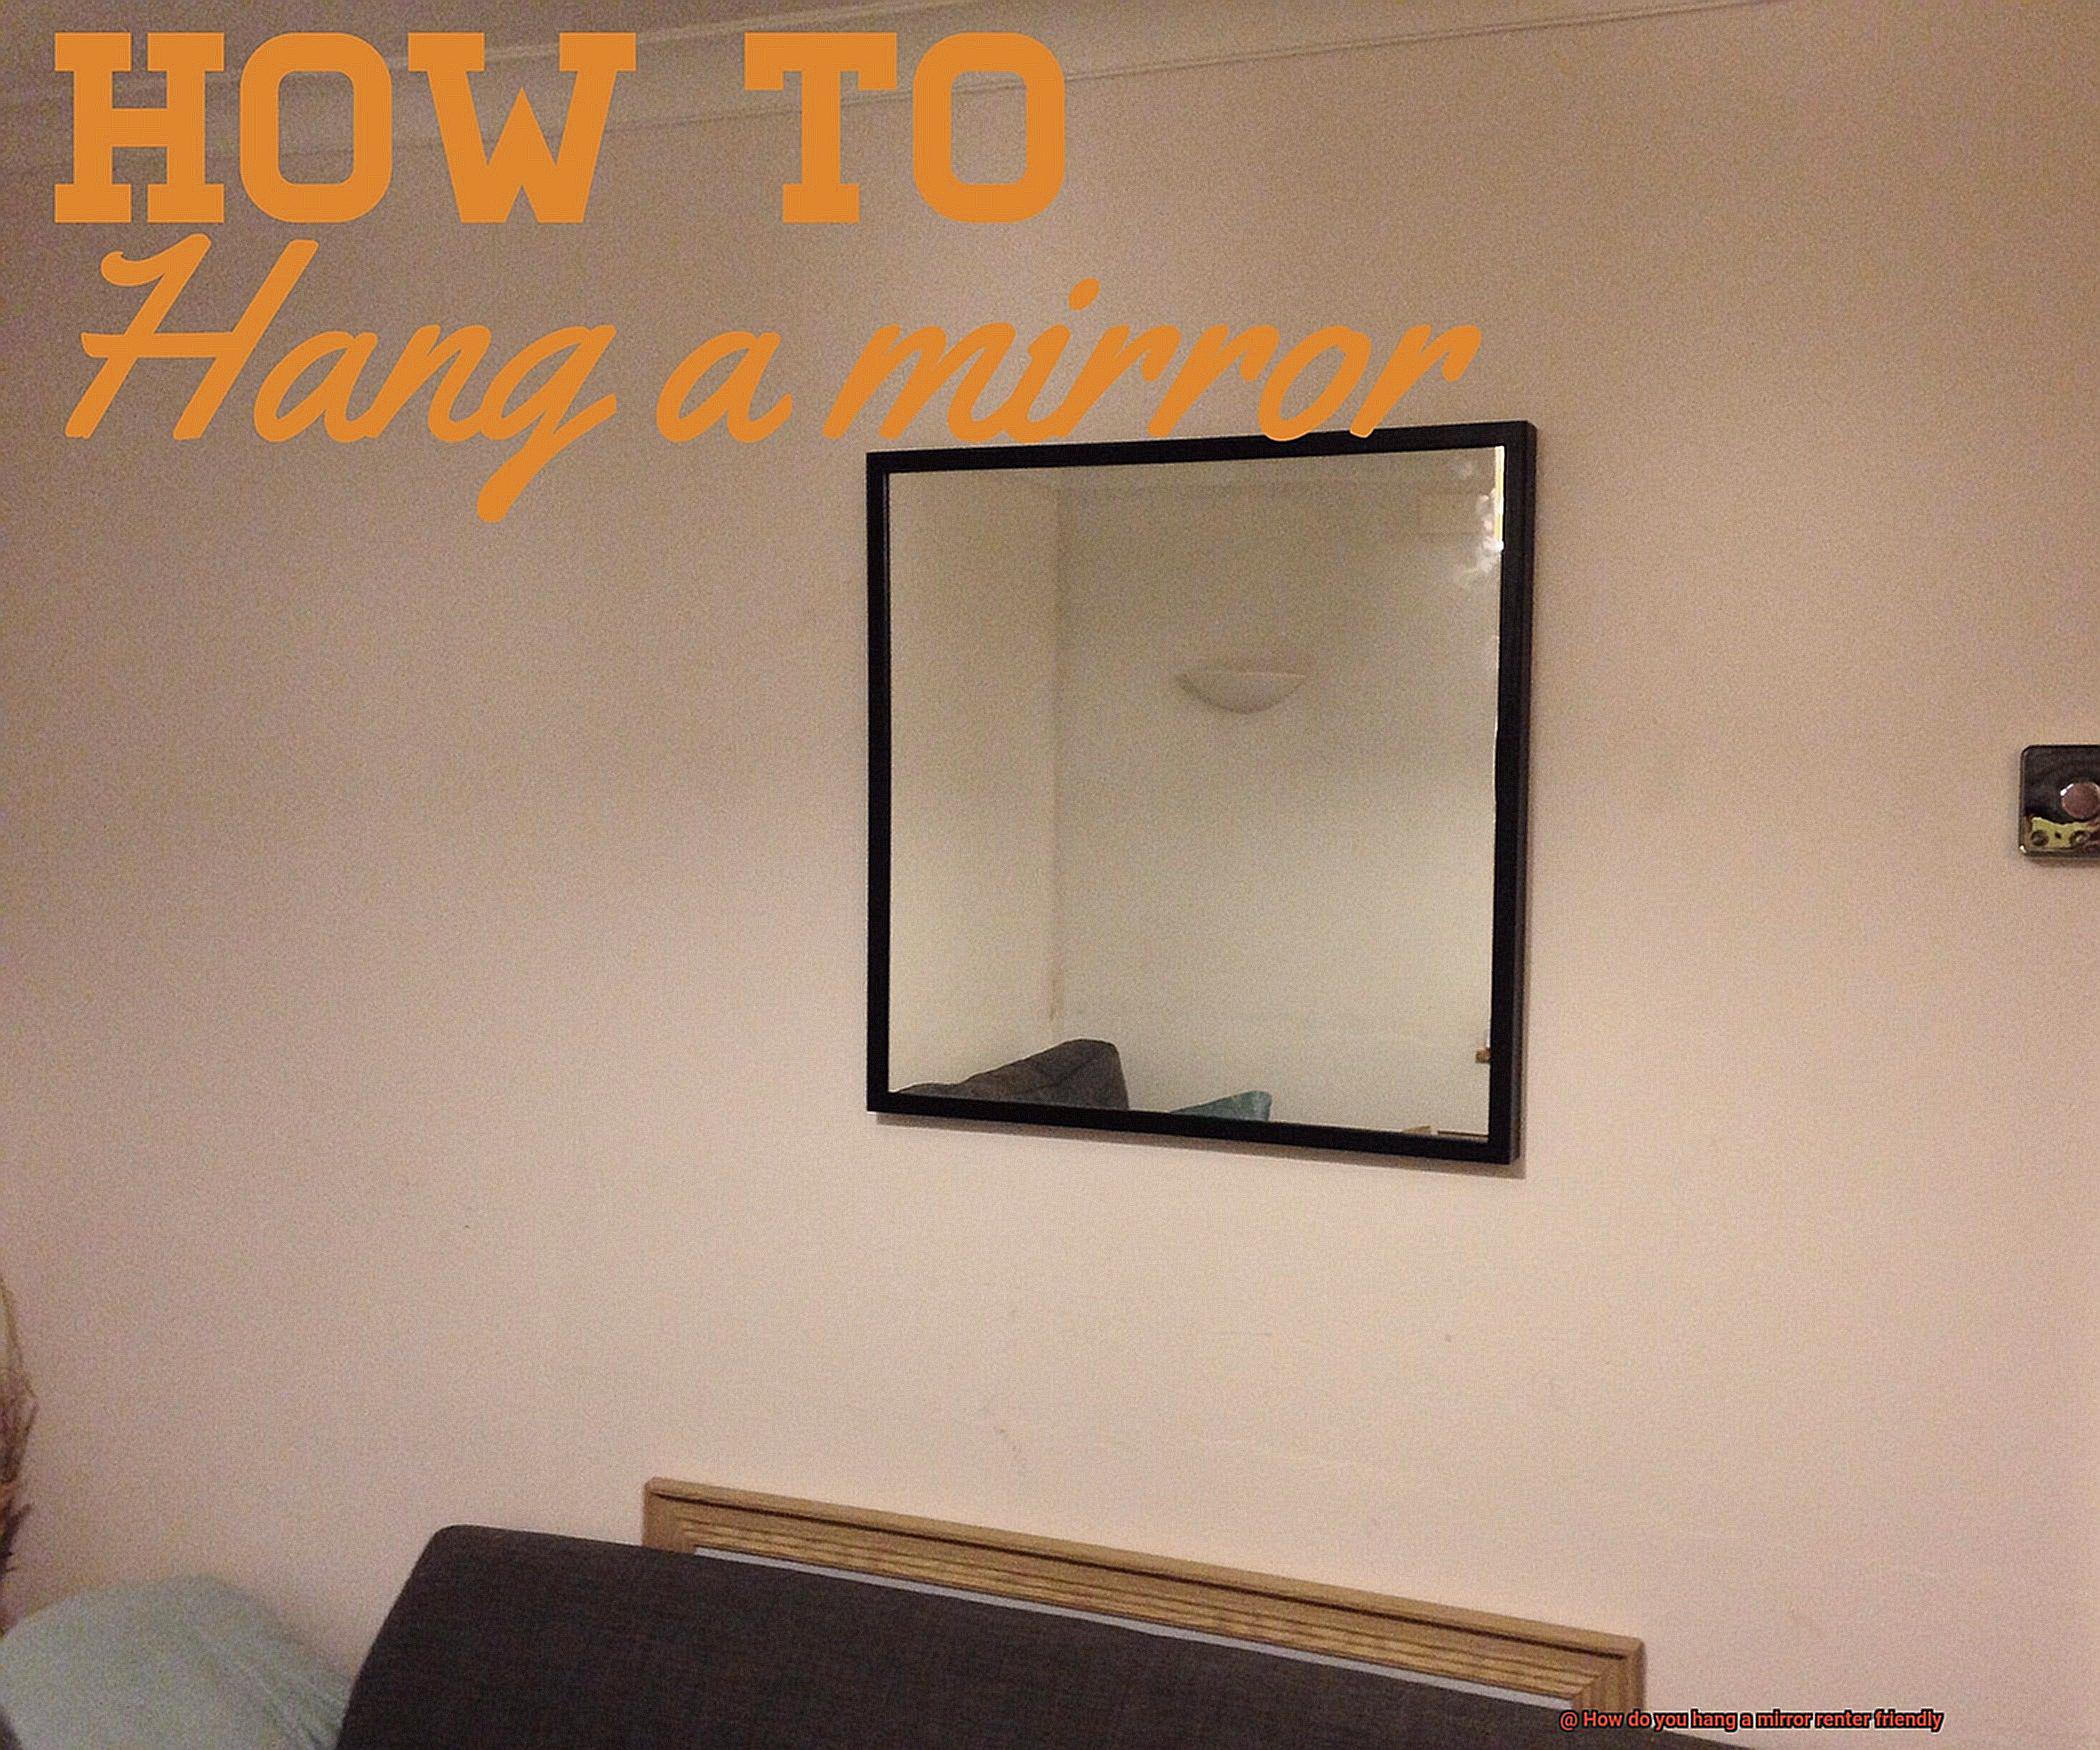
Hanging the Mirror with Adhesive Hooks or Strips
By utilizing adhesive hooks or strips, you can effortlessly hang a mirror, adding both style and functionality to your walls without leaving a trace when it’s time to move out. In this comprehensive guide, we will walk you through the steps to safely and effectively hang your mirror using adhesive hooks or strips.
Step 1: Choose the Right Adhesive Hooks or Strips
To start off on the right foot, ensure that you have adhesive hooks or strips that are capable of supporting the weight of your mirror. It’s always better to err on the side of caution and select hooks or strips with a higher weight capacity than necessary for added security. Make sure to check the packaging or consult the manufacturer’s guidelines to determine the appropriate weight limit.
Step 2: Prepare the Wall Surface
Before diving into hanging your mirror, take the time to thoroughly clean the wall surface with rubbing alcohol. This crucial step eliminates any dirt, dust, or grease that could hinder the adhesive’s effectiveness. Remember, a clean surface is key to achieving a strong and long-lasting bond.
Step 3: Apply the Adhesive Hooks or Strips
Follow the manufacturer’s instructions meticulously when applying the adhesive hooks or strips. Typically, this process entails removing the protective backing and firmly pressing them onto the cleaned wall surface. Apply even pressure across the entire surface of the hook or strip to maximize adhesion.
Step 4: Hang Your Mirror
Now comes the exciting part – it’s time to hang your mirror. With utmost care, position it on the adhesive hooks or strips, ensuring that it is level and centered. Treat your mirror delicately throughout this process to avoid any accidental damage.
Step 5: Removal
When the time comes to bid farewell to your mirror or switch up your decor, removing it is a breeze. Refer to the manufacturer’s instructions for removing the adhesive hooks or strips, which often involves pulling down on a tab or employing a removal tool. Take your time and handle the removal process with gentle precision to prevent any wall damage.
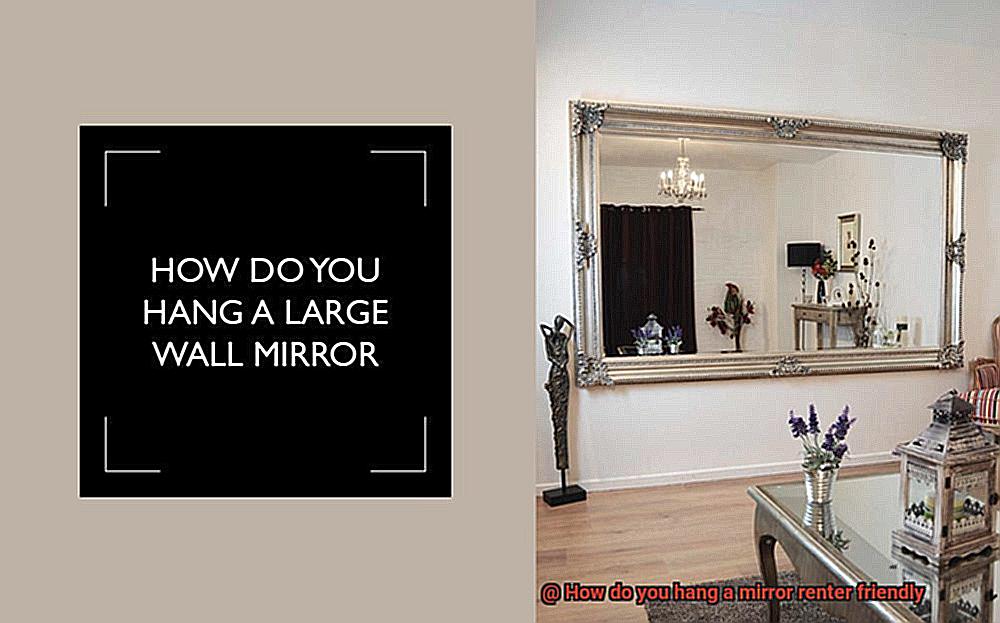
Extra Security with Additional Adhesive Hooks or Strips
When it comes to adding style and functionality to your rented space without damaging the walls, extra security with additional adhesive hooks or strips is the perfect solution. These renter-friendly options provide the support and stability you need, allowing you to hang mirrors with ease.
There are different types of adhesives available for this purpose. One popular option is Command Hooks, which come in various sizes and weight capacities to accommodate different mirror sizes. If you have a larger or heavier mirror, heavy-duty adhesive strips are your best bet. These strips provide extra strength and support to keep your mirror securely in place.
Proper application is key to ensuring the effectiveness of adhesive hooks or strips. Before applying them, make sure to clean the wall surface thoroughly. Use rubbing alcohol or a mild cleaner to remove any dirt, dust, or grease that could hinder proper adhesion. Follow the manufacturer’s specific instructions for application, which typically involve removing a backing and pressing the adhesive firmly against the wall for a few seconds.
To ensure maximum security, there are a few tips to keep in mind. For larger or heavier mirrors, it’s best to use multiple adhesive hooks or strips. This helps distribute the weight evenly and provides extra stability. Before hanging the mirror, measure and mark the desired height and position on the wall. Use a level to ensure that the hooks or strips are aligned correctly. When hanging the mirror, press it firmly against the adhesive hooks or strips to ensure a secure fit.
While adhesive hooks are generally renter-friendly, it’s always a good idea to check with your landlord or read your rental agreement for any specific guidelines or recommendations regarding hanging mirrors.
Removable Adhesive Putty and Poster Tape – Another Renter-Friendly Option
In this blog post, we’ll explore the advantages of using removable adhesive putty and poster tape as renter-friendly options. These magical adhesives offer a strong hold while remaining easy to remove, making them the perfect choice for hanging mirrors in your rented space. Let’s dive in.
Advantages of Removable Adhesive Putty:
- Easy to use: Removable adhesive putty is pliable and can be easily shaped into small balls or strips, allowing for effortless application.
- No residue: When it comes time to remove the mirror, the putty leaves no sticky residue on your walls. Simply peel it off and enjoy a clean surface.
- Versatile: Removable adhesive putty works wonders with mirrors of all sizes and weights, making it a reliable choice for any mirror-hanging project.
Advantages of Poster Tape:
- Simple application: Poster tape is double-sided adhesive tape specifically designed for lightweight objects like mirrors. Just cut small pieces, apply them to the back of the mirror, and press firmly against the wall.
- Damage-free removal: Like removable adhesive putty, poster tape can be easily removed without leaving marks or residue on your walls.
- Ideal for renters: Poster tape is perfect for renters seeking a temporary hanging solution. It provides a secure hold while still allowing for easy removal when you move out.
Tips for Hanging Mirrors:
- Clean the wall surface before applying either adhesive to ensure proper adhesion.
- For heavier mirrors or those with delicate frames, consider alternative hanging methods or consult your landlord for recommendations.
- Evenly distribute the adhesive across the back of the mirror to ensure a secure hold.
- When removing the mirror, gently peel off the putty or tape from the wall. Any remaining residue can be cleaned with warm water and mild soap.
Applying Removable Adhesive Putty or Poster Tape to the Mirror
These little gems are designed to be your best friends when it comes to hanging mirrors (or any lightweight items) without causing any permanent damage. They are like magical potions that provide a strong hold while remaining easily removable. And the best part? You can find them at your local hardware store or order them online with just a few clicks.
Before you dive into the mirror-hanging adventure, make sure to clean the back of the mirror and the wall surface to ensure proper adhesion. This step is crucial to ensure that your mirror stays securely in place without any mishaps.
Now, let’s talk about the two options at your disposal: removable adhesive putty and poster tape.
Removable adhesive putty is a soft and moldable substance that you can press onto the back of the mirror and then onto the wall. It’s like playing with playdough, but with a purpose. Tear off a small piece, roll it into a ball, and evenly distribute it on the back of your mirror. Press that baby against the wall in your desired location, hold it for a few seconds, and voila – you’ve got yourself a perfectly hung mirror.
Poster tape, on the other hand, is a double-sided adhesive tape specifically designed for lightweight items like posters and mirrors. It’s like the invisible superhero of adhesives. Cut a piece to your desired length, apply it to the back of the mirror, peel off the protective backing from one side, press it firmly onto the mirror’s surface, remove the backing from the other side, and carefully position your mirror on the wall. Give it a good, firm press to ensure proper adhesion, and you’re done.
But before you go all out and start hanging mirrors left and right, it’s important to remember that these methods may not be suitable for large or heavy mirrors. Always check the weight limit specified by the manufacturer to avoid any unfortunate accidents. And hey, it’s always a good idea to test a small, inconspicuous area of the mirror first to ensure that the adhesive does not damage the surface.
Hanging the Mirror with Removable Adhesive Putty or Poster Tape
Fear not, dear reader, for I have the perfect solution that will allow you to effortlessly hang your mirror without leaving a trace. In this comprehensive guide, we will explore the enchanting world of removable adhesive putty and poster tape. Prepare to dive into the magical process of mirror hanging.
Step 1: Prepare for Success
To embark on your mirror-hanging adventure, start by preparing the surface. Clean both the wall and the back of the mirror with rubbing alcohol, ensuring a pristine canvas for your adhesive putty or tape.
Step 2: The Power of Adhesive Putty
If you choose adhesive putty, roll a small amount between your hands to create a ball. Place this putty on each corner of the mirror, evenly distributing it. Press the mirror firmly against the wall, holding it in place for a few seconds to ensure a secure bond.
Step 3: The Mighty Double-Sided Tape
For those who prefer poster tape, cut a piece to the desired length, considering the mirror’s weight and size. Apply the tape horizontally or vertically on the back of the mirror, ensuring even distribution. Carefully press the mirror against the wall, ensuring it is level, and hold it in place for a few seconds to allow proper adhesion.
Step 4: Weight Limits and Wall Types
Remember that both adhesive putty and poster tape have weight limits. Consult the product packaging for specific recommendations. Exceeding these limits may lead to a mirror mishap – something no one desires. Furthermore, these methods work best on smooth and clean surfaces like painted walls or tiles. Textured walls or wallpaper may not provide sufficient adhesion for a secure hold.
Step 5: The Grand Finale – Mirror Removal
When it’s time to bid farewell to your mirror, follow the manufacturer’s instructions for removal. Gently pull on one corner of the putty or tape and slowly work your way around the mirror, applying even pressure to release it from the wall. Avoid excessive force, as it can damage the wall surface.
Considerations for Using Renter-Friendly Methods
When it comes to hanging mirrors in a rental property, there are several considerations to keep in mind. By following these guidelines, renters can add elegance to their space without fear of damaging walls or violating lease agreements.
- Review Restrictions: Before hanging anything on the walls, it’s important to review any restrictions or guidelines set by the landlord or leasing agreement. This will ensure compliance and prevent the risk of forfeiting a security deposit.
- Adhesive Hooks or Strips: Adhesive hooks and strips are a popular choice for hanging mirrors in a renter-friendly manner. They are easy to install and remove without causing damage. However, be sure to choose hooks that can support the weight of your mirror, as larger or heavier mirrors may require a sturdier solution.
- Removable Adhesive Putty: For a more temporary option, removable adhesive putty can be used. This pliable putty adheres to both the mirror and the wall, providing a temporary hold that can be easily removed without leaving any residue. However, keep in mind that this method may not be suitable for heavier mirrors or those with delicate frames.
- Velcro Strips or Mounting Tape: Another renter-friendly option is using Velcro strips or mounting tape. These strips have adhesive on both sides, ensuring a secure hold between the mirror and the wall. They are easy to install and remove, making them perfect for temporary installations in rental properties. Select the appropriate type and weight capacity based on your mirror’s size and weight.
- Clean the Wall Surface: Before applying any adhesive, thoroughly clean the wall surface to remove dust, dirt, or grease that could affect its effectiveness. Use a mild cleanser and a clean cloth for best results.
- Follow Manufacturer’s Instructions: Always follow the manufacturer’s instructions when using renter-friendly hanging methods. Each product may have specific guidelines for installation, weight limits, and removal. By adhering to these instructions, you can ensure a secure hang and avoid any damage.
RNwg8Smk5YI” >
Conclusion
In conclusion, hanging a mirror in a renter-friendly way doesn’t have to be a daunting task. By using adhesive hooks or removable mounting strips, you can securely hang your mirror without damaging the walls. These options are not only easy to install but also leave no trace when it’s time to move out.
With adhesive hooks, simply clean the wall surface, peel off the backing, and press firmly onto the desired location. Make sure to choose hooks that can support the weight of your mirror. Once hung, you’ll have a stylish and functional addition to your space.
Another option is removable mounting strips. These versatile strips come in various sizes and strengths, allowing you to find the perfect fit for your mirror. Clean the wall and back of the mirror thoroughly before applying the strips. Press them firmly against both surfaces and hold for a few seconds to ensure proper adhesion.
Both adhesive hooks and removable mounting strips offer convenience and flexibility for renters who want to personalize their living spaces without causing any damage. Whether you’re adding a decorative touch or creating an illusion of more space, hanging a mirror has never been easier or more renter-friendly.
So go ahead, embrace your inner interior designer and give your rental home a makeover with confidence. With these simple techniques, you can enjoy the benefits of having mirrors while maintaining your security deposit intact.