Title: Mastering the Art of Wood-to-Glass Bonding: A Guide to Gluing Wood to Glass Mirrors
Introduction:
Contents
- 1 Choosing the Right Adhesive
- 2 Preparing the Wood and Glass Surfaces
- 3 Applying the Adhesive
- 4 Positioning and Pressing the Wood onto the Glass Mirror Surface
- 5 Using Clamps or Weights to Securely Hold the Wood in Place
- 6 Allowing Sufficient Time for Curing
- 7 Inspecting the Bond After Curing
- 8 Removing Excess Adhesive
- 9 Conclusion

Imagine entering a room adorned with mirrors, reflecting light and radiating elegance. Now envision those mirrors encased in wooden frames, adding a rustic charm that effortlessly merges with the mirror’s surface. But how exactly do you glue wood to glass mirrors without compromising quality or aesthetics?
Fear not, my friend. In this all-encompassing guide, we will walk you through the step-by-step process of bonding wood to glass mirrors, unveiling the secret to achieving a rock-solid and enduring connection. Whether you’re an experienced DIY enthusiast or just dipping your toes into the world of craftsmanship, our approachable yet informative style will provide captivating insights and invaluable tips to ensure your next wooden mirror frame project is an absolute triumph.
But before we delve into the intricate details of adhesive techniques, let’s explore why wood and glass mirrors are a match made in décor heaven.
Did you know that wooden frames have been enhancing and accentuating mirrors for centuries? From ornate traditional designs to sleek and minimalist styles, wood brings warmth, character, and a touch of nature to any mirror installation. It flawlessly blends contemporary trends with timeless aesthetics, making it the preferred choice for interior decorators and homeowners alike.
Now that we’ve acknowledged the irresistible allure of combining wood and glass mirrors let’s embark on this thrilling journey together as we unlock the artistry behind achieving a seamless bond between these two materials. So grab your tools and prepare yourself for a creative adventure like no other.
Choosing the Right Adhesive
Choosing the right adhesive is of utmost importance when it comes to gluing wood to glass mirrors. The bond between these two materials needs to be strong and durable, ensuring a secure attachment that will stand the test of time.
When selecting an adhesive, one must consider the type of wood and glass being used. Different materials have varying levels of porosity and surface textures, which can impact how well the adhesive adheres. For example, hardwood or treated wood may require an adhesive with stronger bonding capabilities to ensure a secure attachment to the glass mirror.
In addition to material considerations, project requirements play a crucial role in adhesive selection. Are you looking for a temporary or permanent bond? Will the glued wood be exposed to moisture or extreme temperatures? These factors will guide you in choosing between water-based adhesives, epoxy, or specialized outdoor adhesives.
Another factor to consider is drying time. Some adhesives take longer to dry while others offer quick bonding capabilities. If you are working on a time-sensitive project, it is essential to select an adhesive that dries quickly without compromising its bonding strength.
Testing the adhesive on a small and inconspicuous area before applying it to the entire surface is advisable. This allows you to ensure compatibility between the adhesive and both the wood and glass surfaces. Additionally, following the manufacturer’s instructions carefully when applying the adhesive is crucial to avoid weak bonds or damage to the mirror.
Safety precautions should not be overlooked when working with adhesives. Some adhesives emit strong fumes or require proper ventilation during application. It is essential to work in a well-ventilated area and wear protective gloves or goggles if necessary.
Preparing the Wood and Glass Surfaces
Properly preparing wood and glass surfaces is crucial when it comes to gluing them together effectively. A strong and durable bond between these materials requires careful attention to detail and a systematic approach. Here’s a comprehensive guide on how to prepare these surfaces to ensure a successful adhesive connection:
- Sand the wood surface: Begin by sanding the wood with fine-grit sandpaper. This creates a rough texture that enhances the adhesive’s ability to adhere. Pay special attention to any rough areas or imperfections, ensuring the entire surface is sanded evenly.
- Remove dust and debris: After sanding, use a clean cloth or brush to meticulously remove any dust or debris from the wood surface. This step guarantees a pristine bonding area.
- Treat the wood with primer or sealant: Apply a thin coat of primer or sealant to protect the wood from moisture and other environmental factors that could weaken the bond over time. Follow the manufacturer’s instructions for application techniques and drying time.
- Clean the glass surface: Thoroughly clean the glass surface using a mild detergent or glass cleaner. Ensure that every corner and edge is wiped down with a lint-free cloth or paper towel, removing fingerprints, oils, or grime.
- Apply an adhesive promoter: Enhance adhesion by applying an adhesive promoter specifically designed for glass surfaces. This chemical bond between the glass and adhesive promotes a stronger connection. Follow the manufacturer’s instructions for application and drying time.
- Select the appropriate adhesive: Choose an adhesive carefully formulated for bonding wood to glass mirrors. Consider project requirements, drying time, and environmental conditions when making your selection.
- Align the surfaces: Before applying the adhesive, take care to align the wood and glass surfaces properly, ensuring they are positioned correctly for bonding.
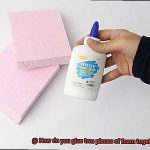
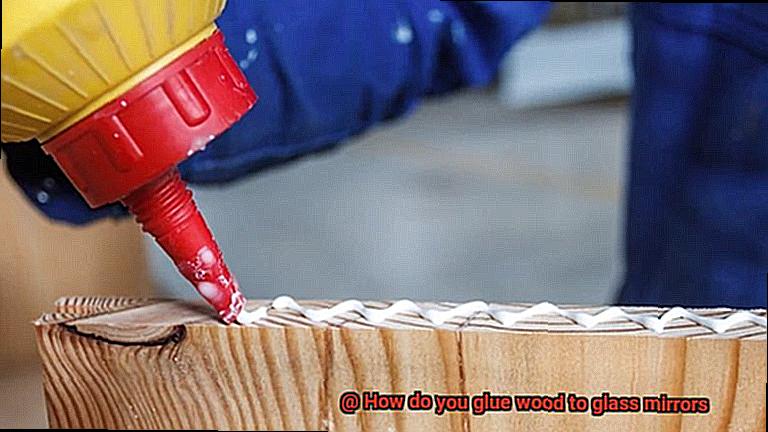
- Apply the adhesive: Using a brush, spatula, or applicator recommended by the adhesive manufacturer, apply a thin and even layer of adhesive onto one of the surfaces. Be cautious not to apply an excessive amount, as this can lead to excess squeezing out when the surfaces are pressed together.
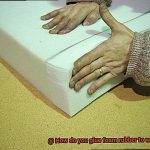
- Press the surfaces together: Firmly press the wood and glass surfaces together, ensuring they are aligned correctly. Apply even pressure across the entire surface, utilizing clamps or weights, if necessary.
- 10. Follow curing time: Adhere to the adhesive manufacturer’s instructions for curing time. This timeframe can vary depending on the type of adhesive used.
Applying the Adhesive
Applying the adhesive when gluing wood to glass mirrors is a meticulous process that demands careful attention to detail. To ensure a strong and durable bond between these materials, it is crucial to follow a step-by-step approach.
First and foremost, the surfaces must be prepared meticulously. Both the wood and glass mirror should be free from any dust, grease, or contaminants that could hinder the bonding process. Thoroughly clean the mirror surface using a mild detergent or glass cleaner. For the wood, lightly sand the surface to eliminate any roughness or imperfections that might impede adhesion.
The adhesive of choice for bonding wood to glass mirrors is clear epoxy resin. This particular adhesive provides exceptional strength and durability while allowing the natural beauty of the wood and mirror to radiate through. It is vital to select an epoxy resin that is suitable for both wood and glass bonding.
When applying the adhesive, use a small brush or spatula to apply a thin layer of epoxy resin to both the wood and mirror surfaces. Each product may have unique application methods and drying times, so it is crucial to carefully follow the manufacturer’s instructions. Work swiftly but meticulously during this step to achieve an even and uniform application of the adhesive.
After applying the epoxy resin, properly align the wood and mirror surfaces. Gently apply pressure to ensure full contact between the two materials. If necessary, utilize clamps or weights in accordance with the manufacturer’s guidelines for proper clamping techniques.
Allow sufficient drying and curing time for the adhesive. Follow the recommended drying time provided by the manufacturer. It is essential to maintain a controlled environment with consistent temperature and humidity levels during this period. This will facilitate proper curing of the adhesive and ensure a robust bond between the wood and glass mirror.
Once the adhesive has fully cured, inspect the bond meticulously for any visible gaps or weaknesses. If needed, consider applying a second layer of epoxy resin to reinforce the bond further. However, exercise caution not to exceed the appropriate amount of epoxy resin as this may affect the final appearance of the product.
Positioning and Pressing the Wood onto the Glass Mirror Surface
Positioning and pressing the wood onto the glass mirror surface is a crucial step in gluing wood to glass mirrors. It ensures a firm and secure bond, free of gaps or air bubbles. To achieve this, proper techniques and materials must be used.
Firstly, preparing both surfaces is essential. Thoroughly clean the glass mirror surface, removing any dust, dirt, or grease that could hinder adhesion. Use a gentle glass cleaner or a mixture of water and mild detergent, along with a soft cloth or sponge. Ensure the surface is completely dry before proceeding.
Next, prepare the wood surface by lightly sanding it to create a rough texture. This enhances bonding strength between the wood and adhesive. Use fine-grit sandpaper and sand along the grain until a slightly rough surface is achieved.
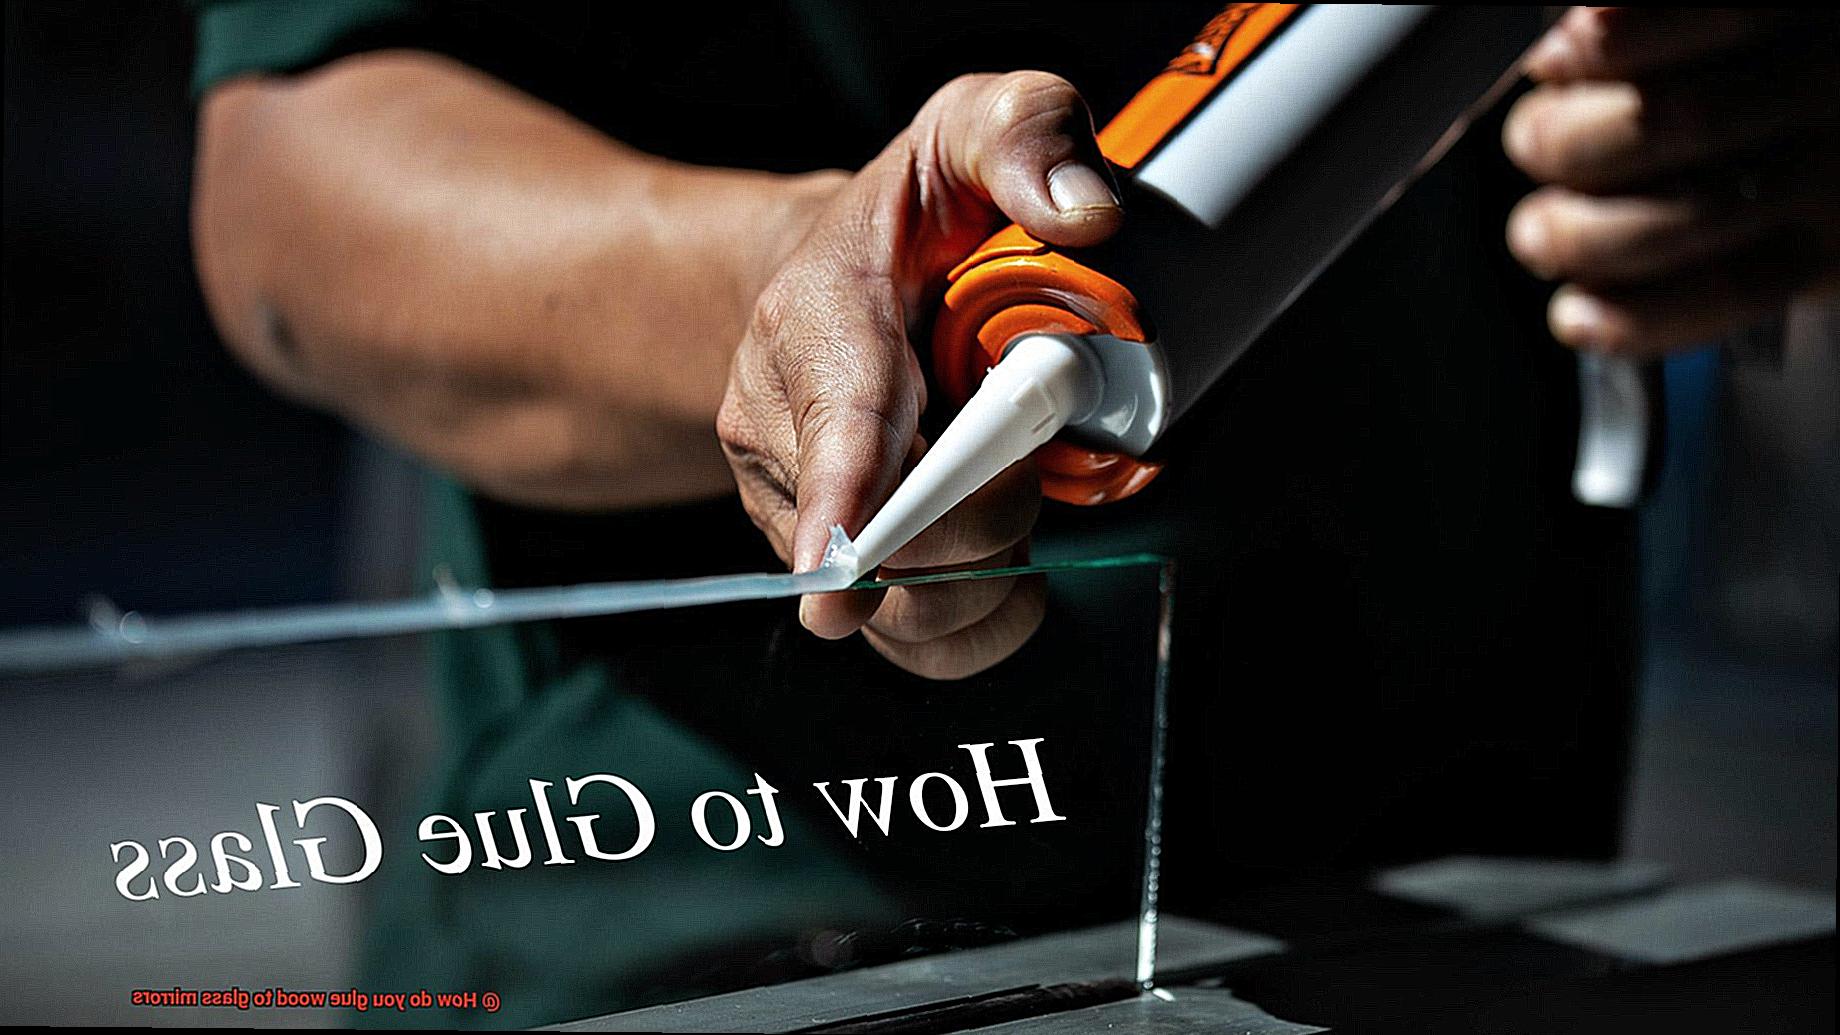
Once prepared, position the wood onto the glass mirror. Apply a thin layer of adhesive on one side of the wood, ensuring even coverage. Choose an adhesive suitable for bonding wood to glass surfaces, such as epoxy or clear silicone adhesives for their strong bonding properties and transparency.
Carefully align the wood with the desired position on the glass mirror surface. Press firmly but gently to ensure good contact between the adhesive and both surfaces. Avoid excessive pressure to prevent adhesive squeezing out or uneven bonding.
To enhance adhesion further, use clamps or weights to hold the wood in place while the adhesive cures. This prevents movement during drying, resulting in a secure bond. Place protective pads or cloths between clamps/weights and wood to avoid damage.
Allow the adhesive to cure for the recommended time specified by the manufacturer. Avoid disturbing or moving the wood during this period for proper bonding.
After curing, inspect the bond between wood and glass mirror surface for any gaps or areas with improper adhesion. Apply additional adhesive if needed and repeat positioning and pressing process.
Using Clamps or Weights to Securely Hold the Wood in Place
Using clamps or weights to securely hold wood in place is an important task when working with wood. Both methods have their advantages and drawbacks, and the choice depends on the specific project requirements.
Clamps are versatile tools that come in various shapes and sizes, allowing you to apply even pressure on the wood. They can be used to hold the wood vertically, horizontally, or at different angles, depending on the project requirements. To use clamps, first, ensure that the wood surface is clean and free from dust or debris. Apply a thin layer of adhesive or glue on the wood and press it firmly against the desired surface. Then, position the clamps along the edges of the wood, making sure they exert equal pressure on all sides. Tighten the clamps gradually, starting from one end and working your way to the other. This helps distribute the pressure evenly and prevents any potential damage to the wood.
Weights are an alternative method to hold wood in place. This method is particularly useful when working with smaller projects or if you don’t have access to clamps. You can place heavy objects such as books, bricks, or even dumbbells on top of the wood to provide adequate pressure for bonding. When using weights, ensure that they are evenly distributed across the wood’s surface to prevent any imbalances or uneven drying of the adhesive.
Regardless of whether you use clamps or weights, it is crucial to allow sufficient drying time for the adhesive. Follow the manufacturer’s instructions regarding drying times and avoid disturbing or moving the wood until it has fully cured.
In terms of safety hazards, both clamps and weights can pose risks if not used properly. Clamps should be tightened carefully to avoid over-tightening, which can cause warping or distortion of the wood. It is also essential to choose weights that are heavy enough to exert sufficient pressure but not too heavy that they could potentially damage the wood.
Allowing Sufficient Time for Curing
When it comes to gluing wood to glass mirrors, one must understand the importance of allowing sufficient time for curing. This process involves the adhesive drying and reaching its maximum strength, ensuring a durable bond that will stand the test of time. Rushing this crucial step can lead to a weak bond that may fail over time, causing potential damage or detachment of the wood from the mirror.
The duration required for curing varies depending on the type of adhesive used. It is crucial to consult the manufacturer’s instructions for specific guidance. In general, most adhesives need at least 24 hours to fully cure. During this period, it is imperative to avoid disturbing or applying excessive stress to the glued surfaces.
Temperature and humidity also impact the curing process. Higher temperatures accelerate curing, while lower temperatures slow it down. Similarly, higher humidity prolongs curing time, whereas low humidity speeds it up. Adhering to the recommended temperature and humidity ranges provided by the adhesive manufacturer is advisable.
To ensure proper curing, it is recommended to use clamps or weights on the glued wood and glass mirror. This technique maintains constant pressure during the drying process, promoting a strong and secure bond. However, caution must be exercised not to over-tighten the clamps or select weights that could crush the wood.
Even after the initial curing period, some adhesives continue to strengthen over time. Thus, it is best to avoid subjecting the glued wood and glass mirror to excessive stress or load until the adhesive has fully cured and reached its maximum strength.
Inspecting the Bond After Curing
Inspecting the bond after curing is an essential step in the process of gluing wood to glass mirrors. It allows you to ensure that the bond is strong and secure, and that the wood and mirror are firmly attached to each other. There are several factors to consider when inspecting the bond, including the appearance of the bond line, the strength of the bond, and any signs of failure or weakness.
Firstly, you should examine the appearance of the bond line. A well-executed bond will have a smooth and even bond line, with no visible gaps or inconsistencies. The adhesive should evenly cover both the wood and glass surfaces, creating a seamless connection between the two materials. Any irregularities in the bond line may indicate a poor bond, which could compromise the overall strength and durability of the attachment.
Next, it is important to test the strength of the bond. Apply gentle pressure or stress to the bonded area and observe whether any separation or movement occurs. A strong bond will withstand moderate force without signs of failure. However, any movement or separation between the wood and glass could indicate a weak bond. In such cases, reapplying adhesive or seeking alternative bonding methods may be necessary.
Furthermore, check for signs of failure or weakness in the bond. Look for areas where the adhesive may have come loose or where there are visible cracks or breaks in the bond line. Additionally, inspect for discoloration or deterioration of the adhesive over time, as this could indicate a weakening bond. Promptly addressing any signs of failure or weakness is crucial in preventing further damage or detachment.
Removing Excess Adhesive
Removing excess adhesive when gluing wood to glass mirrors is a crucial step in achieving a flawless and professional finish. Nobody wants unsightly blobs of adhesive ruining the overall appearance of their project. Fortunately, there are several effective methods for safely removing excess adhesive without causing damage to the mirror or the wood.
One method is to wait for the adhesive to dry completely. Once it has dried, you can gently peel or scrape it off using a plastic scraper or a putty knife. Exercise caution and be gentle to avoid scratching or damaging the mirror. Remember, patience is key here.
Another option is to use a solvent specifically designed for removing adhesive. There are many adhesive removers available on the market, but it’s important to choose one that is safe for use on glass surfaces. Before applying the solvent, it is advisable to test it on a small, inconspicuous area of the mirror to ensure that it doesn’t cause any damage or discoloration.
To remove excess adhesive using a solvent, apply a small amount onto a clean cloth or cotton swab and gently rub it over the adhesive. Allow the solvent to penetrate the adhesive for a few minutes, but don’t let it sit for too long as it may damage the mirror. Then, use a clean cloth or paper towel to wipe away the softened adhesive. Voila. Your mirror will be free from unwanted sticky residue.
In some cases, heat can be employed to soften and remove excess adhesive. This method works particularly well if the adhesive used is thermoplastic in nature and responds favorably to heat. However, exercise caution when using heat near a glass mirror to prevent cracking or breakage. Low heat sources like a hairdryer on its lowest setting or a heat gun with adjustable temperature settings are recommended.
When using heat, direct it towards the area with the adhesive and carefully move it back and forth. As the adhesive softens, gently scrape it off using a plastic scraper or putty knife. Be careful not to apply excessive heat for prolonged periods as it can damage the mirror or surrounding materials.
Once you have successfully removed the excess adhesive, it is advisable to clean the mirror surface with a glass cleaner to ensure it is free from any residue or smudges. Use a lint-free cloth or paper towel to avoid leaving behind any fibers or streaks.
4ElbQ18bkXU” >
Also Read: How To Glue Mirror On Wall Without Nails?
Conclusion
In conclusion, gluing wood to glass mirrors requires careful preparation and the right adhesive. By following these steps, you can achieve a strong and long-lasting bond between the two materials.
Firstly, it is essential to clean both the wood and glass surfaces thoroughly. Use a mild detergent or glass cleaner to remove any dirt, grease, or fingerprints. Ensure that the surfaces are completely dry before proceeding.
Next, choose an adhesive specifically designed for bonding wood and glass. Epoxy or silicone-based adhesives are commonly recommended for this purpose. Read the product instructions carefully and apply the adhesive evenly on both the wood and glass surfaces.
Once applied, carefully press the wood onto the glass mirror surface. Ensure that there is even pressure across the entire area of contact. You may use clamps or weights to hold the materials together while the adhesive cures.
Allow sufficient time for the adhesive to cure according to the manufacturer’s instructions. This typically ranges from a few hours to overnight. Avoid disturbing or moving the glued pieces during this curing period.
After the adhesive has fully cured, inspect the bond carefully. If there are any gaps or weak spots, you may need to reapply adhesive and repeat the process.
Remember to handle your glued wood and glass mirror with care once it is fully bonded. Avoid excessive stress or pressure on the joint to maintain its strength over time.
In summary, gluing wood to glass mirrors requires proper cleaning, choosing an appropriate adhesive, applying it correctly, allowing sufficient curing time, and handling with care afterward.