Are you a crafty connoisseur or an upholstery enthusiast with a soft spot for vinyl and foam projects? Whether you’re a DIY guru or a professional upholsterer seeking fresh insights, get ready to dive headfirst into the captivating world of bonding vinyl to foam.
Imagine this: a luxurious couch that adds flair to your living room, an upgraded car seat that screams sophistication, or even a custom-made headboard showcasing an attention-grabbing vinyl design. All these endeavors require a seamless connection between vinyl and foam, ensuring durability and visual appeal. But how do you achieve this match made in crafting heaven?
In this blog post, we’ll unravel the mystery behind successfully gluing vinyl to foam. From establishing a robust bond to selecting the perfect adhesive options, we’ve got all angles covered. But before we delve deeper, let me share an intriguing fact: did you know that improper gluing techniques can lead to unsightly wrinkles, puckers, or even separation between the vinyl and foam? It’s true.
With that in mind, we’ll explore crucial considerations like choosing the ideal adhesive type for your project and properly preparing the materials. We’ll also guide you through applying glue with finesse and maximizing its curing time for optimal results. Plus, we’ll throw in some expert tips to help you sidestep common pitfalls and ensure a bond that stands strong against the test of time.
So whether you’re fixing up a vinyl seat cover or embarking on an awe-inspiring wall art masterpiece, join us on this enlightening journey as we unlock the secrets of gluing vinyl to foam. Prepare to unleash your creativity and achieve flawless outcomes that will leave everyone amazed.
What is Contact Cement?
Contents
- 1 What is Contact Cement?
- 2 Preparing the Surfaces for Glue Application
- 3 Applying Contact Cement to Bond Vinyl and Foam
- 4 Aligning and Pressing Vinyl and Foam Together
- 5 Rolling or Applying Pressure to Achieve a Strong Bond
- 6 Allowing the Bonded Vinyl and Foam to Cure
- 7 Alternative Adhesive Options for Gluing Vinyl to Foam
- 8 Tips for Using Spray Adhesives on Vinyl and Foam
- 9 Conclusion
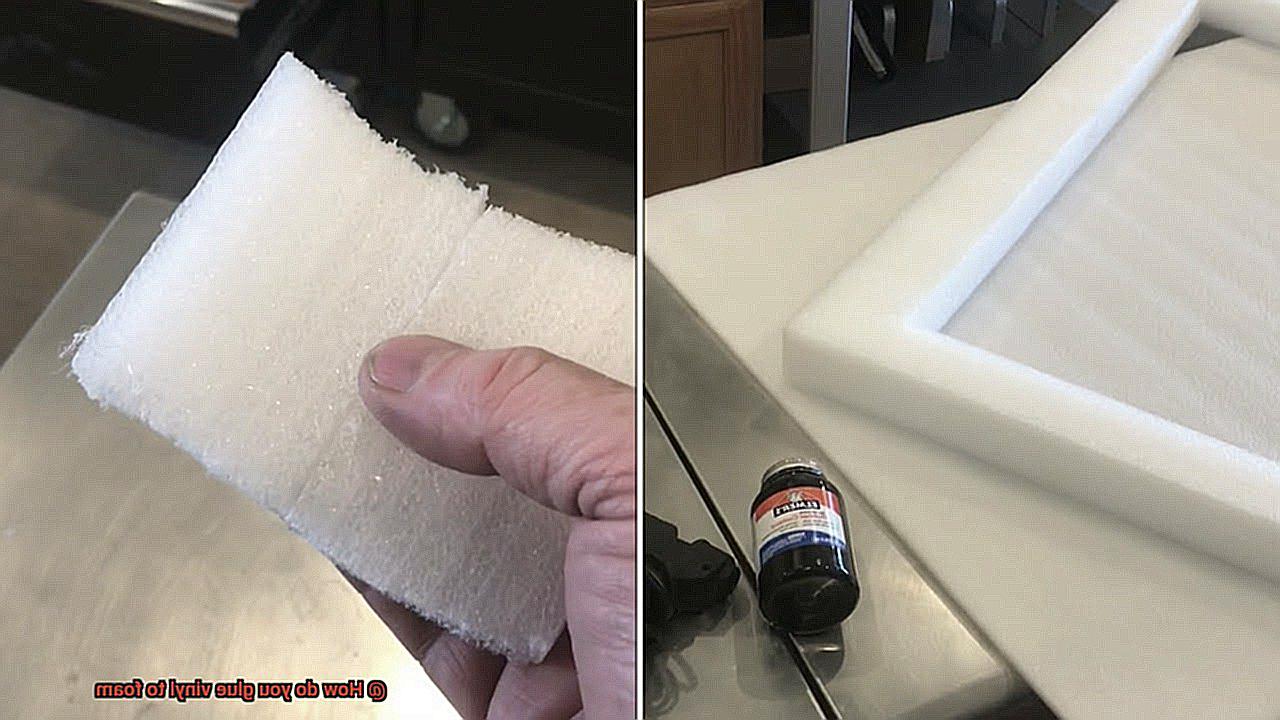
When it comes to uniting vinyl and foam, nothing beats the incredible strength and reliability of contact cement. This adhesive has become the holy grail for both DIY enthusiasts and professionals, thanks to its unparalleled bonding capabilities. In this captivating article, we will take a deep dive into the world of contact cement, exploring its diverse applications, application techniques, and why it reigns supreme as the ultimate choice for bonding vinyl to foam.
Unveiling the Secrets of Contact Cement
- Defining the essence of contact cement: an adhesive wonder
- Unveiling the two main types: solvent-based and water-based formulas
- Unlocking the magic of solvent-based contact cement’s quick-drying properties
- Discovering the eco-friendly nature of water-based contact cement
Priming the Perfect Surface
- Emphasizing the criticality of meticulous surface preparation
- Delving into the art of cleansing vinyl and foam with a gentle detergent and water solution
- Highlighting the importance of allowing ample drying time before applying adhesive
Mastering Artful Application Techniques
- Unleashing the secrets to achieving a flawless bond with a thin and even layer of contact cement, applied using a brush or roller
- Capturing the essence of heeding manufacturer’s instructions for optimal application and drying time
- Revealing the artistry behind precise alignment to safeguard against any damage to the bond
Forging an Unbreakable Bond
- Unleashing the power of a roller or evenly distributed pressure across every inch of surface
- Expounding on the significance of ensuring adhesive spreads uniformly for maximum strength
- Allotting at least 24 hours for curing before subjecting the bond to any stress or movement
Exploring Alternatives in the Adhesive Realm
- Shining a spotlight on spray adhesives tailored for bonding foam and fabric
- Cautioning against the perils of selecting unsuitable spray adhesives for vinyl and foam materials
- Advocating for unwavering adherence to manufacturer’s instructions, especially concerning application and ventilation
Preparing the Surfaces for Glue Application
Get ready to unleash the power of your glue with these essential steps. Let’s dive in and discover the secrets to achieving a strong and long-lasting bond between vinyl and foam materials.
Step 1: Banishing Dirt and Debris – The Cleaning Ritual
To create a bond that will withstand the test of time, cleanliness is key. Arm yourself with mild detergent, warm water, and a soft cloth or sponge. Begin by giving both the vinyl and foam surfaces a thorough scrubbing, eliminating any dirt or stains. Rinse them meticulously, leaving no trace behind, and give them ample time to dry completely.
Step 2: Getting Rough and Tough – Sandpaper’s Secret Weapon
Now it’s time to roughen up the surfaces for an unyielding grip. Grab some fine-grit sandpaper and gently sand both the vinyl and foam surfaces. Remember to maintain a consistent direction during this process to avoid uneven patches. This small rebellion is crucial for creating a bond that won’t let go.
Step 3: Wiping Away Dusty Evidence – A Clean Slate
After embracing your rebellious side, it’s time to wipe away any evidence of your sandpaper rendezvous. Take a damp cloth and meticulously remove any dust or particles that may have been generated during the sanding process. We want our surfaces to be pristine before proceeding.
Step 4: Priming for Success – Unlocking the Power of Adhesion
Now it’s time to give our glue an extra boost with adhesive primer. Apply a thin layer of primer to both the vinyl and foam surfaces, following the manufacturer’s instructions precisely. This magical potion creates a bond that defies expectations. Patience is key here – allow the primer to dry completely before moving forward.
Step 5: The Moment of Truth – Glue Application
We’ve arrived at the long-awaited moment of truth. Select a high-quality glue specifically designed for bonding vinyl and foam materials. Use a brush or applicator to apply an even layer of glue, ensuring complete coverage on both surfaces. Consistency is crucial for success.
Applying Contact Cement to Bond Vinyl and Foam
Whether you’re a novice DIY enthusiast or an experienced pro, unlocking the secrets of applying this mighty adhesive will elevate your projects to extraordinary heights. So, grab your tools and prepare to embark on a journey of adhesive mastery.
Prepare the Surfaces:
To lay the foundation for an unbreakable bond, meticulous surface preparation is paramount. Ensure that both the vinyl and foam surfaces are immaculate, free from any pesky dust, dirt, or debris. A swift wipe-down with a damp cloth will suffice. Remember, cleanliness is the catalyst for an unbeatable bond.
Embrace the Rough Side:
Now, it’s time to reveal sandpaper’s secret power. Embrace its rough embrace and gently sand both the vinyl and foam using fine-grit sandpaper. This transforms the surfaces into a textured playground that amplifies the adhesive’s grip. Unleash your inner craftsman or craftswoman fearlessly.
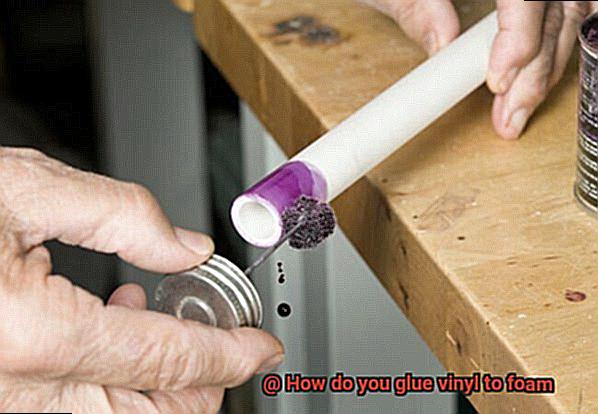
Apply Contact Cement:
Prepare for the grand performance. Equip yourself with a brush or roller and apply a thin, even layer of contact cement onto both the vinyl and foam surfaces. Leave no stone unturned as you meticulously cover every crevice and contour. This step is pivotal, so take your time and exude confidence.
Tackling Tackiness:
Now, we enter a realm of anticipation. Allow the contact cement to dry for several minutes until it reaches a tantalizing state of tackiness. Keep in mind that specific drying times may vary depending on the brand you’ve chosen, so consult the product instructions as your guiding light.
The Perfect Bond:
Behold, the climax of our adhesive symphony – bonding the vinyl and foam in harmonious unity. Exercise utmost precision as you align the two surfaces flawlessly before pressing them together with unwavering force. Remember, contact cement forges an instantaneous bond, so accuracy is the key that unlocks perfection.
Press for Success:
To ensure an unyielding connection, wield a roller or a smooth object with purpose. Exert additional pressure across the entire bonded area, leaving no room for doubt. This step guarantees that your vinyl and foam become inseparable partners in crime, standing strong against any challenge.
Aligning and Pressing Vinyl and Foam Together
Today, we’re diving deeper into the process by exploring the art of aligning and pressing vinyl and foam together. Get ready to unlock the key to a seamless and durable connection that will have your projects standing the test of time.
Start with Precision: Aligning Vinyl and Foam
To ensure a successful bond, it’s crucial to begin with proper alignment. Here’s how you can achieve this:
- Measure and Mark: Take the time to carefully measure and mark the desired placement of the vinyl on the foam. Precision is key here—no room for shortcuts.
- Template or Pattern: Elevate your alignment game by creating a template or pattern. Trace the shape or outline of the vinyl onto a piece of paper or cardboard, then transfer it onto the foam. This technique guarantees a perfect fit without any misalignment.
The Adhesive Choice: Making the Right Call
Selecting the appropriate adhesive is vital in achieving a strong bond. Consider these popular options:
- Spray Adhesive: This versatile choice not only provides a strong bond, but also ensures easy application. Follow the instructions on the can meticulously, and remember to work in a well-ventilated area for safety.
- Contact Cement: Ideal for gluing vinyl to foam, contact cement requires applying it to both surfaces, allowing it to dry, and then pressing them together. Be swift—it dries in a flash.
- Fabric Glue: If fabrics or upholstery are involved in your project, fabric glue is your go-to option. Apply it evenly on both surfaces, let it dry, and then press them together.
The Perfect Press: Ensuring a Strong Bond
Now that your vinyl and foam are aligned and the adhesive is applied, it’s time to press them together. Here’s how to do it right:
- Firm Pressure: Apply firm pressure across the entire surface to ensure a strong bond. A roller or a heavy object can help distribute the pressure evenly, leaving no room for weak spots.
- Curing Time: Once pressed, give the glued vinyl and foam some undisturbed time to cure. Follow the adhesive manufacturer’s instructions for the recommended duration. This step is crucial for achieving maximum bond strength—patience pays off.
Rolling or Applying Pressure to Achieve a Strong Bond
Today, we embark on a journey into the heart of creating an unbreakable connection between vinyl and foam – the art of applying pressure. Prepare to be amazed as we unlock the secrets of how this seemingly simple act can transform your projects from ordinary to extraordinary. So gather your trusty roller or smooth object, because we are about to delve into the mesmerizing world of rolling or applying pressure to achieve an awe-inspiring bond.
Creating an Even Spread:
Imagine a tapestry woven with precision and care. Rolling or applying pressure is the final stroke that ensures every thread of adhesive is evenly distributed across the surface, weaving together vinyl and foam into a seamless masterpiece. This artful distribution guarantees a bond that is not only aesthetically pleasing but also resilient against the test of time.
Pushing Out Air Bubbles:
Behold, the nemesis of perfection – air bubbles. Fear not, for rolling and pressure are here to save the day. When working with liquid adhesives like contact cement, a roller becomes your trusty companion in banishing those unsightly intruders. As it glides over the surface, it gently nudges out every trapped bubble, leaving behind a bond that is flawlessly smooth and void of imperfections.
Activating Adhesive Tape:
But what if you choose the path of adhesive tape? Worry not, for rolling or applying pressure remains an indispensable ally. By pressing down firmly with your hand or a roller, you awaken the dormant power within the tape’s adhesive. It clings to both vinyl and foam with unwavering determination, forming an unyielding union that can withstand any challenge.
Speeding Up the Bonding Process:
In the realm of DIY projects, time is as precious as gold. Enter rolling or applying pressure, the catalysts that not only strengthen the bond but also hasten the bonding process. By exerting force while the adhesive sets, you accelerate its journey towards solidity, allowing you to bask in the glory of a completed project sooner than expected. Efficiency and quality intertwined – a true dream come true.
Allowing the Bonded Vinyl and Foam to Cure
In our pursuit of perfection, we’ve explored the secrets of alignment, pressure, and tape activation. But now, we unveil the final touch that ensures an unbreakable bond – allowing the bonded vinyl and foam to cure. So grab your favorite beverage, sit back, and prepare to discover why proper curing is the ultimate key to success.
The Power of Curing:
Imagine this – you’ve painstakingly glued vinyl to foam, ensuring every millimeter is flawlessly connected. It’s tempting to move on immediately, but hold your horses. Allowing the bonded materials to cure is the secret ingredient for achieving a bond that’s strong and enduring. Here’s why:
Time: A Precious Ally
Just like a fine wine that matures over time, your bonded vinyl and foam need time to cure properly. The duration varies depending on the adhesive used, so it’s crucial to follow the manufacturer’s instructions. Patience truly pays off.
Standing Strong Against Stress
Life can be tough, and so can the demands placed on your bond. By allowing sufficient curing time, you ensure that your bond can withstand heavy stressors. Whether it’s constant use or extreme temperatures, a well-cured bond guarantees durability when it matters most.
Creating an Ideal Habitat
During the curing process, it’s vital to create a controlled environment for your bonded materials. Shield them from excessive heat, cold, moisture, or direct sunlight – distractions that could hinder their bonding effectiveness. Keep them focused on each other.
Embracing the Power of Pressure
To achieve an even and thorough cure, bestow gentle pressure or place a weight evenly across the bonded area. This massage-like touch eliminates air bubbles and allows the adhesive to penetrate and bond seamlessly. It’s like a hug that strengthens the bond’s foundation.
The Art of Non-Interaction
Once you’ve applied pressure and initiated the curing process, resist the urge to touch or stress the bonded vinyl and foam. Premature movement or tension can disrupt the curing process, resulting in a weakened bond. Allow them to dance undisturbed.
Alternative Adhesive Options for Gluing Vinyl to Foam
When it comes to creating a seamless bond between vinyl and foam, the choice of adhesive is crucial. With numerous options available, it’s essential to find the perfect adhesive that suits your specific project requirements. In this comprehensive guide, we’ll unveil a range of alternative adhesive options for gluing vinyl to foam. From versatile spray adhesives to purpose-built vinyl cement, we’ll delve into their advantages and disadvantages, empowering you to make an informed decision for your project.
Option 1: Spray Adhesive – Ease and Effectiveness Combined:
For a hassle-free bonding experience, look no further than spray adhesive. This option not only provides an effortless application process but also ensures a strong and durable bond between vinyl and foam. With varying strengths available, it’s important to select the right one that matches the demands of your project. Achieve optimal results by applying an even coat of spray adhesive on both surfaces and allowing it to dry for a few minutes before firmly pressing them together.
Option 2: Contact Adhesive – Slow and Steady Wins the Race:
When seeking a bond that stands the test of time, contact adhesive emerges as a reliable choice. This adhesive is applied to both the vinyl and foam surfaces, left to dry, and then brought together. While contact adhesive may require longer drying time compared to other options, its resulting bond is robust and enduring. Be sure to consider the extended drying time when planning your project timeline.
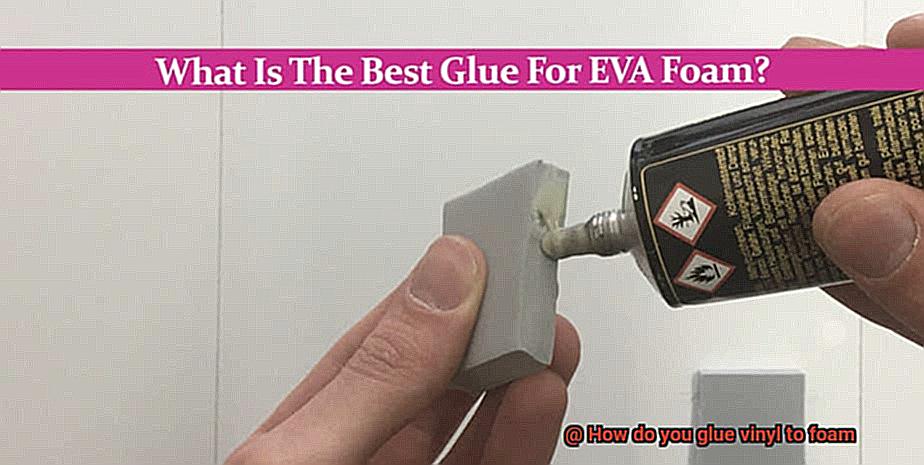
Option 3: Vinyl Cement – Purpose-Built for Perfect Bonds:
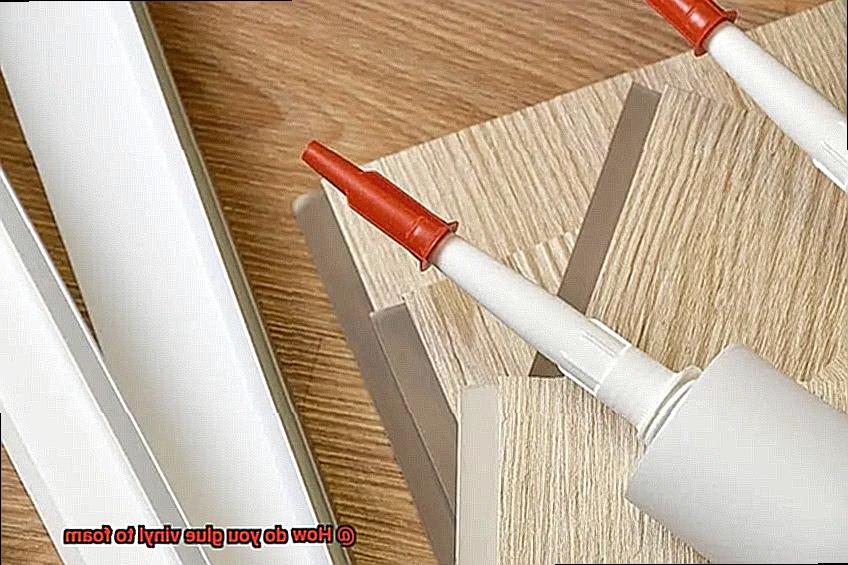
Specifically designed for bonding vinyl materials, vinyl cement offers a purpose-built solution. Available in tubes or bottles with brush applicators, this adhesive ensures a strong and reliable bond. However, exercise caution during application as vinyl cement can be messy if not carefully handled. Take care to avoid excess glue showing on the surface for a flawless finish.
Option 4: Double-Sided Tape – Quick and Convenient Fix:
When time is of the essence, double-sided tape provides a quick and convenient bonding solution. With adhesive on both sides, it allows for immediate attachment of vinyl to foam without any drying time. However, it’s important to note that double-sided tape may not offer the same level of strength and durability as other adhesive options. Consider this option for projects that do not require high levels of resilience.
Tips for Using Spray Adhesives on Vinyl and Foam
Unlock the secret to a flawless bond between vinyl and foam with the help of spray adhesives. These versatile adhesives provide a quick and efficient solution for creating a strong and durable connection. In this article, we will delve into the art of using spray adhesives on vinyl and foam, providing you with invaluable tips to achieve a seamless bond.
The Power of Cleanliness:
Before embarking on your adhesive adventure, ensure that both the vinyl and foam surfaces are squeaky clean. Eliminate any traces of dust, dirt, or grease by gently wiping them down with a mild detergent and water solution. A pristine surface sets the stage for a strong adhesive bond.
Texture is Key:
To enhance the grip of your spray adhesive, it’s time to get rough. Lightly sand both the vinyl and foam surfaces to create a textured finish that aids in optimal adhesion. Remember, a gentle touch is all you need to achieve the desired effect without damaging the materials.
Mastering the Art of Application:
Hold your spray adhesive can approximately 6-8 inches away from the surface, ready to unleash its bonding power. With steady hands, apply a light and even coat of adhesive, ensuring complete coverage across the entire area to be bonded. Follow the manufacturer’s instructions meticulously regarding application distance and drying time to achieve picture-perfect results.
The Tacky Touch:
Patience is a virtue when it comes to allowing your adhesive to dry properly. After applying the adhesive, grant it a few minutes to transform into a tacky state. This tactile sensation indicates that it’s primed for bonding. Remember, time waits for no one, so work swiftly but accurately to make the most of your adhesive’s open time.
Align and Empower:
Prepare for the moment of truth as you align the vinyl with the foam surface. With unwavering confidence, press the two materials together firmly, distributing even pressure across the entire surface. This harmonious connection ensures optimal contact and forges an unbreakable bond.
Erase Excesses with Finesse:
In the quest for perfection, excess adhesive may rear its messy head. Fear not, for a clean cloth or sponge dampened with a solvent recommended by the adhesive manufacturer is here to save the day. Swiftly remove any excess adhesive that dares to mar your masterpiece, leaving behind a flawlessly finished project.
4U_TQd_9tqU” >
Conclusion
When it comes to gluing vinyl to foam, there are a few key steps you need to follow for a successful bond.
First, ensure that both the vinyl and foam surfaces are clean and free from any dirt or debris. This will help the adhesive stick better and create a stronger bond.
Next, choose an adhesive specifically designed for bonding vinyl and foam together. There are many options available, such as spray adhesives or contact adhesives.
Make sure to read the instructions carefully and apply the adhesive evenly onto both surfaces. Then, allow the adhesive to dry for the recommended amount of time before pressing the vinyl onto the foam.
Apply pressure evenly across the entire surface to ensure a secure bond. Finally, give the glue enough time to fully cure before using or manipulating the glued materials.
This will ensure that your vinyl-to-foam bond is strong and long-lasting.