Picture this: you’re knee-deep in a thrilling DIY project, fixing up your cherished belongings, or trying to salvage your favorite sneakers. Everything is going swimmingly until you hit a snag – how on earth do you glue something to rubber? We’ve all been there, frantically rummaging through our toolboxes, desperately seeking that one magical adhesive that can conquer rubber’s stubbornness. Well, fret no more, my friends. Today, we unveil the secrets and equip you with the knowledge you need to triumph over this sticky predicament.
Hook:
Rubber, with its incredible flexibility, unwavering durability, and endless applications, often presents an exasperating challenge when it comes to sticking things together. Whether it’s bonding rubber to rubber or rubber to another material, finding a glue that can withstand the test of time seems like an impossible feat. But here’s the electrifying news: after tireless research and rigorous testing, we have unearthed the secret formula for achieving a nearly flawless bond with rubber.
Main points:
- Decoding Rubber Types: Not all rubbers are created equal. Before diving headfirst into gluing, it’s crucial to identify the specific type of rubber at hand – be it natural rubber, synthetic rubber, or elastomers. Understanding its composition and properties will empower you to select the ideal adhesive for your mission.
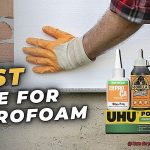
- Nailing the Perfect Adhesive: The market is flooded with adhesives galore; however, not all of them are cut out for bonding with rubber. From cyanoacrylate and epoxy wonders to silicone-based marvels and neoprene glue champions – we’ll delve into each adhesive’s characteristics and guide you towards finding your perfect match for any rubber project.
- Prepping for Success: The key to success lies in meticulous surface preparation. We’ll spill the beans on the necessary steps – from thorough cleaning and roughening surfaces to utilizing primers – ensuring optimal adhesion. This will allow your glue to forge an unbreakable alliance with the rubber.
- Masterful Application Techniques: Applying glue may seem like child’s play, but employing certain techniques can significantly elevate your bond game. We’ll enlighten you on even application, employing clamps or weights for that extra oomph of pressure, and curing the glue effectively to achieve long-lasting results.
What Type of Adhesive Should You Use?
Contents
When it comes to bonding rubber to other materials, selecting the right adhesive is crucial for achieving a strong and long-lasting bond. In this comprehensive guide, we will explore the different types of adhesives commonly used for rubber bonding and provide expert advice on how to choose the perfect adhesive for your specific needs.
Consider the Type of Rubber:
To ensure compatibility and optimal bonding strength, it is important to identify the specific type of rubber you are working with. Whether it’s natural rubber, synthetic rubber, or silicone rubber, each type has its own unique characteristics that influence adhesive compatibility.
Cyanoacrylate Adhesive (Super Glue):
For a quick and reliable bond, cyanoacrylate adhesive, also known as super glue, is a popular choice for bonding rubber. It works well with various rubber types, but it’s essential to conduct a compatibility test on a small area before applying it to the entire surface.
Epoxy Adhesive:
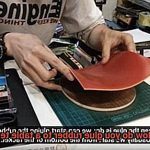
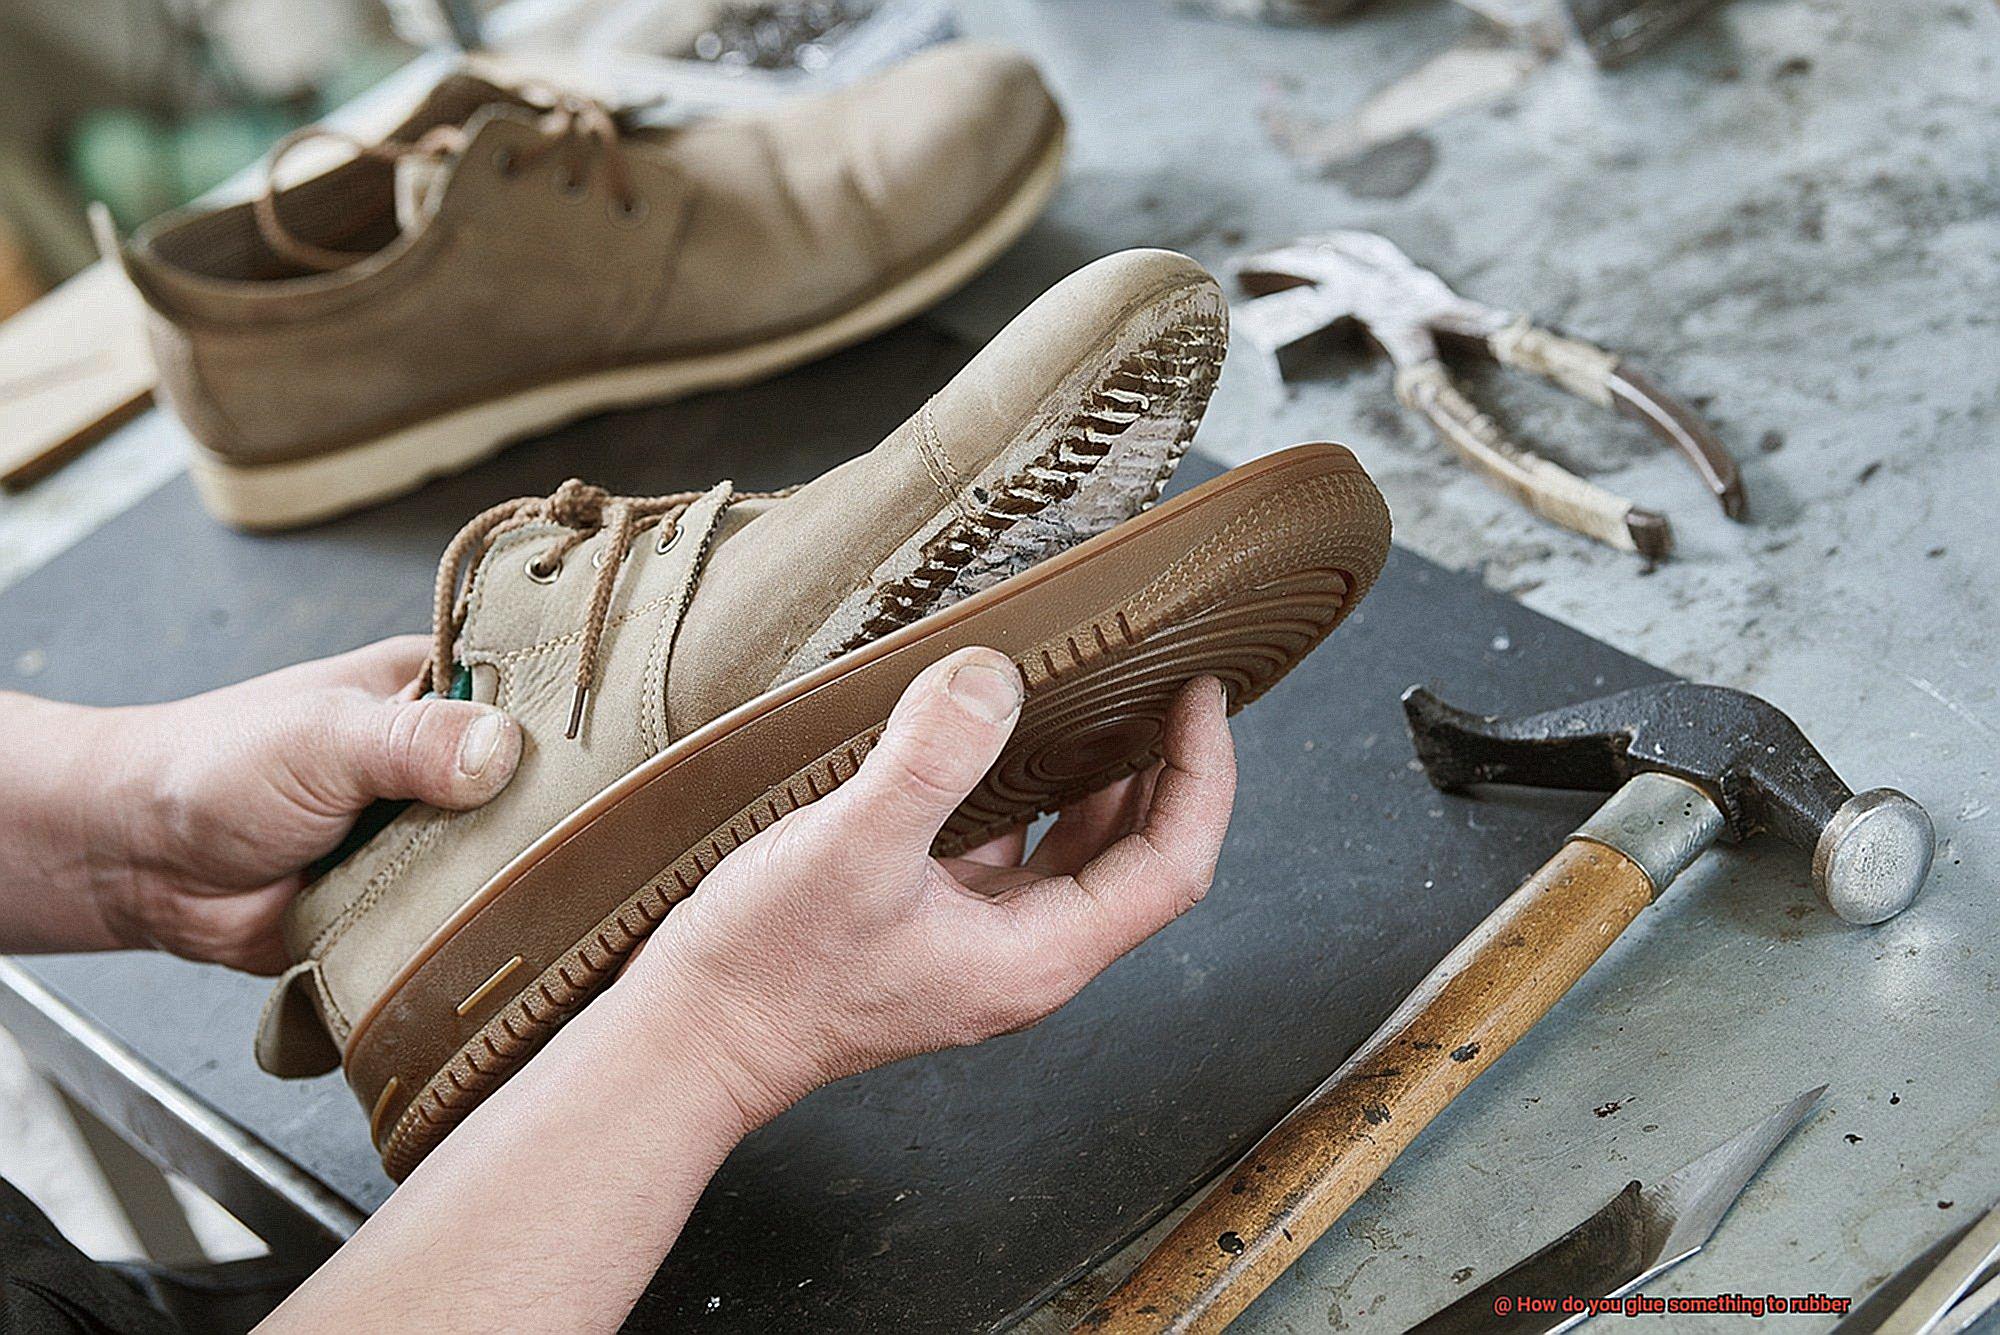
If you need exceptional durability and resistance to environmental conditions, epoxy adhesives are the way to go. They create a strong bond between rubber and other materials, making them ideal for applications such as shoe repairs or bonding rubber gaskets. Remember that epoxy adhesives typically come in two parts – resin and hardener – which need to be mixed before use.
Specialized Adhesives:
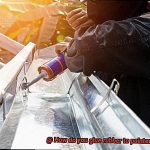
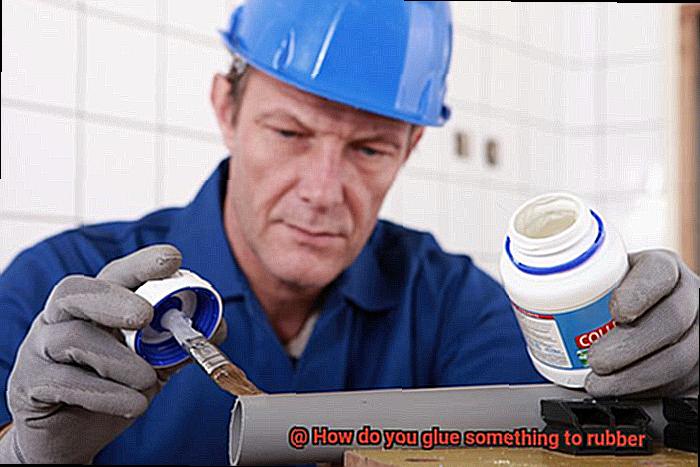
When it comes to bonding rubber to metal or plastic, specialized adhesives may be necessary. Neoprene-based adhesives are specifically designed for rubber-to-metal bonding and provide excellent adhesion properties. For rubber-to-plastic bonding, consider solvent-based or polyurethane adhesives, which offer both strength and flexibility.
Surface Preparation:
Properly preparing the rubber surface before applying any adhesive is crucial for a successful bond. Ensure the surface is clean by removing dirt, grease, or contaminants using a mild detergent and water solution or rubbing alcohol. Thoroughly dry the surface before proceeding with adhesive application. For improved bonding strength, consider roughening the rubber surface with sandpaper or applying a rubber-specific primer.
Preparing the Surface for Gluing
In our previous exploration, we uncovered the secrets of rubber bonding and the array of glue options available. Today, we embark on a voyage into the intricate world of surface preparation for gluing rubber. So, put on your rubber gloves (pun intended) and let’s dive into the art of getting sticky.
Step 1: The Power of Pristine Cleanliness
Before we can achieve adhesive nirvana, we must banish any dirt, dust, or oils that stand in our way. Prepare your rubber surface by giving it a thorough cleansing. Utilize the gentle touch of mild detergent or rubbing alcohol to wipe away impurities. Rinse it with water and ensure it basks in the glory of complete dryness before proceeding.
Step 2: Unleash the Smooth Operator
Is your rubber surface as rough as sandpaper? Fear not, for we possess a secret technique to tame its wildness. Equip yourself with sandpaper or a fine-grit sanding block and embark on a journey to create a velvety texture. Remember, gentle strokes are the key here; excessive force may result in rubbery ruin.
Step 3: Rough It Up (If Needed)
Smooth surfaces can be stubborn adversaries when it comes to bonding. Should your rubber flaunt an impossibly smooth or non-porous facade, fear not. We present you with a cunning plan to roughen things up. Channel your inner artist with a utility knife or a humble needle and delicately score or puncture the surface. Our aim is not to create a masterpiece but merely to provide sufficient texture for the glue to grip onto.
Step 4: Bidding Farewell to Coatings, Embracing Glue’s Warm Embrace
Some rubber surfaces may flaunt protective coats or stubborn residues that must be vanquished before bonding can occur. But worry not, for we possess a secret weapon in the form of solvents and adhesive removers tailored specifically for rubber. Stay vigilant and follow the manufacturer’s instructions, ensuring you test the solvent on a small, inconspicuous area to avoid any unpleasant surprises.
Applying the Adhesive
In our previous section, we explored the importance of surface preparation for flawless rubber bonding. Now, let’s take our adhesive journey to the next level as we discover the secrets of applying adhesive to rubber. Get ready to unlock the steps that will ensure your bonds are strong, reliable, and visually pleasing. Let’s dive in and unravel the process step by step.
Step 1: Cleanliness is Key
To begin our adhesive adventure, we must ensure a clean rubber surface free from dirt, dust, or grease. Wipe it down with a suitable cleaning agent or a mild soap and water solution, banishing any impurities that may hinder our bond.
Step 2: Roughen Up for a Better Bond
Now that our rubber is sparkling clean, let’s create texture for our adhesive to cling onto. Lightly sand the surface or use a rough cloth to give it some grip. This simple step enhances the bond between the adhesive and the rubber.
Step 3: Follow the Manufacturer’s Instructions
Every adhesive has its own set of instructions, akin to a superhero and their trusty sidekick. Take a moment to read and follow these guidelines carefully. Different adhesives have distinct application methods, drying times, and cure times. Let’s ensure we’re using the correct technique for our specific adhesive.
Step 4: Primer Power
Some adhesives need an extra boost for maximum adhesion. Enter the primer or activator. Applying this magical substance before the adhesive ensures a stronger bond. Remember to follow the manufacturer’s instructions for proper application.
Step 5: Less is More
When it comes to applying adhesive, remember the golden rule: a thin and even layer is all you need. Excess glue seeping out creates a messy appearance. Let’s keep it clean and precise.
Step 6: Join the Surfaces Together
With the adhesive applied, it’s time to bring our rubber surfaces together. Carefully align them and apply pressure for a strong bond. Whether it’s clamps or a manual press, let’s ensure our bond is secure.
Step 7: Patience is a Virtue
After bonding the surfaces, we must allow sufficient drying and curing time. This ensures the adhesive fully sets and achieves maximum strength. Let’s exercise patience before subjecting our glued item to stress or strain.
Ensuring Proper Contact Between Surfaces
In our previous exploration, we uncovered the secrets to creating robust bonds with rubber surfaces. We discovered the importance of cleanliness, roughening the surface, and even using primers for maximum adhesion. Today, we take our adhesive journey to new heights as we delve into the crucial steps necessary for ensuring proper contact between surfaces when gluing something to rubber. So grab your glue guns and let’s embark on this exciting adventure.
Step 1: Cleanliness is Key
To achieve a bond that withstands the test of time, cleanliness is crucial. Start by wiping away any dirt, dust, or oils from the rubber surface. Using a mild soap or detergent and water solution, gently cleanse the rubber, ensuring all impurities are removed. Rinse thoroughly and allow it to air dry completely before proceeding. A clean surface sets the stage for a flawless bond.
Step 2: Roughen Up for Grip
Smooth or nonporous rubber surfaces can be quite slippery for adhesives. Enhance their grip by giving them a rougher texture. Utilize sandpaper or a coarse abrasive pad to gently create a slightly rough surface. Remember to use circular motions and be cautious not to damage or tear the rubber during this process. A roughened surface provides better adhesion for a solid bond.
Step 3: Primer Power
Certain adhesives demand an extra boost when bonding with rubber surfaces. Enter primers – the superheroes of adhesion. These specialized agents facilitate better bonding between adhesives and rubber. Follow the manufacturer’s instructions closely when applying the primer, as each product may have its unique application method. Think of it as giving your adhesive a helping hand before they embark on their bonding journey.
Step 4: Meticulous Adhesive Application
Now that your rubber surface is pristine, slightly roughened (if needed), and primed (if required), it’s time to focus on applying the adhesive. Remember, precision is key. Use a small brush or applicator to evenly spread the adhesive onto both surfaces that need to be glued together. Ensure every nook and cranny is covered, leaving no gaps behind. A meticulous application guarantees a bond that withstands the test of time.
Curing or Drying Time for Adhesive
Today, we embark on an adventure into the realm of curing or drying time for adhesive when working with rubber. Trust me, this seemingly dull topic holds the key to unlocking a bond that can withstand the trials of Hercules.
Why is curing time so vital, you ask? Picture this: you’ve painstakingly glued two rubber surfaces together, eager to use your newly joined creation. But hold your horses. Curing time dictates the waiting period before you can handle or manipulate the glued items without jeopardizing the bond. Remember, my friends, patience is a virtue.
Let’s delve into a quick chemistry lesson on adhesives. Different adhesives have varying curing times. Super glue, known as cyanoacrylate, is a swift operator that bonds rubber within minutes. However, epoxy or polyurethane adhesives might require several hours or even days to reach full cure. It’s akin to watching a pot of water boil—an exercise in patience.
Now, let’s spice things up with intriguing factors that influence the curing process. Temperature, humidity, and even the thickness of the adhesive layer all play vital roles in determining how long it takes for our sticky friend to solidify its grip.
If you’re itching for speedy results, keep this in mind: higher temperatures accelerate curing, while lower temperatures can slow it down. But beware. Extreme temperatures can also impact the bond’s strength and durability. Achieving balance is paramount.
Ah, ventilation—the unsung hero of adhesive bonding. Some adhesives release fumes that pose risks if inhaled. We certainly don’t want glue-induced headaches. Ensure you work in a well-ventilated area and adhere to the safety precautions listed on the adhesive packaging. Safety first, folks.
Here’s the golden rule: patience reaps rewards. Even after the adhesive has cured, it may take time to reach maximum strength. Enter the “full cure” time, which varies depending on the adhesive type. So resist the urge to rush. Allow your adhesive baby the time it needs to blossom into a robust and resilient bond.
Different Types of Rubber and Their Adhesives
Rubber, a remarkable material with its flexibility and durability, is found in countless applications. However, bonding objects to rubber can be quite a challenge due to its non-porous nature. To achieve successful bonding, it is crucial to understand the different types of rubber and their corresponding adhesives. Let’s explore the diverse world of rubber and its adhesive bonds in more detail.
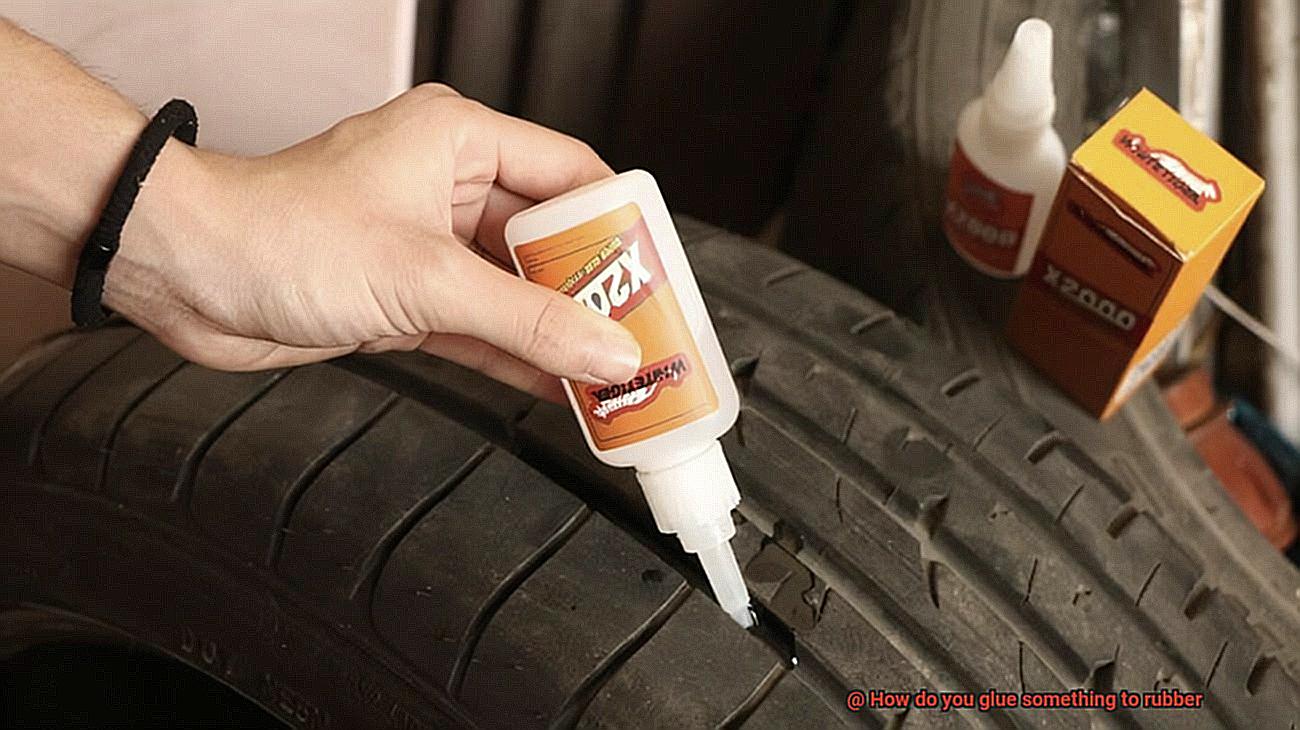
Natural Rubber – Embracing Elasticity:
Derived from the sap of rubber trees, natural rubber possesses outstanding elasticity and tear resistance. This versatile rubber is commonly used in tires, conveyor belts, and seals. When it comes to bonding natural rubber, cyanoacrylate adhesives (super glue) and epoxy are the go-to choices. These adhesives create a robust bond that withstands even the most demanding applications.
To ensure a successful bond with natural rubber, meticulous surface preparation is essential. Clean the surface thoroughly using a mild detergent or rubbing alcohol to remove any dirt or grease. Apply a thin, even layer of adhesive on both surfaces, align them accurately, and firmly press them together. Witness how your objects securely adhere to natural rubber as if they were always meant to be together.
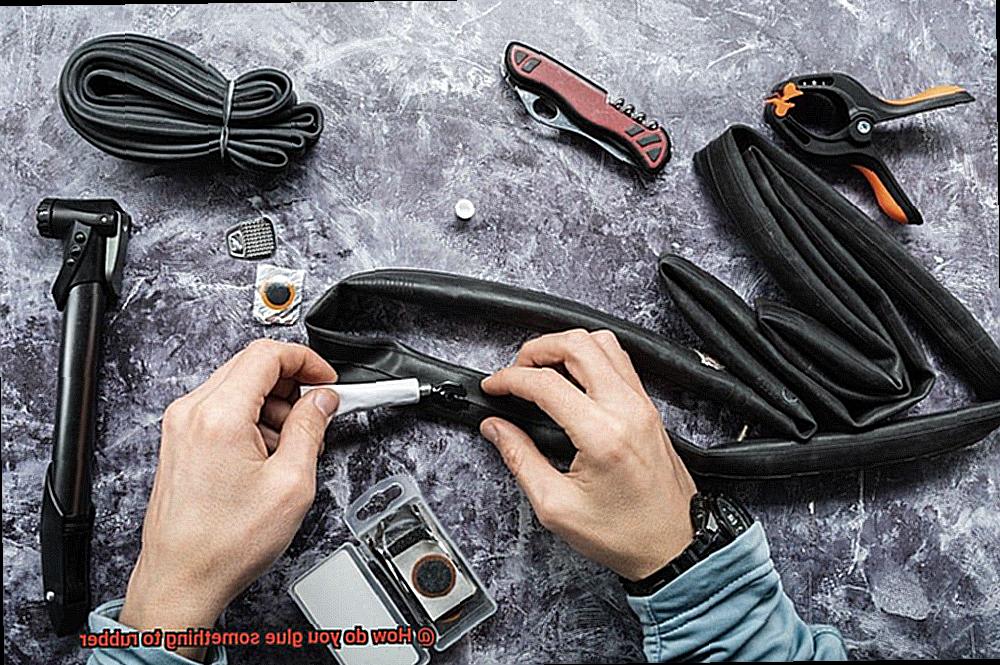
Synthetic Rubber – Customizing Stickiness:
Synthetic rubber is manufactured using chemical processes and can be tailored to possess specific properties suitable for various applications. Neoprene, a popular type of synthetic rubber renowned for its resistance to oil and aging, requires neoprene cement or specialized adhesives designed specifically for this material.
For other synthetic rubbers like EPDM (used in weather seals) or nitrile rubber (used in gaskets), it is vital to select adhesives formulated for these specific materials. These specialized adhesives guarantee strong bonds capable of withstanding harsh environments.
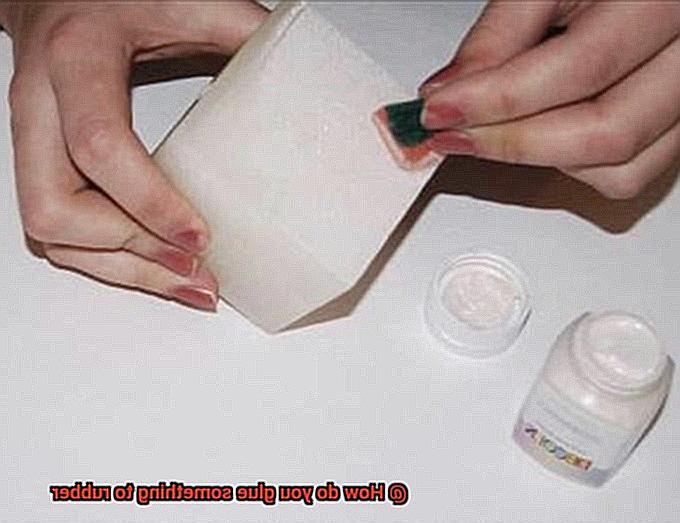
Silicone Rubber – Conquering Slippery Challenges:
Silicone rubber, a unique synthetic rubber known for its high temperature resistance and flexibility, presents a more challenging bonding process. Its low surface energy and chemical resistance make it less receptive to adhesives. However, silicone-based adhesives or specialized silicone adhesives come to the rescue.
When bonding silicone rubber, thorough surface cleaning is paramount. Additionally, using a primer or surface treatment can significantly enhance adhesion. Apply the adhesive uniformly on both surfaces, align them meticulously, and exert adequate pressure to ensure optimal contact. With the right adhesive, you can conquer the slippery challenge of bonding silicone rubber.
Surface Preparation – The Foundation of Successful Bonding:
Regardless of the type of rubber being utilized, proper surface preparation is key to achieving a strong bond. Thoroughly clean the rubber surface with a mild detergent or rubbing alcohol to eliminate any contaminants that may hinder adhesive performance.
Tips for Successful Bonding
When it comes to bonding something to rubber, it’s essential to have the right knowledge and techniques to ensure a successful and durable bond. In this guide, we will explore some key tips that will help you achieve optimal results when gluing items to rubber. Let’s dive in and unlock the secrets of successful bonding.
Select the Perfect Adhesive:
The first step towards successful bonding is choosing the right adhesive for the job. Not all adhesives are suitable for bonding rubber, so it’s crucial to select one specifically designed for this purpose. Common options include rubber cement, cyanoacrylate (super glue), epoxy, and silicone-based adhesives. These adhesives possess unique properties that make them ideal for bonding rubber surfaces.
Thoroughly Clean the Surface:
Before applying any adhesive, take the time to clean the rubber surface meticulously. Dirt, dust, or grease can hinder the bonding process, so it’s crucial to remove them completely. Use a mild detergent or rubbing alcohol solution to clean the surface thoroughly. Ensure that the surface is dry before proceeding with the bonding process.
Enhance Bond Strength with Surface Roughening:
To maximize the bond strength, consider roughening the rubber surface slightly. This can be achieved by lightly sanding the surface with fine-grit sandpaper or using a wire brush to create tiny grooves. The roughened surface provides increased surface area for the adhesive to grip onto, resulting in a stronger bond.
Harness the Power of Primers:
For an even more effective bond, consider using a primer specifically designed for rubber bonding. Primers prepare the rubber surface and enhance its receptivity to bonding agents. Follow the instructions provided by the manufacturer when using a primer, as they can significantly improve adhesion and ensure a long-lasting bond.<
Apply Adhesive Evenly and with Precision:
When applying the adhesive, strive for precision and even distribution on both surfaces to be bonded. Use a brush or a small applicator to spread the adhesive evenly. Avoid excessive adhesive application, as it can lead to messy results and compromise the bond’s strength. Remember, quality over quantity.
Firm Pressure and Patience:
Once the adhesive is applied, carefully bring the two surfaces together and apply firm, even pressure. This ensures proper contact and allows the adhesive to bond effectively. Hold the bonded materials firmly in place for the recommended duration specified by the adhesive manufacturer. Patience is key here, as this allows for adequate curing and ensures a strong bond.
Allow Sufficient Curing Time:
After bonding, resist the temptation to test the bond immediately. Give it ample time to cure undisturbed for at least 24 hours before subjecting it to any stress or load. By allowing sufficient curing time, you provide the adhesive with the opportunity to fully set and develop maximum bond strength.
5ecE-EiZruY” >