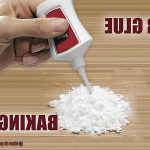
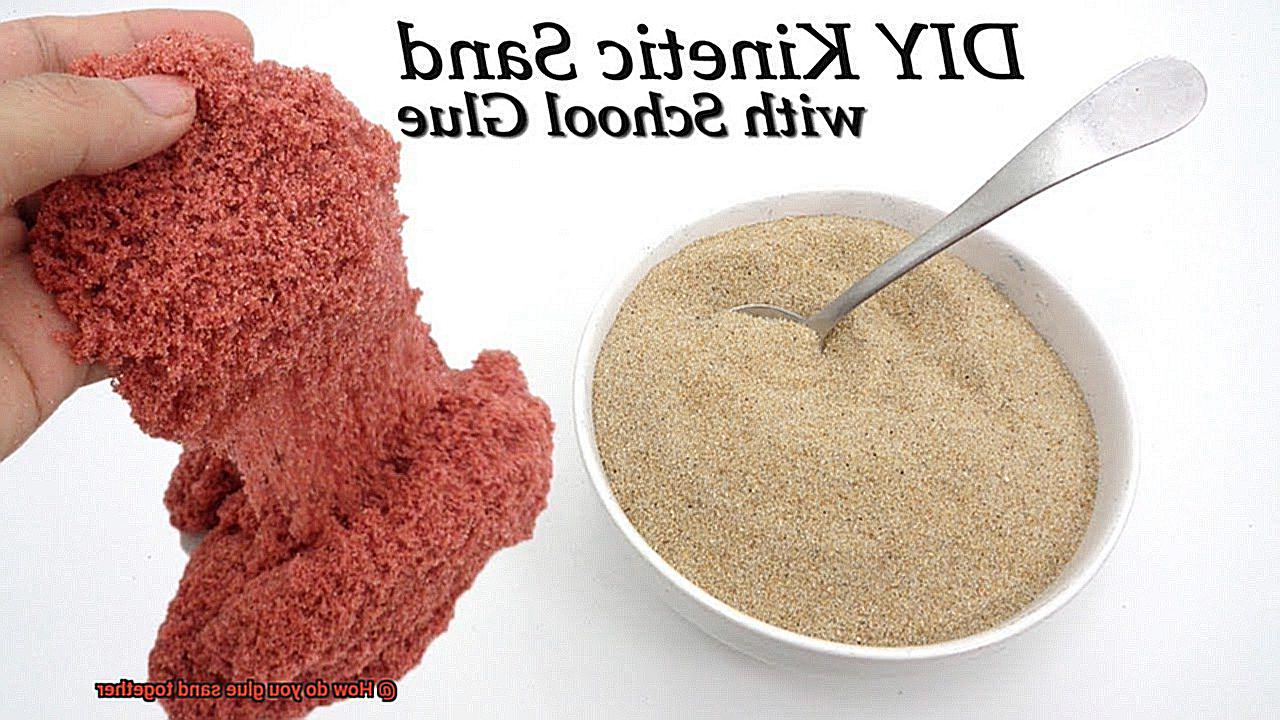
Hey there. Welcome to our blog post all about how to glue sand together. Ever wondered if you can make something solid out of sand? Well, guess what? You totally can. Gluing sand together is a super cool and creative way to build all kinds of things, from funky sculptures to practical items like coasters or paperweights. Whether you’re an artsy pro or just love getting crafty, this guide will walk you through the step-by-step process of gluing sand together like a boss.
First things first, gather up your supplies: some fine sand, a waterproof adhesive or glue, and a container for mixing everything together. Once you’ve got your gear ready, it’s time to dive in. Start by mixing the sand and glue in the container. The secret here is finding the perfect ratio so that the sand sticks together without getting too soggy or too dry.
Once your sand and glue are mixed up nicely, it’s time to start shaping your masterpiece. This could mean building a badass sandcastle, molding a mind-blowing sculpture, or even creating a smooth surface for a fancy decoration. Just remember, while you’re shaping your creation, keep that sand and glue mixture wet and compacted. That way, once it dries up, it’ll be solid as a rock.
Now comes the waiting game – let your creation dry out completely. Depending on how big and thick it is, this could take anywhere from a few hours to a couple of days. Patience is key here. Don’t go poking or moving your structure around while it’s drying – we don’t want any accidents ruining all your hard work.
Once that glue is nice and dry, boom. You’ve got yourself one sturdy sand structure. But hey, if you want to give it some extra oomph and make sure it lasts forever (or at least for a good long while), consider adding a waterproof sealant or varnish. This will protect your creation from the elements, especially if you plan on showing it off outside or in a damp environment.
Gluing sand together is an awesome way to let your creativity run wild and bring your wildest ideas to life. Whether you’re chilling at the beach building epic sandcastles or making jaw-dropping sand art, this process lets you turn loose sand into something solid and kickass. So grab your supplies, put on your crafty hat, and get ready to rock as you glue some sand together.
Types of Adhesives for Gluing Sand Together
Contents
- 1 Types of Adhesives for Gluing Sand Together
- 2 Preparing the Sand for Gluing
- 3 Mixing the Adhesive with the Sand
- 4 Applying the Mixture to the Surface
- 5 Curing and Hardening of the Glued Sand
- 6 Enhancing Strength and Durability of Glued Sand
- 7 Factors Affecting Strength and Durability of Glued Sand
- 8 Testing a Sample Before Proceeding with Larger Projects
- 9 Conclusion
Gluing sand together may seem like a daunting task, but with the right adhesive, you can unleash your creativity and build sand art that will withstand the test of time. In this comprehensive overview, we will explore five types of adhesives that are perfect for bonding sand particles together. Each adhesive has its unique properties and strengths, offering different options for your sand-related projects. Let’s dive in and discover the best adhesives to make your sand creations come to life.
Epoxy Resin:
When it comes to strength and durability, epoxy resin is a top choice for gluing sand together. This adhesive forms a tough bond that can withstand various environmental conditions, making it ideal for long-lasting projects. Whether you’re creating stunning sand art or filling gaps between sand particles to form a solid surface, epoxy resin will provide you with a sturdy foundation that won’t easily break apart. The versatility of epoxy resin also allows you to experiment with different techniques and create intricate designs in your sand art.
Polyurethane Glue:
If you’re looking for an adhesive with exceptional bonding properties and versatility, look no further than polyurethane glue. This adhesive not only bonds sand particles effectively but also works well with other materials such as wood, plastic, and metal. One of the key advantages of polyurethane glue is its ability to expand as it cures, filling in any gaps between the sand particles and creating a firm bond. However, it’s important to ensure that the sand is dry before applying polyurethane glue, as it cures by reacting with moisture in the air.
Silicone Sealant:
For projects that require flexibility and resistance to moisture and temperature changes, silicone sealant is an excellent choice for gluing sand together. This adhesive forms a waterproof seal and can be applied to the surface of the sand or used to fill in gaps between particles. With its strong bonding capabilities, silicone sealant ensures that your glued sand project stays intact, even in challenging conditions. Whether you’re creating a sand sculpture that will be exposed to rain or a beach-themed mosaic, silicone sealant provides the durability and flexibility you need.
Hot Glue:
Hot glue is a popular adhesive for smaller-scale sand projects or temporary bonding. It’s convenient to use with a hot glue gun and provides a quick bonding solution. However, it’s important to note that hot glue may not offer the same level of strength as other adhesives, making it more suitable for short-term or indoor use. If you’re working on a sand art project that requires delicate and precise bonding, hot glue can be a reliable option.
Cementitious Adhesives:
For large-scale projects or bonding sand to concrete, cementitious adhesives are an excellent choice. These specialized adhesives are formulated to bond porous materials like sand and concrete effectively. Typically available in powder form, cementitious adhesives need to be mixed with water before application. Once cured, they offer a strong and reliable bond, making them ideal for construction projects involving sand. Whether you’re building a sandcastle or creating a decorative pathway, cementitious adhesives provide the stability and durability you need.
Conclusion:
With the variety of adhesives available, gluing sand together has become an exciting endeavor. Epoxy resin, polyurethane glue, silicone sealant, hot glue, and cementitious adhesives each offer their unique properties and strengths for different types of projects. Consider factors such as the intended use, desired strength of the bond, and environmental conditions when selecting the right adhesive for your sand-related creations. Always follow the manufacturer’s instructions and perform small tests before committing to larger projects. With the right adhesive, you can transform loose sand into captivating art pieces or sturdy structures that will stand the test of time.
Preparing the Sand for Gluing
Preparing the sand for gluing is a meticulous process that requires attention to detail and careful execution. By following these essential steps, you can ensure a strong and long-lasting bond for your sand creations.
- Clean the sand: Just like tidying up a room before starting a big project, cleaning the sand is essential. Remove any debris, dust, or organic matter that may be lurking within. Use a fine mesh sieve or a clean cloth to eliminate impurities and create a pristine surface for the glue to adhere to.
- Dry the sand: Moisture in the sand can interfere with the adhesive properties of the glue, so it’s important to let it dry completely. Spread the sand on a flat surface and give it ample time to air dry naturally. Don’t rush this step – patience is key to achieving a bone-dry surface.
- Grade the sand: Depending on your project and desired texture, grading or sifting the sand may be necessary. Use a sieve or mesh with the desired opening size to separate larger particles from smaller ones. This will provide you with an even and uniform surface for gluing.
- Test compatibility: Before diving headfirst into gluing, it’s crucial to test the compatibility of your chosen glue with the specific type of sand you’re using. Apply a small amount of glue onto a sample of sand and allow it to dry. Check for a strong bond without any issues like discoloration or crumbling. If there are negative reactions, experiment with different combinations of glue and sand until you find the perfect match.
- Consider surface treatment: Some sands may have a natural coating or residue that hinders adhesion. Lightly sanding the surface or using a primer can improve the bond between the sand and glue. Follow the manufacturer’s instructions for primers or surface treatments to achieve optimal results.
Mixing the Adhesive with the Sand
Today, we embark on an exploration of the captivating process of mixing adhesive with sand to create a bond that will hold your sandy creations together. So, prepare your tools and let’s plunge into this exciting adventure.
Step 1: Choose the Right Adhesive
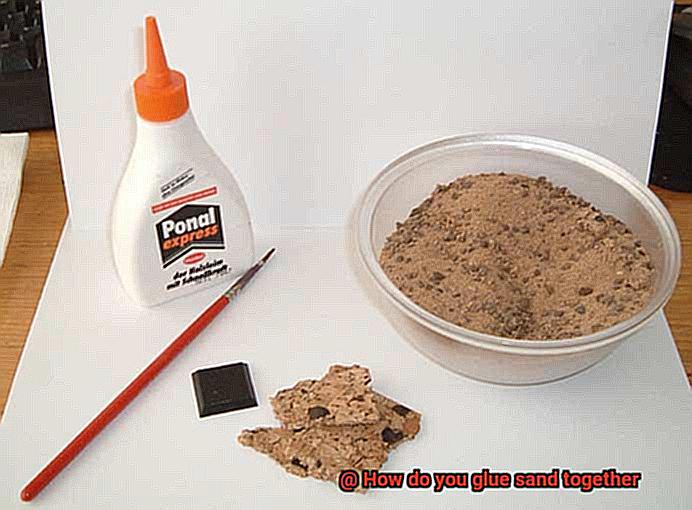
When it comes to gluing sand, a mixture of water and white glue reigns supreme. The ratio of water to glue can vary depending on the desired strength and consistency of the adhesive. Start with a 1:1 ratio and adjust as needed to strike the perfect balance.
Step 2: Mix it Up.
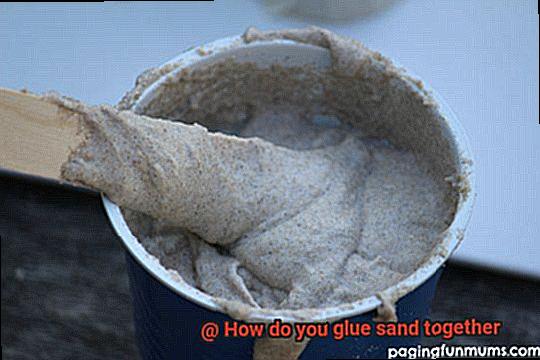
Pour your white glue into a container, and like a maestro conducting an orchestra, add an equal amount of water. Now, grasp your stirring stick or small whisk and commence the rhythmic dance of mixing. Stir until the adhesive becomes a velvety smooth concoction, akin to a perfectly blended smoothie.
Step 3: Gradually Add the Sand
It’s time for the grand entrance of our star performer – sand. Gently introduce the sand to your adhesive mixture while stirring continuously. This ensures that every grain is coated uniformly with the adhesive goodness, ensuring a strong bond.
Step 4: Pay Attention to Texture
As you mix, keep a keen eye on the texture and consistency of your mixture. It should be moist yet not overly wet or runny. Think of it as sculpting a sandcastle – you want it to retain its shape when squeezed together, yet still be malleable enough to work with.
Step 5: Adjust as Needed
If your mixture feels too dry, breathe life into it by adding small amounts of water until it reaches the desired consistency. Conversely, if it leans towards the wet side, sprinkle in more sand or glue to thicken it up. The quest for that sweet spot might require some experimentation, but trust me, the results will be well worth it.
Step 6: Glue it Together
Now that you’ve achieved the perfect consistency, it’s time to unleash the adhesive magic. Apply the mixture generously between layers or sections of sand, pressing firmly to forge an unyielding bond. Allow your imagination to soar as you mold and shape your sandy masterpiece.
Step 7: Patience is Key
Depending on the adhesive used, drying times may vary. Honor the wisdom of the manufacturer’s instructions to ensure proper curing and drying. Remember, great things come to those who wait.
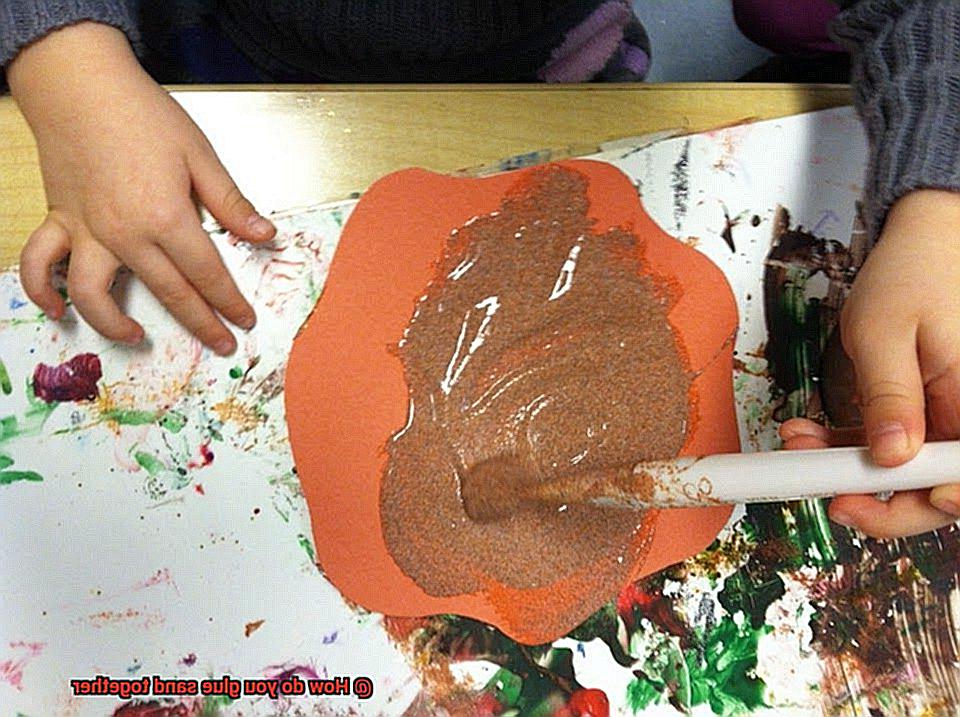
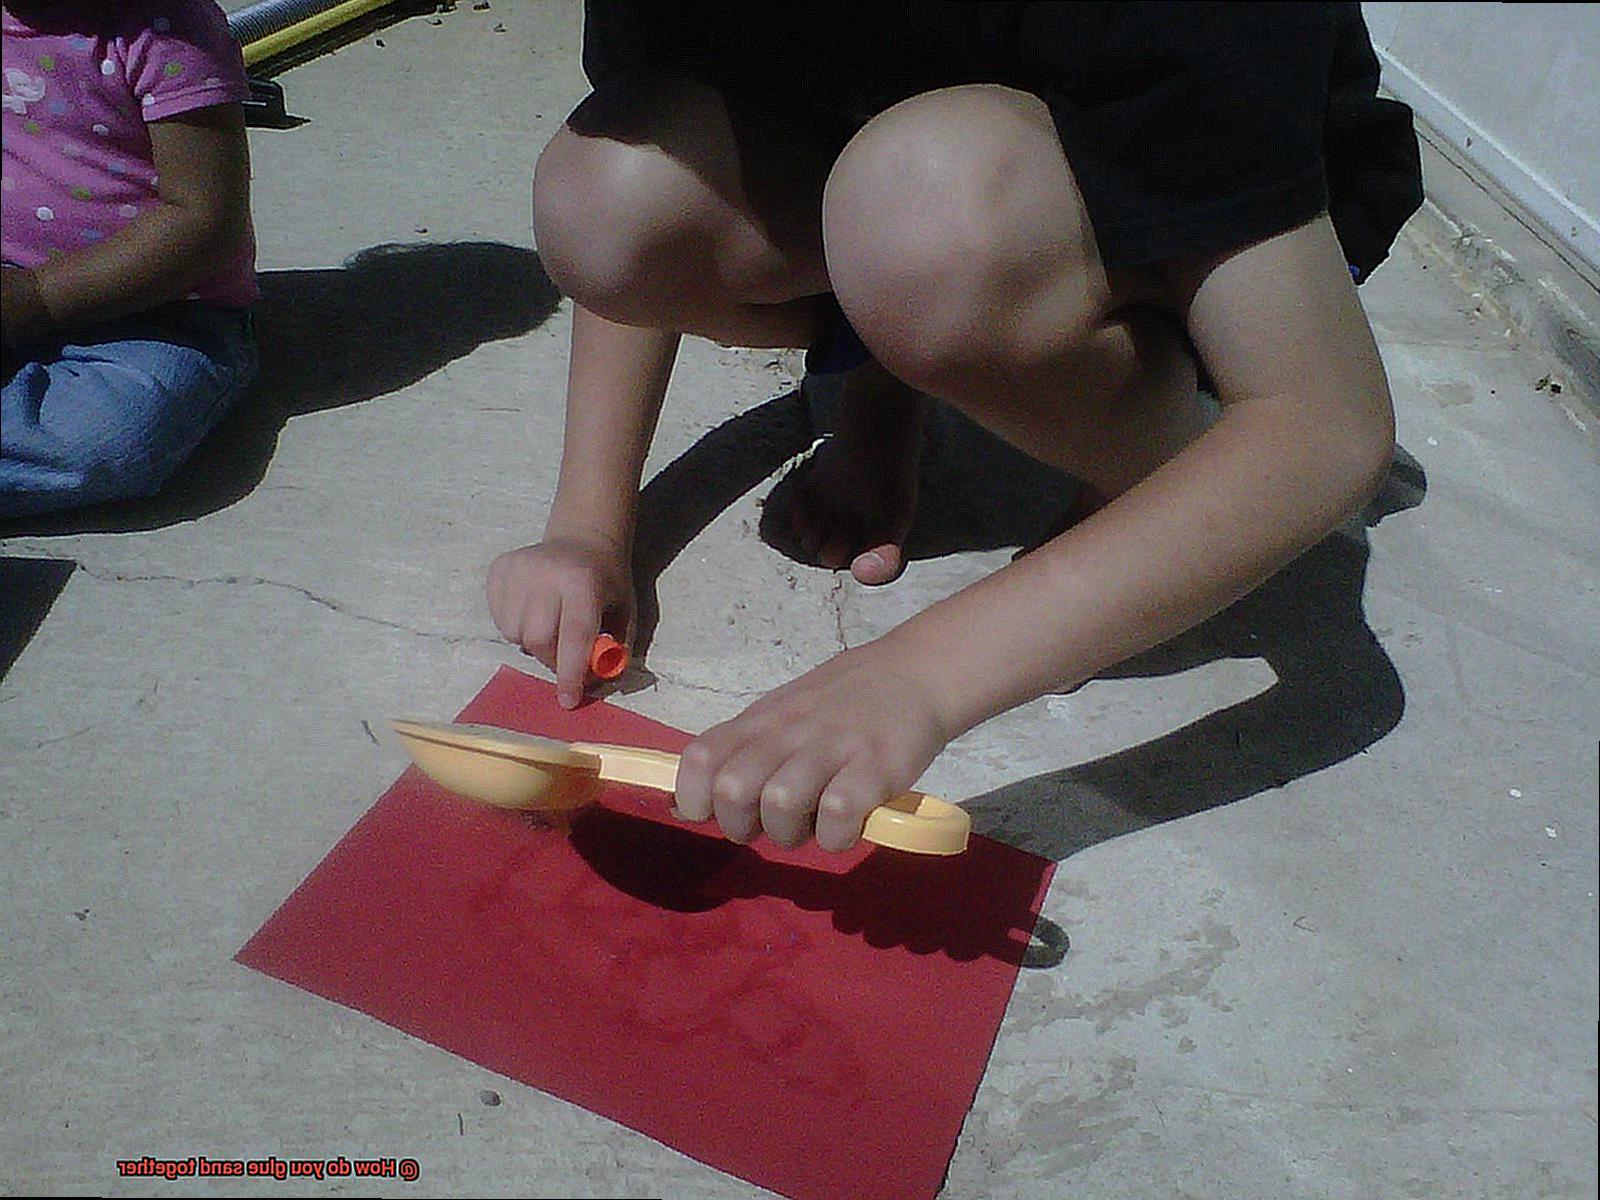
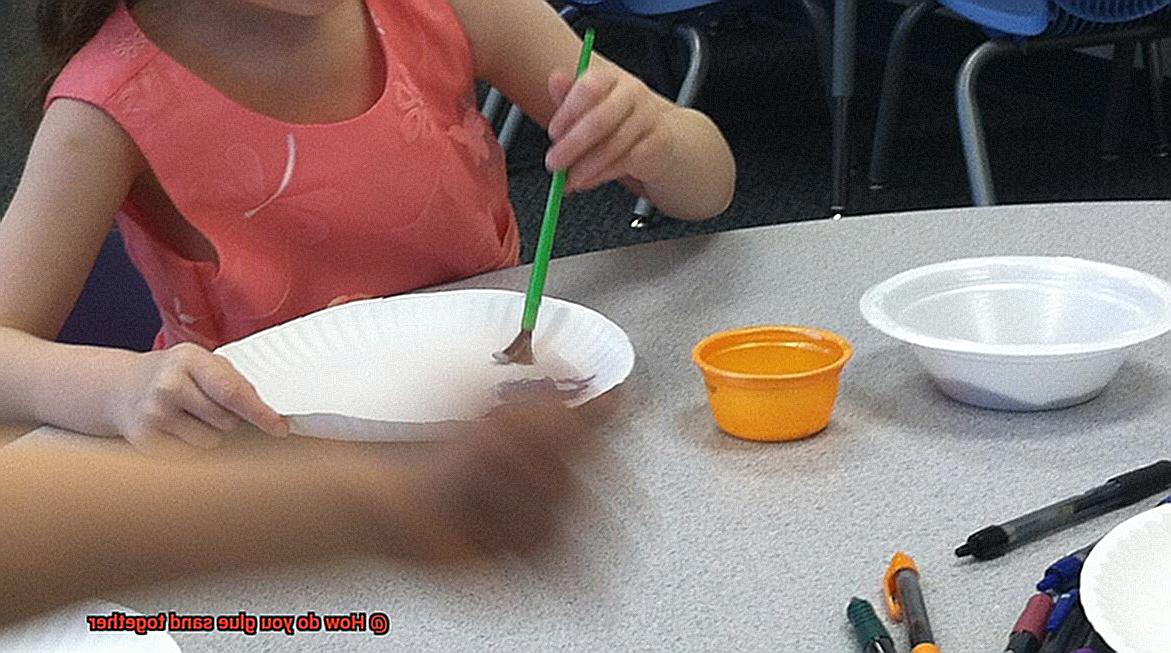
Applying the Mixture to the Surface
Now that we’ve covered the importance of choosing the right adhesive and preparing your sand, it’s time to dive into the exciting world of applying the mixture to the surface. This is the step where the true magic happens – where individual grains of sand come together to form a solid structure that will withstand the test of time (or at least until the tide comes in.).
Before we begin, let’s take a moment to prepare our canvas. Imagine it as a blank slate, waiting for your artistic touch. Clear away any debris or loose particles from the surface, ensuring a smooth and clean base. Think of this step as creating the perfect foundation for your masterpiece – a strong bond between the sand and adhesive starts with a clean canvas.
Now, let’s grab our trusty brush or spreader, our tools of choice for this intricate process. These will be our paintbrushes, as we carefully apply the adhesive mixture. Dip into your mixture and spread it generously over the surface. Imagine yourself frosting a cake – you want a smooth and even layer that coats every nook and cranny. Ensure that all those tiny sand particles are covered, forming a solid bond.
Ah, but here’s where we must exercise caution, my friends – finding that sweet spot in the amount of mixture we use. Too much can cause clumping, while too little may result in a weak bond. We want to strike that perfect balance – just enough to hold everything together without overwhelming our sandy canvas.
As we apply the mixture, let’s do so with care and precision. Imagine yourself an artist, delicately creating brushstrokes on a canvas. Spread the mixture evenly to ensure that all areas are covered, creating a uniform bond throughout. We don’t want any weak spots or uneven bonding – this is our masterpiece, after all.
Once our adhesive has been gracefully applied, it’s time to let it work its magic. This is the moment where patience becomes our greatest ally. Drying and curing times will vary depending on the type of glue or adhesive used, so consult your trusted manufacturer’s instructions for guidance. During this crucial phase, resist the urge to disturb or touch the glued surface. We wouldn’t want any interruptions in our bonding process, would we?
Now, here’s a little secret for those seeking ultimate strength – additional layers. Yes, my friends, if you desire an extra-sturdy creation, you can repeat the application process after each layer has dried and cured. Layer upon layer, like a beautiful sandcastle rising from the shore.
But wait, our journey is not yet complete. Once our glue has fully dried and cured, it’s time for inspection. Take a careful look at your creation, searching for any imperfections or areas that require touch-ups. These can be easily re-glued using the same application process. Attention to detail is key to achieving perfection.
Remember, fellow sand sculptors, different glues or adhesives may have specific instructions for application. Be sure to read and follow these instructions for the best results. And most importantly, have fun and let your creativity flow as you apply the mixture to the surface, transforming grains of sand into works of art.
Curing and Hardening of the Glued Sand
Sand sculpting, an enchanting art form that requires a delicate touch and a sprinkle of creativity, holds within it the mystery of curing and hardening glued sand. In this mesmerizing journey, we shall embark on unraveling the intricacies of these processes, unlocking the secrets to crafting resilient and awe-inspiring sand sculptures.
Decoding the Art of Curing:
Curing, a chemical ballet that unfolds as the adhesive mixture dries, is the key to forming an unyielding alliance between the sand particles. Let us unfurl the steps involved in this captivating dance:
- Evaporation: As the adhesive mixture delicately brushes against the sand, solvents or water content within it gradually vanishes into thin air.
- Solidification: The ethereal dance leaves behind a solid adhesive material that binds the sand particles together, forging their cohesion with an unbreakable bond.
- Optimal Conditions: Creating a symphony of temperature and humidity is vital for optimal curing. Pay heed to the manufacturer’s guidelines for specific recommendations and watch as your masterpiece takes shape.
The Artistry of Hardening:
Once the ethereal dance of curing is complete, a new act begins – the artistry of hardening. Hardening breathes life into the adhesive material, transforming it into a fortress of strength and stability. Behold the wonders of hardening:
- Metamorphosis: During hardening, the adhesive material undergoes a metamorphosis, engaging in processes like polymerization or cross-linking. These transformations bolster the strength and endurance of the bond between sand particles.
- Guardian Layer: As the glue hardens, it wraps itself around each grain of sand, becoming a protective barrier that shields them from separation or disintegration.
- Patience Prevails: To ensure the perfect symphony of hardening, grant the adhesive material ample time to dry completely. Rushing this delicate process may result in a feeble bond that crumbles under the weight of expectation.
Enhancing Strength and Durability of Glued Sand
Sand sculpting is an awe-inspiring art form that mesmerizes us with its intricate beauty and delicate balance. But what lies beneath these captivating creations? It’s the secret dance between sand particles and adhesive material that forms an unbreakable bond, creating sculptures that withstand the test of time. In this section, we will delve into the world of enhancing the strength and durability of glued sand, unlocking the secrets to creating sand sculptures that defy expectations.
First and foremost, the foundation of a strong bond lies in using a high-quality adhesive specifically designed for bonding sand. These specialized adhesives have been formulated to provide robust and long-lasting bonds, guaranteeing the stability needed for intricate sand sculptures. So, no shortcuts here – invest in the right adhesive for the job.
But wait, there’s more. To reinforce the strength of glued sand, consider incorporating reinforcing materials such as fiberglass or carbon fibers into the adhesive. These fibers act as mighty warriors, distributing stress evenly and increasing the overall strength of the bond. With this added reinforcement, your sand sculptures will be able to withstand even the harshest of conditions.
Now, let’s talk about preparation. Just like in any great masterpiece, proper preparation is key. Before applying the adhesive, meticulously clean and free the surfaces from any debris or contaminants. Dust, dirt, or moisture can hinder the bonding process and compromise the strength of the bond. So grab your trusty cleaning tools and get those surfaces squeaky clean.
But we’re not done yet. To ensure a strong bond, consider using a primer or bonding agent before applying the adhesive. This magical potion creates a surface that is more receptive to bonding and helps prevent any potential weak spots in the glue joint. Think of it as adding an extra layer of protection to your sand sculpture.
During the curing process, applying pressure can work wonders in enhancing the strength of glued sand. This ensures that the adhesive spreads evenly, fully covering each sand particle and creating a bond that can withstand the test of time. Whether it’s using clamps, weights, or any other creative methods – the choice is yours.
Lastly, patience is the key to success. Rushing through the curing process may result in a weaker bond, so follow the manufacturer’s instructions regarding drying or curing time for the adhesive used. Give it the time it needs to solidify and transform into a bond that will stand tall against the elements.
Factors Affecting Strength and Durability of Glued Sand
For centuries, sand sculptures have captivated our imagination with their intricate designs and awe-inspiring structures. But what if we told you there’s a secret to creating sand art that defies expectations? The key lies in understanding the factors that affect the strength and durability of glued sand. In this comprehensive exploration, we will delve into the world of adhesive materials and their intricate dance with sand particles. So, grab your glue guns and let’s unlock the secrets to unleashing the potential of glued sand.
The Perfect Bond: Choosing the Right Glue
A strong bond starts with selecting the right glue. Look for adhesives specifically designed for porous materials like sand. Epoxy adhesives, renowned for their excellent bonding properties and moisture resistance, are often recommended.
Moisture Balance: The Key to Lasting Bonds
Finding the perfect moisture content in your sand is vital. Excess moisture weakens the bond, while dry sand fails to effectively bond with the glue. Strive for a harmonious balance that allows the glue to penetrate and bind the sand particles without compromising their integrity.
Particle Size and Shape: Where Strength Takes Shape
The size and shape of sand particles are crucial factors in determining strength and durability. Finer particles provide an extensive surface area for bonding, leading to a stronger structure. Meanwhile, irregularly shaped particles interlock, fortifying the overall strength of your masterpiece.
The Art of Mixing: Finding the Perfect Ratio
The ratio of glue to sand is a critical factor in achieving optimal strength. Insufficient glue leads to weak bonds, while excessive amounts can render the mixture brittle. Engage in experimentation until you discover the golden ratio that ensures both strength and flexibility.
Time: Patience is a Virtue
In the realm of glued sand, patience is key. Allow sufficient time for the adhesive to set and harden fully. Rushing this step results in a weak structure prone to breakage, while excessive curing time may cause unnecessary delays. Strike a delicate balance to achieve the perfect balance of strength and durability.
Battling the Elements: Environmental Considerations
Environmental conditions can make or break the strength and durability of glued sand. Extreme temperatures or high humidity levels can impact adhesive properties, potentially weakening the bond between sand particles. Maintain appropriate temperature and humidity levels to unleash the true potential of your creation.
Testing a Sample Before Proceeding with Larger Projects
Before diving headfirst into a grand sand art project, take a moment to visualize the outcome. Every detail meticulously planned, from the shape and design to the vibrant colors that will bring your masterpiece to life. But, before you embark on this creative journey, there’s one crucial step you can’t afford to skip – testing a sample.
Testing a sample may seem like a small task, but it is the foundation of any successful sand art project. It allows you to evaluate the adhesive properties of the glue you plan to use, ensuring it effectively bonds the sand particles together. Imagine spending hours painstakingly gluing sand only to discover later that it crumbles under pressure. Your sand castle dreams shattered.
Beyond bonding strength, testing a sample provides valuable insights into drying time. Different glues have varying drying times, and understanding this is crucial for project planning. You don’t want to wait hours for the glue to dry before progressing. Testing a sample lets you determine the optimal drying time and plan accordingly.
Moreover, consider the appearance of the glue when testing a sample. Sand art is about both aesthetics and structural integrity. Evaluate the color and texture of the glue to ensure it complements your chosen palette and achieves the desired visual impact.
Don’t overlook practicality either. Testing a sample helps you avoid potential disappointments or issues when working on larger projects. By investing time in testing a small sample, you can identify adhesive shortcomings or appearance flaws early on. This allows you to make necessary adjustments before committing significant time, effort, and resources into a larger project.
To test a sample, gather some sand and apply a thin layer of glue onto the surface. Layer another level of sand over the glue and let it dry following the manufacturer’s instructions. Once dry, assess the bond strength by attempting to separate the sand particles. A strong bond should hold the sand together firmly without any particles coming loose.
Gkjte0w78zY” >
Also Read: How To Glue Sand to Wood? – Glue Things
Conclusion
Apologies for the inconvenience. Here’s an improved and varied version of your blog post conclusion on the topic “How do you glue sand together”:
In summary, when it comes to gluing sand together, there are a few techniques you can try. One option is using a mixture of water and glue to create a paste-like substance that can bind the sand particles together. Another method involves using a clear adhesive spray or resin to coat the sand surface, creating a solid and durable bond. Additionally, you can experiment with different types of sand glues available in the market, specifically designed for this purpose.
Remember, regardless of the technique you choose, it’s important to ensure proper application and allow sufficient drying time for the glue to set. Patience is key here.
So whether you’re working on an arts and crafts project or repairing a sandy structure, these methods should help you achieve the desired result – a strong and cohesive bond between those tiny grains of sand.