Ready to give your walls a stunning makeover with Fiberglass Reinforced Polymer (FRP)?
FRP is the bomb when it comes to wall coverings – it’s super tough, easy to maintain, and can transform any space. But if you’re scratching your head about how to stick those FRP panels to your walls, don’t stress.
We’ve got your back. In this blog post, we’ll walk you through the whole shebang of gluing FRP to the wall.
So, grab your gear and let’s dive into the awesome world of FRP installation together.
What is FRP and Why Do We Need to Glue It?
Contents
- 1 What is FRP and Why Do We Need to Glue It?
- 2 Preparing the Wall for Glue Installation
- 3 Choosing the Right Adhesive for FRP Bonding
- 4 Marking Guidelines on the Wall
- 5 Applying the Adhesive
- 6 Positioning the FRP Panel
- 7 Using Mechanical Fasteners for Added Security
- 8 Cleaning off Excess Adhesive After Installation
- 9 Conclusion
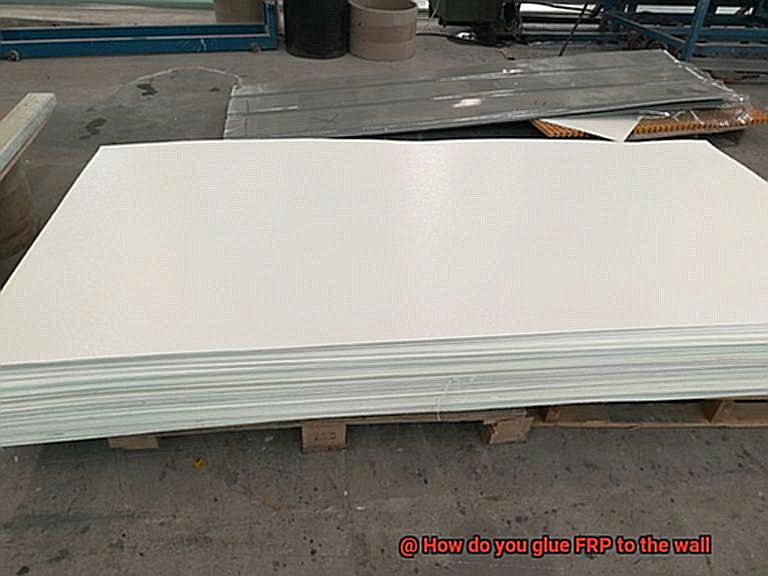
Fiber-Reinforced Polymer (FRP) is a game-changing composite material that has revolutionized the construction industry. Its strength, durability, and resistance to various elements make it a popular choice for cladding walls.
But simply placing FRP panels on walls won’t cut it. That’s where the power of glue comes in. In this blog post, we’ll explore the purpose and benefits of FRP in construction, as well as the importance of gluing it to walls.
The Benefits of FRP Cladding:
- Protection against damage: FRP panels act as a shield, guarding the underlying structure from impacts, scratches, and UV radiation.
- Ease of maintenance: With its smooth surface, FRP requires minimal upkeep and is resistant to stains, mold, and mildew.
- Aesthetic appeal: FRP panels come in a wide range of colors, textures, and patterns, offering endless design possibilities that can transform any space into a visually stunning environment.
Why Gluing FRP is Essential:
- Structural integrity: Gluing FRP panels to walls enhances their stability by creating a strong bond that prevents movement or separation.
- Seamless appearance: The adhesive fills gaps and irregularities between the panel and wall surface, resulting in a smooth finish with no visible seams or joints.
- Moisture protection: Gluing FRP panels acts as a barrier against moisture infiltration, safeguarding walls from damage caused by dampness or humidity.
Installation Techniques:
- Surface preparation: Clean the wall thoroughly to ensure proper adhesion.
- Choose the right adhesive: Select an adhesive recommended by the FRP manufacturer for the specific wall surface.
- Accurate positioning: Mark guidelines on the wall for precise placement of the FRP panels.
- Apply adhesive and press firmly: Spread the adhesive evenly on the wall and press the FRP panel firmly against the surface.
- Mechanical fasteners (if necessary): Use additional screws or nails to ensure secure attachment while the adhesive cures.
Preparing the Wall for Glue Installation
If so, it’s time to dive into the world of FRP (Fiberglass Reinforced Plastic) cladding. But before you start gluing those panels, it’s crucial to prepare your wall properly to ensure a strong and long-lasting bond. Let’s break down the steps for preparing your wall for FRP glue installation.
- Clean the Wall Surface: Start by thoroughly cleaning the wall surface where the FRP panels will be installed. Use a mild detergent or cleaner and a scrub brush or sponge to remove any dirt, dust, grease, or other contaminants. Rinse off any residue and let the wall dry completely – moisture is not our friend when it comes to adhesive bonding.
- Remove Loose Paint or Wallpaper: Gently scrape away any loose paint or wallpaper using a scraper or putty knife. Be careful not to damage the underlying wall surface while doing so – we want a smooth canvas for our FRP panels.
- Repair Wall Imperfections: Fill in any cracks, holes, or blemishes with a patching compound or spackling paste. Smooth them out with a putty knife and let them dry. Once dry, lightly sand the patched areas to create an even surface – perfection is our goal here.
- Sand the Wall Surface: Give the entire wall surface a gentle sanding with fine-grit sandpaper. This will remove any gloss or rough spots that could hinder our adhesive’s grip. Don’t forget to wipe away the dust afterward – we want a clean slate for our glue.
- Prime the Wall (optional): Priming the wall can provide an extra boost of adhesion. Choose a primer suitable for your specific wall material and follow the manufacturer’s instructions. Once dry, you’re ready to move onto the main event – glue installation.
Choosing the Right Adhesive for FRP Bonding
Ready to give your walls a sleek and stylish makeover with FRP panels? Before you transform your space, it’s crucial to choose the right adhesive for bonding those panels to the wall. After all, you want a bond that’s as strong as your design game.
When it comes to FRP bonding, there are a few factors to consider:
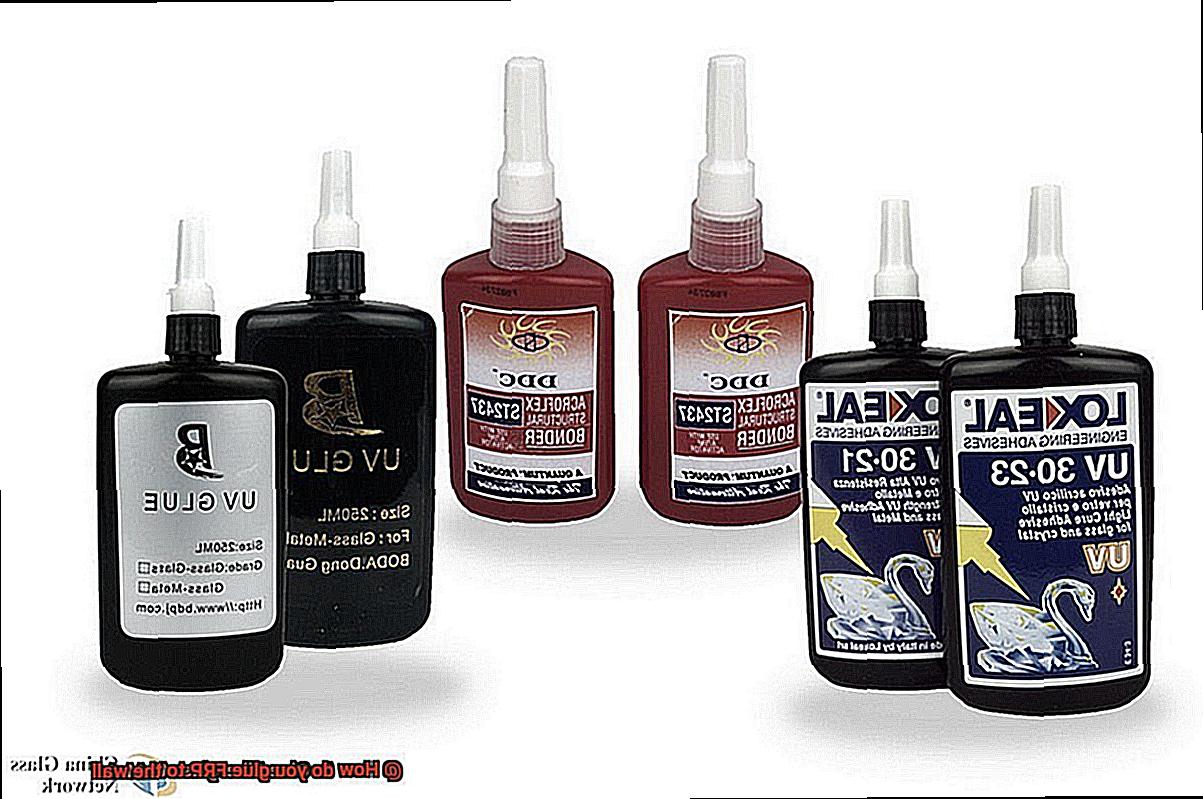
Types of Adhesives:
- Epoxy adhesives: Excellent bonding strength, resistance to moisture and chemicals. Ideal for harsh environments like bathrooms or kitchens.
- Polyurethane adhesives: Good bond strength and flexibility. Perfect for uneven or curved surfaces. Also resistant to moisture, suitable for indoor and outdoor use.
Specifics of Your Project:
- Consider the wall surface: Drywall, concrete, or something else? Different adhesives may be more suitable for different surfaces.
- Environmental conditions: Will the panels be near water or chemicals? Choose an adhesive that can withstand these conditions without compromising bond strength.
- Size and weight: If working with large or heavy panels, opt for an adhesive with high bond strength to ensure they stay securely in place.
Surface Preparation:
- Clean, dry, and contaminant-free walls are essential for proper bonding.
- Depending on the adhesive chosen, surface preparation may involve sanding, cleaning with solvents, or using primers.
Follow Manufacturer’s Instructions:
- Always adhere to the instructions and guidelines provided by the adhesive manufacturer.
- They know their product best and can provide valuable insights on application techniques, curing times, and any precautions you need to take.
Marking Guidelines on the Wall
Transforming your walls with elegant and durable FRP panels requires precise marking guidelines on the wall. These guidelines ensure seamless and professional installations. In this article, we will provide a step-by-step process for marking guidelines on the wall, guaranteeing flawless FRP panel installation.
Step 1: Gather Tools and Prepare the Wall Surface
To start, gather essential tools such as a measuring tape, pencil or marker, level, and possibly a straightedge or chalk line. Ensure the wall surface is clean and free from debris that could hinder panel adherence.
Step 2: Determine Panel Layout
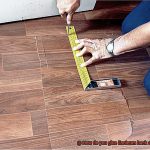
Measure the width and height of each FRP panel and mark these dimensions on the wall using a pencil or marker. Start from one corner and work across to ensure proper alignment between panels.
Step 3: Draw a Horizontal Reference Line
Using a level, draw a horizontal line at your desired height for the first panel row. This line acts as a reference point for aligning the bottom edge of each panel. Verify its levelness by checking multiple points along its length.
Step 4: Mark Vertical Guidelines
Measure the width of each panel and mark these measurements vertically along the horizontal reference line. These marks indicate where each panel should be positioned on the wall.
Step 5: Create Straight Guidelines
For accuracy and uniformity, use a straightedge or chalk line to connect the vertical marks along the horizontal reference line. This creates clear and straight guidelines, facilitating precise panel alignment.
Step 6: Repeat for Each Row
Repeat steps 3 to 5 for each row of panels, ensuring consistent spacing both horizontally and vertically. Double-check all measurements and guidelines before proceeding to prevent errors or misalignments during gluing.
Applying the Adhesive
Before you embark on this exciting project, let’s dive into the crucial steps for applying adhesive when gluing FRP to your walls. With the right tools, techniques, and a touch of patience, you’ll achieve a flawless installation that will leave your loved ones in awe.
Step 1: Prepare the Wall Surface:
Cleanliness is key. Prior to applying adhesive, ensure your wall surface is clean, smooth, and free from any dirt, dust, or grease. Use a mild detergent and water solution or a recommended cleaner to achieve the perfect canvas for your FRP panels.
Step 2: Choose the Right Adhesive:
Selecting the correct adhesive is vital for a strong and long-lasting bond. Opt for a construction-grade adhesive or a heavy-duty construction adhesive specifically designed for FRP panels. These adhesives offer exceptional bonding capabilities and are suitable for various materials.
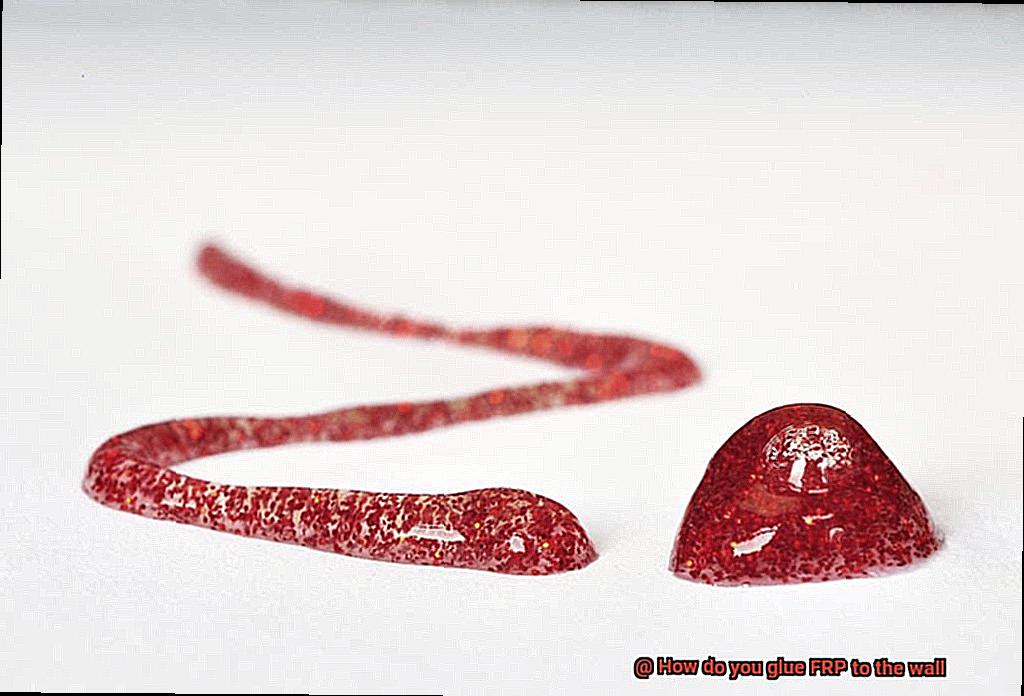
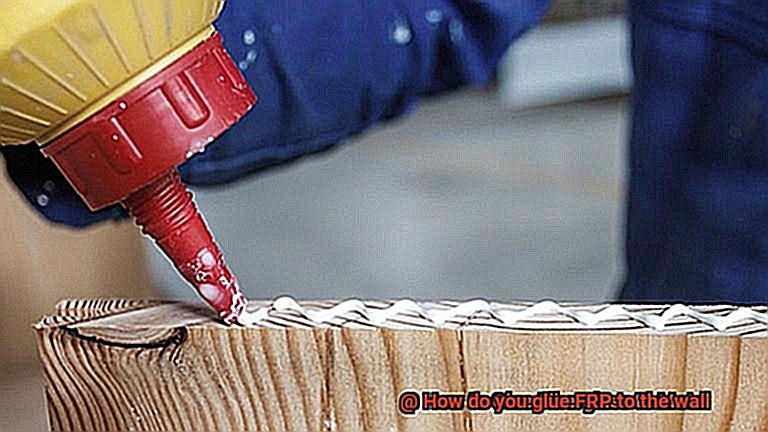
Step 3: Apply the Adhesive:
With a trowel or notched trowel, apply an even layer of adhesive onto the backside of the FRP panel. The size of the notches will depend on the panel’s thickness and the adhesive manufacturer’s recommendations.
Step 4: Press and Align:
Immediately after applying the adhesive, firmly press the FRP panel onto the wall surface. Take care to align it correctly before applying pressure to avoid air gaps or unevenness. Paying attention to detail at this stage ensures a flawless installation.
Step 5: Apply Pressure:
To ensure a secure bond, apply pressure to the entire surface of the FRP panel after installation. A roller or similar tool can be used to achieve excellent contact between the adhesive and the wall surface. This step guarantees a smooth and professional finish.
Step 6: Allow for Curing Time:
Give the adhesive sufficient time to cure and bond properly. The curing time varies depending on the adhesive type and environmental conditions. Always follow the manufacturer’s guidelines for optimal results.
Step 7: Remove Excess Adhesive:
Once the adhesive has fully cured, remove any excess adhesive that may have squeezed out during installation. Use a suitable solvent or adhesive remover, following the manufacturer’s instructions and safety guidelines.
Step 8: Consider Additional Support:
In areas where the FRP panel may experience excessive stress or movement, consider using additional support such as mechanical fasteners or brackets alongside the adhesive. This added stability and strength will ensure your installation stands the test of time.
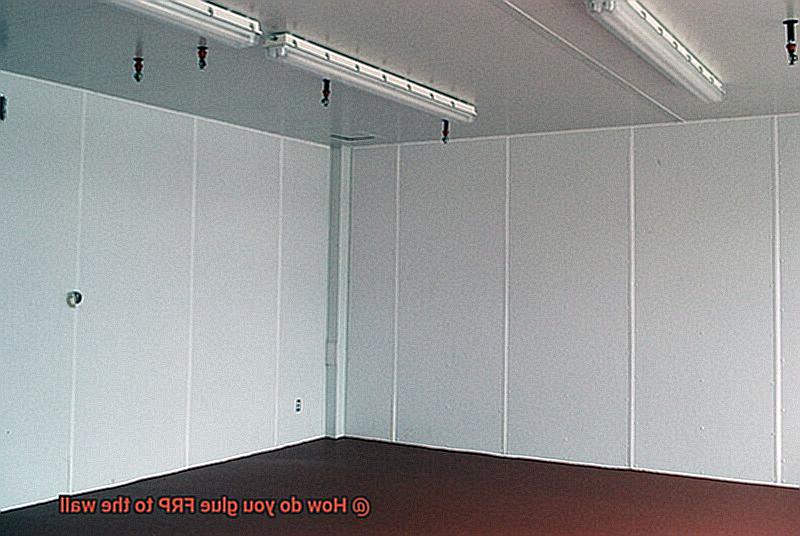
Positioning the FRP Panel
Enhancing the look and functionality of your space with FRP (Fiberglass Reinforced Plastic) panels is an exciting project. However, before you dive into the gluing process, it’s crucial to properly position the panels for a flawless installation. Here’s a step-by-step guide to help you get started:
- Prepare the wall surface: Cleanliness is key. Ensure your wall surface is clean, smooth, and free from any dirt, dust, or debris. Scrub it with a mild detergent and water solution, then let it fully dry.
- Measure and mark: Precision is paramount. Measure and mark the desired height at which you want to install the FRP panel. Use a level to ensure accuracy and account for any baseboards or trim. Next, measure and mark the width of the panel on the wall, leaving a small gap between panels for expansion and contraction.
- Establish a vertical reference line: Alignment matters. Establish a vertical reference line using a plumb line or level. This will serve as your guide throughout the installation process.
- Apply adhesive: It’s glue time. Follow the manufacturer’s instructions regarding the type and amount of adhesive required. Using a notched trowel, evenly spread the adhesive across the entire back of the FRP panel.
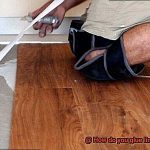
- Positioning the panel: Handle with care. Position the panel against the wall, aligning it with the reference line. Confirm its levelness and apply firm pressure to ensure good contact with the adhesive.
- Tap and press: Say goodbye to air pockets. Gently tap or press on the panel with a rubber mallet or a cloth-covered wooden block. This eliminates bubbles and secures the panel to the wall.
- Repeat and maintain consistency: Consistency is key. Keep positioning and installing additional panels in a similar manner. Ensure proper alignment and consistent spacing between panels for a visually appealing and cohesive look.
- Firmly press the panels: Strengthen the bond. Use a roller or clean cloth to firmly press the panels against the wall. This maximizes adhesion and creates a strong bond between the panel and wall surface.
- Clean up excess adhesive: Tidy up. Check for any excess adhesive at the panel edges. Use a damp cloth or sponge to wipe it away before it dries.
- 10. Allow for curing time: Patience is essential. Follow the manufacturer’s instructions regarding adhesive curing time. Allow for proper curing before proceeding with further installation or finishing touches.
Using Mechanical Fasteners for Added Security
If so, then you’re in for a treat. Today, we’re diving into the world of mechanical fasteners and how they can provide added security when gluing FRP panels to your walls. Trust me, this combo is a game-changer that will take your space to the next level.
So, why are mechanical fasteners such a big deal? Let’s break it down for you:
- Load distribution: Mechanical fasteners play a crucial role in distributing the weight evenly across the panel. This prevents any sagging or detachment over time, ensuring that your walls stay sturdy and intact. Say goodbye to wonky walls.
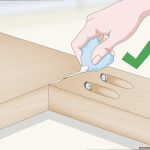
- Screw it in: Stainless steel screws are the heroes you need to secure your FRP panels. Their resistance to corrosion makes them perfect for damp environments like bathrooms. Plus, they can be countersunk for a flush finish, eliminating those unsightly screw heads that can ruin the aesthetics of your space.
- Nail it down: Nails and staples can also do the trick, but keep in mind that they may not provide as strong of a bond as screws. To ensure maximum strength, make sure they’re long enough to penetrate into wall studs or other supports. Don’t compromise on durability.
- Guidelines matter: It’s like following a recipe – always follow the manufacturer’s guidelines for spacing and placement of fasteners. They know best. By adhering to their recommendations, you’ll achieve perfection in your installation.
- Easy access: Unlike adhesive bonding alone, mechanical fasteners allow for easier access to the panels behind for maintenance or repairs. Think of them as your secret weapon when it comes to keeping your space in tip-top shape.
By combining adhesive bonding with mechanical fasteners, you’ll achieve a secure and durable bond that will last a lifetime. Plus, it gives you the flexibility to remove and reinstall panels if needed, making it perfect for commercial settings where plumbing or electrical access is crucial.
Cleaning off Excess Adhesive After Installation
Installing FRP panels on your wall can be a great way to revamp your space, but dealing with excess adhesive afterwards can be a sticky situation. Fear not, fellow DIY enthusiasts, for I am here to guide you through the process of cleaning off that unwanted residue, leaving your installation looking flawless.
Patience is key when it comes to cleaning off excess adhesive. Allow the adhesive to dry completely before attempting any cleaning. Rushing this step could lead to a bigger mess, and we definitely don’t want that. Depending on the adhesive type, it may take a few hours or even a day or two to dry. So, hang in there.
Once the adhesive is dry, it’s time to break out your trusty putty knife or plastic scraper. Gently start at one corner and scrape off the excess adhesive, working your way across the entire area. Handle with care to avoid any damage to the FRP or the wall.
But what if you encounter some stubborn residue? Well, my friend, it’s time to bring out the big guns – solvent or adhesive remover. But hold your horses. Always test the solvent on a small, inconspicuous area first to ensure it won’t cause any damage. Apply the solvent to a clean cloth and gently rub it over the residue, allowing it to soak in for a few minutes before attempting removal.
In some cases, heat can be your best friend. Grab that trusty hairdryer of yours and set it on low heat. Warm up the adhesive before scraping it off – just be careful not to overheat the FRP. We don’t want any damage from excessive heat.
Once you’ve successfully removed all that excess adhesive, wipe down the FRP and the wall with a damp cloth to remove any remaining residue. Let everything dry thoroughly before adding those finishing touches or paint.
Remember, different adhesives may require specific cleaning methods or solvents. Always refer to the manufacturer’s instructions for cleaning and maintenance recommendations.
ZTMEENHbi5w” >
Conclusion
In conclusion, gluing FRP (Fiberglass Reinforced Polymer) to the wall is a simple yet transformative process that can turn any space into a jaw-dropping environment. By following the right installation techniques, prepping the wall surface, selecting the perfect adhesive, marking precise guidelines on the wall, applying the adhesive with finesse, positioning the FRP panel flawlessly, and incorporating mechanical fasteners for added security, you’ll achieve an impeccable installation.
The advantages of using FRP cladding are endless. It shields against damage, demands minimal upkeep, and unlocks limitless design possibilities. Gluing FRP to the wall fortifies its structural integrity, creates a seamless appearance devoid of visible seams or joints, and acts as a formidable barrier against moisture infiltration.
To ready the wall for glue installation, meticulously clean the surface, eliminate any loose paint or wallpaper remnants, mend any imperfections in the wall’s texture, sand it down for a smooth canvas, and optionally prime it. The adhesive you choose is paramount for establishing a strong bond between your FRP panels and walls. Take into account factors like which adhesive type suits your specific project and wall surface best, environmental conditions at play, size and weight of panels being used – then faithfully follow manufacturer’s instructions.
Marking guidelines on the wall guarantees precise panel placement for an expert-level installation. Applying adhesive involves evenly spreading it across each panel’s backside and pressing firmly against the wall surface. In areas where panels might face excessive stress or movement, mechanical fasteners lend additional security.
Once installed, removing excess adhesive requires patience – gently scrape it off with a putty knife or plastic scraper. Stubborn residue may necessitate solvents or heat to soften it before removal. Always test solvents in inconspicuous areas first to avoid unintended damage.