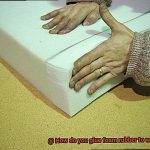
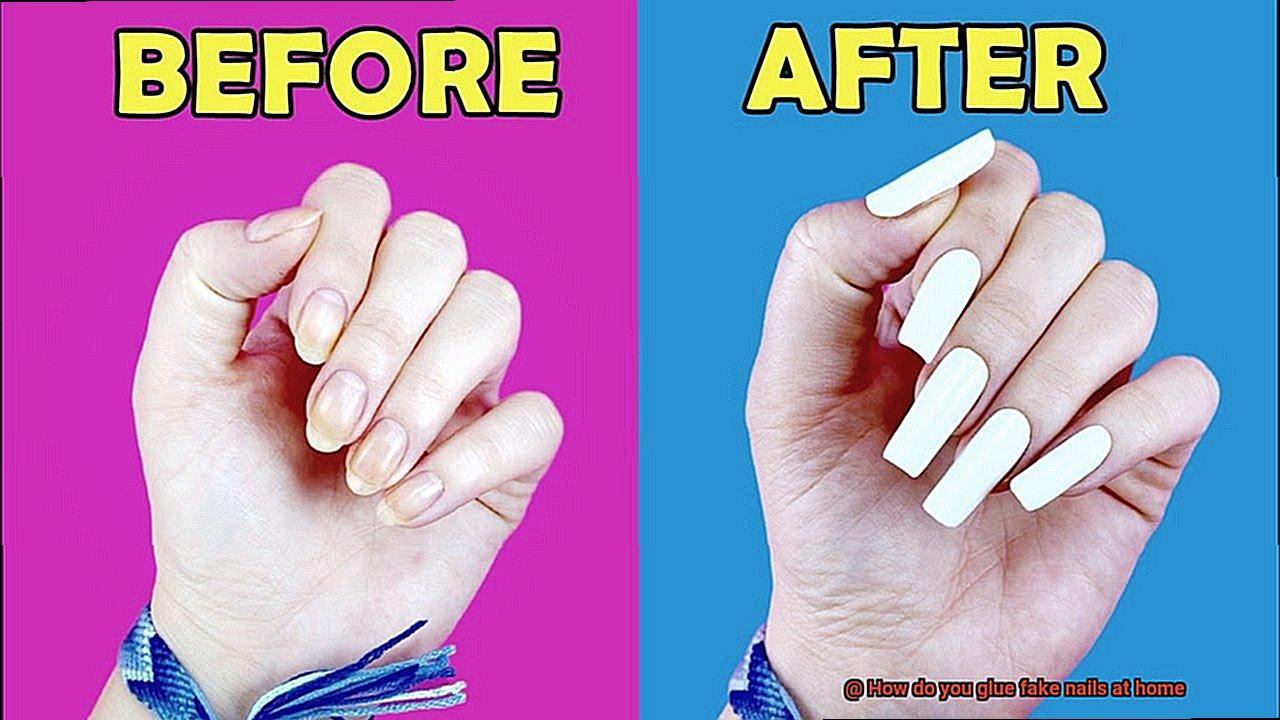
Ever caught yourself admiring those flawlessly manicured nails, wondering how on earth they achieved such elegance? Well, fret not. Today, we’re about to spill the beans on the secret to nail perfection, all from the comfort of your own home.
Whether you’re prepping for a special occasion or simply craving a little self-indulgence, gluing fake nails at home is the answer to achieving that stunning look without emptying your wallet. Let’s be real, who doesn’t want an extra dose of glamour every now and then?
But hold up. Before you dive into this fabulous adventure, it’s crucial to take caution. We don’t just want beautiful nails; we also want healthy ones that will last. In this guide, we’ll take you through the process of applying fake nails at home, from prep work to those final touches.
Key Points to Remember:
Prep Like a Pro:
Your natural nails need some love too. Clean them up, make sure they’re dry and neatly shaped – this is the foundation for a flawless application and ensures your false nails adhere seamlessly.
Find Your Perfect Match:
Picking the right fake nails is key. With countless options available – classic designs, intricate patterns, various shapes – choose wisely to suit your desired style.
Masterful Glue Application:
Get ready to unleash your inner nail glue guru. Learn how to apply it like a pro and avoid any sticky situations that could ruin your masterpiece.
Length and Shape Matters:
Customizing your fake nails adds that extra oomph. Discover how to trim and file them with precision for a look that screams perfection.
Add Those Finishing Flourishes:
Now that you’ve got those jaw-dropping nails on, it’s time to amp up the glam. Get creative with polish, decals, or even gemstones for that dazzling final touch.
Armed with these essential techniques and a dash of creativity, you’re now ready to conquer the world of DIY nail makeovers. Unleash your inner nail artist, save some cash, and feel like a million bucks with expertly glued fake nails right in the comfort of your own home. So buckle up, gather your supplies, and get ready for a world of nail-transforming possibilities.
Preparation: Clean and Dry Natural Nails
Contents
Before diving into the world of gluing fake nails, it’s essential to properly prepare your natural nails. In this comprehensive guide, we’ll take you step by step through the process of cleaning and drying your natural nails, ensuring a seamless and professional result.
Step 1: Say Goodbye to Old Nail Polish
Begin by gracefully removing any remnants of old nail polish or residue from your nails. Opt for an acetone-free nail polish remover to avoid harsh and drying effects on your delicate nails. Let your natural nails breathe freely before moving on to the next step.
Step 2: Trim and Shape with Precision
Embrace the power of transformation by trimming and shaping your natural nails to perfection. Utilize nail clippers to achieve the desired length, remembering not to cut too close to weaken the nails. Smooth out any rough edges using a nail file, revealing a neat and polished appearance.
Step 3: Indulge in a Relaxing Soak
Take a moment to pamper yourself with a luxurious soak for your deserving nails. Immerse them in warm, soapy water for a few minutes, allowing the cuticles to soften. This indulgent step will make pushing them back or removing them much easier.
Step 4: Gently Push Back the Cuticles
With the utmost care, employ a gentle touch as you push back those stubborn cuticles. Employ a cuticle pusher or an orangewood stick, ensuring not to exert excessive pressure that could harm the delicate skin surrounding your nails. If needed, delicately trim excess cuticle growth using precise cuticle nippers.
Step 5: Unveil Immaculate Nails through Scrubbing
Unleash your inner perfectionist as you meticulously scrub away any dirt or debris that has made a home on your nails. Employ a soft-bristled brush or even a trusty toothbrush to reach every nook and cranny, paying particular attention to areas where dirt tends to gather around the edges of your nails.
Choosing the Right Size and Shape of Fake Nails
Get ready to take your nail game to the next level as we delve into the art of choosing the right size and shape for your fake nails. With an array of options available, it’s crucial to consider your natural nails and personal style to achieve a flawless and fabulous look that will turn heads. So, let’s embark on this exciting journey together and discover your perfect fit.
The Perfect Fit: Size Matters
To achieve a natural-looking finish, start by measuring the width of your natural nails. Most fake nail kits offer a variety of sizes, so compare your measurements to find the closest match. Opting for a size that closely resembles your natural nail width ensures a seamless blend that will leave everyone guessing whether they’re real or not.
Sculpting Elegance: Shape It Up
Now that we’ve conquered size, let’s explore the enchanting world of different nail shapes that will transform your fingertips into works of art:
Square: Timeless Sophistication
With straight sides and a squared-off tip, square-shaped nails exude classic elegance. This shape is the epitome of sophistication and suits any occasion, making it a timeless choice that never goes out of style.
Round: Effortless Chic
For those seeking a more natural look, round-shaped nails are the way to go. Featuring curved sides and a rounded tip, they offer comfort and versatility for everyday wear, effortlessly elevating your style game.
Oval: Graceful Glamour
Looking to add a touch of glamour? Opt for oval-shaped nails. Similar to round nails but with slightly more length and a narrower tip, they create an elongating effect that adds grace to your fingertips. This shape perfectly complements any outfit or occasion, leaving you feeling like a true fashionista.
Stiletto: Fierce and Fearless
If you’re ready to make a bold statement, stiletto-shaped nails are the ultimate choice. Long and pointed, resembling a stiletto heel, they exude confidence and edginess. This shape is perfect for those who want to stand out from the crowd and make a lasting impression.
Preparing the Glue
Today, we’ll delve into the crucial step of preparing the glue. As an expert in all things nail-related, I’ll guide you through each sub-topic with vivid language and short, captivating sentences. So grab your favorite beverage, sit back, and let’s embark on this exciting journey.
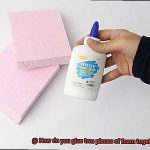
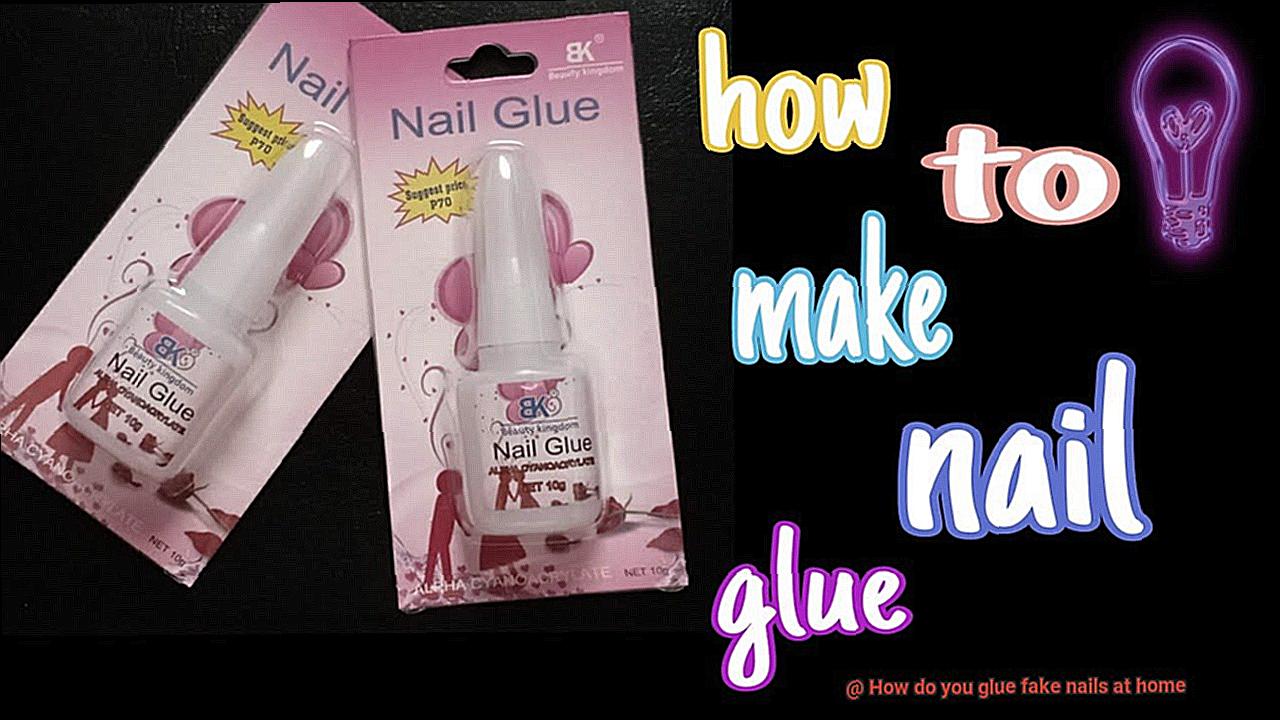
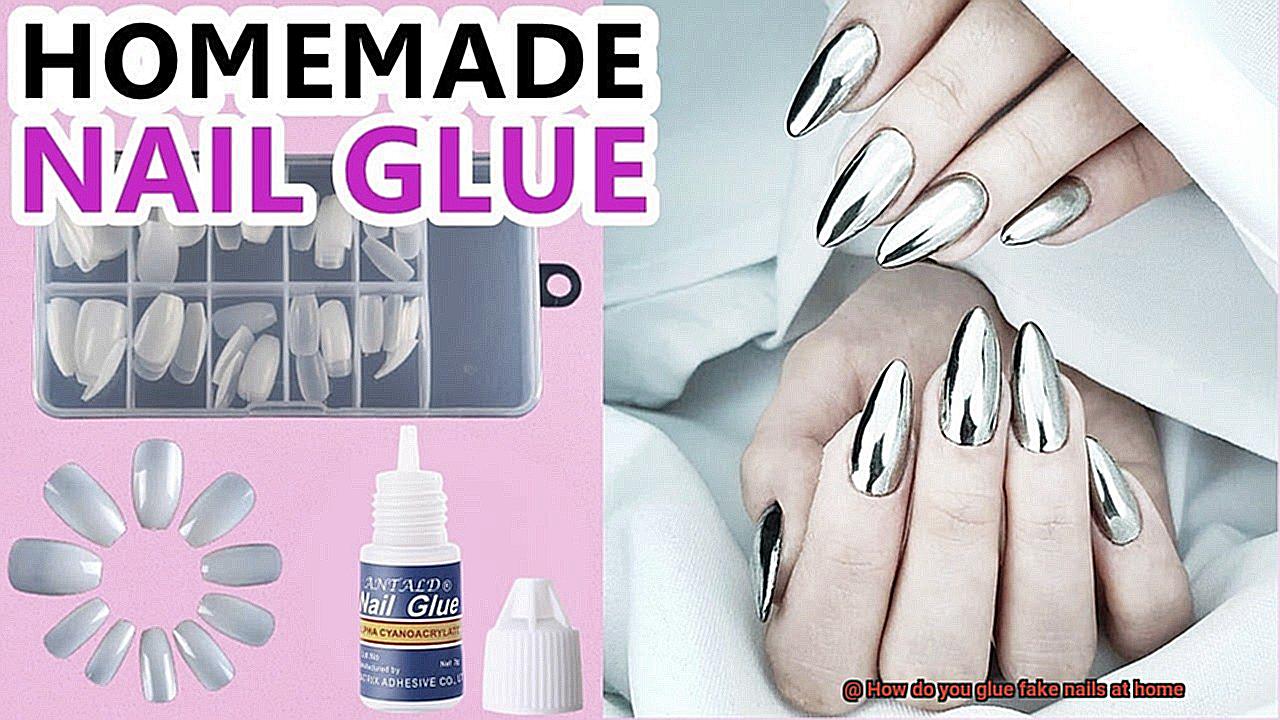
Choosing the Right Glue:
First, let’s talk about the glue. This is the foundation of your fabulous fake nails. To ensure a sturdy and long-lasting hold, select a high-quality glue specifically formulated for fake nails. Look for labels that scream “nail adhesives” or “nail glues” – these gems are designed to bond your fake nails securely to your natural ones.
Checking the Ingredients:
Safety first. Peek at the ingredients before diving into gluing. We all have different sensitivities, so ensure you’re not allergic to any chemical components. Scan the product label diligently and avoid anything that might cause an unwanted reaction.
Testing the Glue:
Patch test like a pro. Before slathering glue all over your nails, conduct a small-scale experiment. Apply a tiny amount of glue on your forearm or behind your ear and let it sit for 24 hours. Watch out for any signs of redness, itching, or irritation during this period. If they appear, ditch that glue and find a more suitable alternative.
Preparing Your Natural Nails:
Now that we’ve covered glue selection and testing, it’s time to give our natural nails some TLC for that flawless finish.
Remove any trace of nail polish or oils using a gentle nail polish remover. This crucial step creates a clean canvas for the glue to work its magic.
Trim and shape your natural nails to perfection. Embrace your creative side and experiment with different lengths and shapes. It’s time for your nails to steal the show.
Buffing the Nail Surface:
The secret to an unbreakable bond – the gentle art of buffing. With a nail buffer or a fine-grit nail file, delicately erase the shine from your nails’ surface. This subtle roughness aids in better glue adherence. Remember, moderation is key; we want strong and healthy natural nails.
Applying the Fake Nails
Whether you’re a beginner or a seasoned DIY nail artist, we’ve got you covered. From prepping your natural nails to choosing the perfect fit and applying them flawlessly, we’ll walk you through each step.
So, let’s dive into this glamorous journey and achieve those flawless, long-lasting nails you’ve always dreamed of.
The Importance of Proper Application:
Picture-perfect fake nails start with proper application. Not only does it ensure a natural look, but it also extends their lifespan. So, let’s kick things off by giving your natural nails the love and attention they deserve.
Prepping Your Natural Nails:
Before diving into the world of fake nails, show your natural nails some TLC. Remove any old polish, shape them to perfection, and gently push back those cuticles. This preparatory step sets the foundation for a strong bond between your natural and fake nails.
Choosing the Perfect Fit:
Say goodbye to ill-fitting fake nails. It’s time to find your perfect match. With various shapes and sizes available, you can easily select ones that complement your natural nail shape. Embrace the opportunity to express your unique style through the perfect fit.
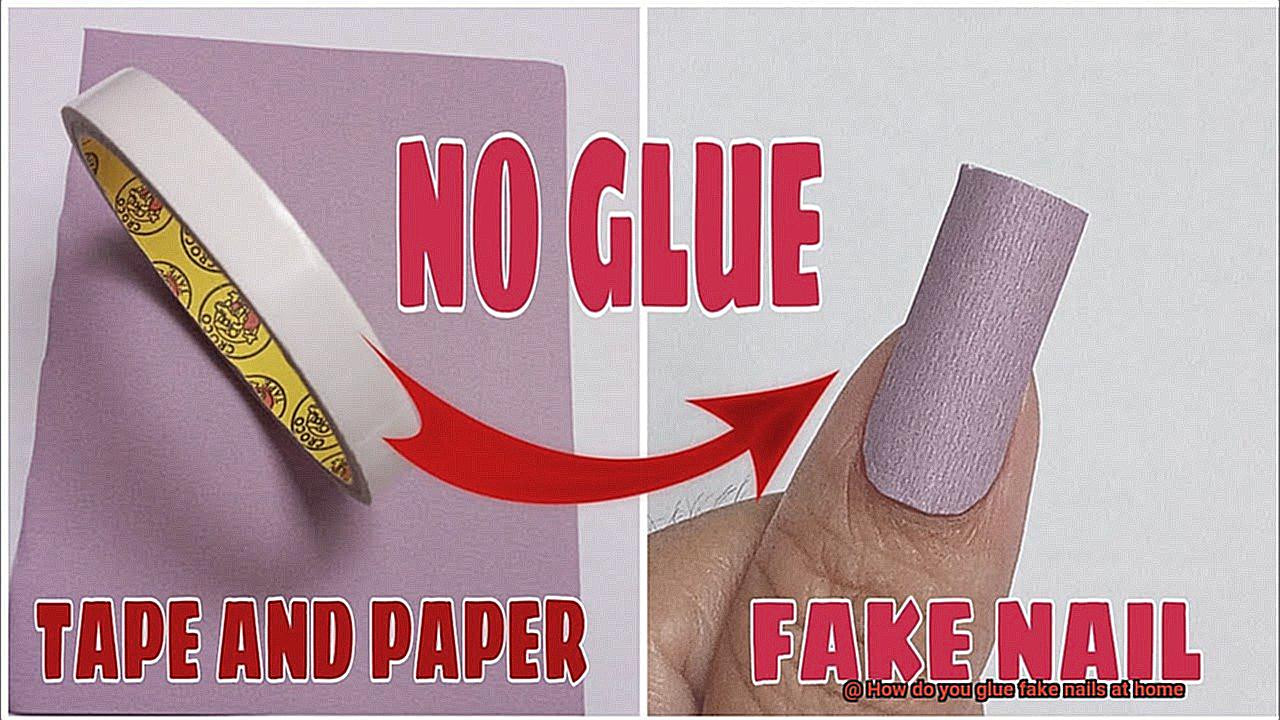
Adhesive Options:
Now that you have your dream set of fake nails, let’s explore adhesive options. From glue-on adhesives to double-sided tape and adhesive tabs, there’s something for everyone. Take a moment to consider the pros and cons of each option and choose what works best for you.
Step-by-Step Application with Glue-On Adhesive:
For those opting for glue-on adhesives, follow these foolproof steps for a flawless application:
- Apply a small amount of glue onto your natural nail, ensuring a thin and even layer.
- Align the fake nail with your cuticle, holding it at a slight angle.
- Gently press down the fake nail, starting from the cuticle and working your way to the tip.
- Hold it in place for a few seconds to allow the glue to bond securely.
Trimming and Filing
Get ready to level up your DIY nail game because today we’re diving into the world of trimming and filing. These essential steps are the secret weapons for achieving flawless, long-lasting results when applying fake nails. So let’s jump right in and master the art of preparing our natural nails.
First up, let’s talk about trimming. This step is all about getting your natural nails to the perfect length so that those fabulous fake nails can shine. Grab a top-notch nail trimmer or scissors (no kitchen shears, please.) and start by gently removing any existing nail polish using a nail polish remover that won’t harm your nails. We want a clean canvas for our masterpiece.
Now, with precision and care, trim your nails to your desired length. But here’s a pro tip: leave a bit of length for shaping and filing later on. Trust me, this little trick will make your nails look like they were done by a pro.
Now, onto filing – the magical step that shapes and smooths the edges of your nails, creating the perfect foundation for those fake beauties to adhere to. Grab a fine-grit file (gentle and controlled is the name of the game.) and start filing in one direction.
We don’t want any damage or splitting happening here. Begin from the outer edge and work your way towards the center. Remember, less is more. Avoid excessive filing as it can weaken your natural nails and make them prone to breakage. We want strong, healthy nails that can proudly hold up those fake gems.
But wait, we’re not done yet. After shaping your nails to perfection, it’s time to lightly file the surface. Smooth away any roughness or unevenness to create a flawless canvas for your fake nails. Think of it as adding the final touch, like putting the cherry on top.
But be gentle, my friend. We don’t want to go overboard and weaken those natural nails. To take it up a notch, grab a buffer block and gently buff the surface of your nails. This little trick will refine the surface even further and enhance the adhesion of the fake nails. Your nails will thank you for this extra TLC.
Avoiding Excessive Moisture After Application
Now that you’ve mastered the art of application, it’s crucial to understand the importance of avoiding excessive moisture. This guide will take you on a journey to maintain the longevity of your fabulous fake nails by combating moisture-related challenges.
Water, Your Sneaky Foe:
Water is a notorious nemesis for fake nails. To safeguard your flawless manicure, steer clear of activities that involve prolonged water exposure immediately after application. Bid farewell to dishwashing, swimming, or indulging in long showers. Sacrifice a little now for nail nirvana later.
Embrace the Glove Game:
Don’t let household chores dampen your nail game. Slip on a pair of gloves when engaging in tasks that require contact with water. This simple step will preserve the adhesive’s integrity and prevent weakening. Keep those nails shining bright like diamonds.
Thorough Drying Rituals:
After any encounter with water, meticulously dry your hands and nails. Neglecting this crucial step can pave the way for nasty bacterial growth and fungal infections lurking around the nail bed. A gentle pat-down with a towel is your secret weapon against moisture-induced woes.
Sweat No More:
Hot climates or physical activities can lead to sweat accumulating around your nails, compromising the adhesive’s strength. Fight back with antiperspirant products for your hands or specialized anti-sweat solutions designed for fake nails. Stay cool, dry, and confident.
Beware of Hot Water Traps:
While luxuriating in a steamy bath or shower may be tempting, resist the urge to submerge your hands in hot water after applying fake nails. The scorching temperatures can soften the adhesive, resulting in lifting or detachment nightmares. Opt for lukewarm water – your nails will thank you.
Skincare Savvy:
We all adore pampering our skin, but exercise caution around the nail area. Excess product buildup can create a barrier between your natural nail and the adhesive, leading to premature lifting. Apply your skincare products with precision, ensuring they don’t encroach upon the sacred space of your nails.
Reattaching Loose or Lifting Fake Nails
Mastering the art of applying fake nails is no easy feat. But what happens when your fabulous manicure starts to show signs of wear and tear? Fear not. As an expert in all things nails, I’m here to guide you through the steps of reattaching loose or lifting fake nails, ensuring that your manicure stays flawless for longer.
Step 1: Assess the Condition
Before jumping into reattachment, it’s crucial to evaluate the condition of both your natural nail and the fake nail. If your natural nail is damaged or weak, it’s best to remove the fake nail completely and allow it time to heal before applying a new one. Remember, healthy nails are the foundation for a long-lasting manicure.
Step 2: Remove Old Glue Residue
Begin the reattachment process by gently eliminating any old glue residue from both your natural nail and the back of the fake nail. A gentle nail polish remover or acetone can dissolve the residue without causing further damage. Ensure that both surfaces are clean and debris-free before proceeding.
Step 3: Apply Nail Glue or Adhesive Gel
Now it’s time to bring your nails back together. Apply a small amount of nail glue or adhesive gel onto the back of the fake nail, focusing on the area that was previously loose or lifting. Remember, a little goes a long way to ensure secure adhesion.
Step 4: Align and Press Firmly
Carefully align the fake nail with your natural nail, making sure it sits flush against the cuticle. Apply firm pressure for a few seconds, pressing down on the fake nail. This crucial step ensures proper adhesion and long-lasting results.
Step 5: Remove Excess Glue
Sometimes, a small amount of glue may seep out from the sides during reattachment. No need to panic. Use a clean cotton swab or orangewood stick to gently remove any excess glue that may have escaped. This final touch will give your nails a clean and professional finish.
Step 6: Add Extra Support and Protection
To provide your newly reattached nails with extra support and protection, apply a clear top coat or a nail strengthener over the entire surface. This step seals the edges and prevents future lifting or peeling, ensuring your manicure lasts.
Removing the Fake Nails Safely
We’ve all experienced the bittersweet moment when it’s time to bid adieu to our stunning set of fake nails. However, hastily ripping them off can lead to damage and disappointment.
That’s why it’s crucial to understand the significance of removing them safely. By devoting a few extra minutes and following the right steps, you can ensure a smooth transition while preserving your natural nails’ health.
In this comprehensive guide, we’ll delve into three foolproof methods for removing fake nails, so let’s embark on this nail transformation journey together.
Method 1: Soaking in Acetone (for gel or acrylic nails)
Step 1: Gather your materials
- Acetone nail polish remover
- A glass or ceramic bowl
- Aluminum foil
- Cotton balls or pads
- Cuticle pusher or orangewood stick
Step 2: Prep your work area
Find a well-ventilated space and protect the surface with a towel or newspaper.
Step 3: Create an acetone bath
Fill the bowl with enough acetone to submerge your fingertips fully. Remember, patience is your ally.
Step 4: Soak and unwind
Immerse your fingertips in the acetone bath, allowing it to work its magic on the glue for approximately 10-15 minutes. Take this time to relax and pamper yourself.
Step 5: Gentle removal is key
Using a cuticle pusher or orangewood stick, delicately nudge the softened fake nails away from your natural ones. Avoid forcefully tugging; instead, let the acetone dissolve the adhesive.