Gluing dry rocks together may sound like a Herculean task, but fear not. With the right technique and adhesive, you’ll be able to effortlessly create jaw-dropping rock formations that will leave everyone in awe. Whether you’re a DIY enthusiast or a seasoned pro, this process is all about finding the perfect balance between artistry and scientific finesse.
In this guide, we’ll take you on an exciting journey into the world of gluing dry rocks together. We’ll unveil priceless insights and walk you through each step with crystal-clear instructions. From handpicking the ideal adhesive to prepping your rocks for bonding glory, we’ve got it all covered. And hey, we won’t hold back on sharing some insider tips and tricks that will make you feel like a true rock-gluing maestro.
So whether you’re dreaming of an eye-catching rock wall or aiming to create a show-stopping centerpiece for your aquarium, consider this guide your secret weapon. Let’s dive in and unlock the secrets to flawlessly gluing dry rocks together.
What is Dry Rock?
Contents
- 1 What is Dry Rock?
- 2 Preparing the Rocks for Glueing
- 3 Using Epoxy Adhesives to Glue Dry Rock Together
- 4 Curing the Epoxy Adhesive
- 5 Using Construction Adhesives to Glue Dry Rock Together
- 6 Curing the Construction Adhesive
- 6.1 Temperature and Humidity: Follow the Instructions.
- 6.2 Timing is Everything: Give It Time to Work Its Magic.
- 6.3 Support is Key: Keep Those Rocks in Place.
- 6.4 Moisture Is Your Enemy: Keep Things Dry.
- 6.5 Don’t Suffocate Your Adhesive: Let It Breathe.
- 6.6 Clean Up Excess: Tidy Up for a Professional Finish.
- 7 Additional Support During the Curing Process
- 8 Conclusion
This article delves into the essence of dry rock, its advantages for aquariums, how it functions, and offers guidance on selecting and preparing it for your tank.
Dry rock, also known as dry live rock or base rock, is a porous type of rock made from natural materials like limestone. Unlike live rock, which carries organisms from the ocean, dry rock is free from unwanted hitchhikers such as pests, parasites, and algae. It serves as a clean foundation for establishing a stable reef structure in your aquarium.
Advantages of Dry Rock:
- A Clean Slate: The primary benefit of dry rock is the eradication of the risk associated with introducing harmful organisms into your tank. With no unwanted hitchhikers, you have complete control over the inhabitants of your aquarium.
- Cost-Effective: Dry rock proves to be more budget-friendly compared to live rock. This makes it an ideal choice for both beginners and those on a tight budget who desire a natural-looking reef environment.
- Biological Filtration Control: The use of dry rock empowers you to exercise greater control over the biological filtration process in your aquarium. By gradually introducing beneficial bacteria and microorganisms, you can ensure a stable and healthy environment for your fish and corals.
How Does Dry Rock Work?
Dry rock acts as the foundation for the reef structure in your aquarium. Its porous nature provides ample surface area for beneficial bacteria to colonize and establish an ecosystem within the tank. These bacteria assist in breaking down waste products, thereby maintaining water quality and promoting overall tank health.
Selecting and Preparing Dry Rock:
When choosing dry rock, prioritize pieces that are porous and lightweight. Porous rocks offer more surface area for bacteria growth and facilitate better water circulation within the tank. Lightweight rocks are easier to handle and arrange without causing damage or instability.
Before introducing dry rock to your aquarium, proper curing is essential. This process involves soaking the rocks in clean water and periodically changing the water to remove any leached minerals or impurities. Although curing can be time-consuming, it ensures that the rock is ready to support aquatic life without compromising water quality.
Preparing the Rocks for Glueing
Whether you’re crafting a mesmerizing rock sculpture or designing an enchanting aquarium masterpiece, the secret to success lies in preparing your rocks for glueing. In this comprehensive guide, we will take you through the essential steps to ensure a strong and durable bond between your rocks. Get ready to dive into the fascinating world of rock preparation.
Step 1: Inspect and Select
First things first – carefully inspect each rock for cracks, chips, or any uneven surfaces. Damaged rocks might compromise the bond, so it’s best to set them aside. Remember, a solid foundation is the key to a successful glueing project.
Step 2: Cleanse and Refresh
Cleanliness is crucial when it comes to creating a rock-solid bond. Use a soft brush or cloth to remove any dirt, dust, or debris from the rocks. A thorough rinse with water will help eliminate any loose particles. Make sure the rocks are completely dry before moving on to the next step.
Step 3: Roughen the Surface
Now, let’s enhance the adhesive’s grip by gently sanding the surface of each rock. Utilize sandpaper or a rough grit sanding block to create a textured surface through a circular motion. This texture will promote better adhesion between the rocks. Don’t forget to wipe away any loose particles left behind.
Step 4: Sealing for Porous Rocks
If you’re working with porous rocks like limestone or sandstone, sealing becomes essential. Apply a stone sealer or primer to fill in pores and create a sealed surface that allows for better adhesion. This crucial step ensures that moisture absorption won’t weaken the bond over time.
Step 5: Glue Application
To achieve long-lasting results, it’s crucial to choose the right adhesive and carefully follow the manufacturer’s instructions. Select a glue that is suitable for your specific rock type and take note of the recommended application techniques and curing times. Precise glue selection is vital for a bond that can withstand the test of time.
Using Epoxy Adhesives to Glue Dry Rock Together
Are you ready to take your rock sculptures and aquarium designs to the next level? Look no further than epoxy adhesives, the secret weapon for creating strong and durable bonds between dry rocks. Whether you’re a seasoned rock artist or a beginner looking to try your hand at this fascinating craft, epoxy adhesives are here to help you bring your vision to life.
So, how do you use epoxy adhesives to glue dry rock together? Let’s dive in.
- Clean, clean, clean: Before applying epoxy adhesive, make sure to thoroughly clean the surfaces of the rocks. Use a brush or compressed air to remove any dirt, dust, or debris that could interfere with the bonding process. This step is crucial for achieving a strong and lasting bond.
- Dry it out: Moisture is the enemy of a strong bond. Ensure that the surfaces of the rocks are completely dry before applying the epoxy adhesive. Any moisture present can weaken the bond and compromise its strength. Allow the rocks to air dry or use a heat gun on low settings to speed up the drying process.
- Mix it up: Epoxy adhesives consist of two components – a resin and a hardener. Follow the manufacturer’s instructions to mix them together in the correct ratio. This step is crucial for achieving optimal bonding strength. It is recommended to use a clean container and mix only the amount that can be used within the specified working time.
- Apply with precision: Using a brush, spatula, or syringe, apply the mixed epoxy adhesive to both surfaces of the rocks that need to be glued together. Make sure to cover the entire surface evenly for a strong bond. Pay attention to any gaps or cracks that need filling and apply additional adhesive as needed.
- Press and hold: After applying the epoxy adhesive, press the rocks together firmly and hold them in place for a few minutes. Applying sufficient pressure ensures that the adhesive spreads evenly and creates a strong bond. Consider using clamps or weights to hold the rocks in place if necessary.
- Patience is key: Allow the glued rocks to cure for at least 24 hours before subjecting them to any stress or load. The curing time may vary depending on factors like temperature and humidity, so be patient and give it time to fully set. Avoid moving or disturbing the rocks during this time to prevent any disruption in the bonding process.
- Enjoy the results: Once the epoxy adhesive has fully cured, you’ll have a rock structure that is resistant to moisture, heat, and chemicals. Whether it’s an aquarium masterpiece or a stunning landscaping project, your glued rocks will stand the test of time. Admire your creation and showcase your artistic skills.
Curing the Epoxy Adhesive
Today, we embark on an exciting journey into the world of epoxy adhesive and its captivating ability to fuse dry rocks together, giving birth to breathtaking sculptures, mesmerizing aquarium designs, and beyond. So, don your gloves and prepare to unlock the secrets of curing epoxy adhesive like a true artisan.
The Crucial Role of Curing:
Curing epoxy adhesive is akin to bestowing it with superpowers. It metamorphoses the adhesive from a mere liquid state into an indomitable bond that defies the ravages of time. As you embark on this curing process, remember that patience is your most potent ally.
Timing is Everything:
Different epoxy adhesives boast varying curing times, so be sure to heed the instructions provided by the manufacturer. Typically, granting your adhesive a duration of 24 to 72 hours will reward you with the pinnacle of curing excellence. Trust us – the wait will be well worth it.
Crafting the Perfect Habitat:
As your epoxy adhesive undergoes its magical transformation, it requires an optimal environment to unleash its full potential. Aim for temperatures ranging from 60°F (15°C) to 90°F (32°C), ensuring a relative humidity of 40-60% to achieve unparalleled results.
Stability is Paramount:
During the curing process, you wouldn’t want your rocks to rebel and sabotage your masterpiece. Safeguard their position by employing clamps, straps, or any method that will snugly hold them together until the adhesive solidifies. No surprises allowed here.
Embrace Controlled Heat (But Exercise Caution.):
If you’re feeling adventurous and wish to expedite the curing process, gentle heat can be your accomplice. However, tread carefully. Excessive heat can weaken the bond, so adhere to the manufacturer’s guidelines or seek professional advice before cranking up the temperature.
Virtue of Patience:
Once your epoxy adhesive has completed its curing journey, the temptation to display your creation may be irresistible. Nevertheless, resist the urge to rush. Grant the bond ample time to reach its maximum strength before subjecting it to excessive stress or loads. Your masterpiece deserves to endure the test of time.
Using Construction Adhesives to Glue Dry Rock Together
Using construction adhesives to glue dry rock together opens up a world of creative possibilities, whether you’re creating stunning sculptures or building sturdy structures. However, this technique requires careful consideration and attention to detail. By following the right steps and using the appropriate materials, you can achieve impressive results.
When selecting a construction adhesive for gluing dry rock, it’s crucial to choose one specifically designed for bonding porous materials like stone or concrete. A popular choice is a polyurethane-based adhesive, known for its strong bonding properties and resistance to water and weathering. This type of adhesive forms a durable bond that can withstand various environmental conditions.
Before applying the adhesive, it’s essential to clean the surfaces of the dry rock thoroughly. Use a brush or a damp cloth to remove any dirt, dust, or debris that might hinder the bonding process. A clean surface is key to achieving a strong bond that will stand the test of time.
To further enhance the bond, consider roughening the surfaces of the dry rock using sandpaper or a chisel. This process creates more surface area for the adhesive to adhere to, ensuring an even stronger and more durable bond. It’s a simple step that can make a significant difference in the longevity of your project.
Before applying the adhesive to the entire surface, it’s crucial to test it on a small area of the dry rock. This step is essential to ensure compatibility and adherence. It’s always better to be safe than sorry.
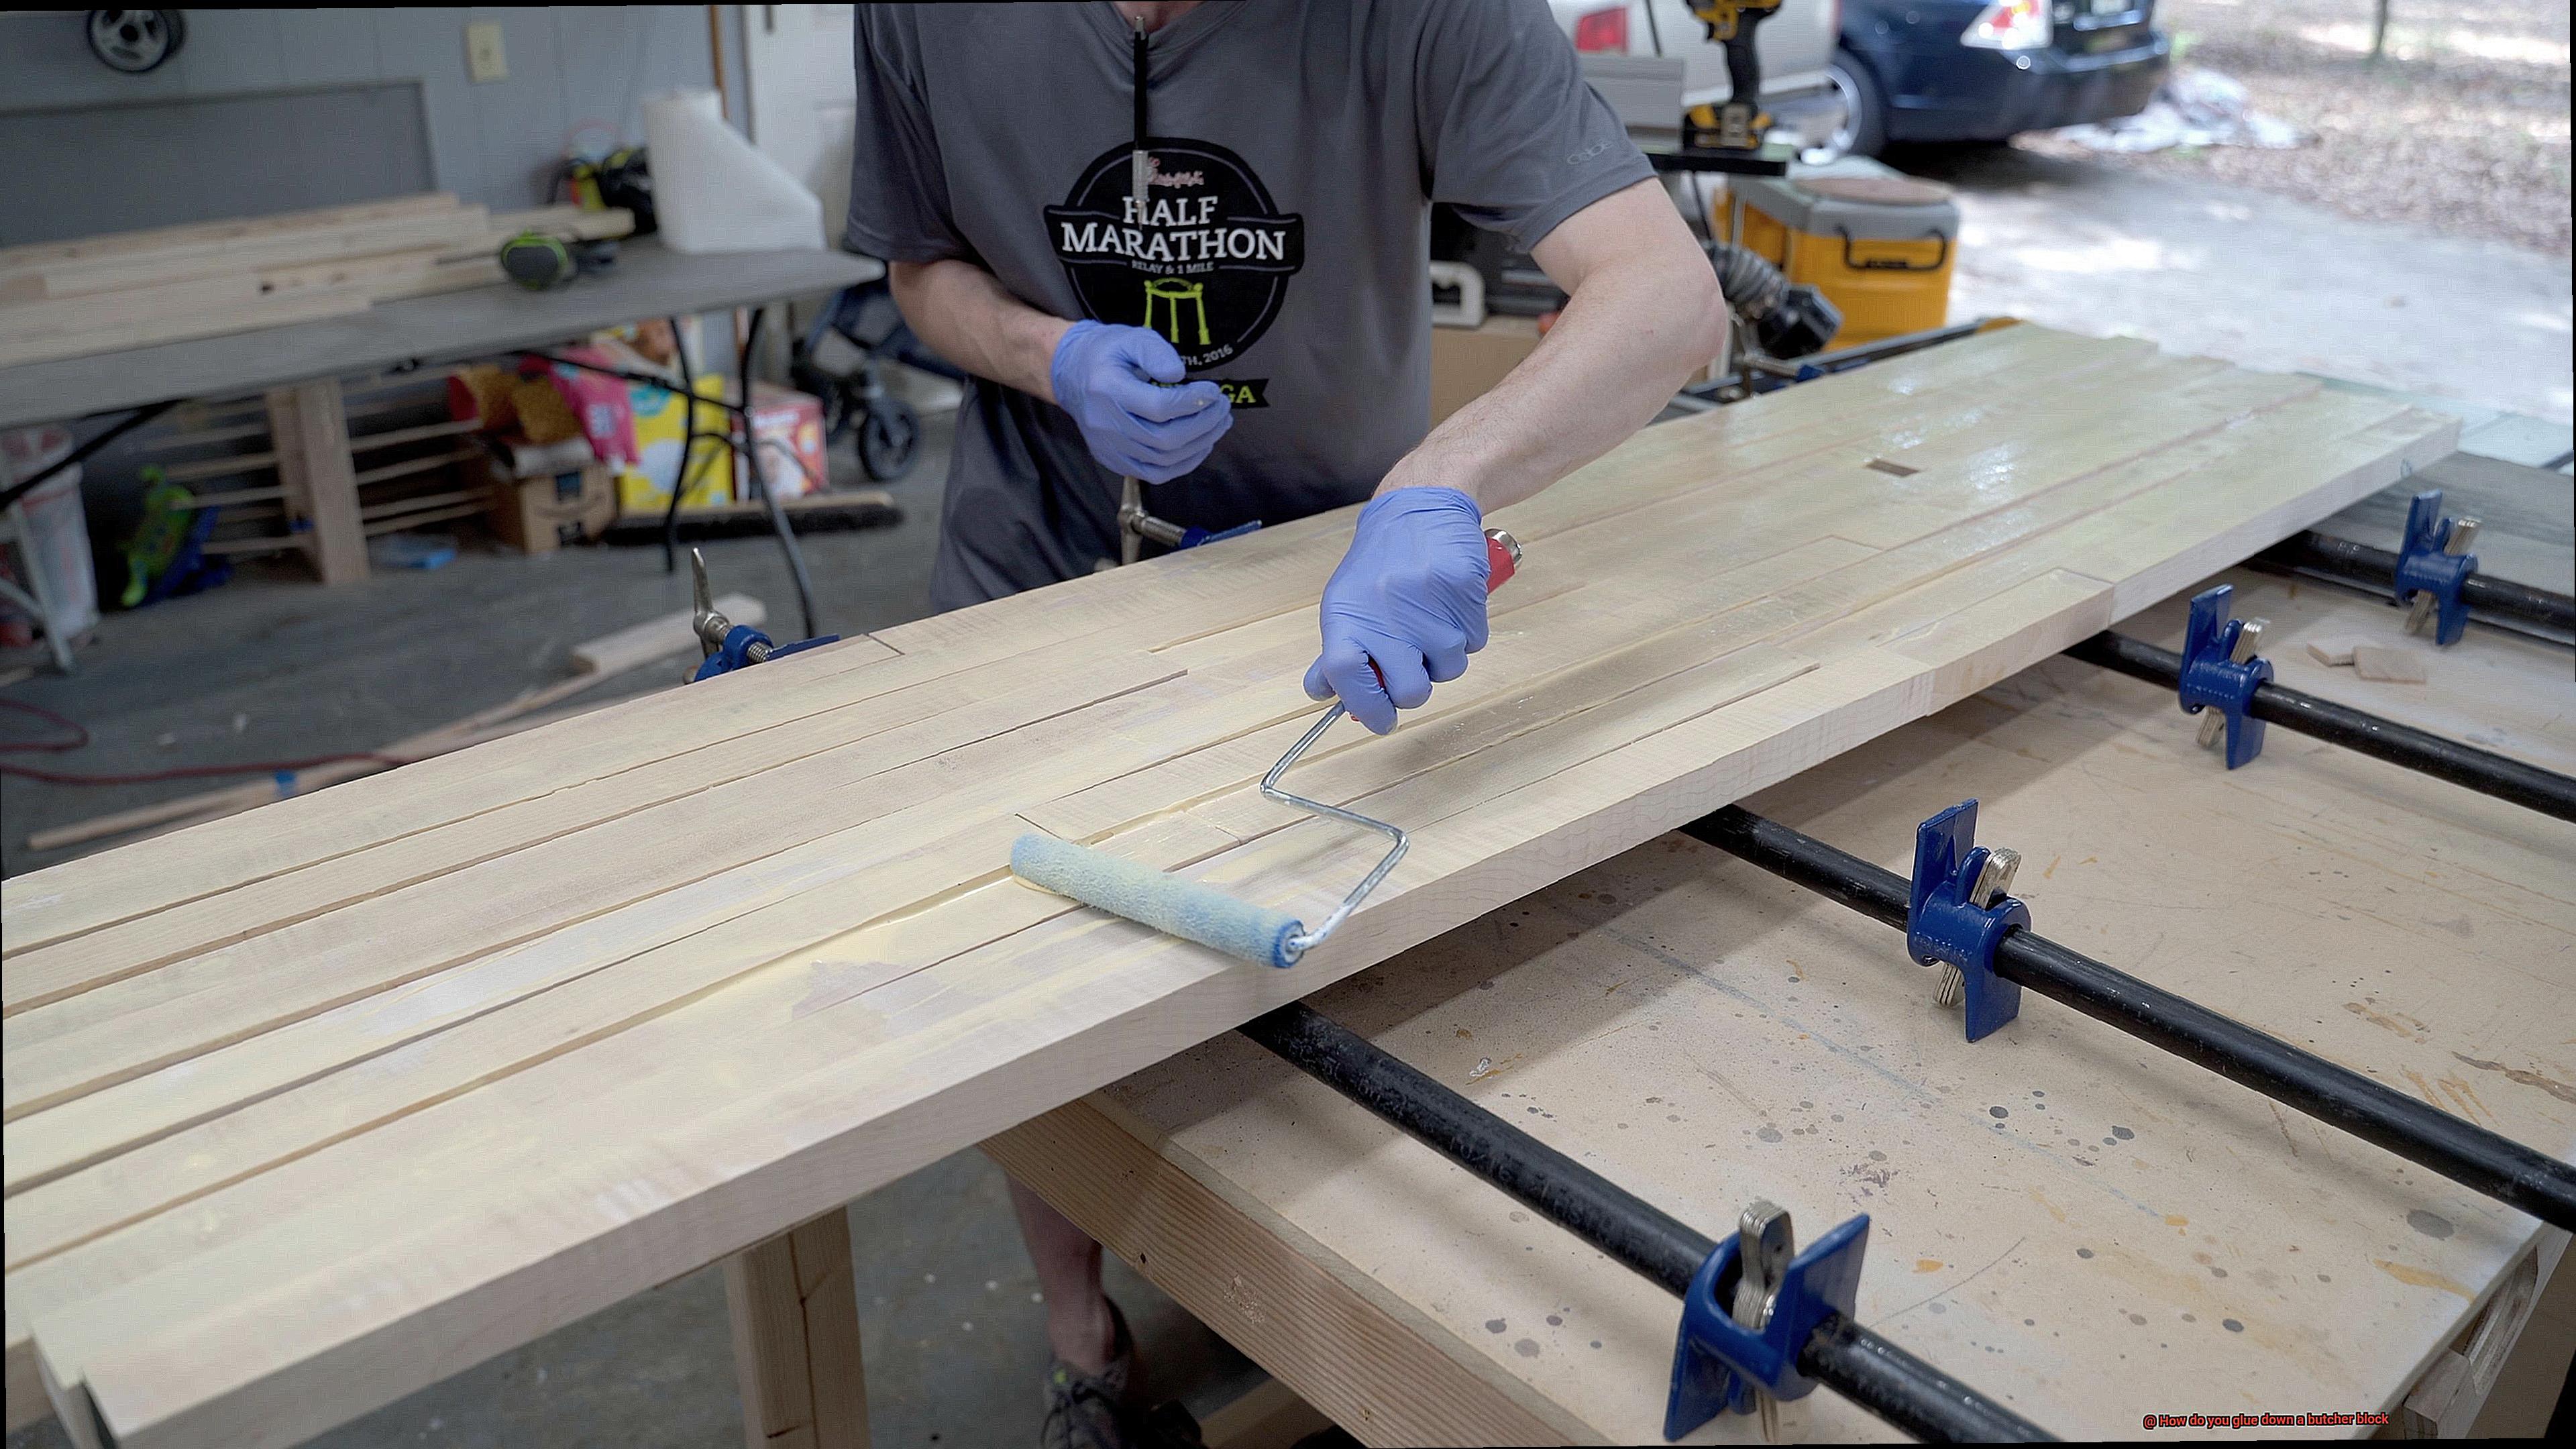
Once you’ve tested and approved the adhesive, apply an even layer to the surfaces of the dry rock using a caulk gun or a trowel. Be generous but not excessive. Make sure you cover the entire surface area that needs to be bonded.
Carefully press the pieces of dry rock together, ensuring a tight fit. Hold them in place for a few minutes until the adhesive begins to set. Depending on the brand and type of adhesive used, it may take several hours or even a full day for the adhesive to fully cure and achieve maximum strength. Patience is key during this process.
After the adhesive has cured, you can trim off any excess using a utility knife or a chisel. This step is crucial to achieve a neat and clean finish. Removing excess adhesive will not only improve the appearance of your project but also ensure that there are no weak spots in the bond.
Finally, allow the glued dry rock to fully cure for at least 24 hours before subjecting it to any heavy loads or stress. This will ensure that the bond is strong and durable, ready to withstand whatever you throw at it. Taking this extra time will provide peace of mind and guarantee the longevity of your project.
Curing the Construction Adhesive
If you’re aiming to create stunning sculptures or sturdy structures using dry rock, it’s crucial to master the art of properly curing construction adhesive. This is the secret to achieving a bond that can withstand the test of time. So, let’s dive into the importance of curing construction adhesive and how to do it right.
Temperature and Humidity: Follow the Instructions.
Like any good recipe, properly curing construction adhesive requires the right conditions. Pay close attention to the temperature and humidity ranges specified by the manufacturer. Following these guidelines ensures optimal curing and a strong bond between your rocks.
Timing is Everything: Give It Time to Work Its Magic.
Different adhesives have varying curing times. Some may only take a few hours, while others require several days. Be patient and allow sufficient time for the adhesive to cure completely before subjecting it to any stress or load. Rushing this step can compromise the bond and lead to disappointment down the road.
Support is Key: Keep Those Rocks in Place.
During the curing process, it’s crucial to provide adequate support for your glued rocks. Use clamps or temporary bracing to prevent any movement or shifting until the adhesive has fully cured. This will ensure a secure bond and prevent any mishaps.
Moisture Is Your Enemy: Keep Things Dry.
Moisture exposure can wreak havoc on your adhesive’s performance. It can interfere with the curing process and weaken the bond between your rocks. Keep your glued rocks in a dry and well-ventilated area during curing to avoid any unwanted moisture interference.
Don’t Suffocate Your Adhesive: Let It Breathe.
Some construction adhesives require air exposure for proper curing. This means you should avoid covering or restricting airflow around your glued rocks during the curing process. Let that adhesive breathe and do its thing.
Clean Up Excess: Tidy Up for a Professional Finish.
Before the adhesive cures, make sure to clean up any excess that may have squeezed out between your rocks during the gluing process. Once it’s cured, removing excess material becomes much more difficult without damaging the bond or surface of your rocks.
By following these simple steps, you’ll be well on your way to achieving a strong and durable bond between your dry rocks. So, grab your construction adhesive, get creative, and let those rocks stick together like there’s no tomorrow.
Additional Support During the Curing Process
Achieving a robust and enduring bond when gluing dry rocks together requires more than just the curing process. Additional support plays a vital role in ensuring the strength and longevity of the bond. In this article, we will delve into the significance of providing supplementary support during the curing process and explore various methods to enhance the cohesion between rocks.
Method 1: Clamps or Weights
To prevent any detrimental movement or shifting that could weaken the bond, utilizing clamps or weights proves to be an effective strategy. By securely holding the rocks in place while the glue cures, these tools create a stable environment. It is essential to distribute the clamps or weights evenly, avoiding any pressure points that may compromise the integrity of the rocks.
Method 2: Epoxy Putty or Filler
When dealing with irregularly shaped rocks or larger gaps, employing epoxy putty or filler offers extra strength and stability. Applying this material to bridge the gaps between rocks fortifies the entire structure’s integrity. Epoxy putty is especially advantageous in situations where achieving a precise fit is challenging.
Method 3: Wire Mesh or Reinforcement Bars
Embedding wire mesh or reinforcement bars within the glue or epoxy establishes a framework that evenly distributes the load. This innovative approach minimizes cracks and breakages, thereby augmenting the overall strength of the bond.
Following Manufacturer’s Instructions:
For optimal results, meticulously adhere to the manufacturer’s instructions regarding curing time and specific recommendations for additional support. Different types of glues and epoxies have varying requirements, so paying close attention to these guidelines is paramount.
Post-Curing Inspection:
Upon completion of the curing process, it is advisable to conduct a thorough inspection of the bond to identify any weak spots or areas that may require further reinforcement. Tapping lightly on the rocks or applying gentle pressure can help reveal potential vulnerabilities. If necessary, applying additional glue or epoxy can fortify these areas.
Patience is Key:
Allowing ample time for the glue or epoxy to fully cure before subjecting the rocks to stress or pressure is crucial. Haste in this process may result in a weaker bond and potential failure of the glued rocks.
AxnsQr9B35U” >
Also Read: How To Glue Rocks Together?
Conclusion
When it comes to gluing dry rock together, there are a few key steps you need to follow. First and foremost, make sure you have the right adhesive for the job. You’ll want to choose a strong adhesive that is specifically designed for bonding rocks together.
Once you have your adhesive, thoroughly clean the surfaces of the rocks that you plan to glue. Any dirt or debris can interfere with the bonding process, so take the time to scrub them clean.
Next, apply the adhesive to one of the rock surfaces. Be generous with your application, ensuring that you cover the entire area that will be in contact with the other rock.
Now comes the tricky part – carefully press the two rocks together. It’s important to align them properly and apply even pressure to create a secure bond. You may need to hold them in place for a few minutes until the adhesive starts to set.
After allowing sufficient drying time, check if there are any gaps or weak spots in the bond. If necessary, apply additional adhesive and repeat the pressing process until you achieve a solid connection between the rocks.
Remember, practice makes perfect when it comes to gluing dry rock together. Don’t get discouraged if your first attempt doesn’t turn out exactly as planned. With patience and persistence, you’ll become an expert at creating sturdy and visually appealing rock formations.

