Imagine this: you’re finally reuniting with your long-lost friends after years apart, but just as you open your mouth to speak, your dentures decide to misbehave. It’s the ultimate embarrassment when your teeth start wobbling unexpectedly. But fear not, my friend, because today we’re diving into the captivating world of gluing dentures at home. Get ready to reclaim that confident smile and handle denture emergencies like a pro.
In this blog post, we’ll explore the art of DIY denture fixes and equip you with the knowledge to tackle any denture mishap gracefully. We’ll address the burning question that’s been bothering so many people: How do you glue dentures at home? So buckle up and prepare for some valuable insights that can save your day.
Main points to be covered:
- Understanding Common Denture Mishaps: From loose fits to broken parts, we’ll uncover the mishaps that may require a quick fix and leave you feeling more secure.
- Choosing the Perfect Denture Adhesive: Take an in-depth look at various types of denture adhesives available on the market and discover which one suits your specific needs best.
- Step-by-Step Guide: We’ll walk you through a comprehensive, easy-to-follow process for applying denture adhesive effectively – ensuring a snug and comfortable fit.
- Extra Tips and Tricks: Uncover a treasure trove of valuable tips and tricks for maintaining your dentures at home, including proper cleaning techniques and routine maintenance for long-lasting results.
Conclusion:
Contents
- 1 What are Dentures?
- 2 Why Glue Dentures at Home?
- 3 Cleaning the Denture and Mouth
- 4 Types of Denture Adhesive Available
- 5 Applying the Adhesive to the Denture
- 6 Placing the Denture in the Mouth Securely
- 7 Not Using Excessive Amounts of Adhesive
- 8 Reapplying Adhesive Throughout the Day
- 9 Cleaning Before Reapplying Adhesive
- 10 Long-Term Solution for Gluing Dentures at Home
- 11 Conclusion
Whether you’ve recently embarked on your denture journey or simply need a quick fix for uninterrupted smiles, this blog post is your ultimate guide on how to glue dentures at home. By exploring common problems, selecting the right adhesive, and following our step-by-step instructions, you’ll be well on your way to a worry-free wearing experience filled with confidence.
Stay tuned and get ready to unleash those pearly whites back into action.
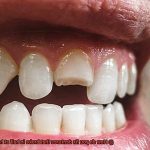
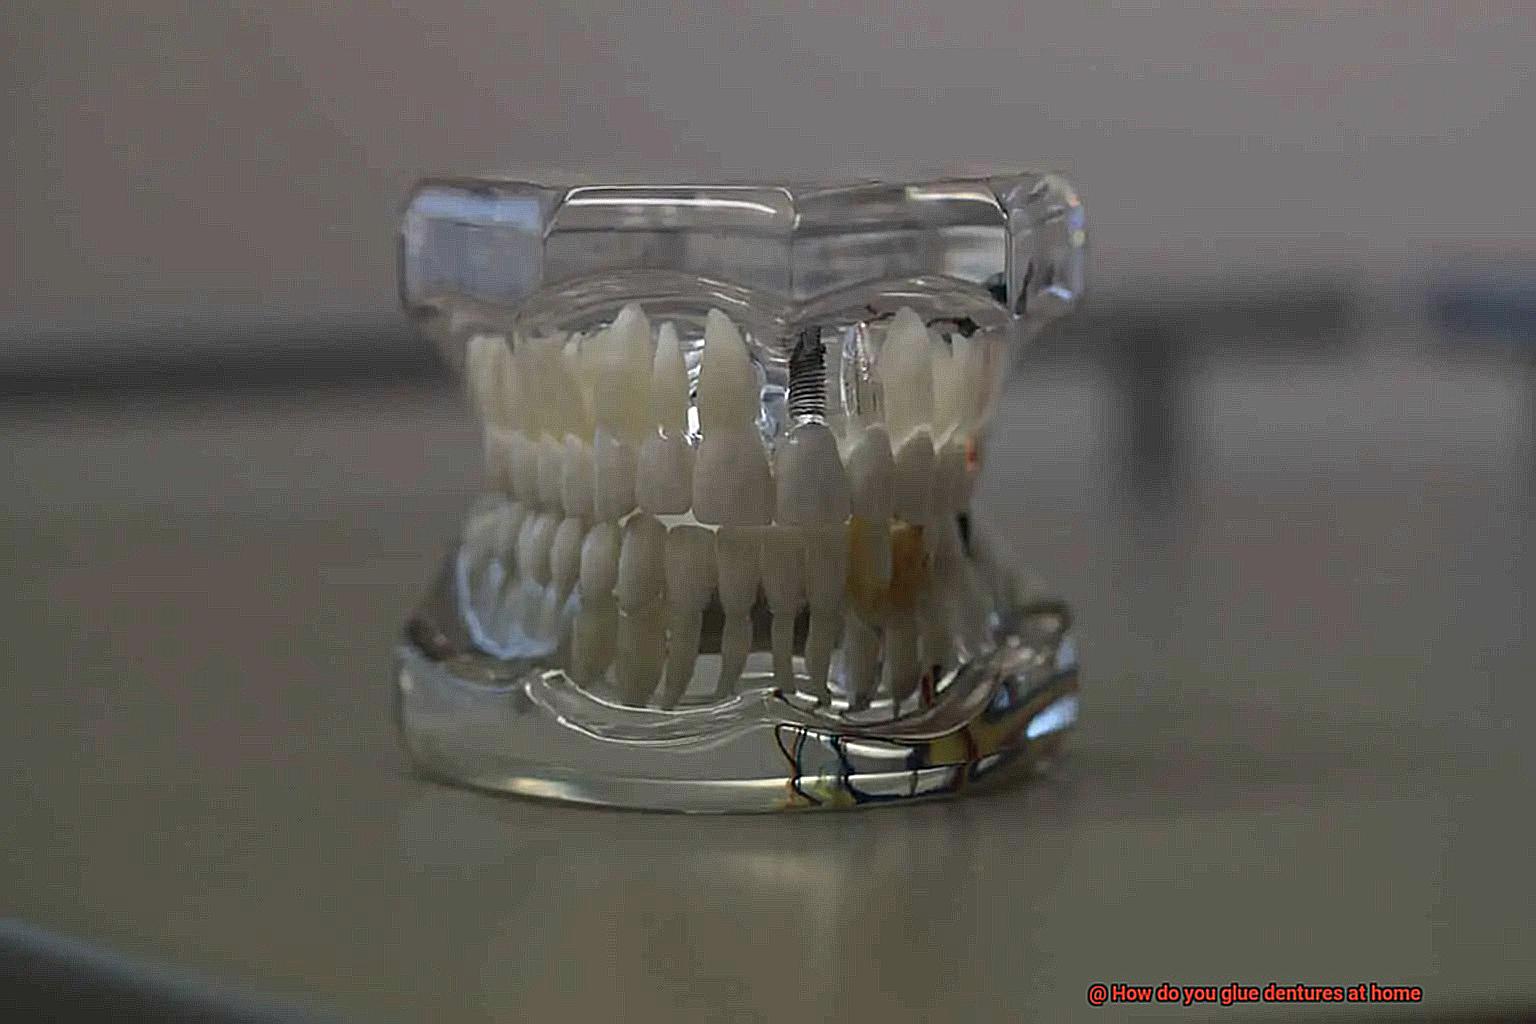
What are Dentures?
When it comes to replacing missing teeth, dentures are a game-changer. These removable oral appliances are meticulously crafted to fit your unique mouth, offering a comfortable and functional solution for those seeking to restore their smile. In this comprehensive guide, we will delve into the fascinating world of dentures, exploring their various types, the multitude of benefits they bring, and the essential maintenance required for optimal oral health.
Types of Dentures: A Perfect Fit for Every Need
- Complete Dentures: Embrace the full potential of your smile with complete dentures. Crafted using a flesh-colored acrylic base that snugly fits over your gums, these dentures are adorned with a set of artificial teeth. They not only restore a full and radiant smile but also provide invaluable support to your facial muscles.
- Partial Dentures: The ideal choice for those with a few remaining natural teeth, partial dentures bridge the gaps left by missing teeth. By preventing the remaining teeth from shifting, they ensure proper alignment and preserve the harmony of your smile.
Benefits of Dentures: Unlocking Your True Potential
- Radiant Appearance: Dentures bestow upon you a natural-looking smile, bolstering both your facial aesthetics and self-confidence.
- Chewing Mastery: Bid farewell to food restrictions as dentures empower you to relish a wide range of delectable cuisines, ensuring proper nutrition.
- Clear Speech Artistry: Reclaim your voice as dentures enhance speech clarity, enabling precise pronunciation and eloquent articulation.
- Fountain of Youth: Experience the remarkable power of dentures as they support your facial muscles, effectively averting sagging and granting you a more youthful visage.
- Oral Health Oasis: Dentures seal the gaps left by missing teeth, preventing tooth shifting and preserving proper alignment, ultimately contributing to improved oral health.
Why Glue Dentures at Home?
Dentures provide a valuable solution for individuals with missing teeth, offering benefits such as improved aesthetics and enhanced self-confidence. While it is generally advisable to seek professional assistance for denture-related issues, some individuals choose to take matters into their own hands and glue their dentures at home. In this article, we will explore the reasons behind this choice and highlight the advantages of DIY denture maintenance.
Convenience:
Life can be hectic, making it challenging to find time for dental appointments. Gluing dentures at home offers unparalleled convenience, allowing individuals to address minor issues without the need to schedule an appointment or travel to a dental clinic. By choosing this DIY approach, individuals can save precious time and effort while still ensuring the functionality of their dentures.
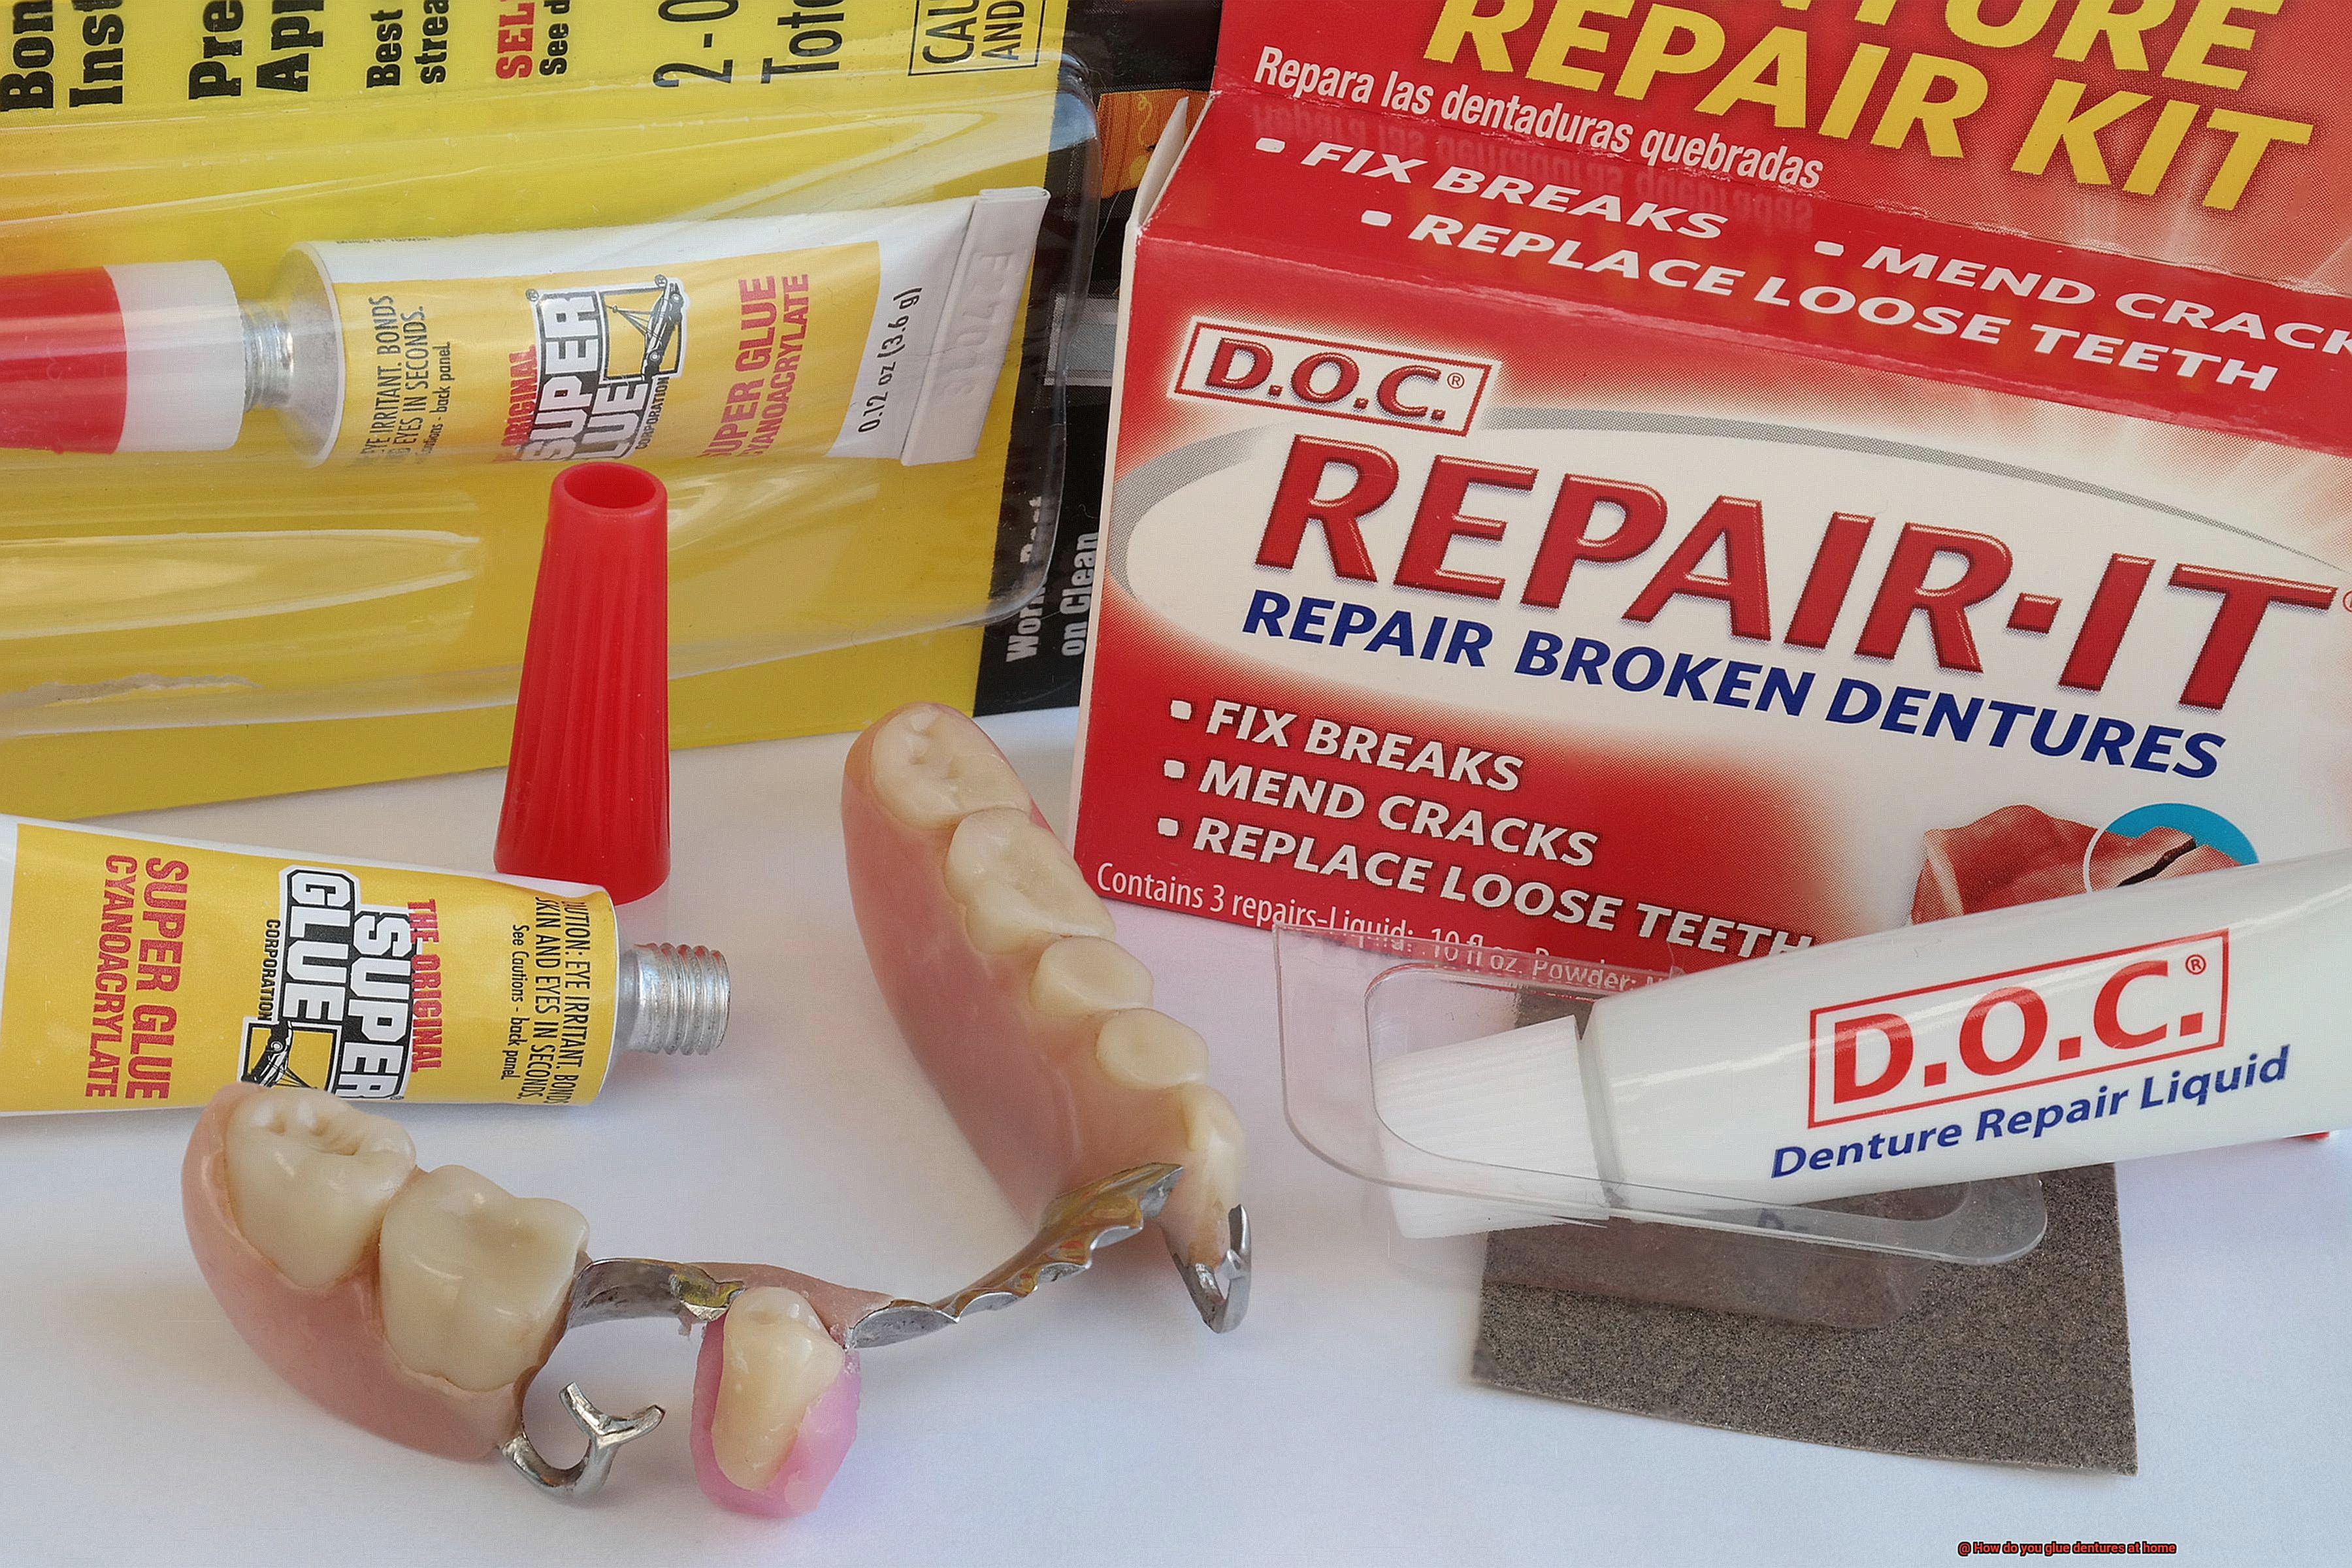
Cost-Effectiveness:
Professional denture repairs can be costly, particularly for individuals without dental insurance. However, by utilizing readily available denture adhesive products on the market, individuals can achieve temporary fixes at a fraction of the cost. DIY denture maintenance proves to be a cost-effective solution for those seeking to save money on minor repairs or adjustments.
Immediate Relief:
Imagine experiencing discomfort or functional problems with your dentures during non-office hours or in situations where immediate contact with your dentist is not possible. Gluing dentures at home provides an immediate solution to address these issues and relieve any discomfort experienced. It serves as a temporary fix until individuals can consult their dentist for a more permanent solution.
Sense of Control:
Taking control of one’s oral health can be empowering for some individuals. Gluing dentures at home allows individuals to have complete control over the process and feel more familiar with their own devices. This sense of self-sufficiency instills confidence and reassurance in managing minor denture-related issues independently.
However, it is vital to note that while gluing dentures at home may offer temporary relief, it should never replace professional care. Dentists are trained to handle complex denture-related problems and can provide long-lasting solutions that address the underlying issues. DIY denture maintenance should only be considered for minor repairs or adjustments and should always be supplemented with regular dental check-ups.
Cleaning the Denture and Mouth
Let’s embark on this journey towards a sparkling clean mouth.
Importance of Cleaning:
Beyond simply ensuring fresh breath, the act of cleaning your denture and mouth plays a vital role in safeguarding your overall oral health. By eliminating food particles, plaque, and bacteria that accumulate throughout the day, you not only enhance the longevity of your denture but also shield your natural teeth and gums from potential issues such as gum disease, infections, and unpleasant breath.
Steps for Cleaning Your Denture:
- Remove and Rinse: Begin by delicately removing your denture from its place in your mouth, then rinse it thoroughly under a gentle stream of running water. This initial step effectively dislodges any loose debris or pesky food particles that may have found their way onto the surface of your denture.
- Utilize a Denture Cleaner or Mild Soap: Elevate your cleaning routine by employing a specialized denture cleaner or mild soap, tailor-made for enhancing the cleanliness of dentures. Adhere to the manufacturer’s instructions regarding product usage. With a soft-bristled brush, diligently brush your denture to ensure its pristine condition by eliminating any residual debris or stains.
- Rinse Again: To ensure absolute cleanliness, it is crucial to give your denture a final rinse under running water. This essential step guarantees that no trace of cleaning solution or residue persists on the surface of your denture, thus preventing any potential discomfort or irritation when you wear it.
Steps for Cleaning Your Mouth:
Brush Gums, Tongue, and Natural Teeth: Elevate your oral hygiene game by extending your cleaning routine to encompass not only your denture but also your mouth. Utilize a soft-bristled toothbrush and toothpaste to diligently brush your gums, tongue, and any remaining natural teeth. This robust approach effectively eradicates plaque and bacteria that contribute to bad breath and gum disease.
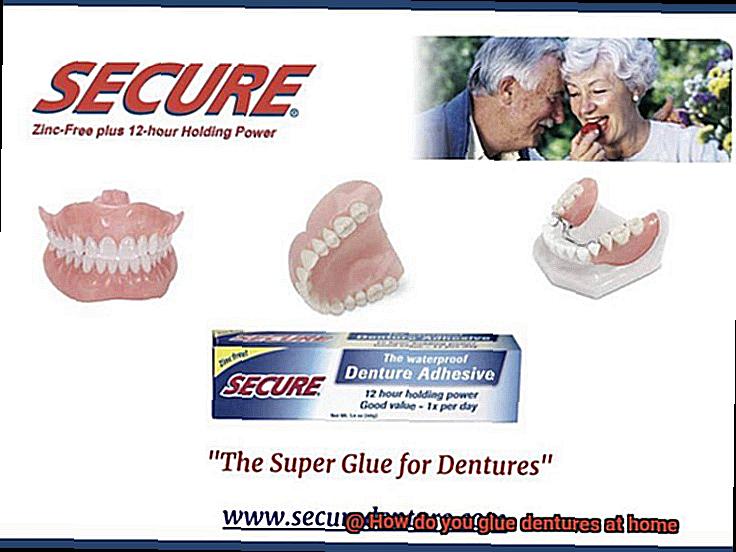
Types of Denture Adhesive Available
If you wear dentures, you understand the importance of keeping them securely in place. That’s where denture adhesive comes to the rescue. Denture adhesive is a specialized product that helps hold your dentures firmly on your gums. Let’s delve deeper into the different types of denture adhesive available on the market today.
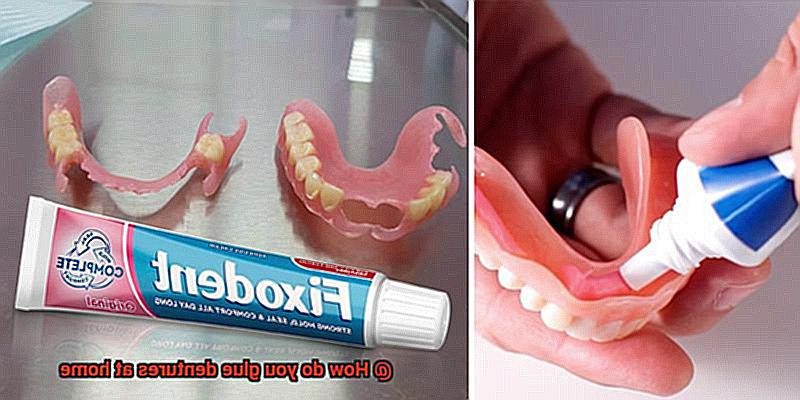
Cream or Paste Adhesive
One popular type of denture adhesive is the cream or paste form. This adhesive is applied directly to your denture before inserting it into your mouth. The cream or paste creates a robust bond between your denture and gums, ensuring that it stays put throughout the day. Easy to use and providing a secure hold, this type of adhesive offers convenience and peace of mind.
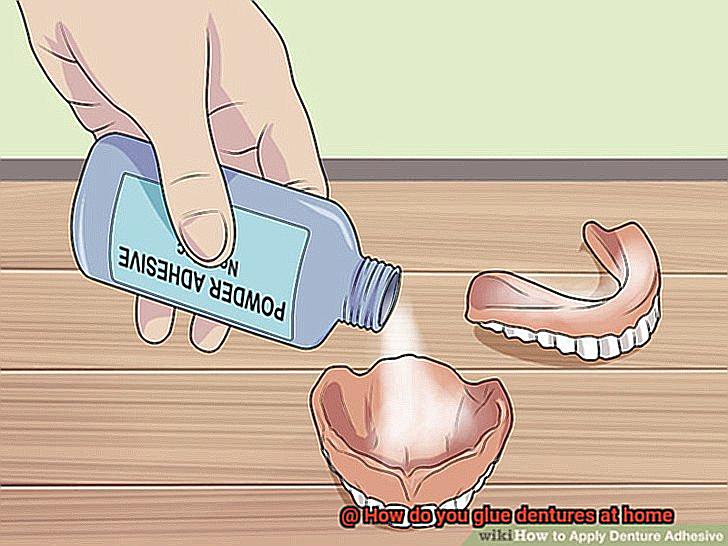
Powder Adhesive
Another option is the powder form of denture adhesive. This adhesive is sprinkled onto your moistened denture before placing it in your mouth. When it comes into contact with saliva, the powder transforms into a sticky gel-like substance that firmly holds your denture in place. Powder adhesives are particularly suitable for individuals with sensitive gums or those who prefer a more natural sensation while wearing their dentures.
Strips or Pads
Some denture adhesives are designed in the form of strips or pads. These pre-cut adhesives can be easily applied to your denture. Simply press the adhesive strip or pad onto your denture and insert it into your mouth. Offering a secure hold, these adhesives can be conveniently removed for cleaning purposes.
Individual Preferences
It’s important to recognize that not all types of denture adhesives will work for everyone. Personal preferences, gum sensitivity, and overall oral health can influence which type of adhesive is best suited for each individual. Finding the right adhesive may require some trial and error to ensure a comfortable fit and secure hold for your dentures.
Allergies and Sensitivities
When selecting a denture adhesive, it’s crucial to consider any allergies or sensitivities you may have. Certain adhesives contain ingredients that can cause skin irritation or other allergic reactions. To ensure your safety and effectiveness, carefully read product labels and consult with your dentist to find an adhesive that suits your specific needs.
Applying the Adhesive to the Denture
Denture adhesive is the secret weapon for a secure and confident smile with your dentures. With the right techniques, you can ensure optimal performance and comfort. In this comprehensive guide, we will explore the step-by-step process of applying denture adhesive like a professional. Let’s dive in and unlock the full potential of your dentures.
Step 1: A Fresh Start
Begin by giving your dentures a thorough cleanse. Rinse them under running water to remove any food particles or debris. Use a soft-bristled toothbrush and non-abrasive denture cleaner to gently brush all surfaces of the dentures, ensuring they are impeccably clean. Rinse once more to remove any residue from the cleaning solution.
Step 2: Select Your Adhesive Arsenal
Now it’s time to choose your denture adhesive weapon of choice. Will you go for creams, powders, or strips? Each type has its own application method, so carefully follow the manufacturer’s instructions for best results.
Creams and Powders:
For creams and powders, start by applying a small amount onto the dry or slightly damp denture surface. Remember, less is more. Using too much adhesive can lead to excess oozing or an unpleasant taste. Spread the adhesive evenly across the fitting surface of the denture, ensuring complete coverage for optimal adhesion.
Strips:
If you opt for adhesive strips, it couldn’t be simpler. Peel off the backing and carefully position the strip on the fitting surface of the denture. Trim any excess if necessary to achieve a comfortable fit within the denture’s edges.
Step 3: Embrace the Perfect Fit
With adhesive applied, it’s time to embrace a perfect fit for your dentures. Gently place the denture into your mouth, aligning it with your gums and natural teeth. Bite down gently and hold it in place for a few seconds, allowing the adhesive to set and work its magic. During this time, refrain from excessive movements or chewing, as it can disrupt the adhesive bond and compromise stability.
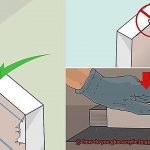
Placing the Denture in the Mouth Securely
Fear not. In this comprehensive guide, we will unveil the secrets to securely placing your dentures, allowing you to confidently enjoy life’s pleasures without any worries. So, let’s dive right in and discover the steps to achieving a snug and secure fit for your dentures.
Step 1: Cleanliness is Key:
Before inserting your dentures, it’s crucial to ensure they are spotlessly clean. Give them a thorough cleaning, removing any debris or adhesive residue. This not only promotes better oral hygiene but also provides a pristine surface for the adhesive to work its magic.
Step 2: Moisturize the Magic:
Moistening the denture adhesive is like adding fuel to the fire of secure placement. Apply a small amount of adhesive onto the surface of your denture and spread it evenly. Remember, a little goes a long way, so avoid excessive application that can lead to oozing or discomfort. Following the manufacturer’s instructions precisely guarantees you’re using just the right amount.
Step 3: Positioning with Precision:
Now comes the exciting part – placing your denture in your mouth. Start by gently positioning the front teeth of the denture against your gums. Slowly and carefully push the denture into place, ensuring a snug fit against your gums and surrounding tissues. Avoid forceful biting as it can disrupt the fit and potentially cause damage.
Step 4: Firm Pressure for a Secure Fit:
Once your denture is in position, use your fingers to apply gentle pressure, firmly holding it against your gums for a few seconds. This creates a suction effect that keeps your denture securely in place during everyday activities like eating or talking. For additional support, you can also use your tongue to apply some pressure while keeping the denture in place with your fingers.
Step 5: Fine-Tuning for Comfort:
Pay attention to any discomfort or sore spots that may arise after placing your denture. It’s not uncommon for new dentures to require slight adjustments for a perfect fit. If you experience any discomfort, don’t hesitate to reach out to your dentist, who can make the necessary modifications and ensure your dentures are as comfortable as possible.
Not Using Excessive Amounts of Adhesive
Today, we embark on a journey to unlock the secrets of optimal denture adhesion. In this guide, we’ll delve into the importance of not using excessive amounts of adhesive when securing your dentures at home. Brace yourself for a fascinating exploration of why a little restraint can go a long way in ensuring comfort, natural appearance, and ease of daily activities. Let’s dive in and discover the art of denture adhesion.
The Perils of Excessive Adhesive:
Imagine a scenario where you’ve liberally applied adhesive to your dentures, hoping for an impeccable hold. However, instead of achieving the desired outcome, you’re left with discomfort and an unnatural appearance. Let’s unveil the reasons why avoiding excessive adhesive is paramount:
Discomfort and Irritation:
A surplus of adhesive creates a thick layer between your dentures and gums, leading to unwelcome discomfort and irritation. These pesky issues can escalate into sore spots or even infections if not managed properly. Say goodbye to needless pain and prioritize the well-being of your gums.
Impeded Speech and Eating:
Imagine struggling to express yourself or savor a delicious meal due to an abundance of adhesive. It’s akin to grappling with a tenacious sticky monster. Excessive adhesive hinders the movement of your tongue and other oral structures, making it arduous to articulate words or chew with ease. Spare yourself from awkward moments during conversations or dining experiences.
Unveiling the Natural Smile:
A tell-tale sign of dentures is an artificial appearance that can negatively impact self-confidence. An excessive amount of adhesive contributes to a bulky and unnatural aesthetic, broadcasting to the world that you’re wearing false teeth. Let’s ensure your smile radiates authenticity and boosts your self-assurance.
Mastering the Balance:
Now that we’ve explored the drawbacks of excessive adhesive, let’s uncover some practical tips to strike the perfect balance:
Unravel the Instructions:
Embark on your adhesive journey armed with knowledge by diligently reading and comprehending the manufacturer’s instructions. Each denture adhesive has unique application guidelines, making it essential to grasp the specifics.
Reapplying Adhesive Throughout the Day
As a denture wearer, you know that a secure fit is paramount for comfort and confidence. However, throughout the day, your dentures may start to feel loose and uncomfortable due to increased saliva production and regular activities. Fear not, as reapplying adhesive can be your saving grace. In this captivating blog post, we will explore the ins and outs of reapplying denture adhesive, ensuring a day filled with unparalleled comfort and peace of mind.
Step 1: A Thorough Cleaning Ritual
Before embarking on your adhesive reapplication journey, it is crucial to give your dentures a thorough cleaning. Bid farewell to any lingering residue by gently scrubbing the denture base with a denture brush and either mild soap or denture cleaner. This meticulous step guarantees a flawless bonding process, free from debris or bacteria.
Step 2: The Art of Drying
Moisture can be the nemesis of an effective adhesive application. Thus, ensure your dentures are devoid of any moisture before venturing further. With a delicate touch, delicately pat them dry using a clean towel or tissue, leaving no room for pesky moisture to interfere.
Step 3: Choosing Your Ideal Adhesive Companion
In this vast realm of denture adhesives, you have the privilege of selecting from an array of options like creams, powders, and strips. Creams reign supreme in popularity and ease of use. Allow your preferences and needs to guide you towards the adhesive that will become your faithful companion.
Step 4: The Eloquent Dance of Application
To apply the adhesive cream with finesse, squeeze out a modest amount onto the denture base. Embrace the artistry of precision by creating thin lines or dots. Remember, moderation is key; excess adhesive can lead to discomfort and unsightly oozing. Let the adhesive work its magic with grace and subtlety.
Step 5: Firm Embrace for a Secure Fit
With the adhesive applied, embrace your dentures with conviction. Place them firmly in your mouth and hold them in place for a few precious seconds. This delicate tango allows the adhesive to bond harmoniously with both your dentures and gums, unlocking a realm of unmatched stability. For optimal results, resist the temptation to eat or drink for 15-30 minutes, allowing the adhesive to solidify its grip.
Cleaning Before Reapplying Adhesive
Imagine waking up in the morning, ready to conquer the day with confidence and grace. Your dentures, like faithful companions, embrace your gums, providing unmatched comfort and stability. But before you embark on this journey of denture bliss, there’s a crucial step that mustn’t be overlooked – cleaning before reapplying adhesive.
Cleaning dentures before reapplying adhesive is the secret sauce to ensuring a secure fit that lasts all day long. It’s like preparing a canvas for a masterpiece or prepping a dance floor for a sensational tango. So let’s dive into the steps that will have your dentures feeling fresh, clean, and ready for action.
Step 1: Rinse away the debris
Start by rinsing your dentures under warm water. This simple act helps remove any loose debris that may have taken up residence on your denture surface. But hold up – remember to avoid using hot water as it can warp your precious dentures. We don’t want that.
Step 2: Gentle scrubbing is key
Now it’s time to grab your trusty toothbrush or denture brush and give those pearly whites (or pearly replacements) a gentle scrub. Use a non-abrasive toothpaste or denture cleaner specifically designed for dentures. Regular toothpaste or harsh cleaners can damage your denture material, and we don’t want any mishaps now, do we?
Pay special attention to all areas of your dentures – the gum line, teeth, and any nooks and crannies. Think of it as giving each tooth a loving massage. Brush all surfaces for at least two minutes to ensure every nook and cranny is squeaky clean.
Step 3: Rinse away the remnants
After your thorough brushing session, it’s time to rinse away any remaining cleaning product residue. You want a clean slate for your adhesive to work its magic. So make sure to rinse those dentures under running water until all traces of toothpaste or cleaner are gone.
Step 4: Let them dry, baby.
Ah, the importance of drying. Just like you wouldn’t slap on a fresh coat of paint without letting the canvas dry, you don’t want to reapply adhesive to damp dentures. Moisture can interfere with the adhesive’s bonding ability, and we want that bond to be strong and unwavering.
Long-Term Solution for Gluing Dentures at Home
Dentures hold the power to revolutionize lives by restoring smiles and functionality. But to truly unlock their potential, a secure and comfortable fit is paramount. In this captivating article, we will unveil the long-term solutions for gluing dentures at home that will empower you to speak, eat, and smile with unwavering confidence.
Denture Adhesive Creams and Pastes:
Harness the might of denture adhesive creams and pastes, the stalwart saviors of denture stability. These products forge an unbreakable bond between your dentures and gums, ensuring a steadfast fit throughout the day. Remember to adhere to the manufacturer’s instructions meticulously to maximize their efficacy – a mere dab can work miracles.
Denture Adhesive Powders:
Embrace the enchantment of denture adhesive powders, sprinkled delicately onto moistened denture surfaces. Tap away any excess powder, and witness the magic unfold. As saliva enters the stage, it activates the powder, culminating in a grip so sturdy that your dentures will feel like an extension of your natural teeth. This enchanting bond promises lasting comfort.
Denture Adhesive Strips:
For those who crave convenience without compromising on reliability, denture adhesive strips are your answer. These pre-cut wonders are perfectly tailored to your dentures’ contours, guaranteeing an effortless application process. Prepare to be awestruck as the adhesive springs into action upon encountering moisture, creating an unyielding connection between your dentures and gums that lasts all day.
Proper Oral Hygiene and Maintenance:
To bask in the glory of long-term success with denture adhesives, you must honor the sacred rituals of oral hygiene and maintenance. Scrub away any impurities or bacteria by regularly washing your dentures with mild soap or specialized denture cleaner. And let us not forget the gums – their health thrives through regular massages, ensuring robust circulation and warding off irritation.
FuTN1ZUdXtw” >
Conclusion
When it comes to gluing dentures at home, there are a few important things to keep in mind. First and foremost, it’s crucial to remember that denture adhesive should only be used as a temporary solution. While it can provide some relief if your dentures are loose or uncomfortable, it is not a substitute for professional dental care.
To start the process, make sure your dentures are clean and dry. This will help ensure a strong bond between the adhesive and the denture surface. Next, apply a small amount of adhesive to the areas of your dentures that come into contact with your gums. It’s important not to use too much adhesive, as this can lead to discomfort or difficulty removing the dentures later on.
Once you’ve applied the adhesive, carefully place your dentures back into your mouth and bite down gently but firmly. This will help secure them in place and allow the adhesive to set properly. It’s important to avoid eating or drinking for at least 15 minutes after applying the adhesive to give it time to fully bond.
While using denture adhesive at home can provide some temporary relief, it’s essential to schedule an appointment with your dentist as soon as possible. They will be able to assess the fit of your dentures and make any necessary adjustments or repairs. Remember, proper oral care and regular dental check-ups are key to maintaining good oral health.
In conclusion, while gluing dentures at home may offer a temporary fix for loose or uncomfortable dentures, it should never replace professional dental care. Use adhesive sparingly, follow proper application techniques, and seek dental assistance for long-term solutions.