Are you ready to embark on a project that combines the sleek strength of aluminum with the timeless beauty of wood? Joining these two materials may seem like a daunting task, but fear not. In this guide, we’ll walk you through the ins and outs of attaching aluminum to wood, equipping you with the know-how to create a bond that is secure and long-lasting.
The marriage of aluminum and wood brings together durability and natural charm, making it an ideal choice for a wide range of applications. Whether you’re working on furniture, exterior trim, or structural components, understanding the right techniques for joining these materials will ensure your projects shine.
Throughout this article, we’ll explore various tried-and-true approaches, highlighting their strengths and considerations. From mechanical fasteners to adhesive options, we’ll cover it all, allowing you to choose the best method for your specific project.
But wait, there’s more. We won’t just show you step-by-step procedures for each technique; we’ll also dive into key factors to consider when deciding whether screws, nails, rivets, or specialized adhesives are your best bet. We’ll discuss the importance of drilling pilot holes, selecting the right connectors, and ensuring dimensional compatibility.
And that’s not all – we’ll address potential challenges that may arise during the bonding process. No need to panic though; we’ve got your back with practical tips and troubleshooting advice. By learning from common mistakes and following our expert recommendations, achieving a seamless connection will be a breeze.
Whether you’re an experienced woodworking enthusiast or just starting out in the world of DIY projects, this comprehensive guide is designed to empower you with the knowledge and expertise needed to confidently attach aluminum to wood. So let’s dive in together and uncover the secrets behind creating a bond between these two materials that will stand strong over time.
Adhesive Bonding
Contents
- 1 Adhesive Bonding
- 1.1 Types of Adhesives:
- 1.2 Application Methods:
- 1.3 Joint Design Considerations:
- 1.4 Preparing the Surfaces Get ready to dive into the fascinating world of glue and adhesives. Today, we’re going to take a deep dive into the essential steps for preparing surfaces when attaching aluminum to wood. So grab your sandpaper and cleaning solution, because we’re about to embark on a journey to achieve the perfect bond between these two materials. Step 1: Sanding
- 1.5 Step 2: Cleaning
- 1.6 Step 3: Priming (if necessary)
- 1.7 Step 4: Adhesive Application
- 1.8 Step 5: Curing Time
- 1.9 Applying the Adhesive
- 2 Benefits of Attaching Aluminum to Wood
- 3 Safety Tips When Using Adhesives and Fasteners
- 4 Common Mistakes to Avoid When Attaching Aluminum to Wood
- 5 Different Types of Metal Bonding Adhesives and Their Uses
- 6 Different Types of Mechanical Fasteners and Their Uses
- 7 Conclusion
When it comes to joining aluminum and wood, adhesive bonding proves itself time and again as a reliable and effective method. This process involves using specially designed adhesive materials that create a strong and durable bond between these two materials. In this blog post, we will delve into the world of adhesive bonding, exploring the types of adhesives available, surface preparation techniques, application methods, and key considerations for joint design.
Types of Adhesives:
The adhesive marketplace offers a variety of options suitable for bonding aluminum to wood. Epoxy adhesives take the lead with their unparalleled strength and versatility. Polyurethane adhesives, on the other hand, provide flexibility and excellent resistance to moisture. For smaller projects or temporary bonds, the rapid bonding of cyanoacrylate adhesives makes them an ideal choice. Carefully consider your project’s specific requirements to choose the right adhesive for the job.
Application Methods:
Achieving maximum contact and an even distribution of bonding strength necessitates applying the adhesive evenly to both surfaces. Always adhere to the manufacturer’s instructions regarding application methods, curing time, and temperature requirements. During the curing process, clamping the aluminum and wood together can wield a tighter bond.
Joint Design Considerations:
The strength of an adhesive bond depends on multiple factors, including the adhesive type used, surface preparation techniques employed, and joint design considerations. When choosing an adhesive and designing the joint, take into account load-bearing capacity, exposure to moisture or temperature changes, and the expected lifespan of the bond. Ensuring careful consideration of these factors will result in a secure and durable bond.
Preparing the Surfaces
Get ready to dive into the fascinating world of glue and adhesives. Today, we’re going to take a deep dive into the essential steps for preparing surfaces when attaching aluminum to wood. So grab your sandpaper and cleaning solution, because we’re about to embark on a journey to achieve the perfect bond between these two materials.
Step 1: Sanding
Let’s start by giving that wood surface a makeover. Grab your trusty sandpaper or sanding block and let’s smooth things out. As you sand away, you’re not only removing any existing finish, but also creating a roughened surface that’s ready to bond with the adhesive. Remember to follow the grain of the wood and banish any dust or debris.
Step 2: Cleaning
Now that our wood surface is looking fabulous, it’s time for a deep clean. Grease, dirt, and other sneaky contaminants can ruin our bonding party, so we need to make sure everything is squeaky clean. Whip out some isopropyl alcohol or acetone, apply it to a soft cloth or sponge, and give both the aluminum and wood surfaces a thorough wipe-down. Just like Cinderella before the ball, they need to be spotless. Let them dry completely before moving on to the next step.
Step 3: Priming (if necessary)
Ah, certain types of wood just love to throw a wrench in our plans. They absorb moisture like a sponge or have natural oils that are downright rude when it comes to bonding. Fear not. We have a secret weapon called primer or adhesion promoter. Apply this magical elixir according to the manufacturer’s instructions and let it work its wonders. It enhances the bond between aluminum and wood surfaces, making them inseparable. Don’t skip this step if needed – Cinderella wouldn’t go to the ball without her glass slippers, would she?
Step 4: Adhesive Application
Now it’s time for the main event – adhesive time. We have a plethora of options, like epoxy, polyurethane, and construction adhesives. Choose one that’s specifically designed for bonding aluminum to wood, because we’re aiming for a match made in heaven. Follow the manufacturer’s instructions for application, ensuring that both surfaces are treated with love and care. Mix if necessary and align the aluminum with the wood surface like two puzzle pieces finding their rightful place. Press them together firmly, creating a bond that will make even Romeo and Juliet jealous.
Step 5: Curing Time
Patience is a virtue, my friends. Now we must let the adhesive work its magic and bond properly. It’s like waiting for a cake to bake – you can’t rush perfection. The curing time varies depending on the adhesive you’ve chosen, ranging from a few minutes to several hours. During this period, avoid any disturbances or placing stress on the bond – let it do its thing.
Applying the Adhesive
Prepare yourselves for a thrilling journey into the art of attaching aluminum to wood using the power of bonding agents. Get ready to be amazed as we explore the wondrous world of epoxy, polyurethane, and construction adhesive – the heroes of this adhesive adventure.
Let’s begin our expedition with the mighty epoxy – the superhero of adhesives. This dynamic duo consists of a resin and a hardener that, when combined, unleash a bond stronger than the Hulk himself. To embark on this epic bonding quest, simply mix the two components according to the instructions and spread this potent adhesive evenly across both the aluminum and wood surfaces. It’s as easy as pie.
Now, brace yourselves for the next thrilling encounter with polyurethane adhesive – the flexible friend. This extraordinary adhesive not only boasts exceptional bonding strength but also possesses incredible flexibility. It can withstand movement and vibration with ease, ensuring a secure connection. Just like our beloved epoxy, you’ll need to blend the two parts together and then apply this magical elixir onto both surfaces before firmly pressing them together.
But wait. Our adventure is not complete without encountering the versatile wonder known as construction adhesive. This adhesive, akin to a jack-of-all-trades, can bond an array of materials, including aluminum and wood. To wield its power, ensure that both surfaces are clean and dry. Then, with precision and finesse, apply a continuous bead of adhesive onto one surface before uniting the aluminum and wood with unwavering force. And behold. The bond is formed.
Before we embark on our adhesive odyssey, let us not forget the importance of proper surface preparation. Just like preparing for a grand occasion, cleanliness is key. Both the aluminum and wood surfaces should be free from any dirt, grease, or unwelcome contaminants that could hinder adhesion. Arm yourselves with your chosen solvent or cleaner recommended by the adhesive manufacturer, and with gusto, scrub away any impurities.
So, dear comrades, as we conclude our adhesive adventure, remember these sacred teachings: choose your adhesive wisely, prepare your surfaces meticulously, and embrace patience as the adhesive cures. With these secrets in hand, you shall conquer the realm of aluminum-wood attachment with unwavering confidence. Together, let us forge bonds so unbreakable that not even the mightiest tempest can sever them.
Benefits of Attaching Aluminum to Wood
Wood and aluminum may seem like an odd couple, but when these two materials join forces, it’s a match made in heaven. Whether you’re a DIY enthusiast or a professional builder, attaching aluminum to wood opens up a world of possibilities.
In this blog post, we’ll explore the benefits of this dynamic duo and why mechanical fasteners are the ultimate choice for securing them together.
So, let’s dive in.
Strength and Durability:
- Aluminum reinforces wooden structures, making them more resistant to bending, warping, or breaking under pressure.
- Lightweight yet sturdy nature of aluminum adds strength without adding excessive weight.
- Provides structural integrity and longevity to wooden projects.
Corrosion Resistance:
- Aluminum remains unaffected by moisture or harsh weather conditions.
- Does not rust or corrode over time, ensuring the longevity of the attached wood.
- Ideal for outdoor projects that are exposed to rain, snow, or humidity.
Aesthetic Appeal:
- Aluminum’s sleek and modern appearance complements the natural warmth and charm of wood.
- Creates a visually pleasing contrast that adds sophistication and style to any project.
- Enhances the overall look and appeal of furniture, interior decor, or exterior architecture.
Versatility:
- Aluminum can be easily shaped, cut, or molded into various forms.
- Offers creative designs and customization options for incorporating aluminum accents or structural elements within wooden projects.
- Allows for flexibility in creating windows, doorways, fences, pergolas, and more.
Thermal Insulation:
- Aluminum acts as a thermal barrier when attached to wood.
- Regulates temperature and reduces heat loss for improved insulation.
- Increases energy efficiency and potential energy savings.
Safety Tips When Using Adhesives and Fasteners
When it comes to working with adhesives and fasteners, safety should always be your top priority. By following these simple safety precautions, you can prevent accidents and injuries. Before starting any project, make sure to wear the necessary personal protective equipment (PPE). Put on gloves to protect your hands, safety goggles to shield your eyes from flying debris, and a mask to prevent inhaling any fumes or dust particles.
Read and Follow Instructions
Always read and follow the instructions provided by the manufacturer of the adhesive or fastener you are using. Each product may have specific safety precautions or application methods that need to be followed for optimal results and safety. Make sure you understand the recommended curing time, proper mixing ratios (if applicable), and any other specific guidelines provided.
Work in a Well-Ventilated Area
To minimize exposure to potentially harmful fumes or vapors emitted by certain adhesives, it is crucial to work in a well-ventilated area. Open windows or use a ventilation fan to ensure proper air circulation while working. This will help prevent the buildup of toxic gases and improve overall air quality in your workspace.
Store Adhesives and Fasteners Properly
Keep adhesives and fasteners out of reach of children and pets. Store them in a secure location, preferably in their original containers, away from heat sources or direct sunlight. This will help prevent accidents and ensure the products remain effective. Proper storage also helps extend the shelf life of adhesives and maintains their adhesive properties.
Handle Sharp Objects with Caution
When working with sharp objects like nails, screws, or staples, exercise caution. Keep them stored in a designated container and handle them carefully to avoid accidental cuts or punctures. Always be mindful of where you place your hands while using these tools. It is also important to use the correct size and type of fasteners for the specific application to ensure a secure and durable attachment.
Common Mistakes to Avoid When Attaching Aluminum to Wood
Achieving a strong and durable bond between aluminum and wood requires knowledge and proper techniques. In this article, we will explore common mistakes to avoid when using glue as the primary method of attachment. By understanding and avoiding these errors, you can ensure a successful and long-lasting bond between aluminum and wood surfaces.
Using the wrong adhesive:
Choosing a general-purpose adhesive is a mistake that can result in a weak bond. To ensure a strong attachment, select an adhesive specifically designed for bonding aluminum and wood. Look for products labeled for use with these materials, as they possess the properties necessary for effective adhesion.
Neglecting surface preparation:
Properly preparing the surfaces is vital for a successful bond. Ensure both the aluminum and wood surfaces are clean, dry, and free from dirt, dust, or grease. Use a suitable cleaner or solvent to wipe down the surfaces and allow them to fully dry before applying the adhesive.
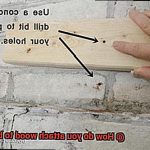
Ignoring surface roughening:
Aluminum surfaces are smooth by nature, making it challenging for adhesive to adhere properly. Enhance adhesion by lightly roughening the surface with sandpaper or a wire brush. This simple step creates an ideal bonding surface for the adhesive, resulting in a stronger connection between aluminum and wood.
Applying inadequate or excessive adhesive:
Finding the right amount of adhesive is crucial for a strong bond. Insufficient adhesive may result in a weak connection, while excessive application can lead to messy outcomes and unnecessary squeeze-out. Follow the manufacturer’s instructions regarding the appropriate amount of adhesive for optimal results.
Failing to apply even pressure:
Applying even pressure across the entire surface area is essential for a strong and uniform bond. Uneven pressure can create weak spots where the joint may fail to bond correctly. Secure the joint with clamps or other means, ensuring even pressure until the adhesive has fully cured.
Rushing the curing process:
Patience is key during adhesive curing. Curing times vary based on adhesive type, temperature, and humidity. Allow sufficient time for the adhesive to fully cure before subjecting the bond to stress or load. Rushing this process compromises the strength and durability of the connection.
Different Types of Metal Bonding Adhesives and Their Uses
When it comes to joining aluminum and wood, selecting the right adhesive is crucial for creating a strong and durable bond. In this article, we will explore various types of metal bonding adhesives and their specific uses when attaching aluminum to wood. By understanding the characteristics and applications of each adhesive, you can make an informed choice for your project.
Epoxy Adhesives – The Powerhouse:
Epoxy adhesives emerge as superheroes in the realm of bonding metals and wood. Offering exceptional strength, durability, and resistance to heat and chemicals, epoxy adhesives are a go-to choice. With their two-component formula, epoxy adhesives require mixing before application. This allows for precise positioning of the materials before the adhesive sets. From furniture assembly to boat building, epoxy adhesives exhibit versatility across various applications.
Polyurethane Adhesives – Flexibility at its Best:
Polyurethane adhesives present another fantastic option for joining aluminum and wood. These adhesives provide flexibility, impact resistance, and moisture resistance. Their ability to bond both porous and non-porous surfaces makes them ideal for aluminum and wood bonding. Whether it’s construction or woodworking projects, polyurethane adhesives excel in offering a secure bond.
Acrylic Adhesives – Fast and Furious:
Acrylic adhesives are renowned for their rapid curing properties and high bond strength. They form robust bonds between aluminum and wood even in challenging conditions. With resistance against temperature fluctuations, UV radiation, and chemicals, acrylic adhesives are popular in industries such as automotive assembly and signage.
Cyanoacrylate Adhesives – Instant Bonding Magic:
For quick repairs or bonding small parts, cyanoacrylate adhesives are the answer. Commonly known as super glue or instant glue, these fast-setting adhesives form a strong bond within seconds of contact. However, they may not be suitable for heavy-duty applications or situations with high stress on the bond.
Hybrid Adhesives – The Ultimate Bonding Solution:
To achieve superior bonding performance, hybrid adhesives combine the best features of different adhesive technologies. These adhesives offer excellent adhesion between aluminum and wood, even in challenging conditions. With high initial tack, fast curing times, and flexibility, hybrid adhesives can withstand extreme temperatures, UV exposure, and harsh chemicals.
Different Types of Mechanical Fasteners and Their Uses
When it comes to joining aluminum and wood together, there are several types of mechanical fasteners that can be used. Each type has its own unique characteristics and applications, ensuring a secure and permanent attachment between the two materials. In addition to mechanical fasteners, adhesive anchors or glue can also be used as an alternative method for attaching aluminum to wood. Let’s explore the different types of mechanical fasteners and their uses in more detail.
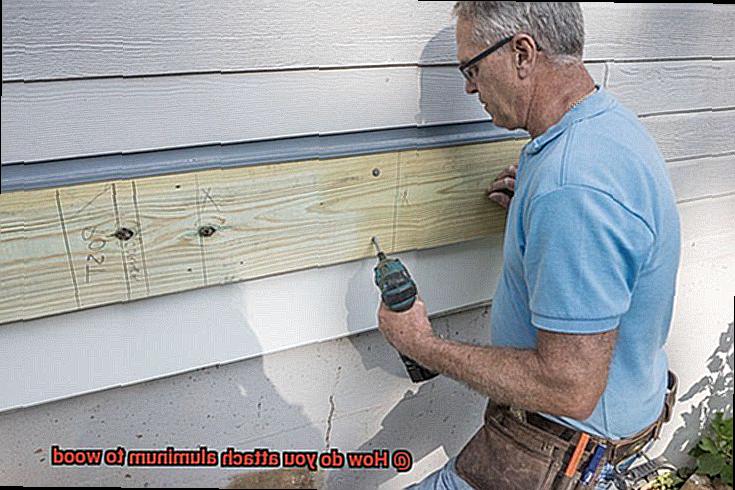
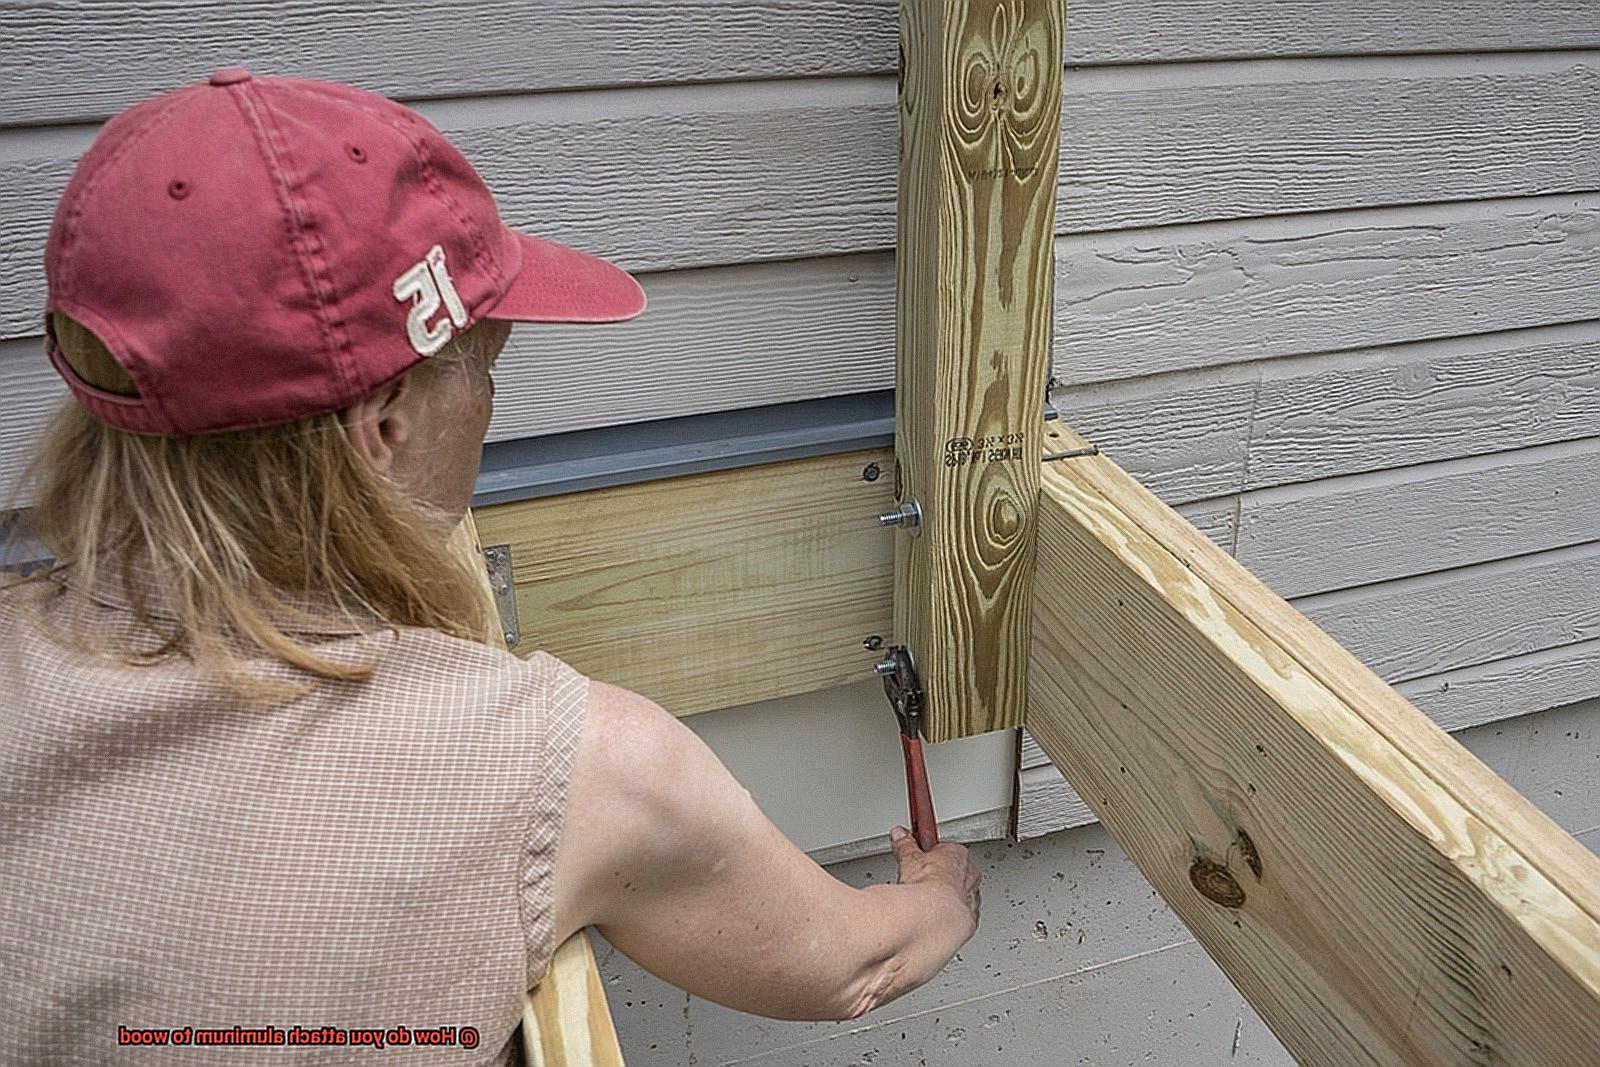
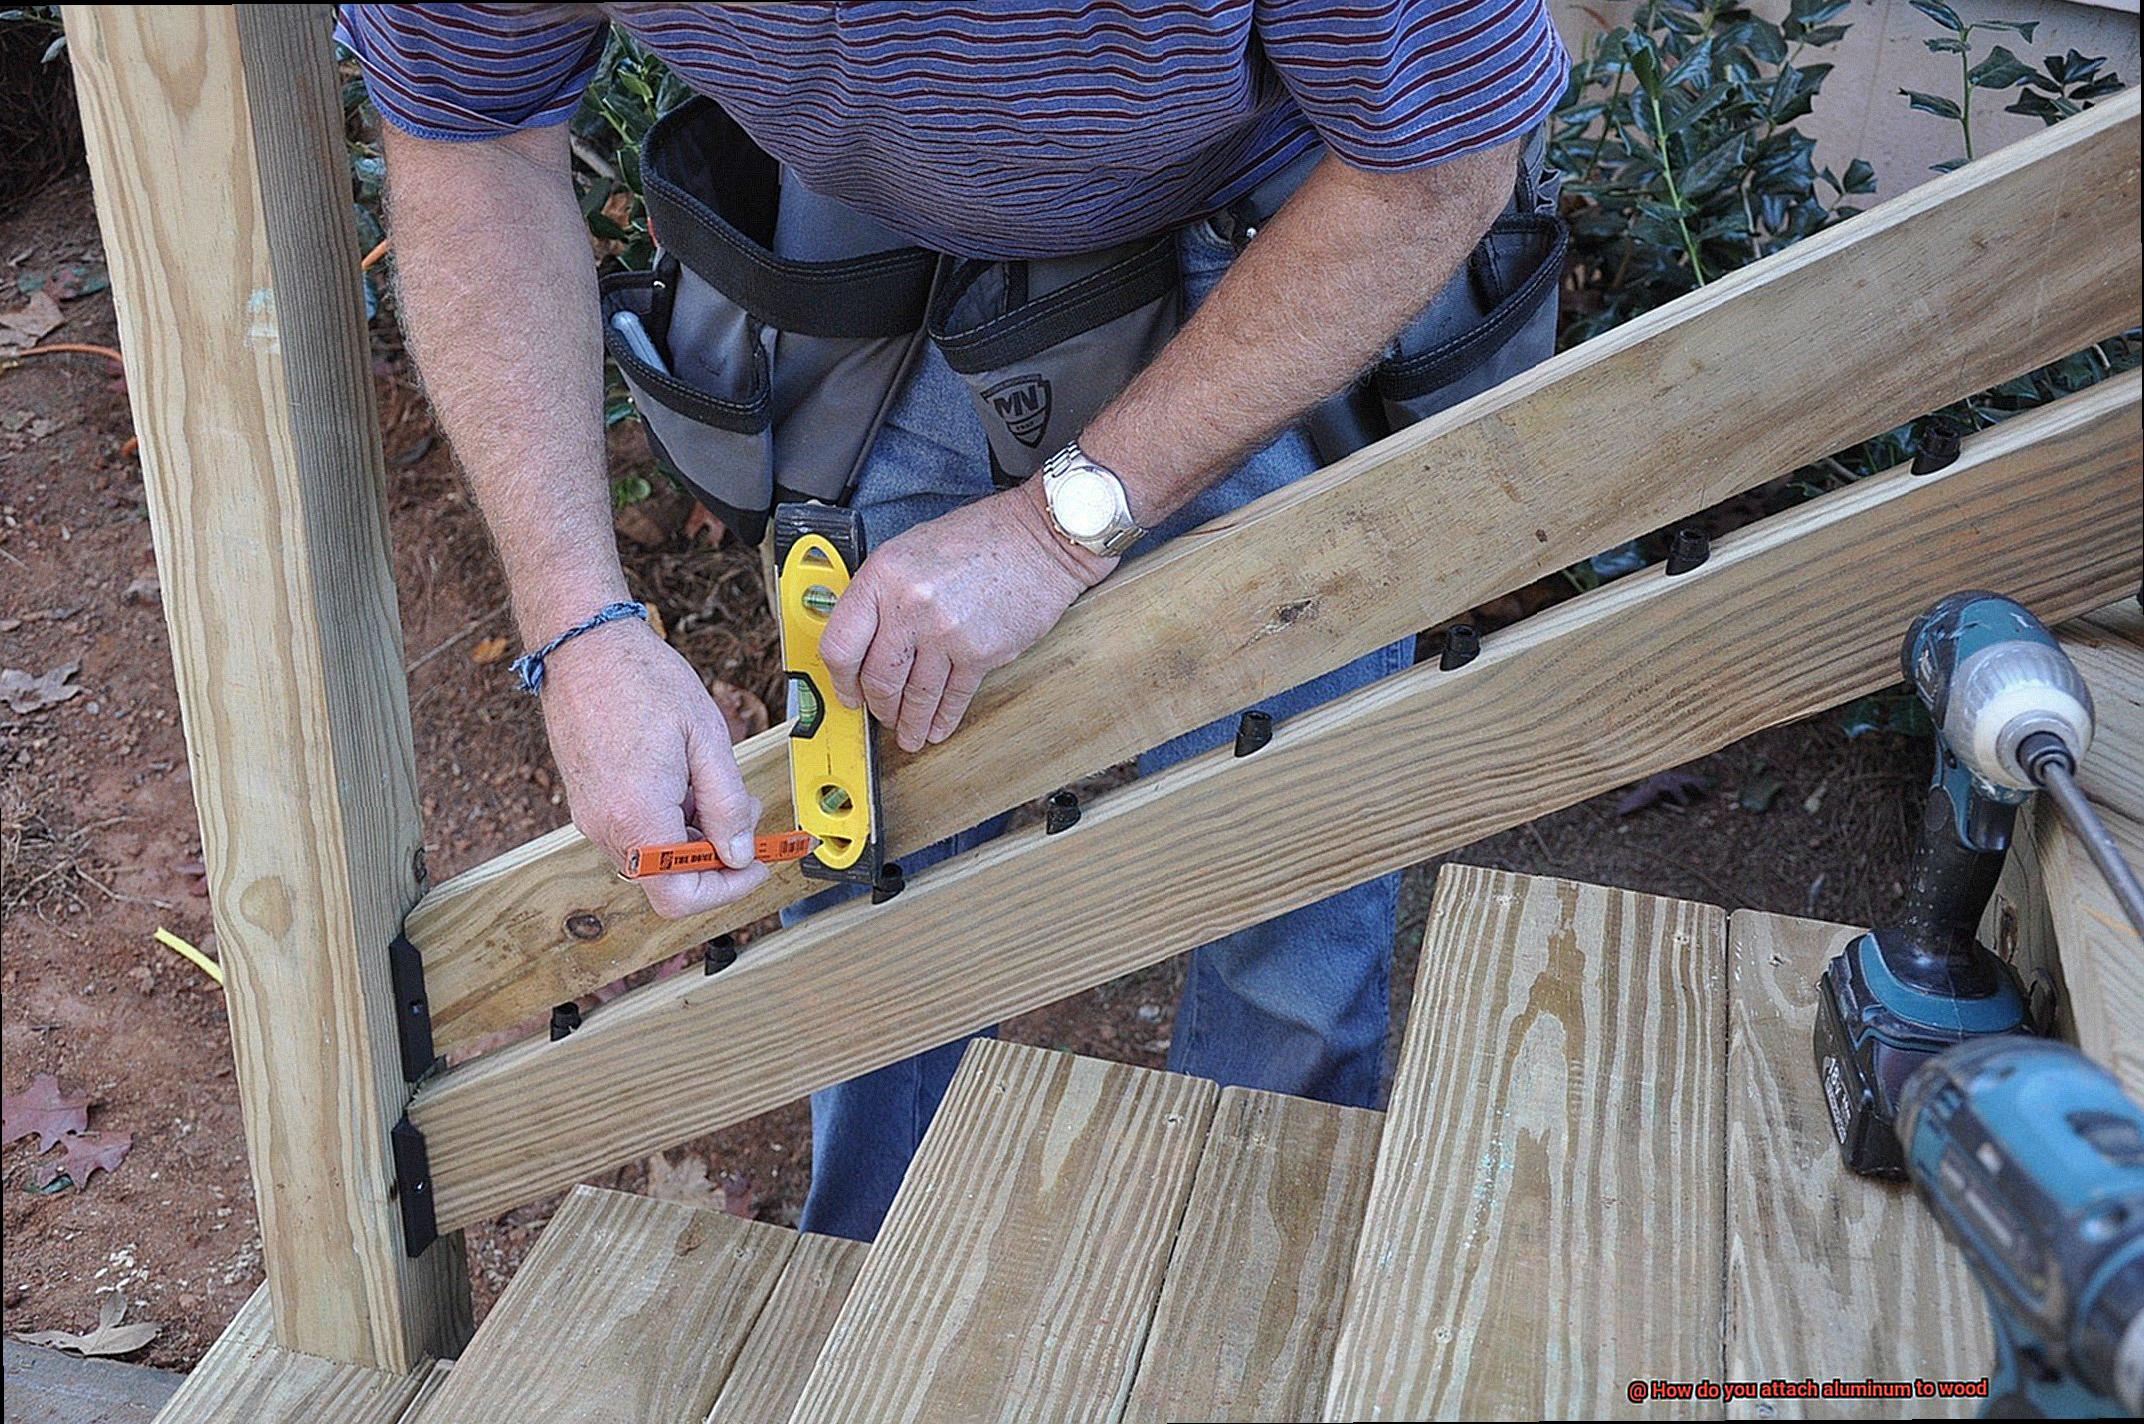
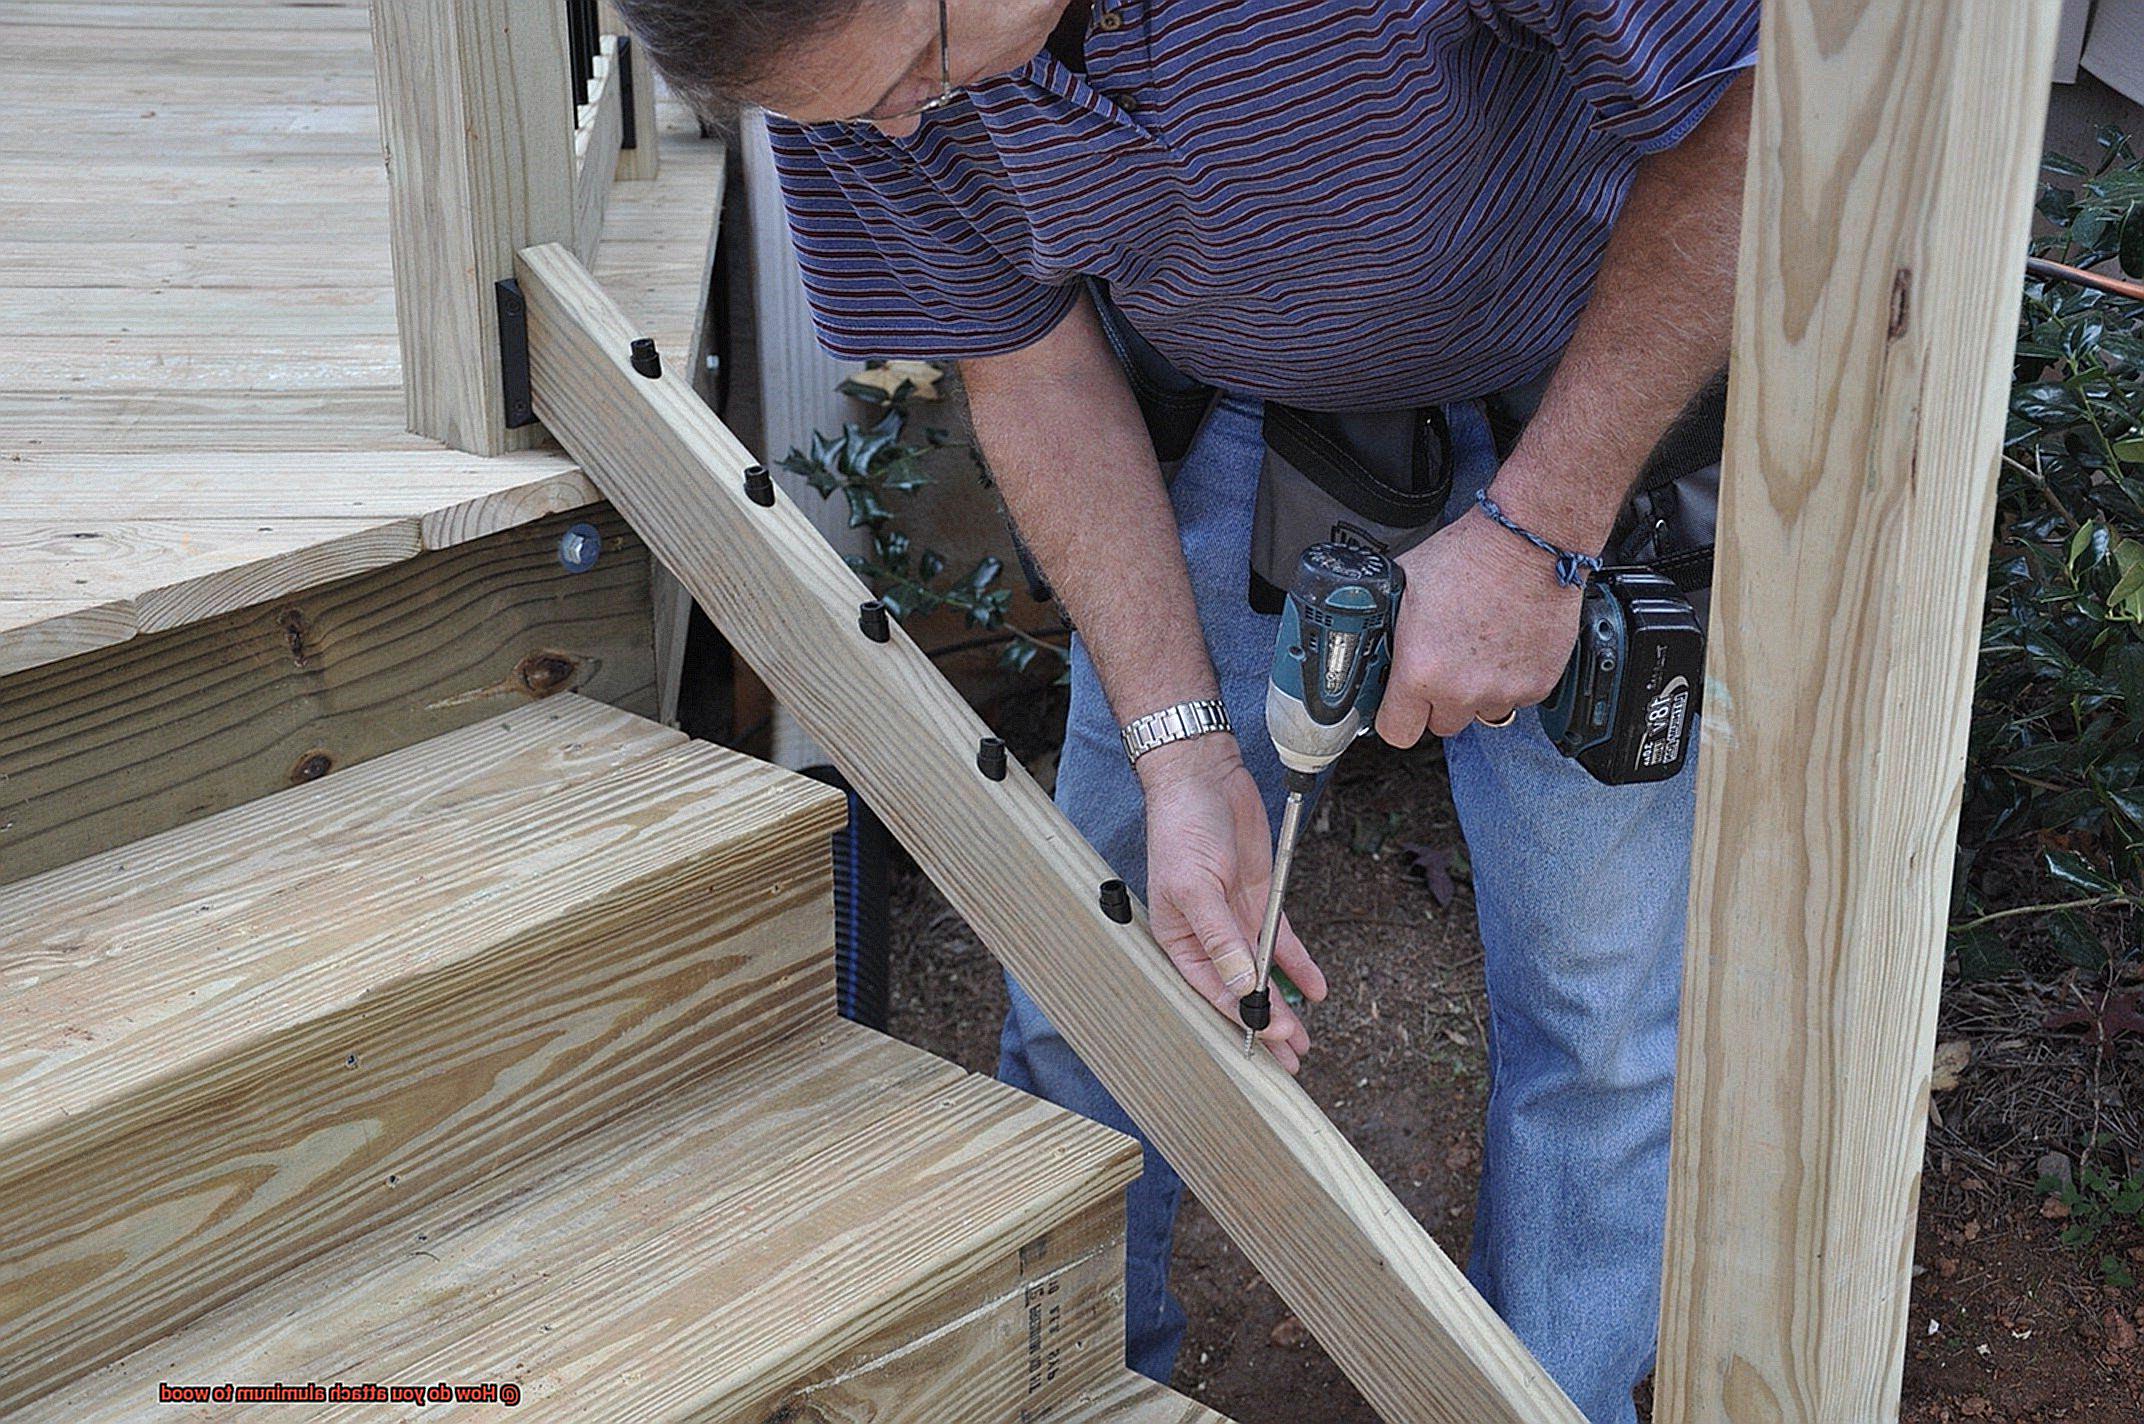
Screws:
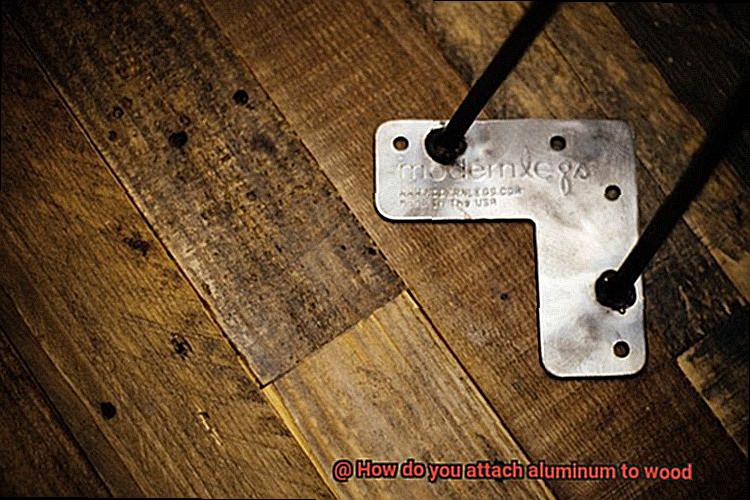
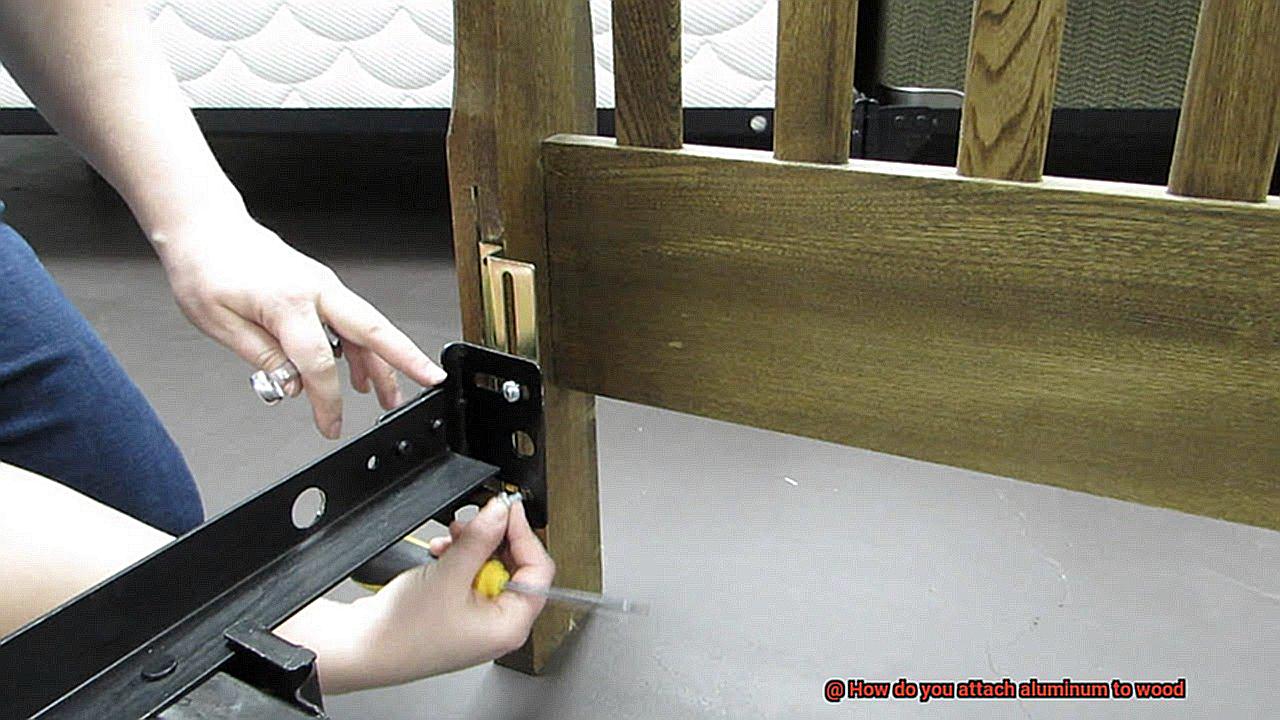
Screws are like the unsung heroes of fasteners. They may seem simple, but they play a crucial role in attaching aluminum to wood. With their threads that grip the wood and heads that provide a surface for the aluminum to be fastened against, screws offer a reliable and versatile connection. Wood screws are ideal for applications where the wood is softer, while sheet metal screws work well when attaching aluminum sheets to wood. Machine screws are perfect for securing aluminum brackets or hardware to wooden structures. With various sizes and types available, screws can accommodate different thicknesses of aluminum and wood, making them a popular choice.
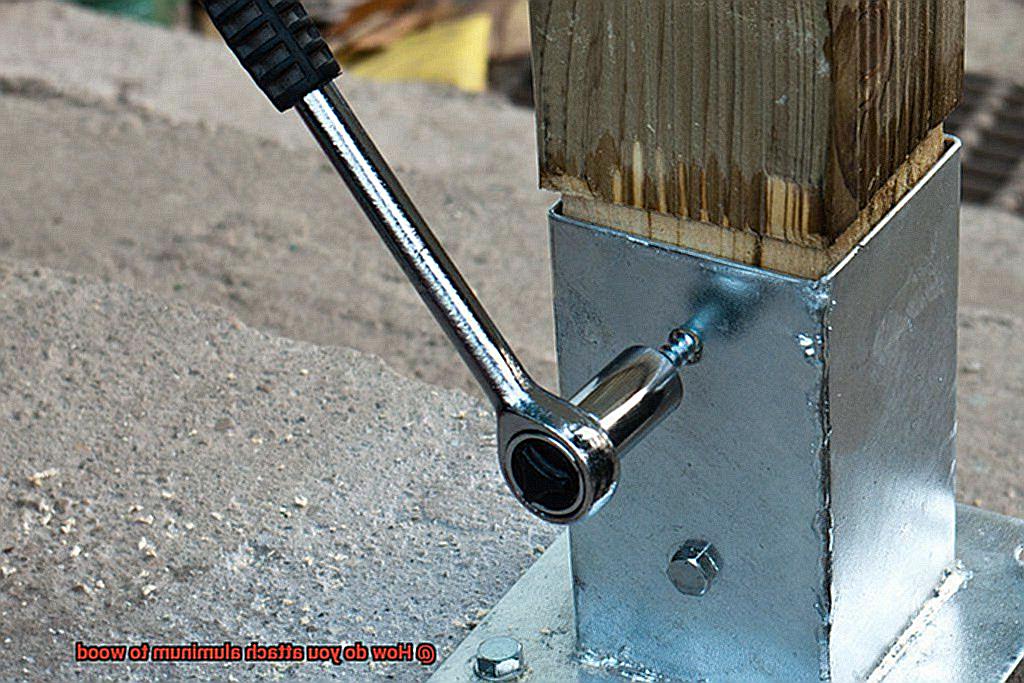
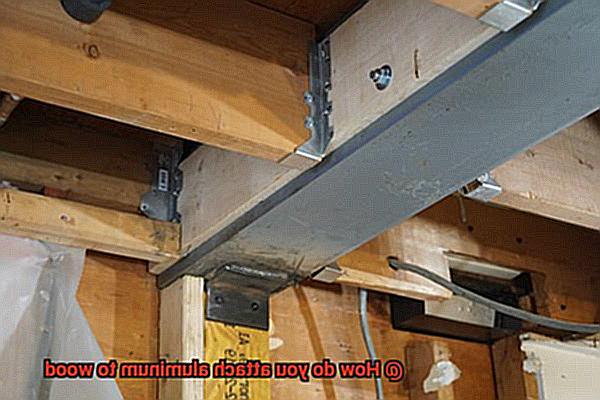
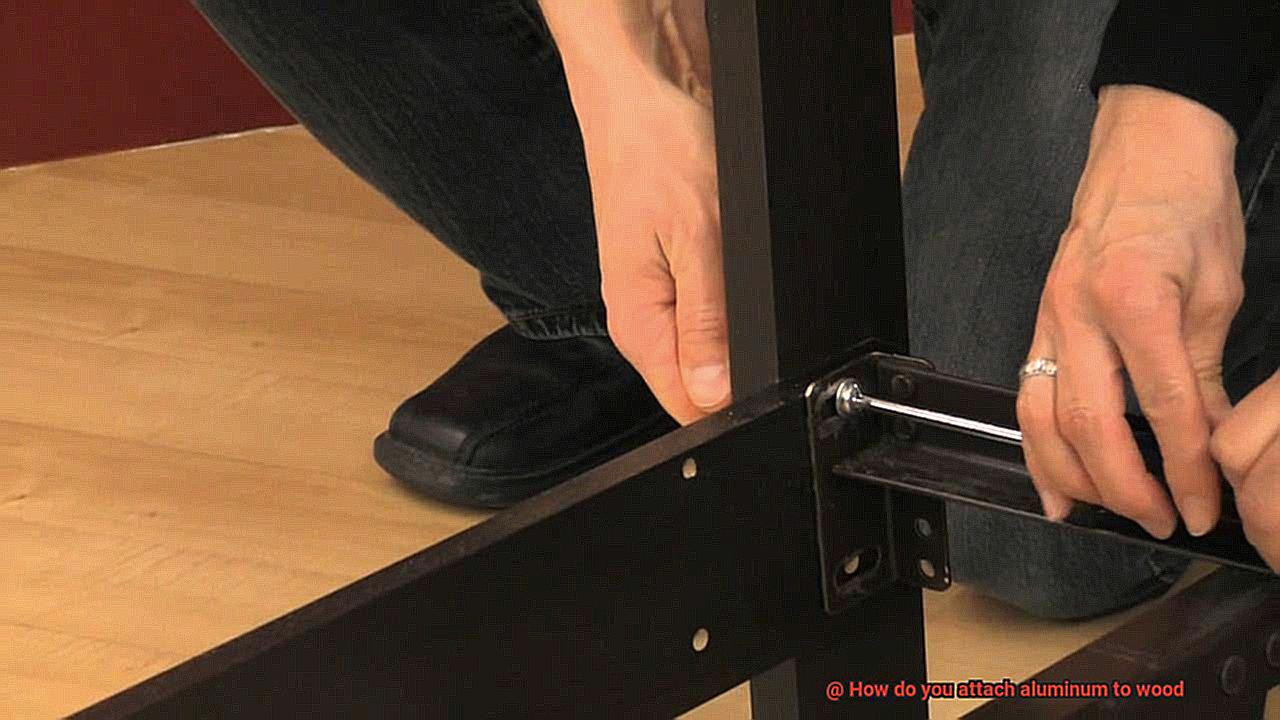
Bolts and Nuts:
When it comes to heavy-duty applications or projects that require maximum strength, bolts and nuts step up to the plate. These mighty fasteners are larger in size than screws and require a nut to secure the joint. When attaching aluminum to wood, bolts are often used in conjunction with washers to distribute the load evenly. This combination provides a robust connection that can withstand heavy loads or structural demands. Whether it’s building a wooden frame for an aluminum structure or constructing a sturdy outdoor deck railing, bolts and nuts ensure a reliable and long-lasting attachment.
Rivets:
If you’re looking for a strong and permanent bond between aluminum and wood, rivets are your go-to fasteners. These cylindrical shafts with heads on one end are inserted through pre-drilled holes in both materials. Once in place, they are deformed or “riveted” on the opposite end to secure the joint. Rivets offer exceptional strength and reliability, making them a popular choice in industries such as aerospace and automotive. Whether it’s constructing aluminum-bodied vehicles or assembling aircraft components, rivets provide a secure connection that can withstand extreme conditions.
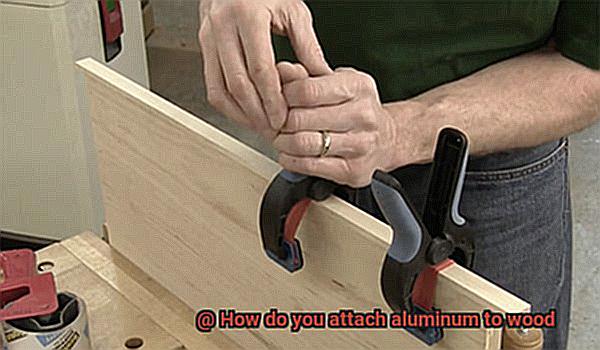
Clamps:
Sometimes, you need a temporary solution before making a permanent connection between aluminum and wood. That’s where clamps come into play. These versatile fasteners hold the aluminum in place against the wood until a more permanent attachment can be made. With various shapes and sizes available, such as C-clamps, bar clamps, and spring clamps, they provide flexibility and adjustability during the attachment process. Clamps allow for precise positioning of the aluminum before securing it to the wood, ensuring a perfect fit every time.
XQ6THQM0Qg0″ >
Conclusion
When it comes to attaching aluminum to wood, there are a few methods you can try. One option is to use screws or bolts specifically designed for this purpose. These fasteners provide a secure and durable connection between the two materials.
Another technique is using adhesive. There are various adhesives available that are specifically formulated for bonding aluminum and wood. Make sure to choose an adhesive that is suitable for both surfaces and follow the manufacturer’s instructions for application.
If you want a more seamless look, you can consider using rivets. Rivets create a strong bond between aluminum and wood by joining them together through the use of a specialized tool.
Alternatively, you could explore using brackets or clips to attach the aluminum to the wood. These hardware pieces can be easily installed and provide a reliable connection.
Whichever method you choose, it’s important to ensure that the aluminum and wood surfaces are clean and free from any debris or contaminants before attempting to attach them. This will help promote better adhesion and improve overall results.
In conclusion, there are several ways to attach aluminum to wood, including screws, adhesives, rivets, brackets, or clips. Each method offers its own advantages depending on your specific project requirements.
You may also like: