Do you feel like your PVA glue is always betraying you when it comes to water? It’s frustrating to put so much effort into a project only to have it ruined by a little bit of moisture. But fear not, we have the solution to all of your watery woes. Imagine using PVA glue without having to constantly worry about the weather or accidental spills. It’s time to make that dream a reality.
In this blog post, we’re going to teach you how to make PVA waterproof. We’ll start by breaking down the science behind the glue and why it’s prone to water damage. Then, we’ll show you a variety of methods for making it impervious to moisture. You can choose the technique that best suits your needs based on what materials you’re working with and what kind of project you’re tackling. We’ll cover tried-and-true techniques like using varnish or silicone, as well as some offbeat approaches you might not have considered before.
If water damage has been cramping your creativity or if you’re just curious about how to waterproof PVA glue, keep reading – because we’ve got all the answers.
What is PVA Glue?
Contents
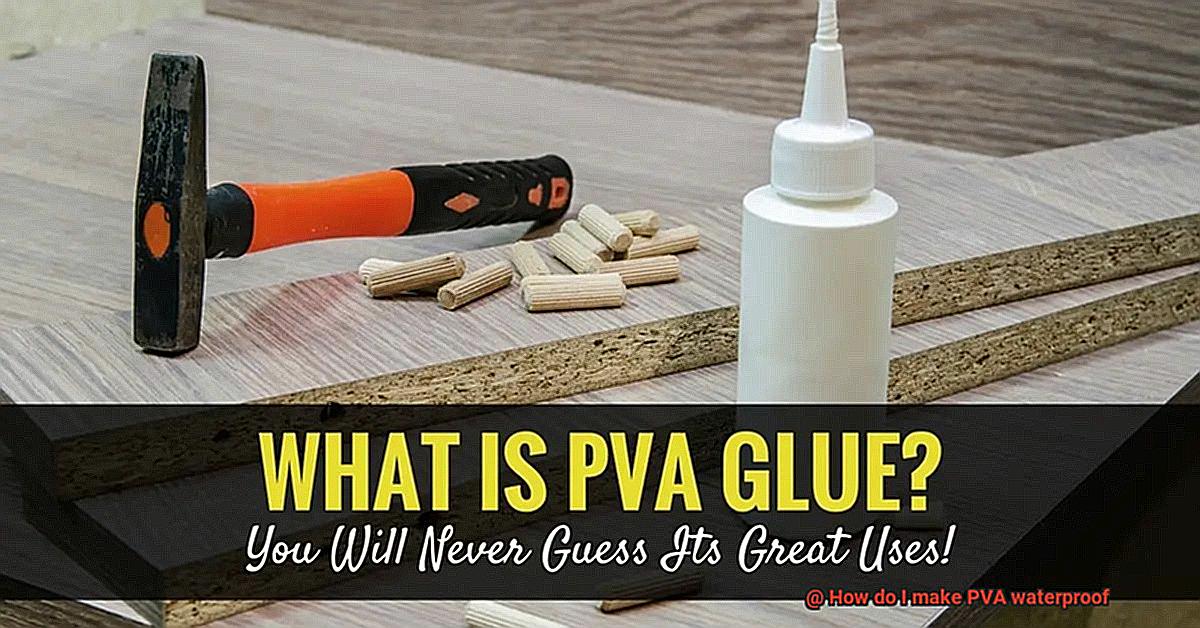
Let me introduce you to the world of PVA glue – a synthetic adhesive that is water-soluble and widely used in woodworking, paper crafts, and other DIY projects. This versatile glue is made from a synthetic polymer that can be easily diluted with water and cleaned up with soap and water.
PVA glue comes in different forms, including white glue, school glue, and carpenter’s glue. White glue is the most commonly used type of PVA glue for general purposes, while school glue is specifically designed for use in classrooms and is safe for children to use. Carpenter’s glue, on the other hand, is a stronger version of PVA glue that is specially designed for use in woodworking projects.
One of the biggest advantages of PVA glue is its ease of use. It dries clear, can be sanded or painted over once it has dried, and is non-toxic and safe to use around children. However, one of its drawbacks is that it is not waterproof.
To make PVA glue waterproof, there are several options available. You can add certain additives to it such as silicone or acrylic latex, but this mixture may not be as strong as other waterproof adhesives. Another way to make PVA waterproof is by mixing it with water-resistant materials such as epoxy resin or polyurethane.
If you prefer not to alter the original formula of PVA glue, you can apply a waterproofing spray or coating on top of the dried PVA layer. These sprays or coatings are readily available in hardware stores and are easy to apply. However, it’s important to note that adding additives or coatings may affect the bonding strength of the adhesive, so it’s essential to test its strength before using it for any major projects.
Adding Additives to Make PVA Waterproof
However, one of its downsides is that it’s not waterproof. But fear not, as there is a solution. By adding additives to PVA glue, you can make it water-resistant without compromising its bonding strength.
As an expert in this field, I am thrilled to guide you on how to add acrylics, latex, and silicone to PVA glue to make it waterproof. These additives are readily available and affordable, making them perfect for any DIY project.
Acrylics are a popular choice because they provide excellent water resistance and a strong bond. For optimal results, mix one part acrylic to five parts glue. Thoroughly mix the solution and apply it to the surface you want to waterproof. Afterward, let it dry completely before exposing it to water.
Latex additives are another common choice for making PVA glue waterproof. They’re often used in combination with acrylics for added durability. To use latex as an additive, mix one part latex to three parts glue. Thoroughly mix the solution and apply it to the surface you want to waterproof. Once again, be sure to let it dry completely before exposing it to water.
Silicone is an excellent additive for sealing gaps and cracks in surfaces like roofs or walls. To use silicone as an additive, mix one part silicone to two parts glue. Thoroughly mix the solution and apply it to the surface you want to waterproof.
It’s important to note that adding additives can change the properties of PVA glue. Therefore, it’s crucial to test the mixture on a small area first before applying it on a larger surface. Additionally, adding too much additive can weaken the bond and reduce its effectiveness. So, follow the recommended ratios carefully.
Mixing PVA with Water-Resistant Materials
If you’re tired of your DIY projects falling apart or getting damaged by water, mixing PVA glue with water-resistant materials is the solution you’ve been looking for. As an expert in DIY projects, I’m excited to share my knowledge on this topic and help you achieve the perfect water-resistant finish.
Acrylic paint is a popular choice for making PVA waterproof. Not only is it readily available and affordable, but it’s also easy to mix with the glue. By mixing equal parts of PVA glue and acrylic paint, you’ll create a thicker consistency that dries clear and remains waterproof. This method works wonders for smaller projects or items that won’t be exposed to water frequently.
For more heavy-duty waterproofing, silicone caulk is the way to go. Silicone forms a protective barrier when applied to surfaces, making it a great material to mix with PVA glue. By stirring equal parts of PVA glue and silicone caulk until it becomes a smooth and consistent mixture, you’ll create a waterproof seal that dries clear. This method is perfect for outdoor projects or items that will be exposed to water frequently.
If you’re working with wood or other porous materials, mixing PVA glue with wood glue can help create a strong, water-resistant bond. Wood glue is designed to be water-resistant and has excellent bonding properties. By mixing equal parts of PVA glue and wood glue until it becomes a smooth and consistent mixture, you’ll create a strong bond that will hold up over time.
It’s important to note that the effectiveness of these methods may vary depending on the type of project you’re working on. Always test the mixture on a small area first before applying it to your entire project to ensure it works as expected.
Applying Waterproof Sprays and Coatings
Fear not, as applying waterproof sprays and coatings can help make PVA glue water-resistant and protect your creations from environmental factors that can cause deterioration over time.
Before applying any waterproof spray or coating, it is crucial to prepare the surface properly. This involves ensuring that the surface is clean, dry, and free of dirt, dust, or debris. Lightly sanding the surface can also create a rough texture that enhances the adhesion of the spray or coating.
When choosing the right type of waterproof spray or coating for your project, there are several options available, including silicone sprays, acrylic sealers, epoxy coatings, polyurethane coatings, and latex-based sealers. It is essential to follow the manufacturer’s instructions carefully when applying the spray or coating to achieve optimal results.
Depending on the type of spray or coating used, multiple coats may be necessary to achieve the desired level of waterproofing. It is imperative to allow each coat to dry completely before applying the next one.
While waterproof sprays and coatings can provide protection against UV rays, mildew, and other environmental factors that can deteriorate glue over time, it is essential to note that they may alter the appearance of PVA glue and may not be suitable for all projects.
Advantages of Making PVA Waterproof
Making PVA waterproof has numerous advantages that can transform your adhesive game.
Firstly, waterproofing PVA enhances its durability. It can withstand harsh environmental conditions without losing its adhesive properties, making it perfect for outdoor applications such as woodworking, construction, and marine projects. This means you won’t have to worry about your PVA creations falling apart after a few uses, giving them a longer lifespan.
Moreover, water-resistant PVA glue forms a stronger and more long-lasting bond compared to regular PVA glue. The water-resistant bond also prevents warping and swelling of the bonded materials, ensuring your creations remain intact. Its versatility makes it an ideal choice for bonding materials that are exposed to moisture and water.
But the advantages don’t stop there; making PVA waterproof can also save you time and money in the long run. Using regular PVA glue for outdoor or damp conditions can lead to frequent repairs and replacements due to its water-soluble nature. By making PVA waterproof, you can avoid these costs and have a more reliable adhesive that lasts longer.
Additionally, waterproofing PVA enhances its versatility. It can be used in a wide range of applications, including paper crafts, bookbinding, and fabric crafts. This makes it an ideal choice for DIY enthusiasts who require a reliable adhesive that can be used in different projects.
Disadvantages of Making PVA Waterproof
While the idea of enhancing durability and forming a stronger bond may be tempting, there are some potential disadvantages to consider.
Firstly, making PVA waterproof requires the addition of other chemicals, which can potentially affect the overall quality of the glue. This can lead to reduced bonding strength and changes in drying time and viscosity. In other words, you may end up with a glue that is more challenging to work with and doesn’t provide the same level of strength as regular PVA glue.
Furthermore, waterproof PVA glue may not be as effective as other types of adhesives in extreme conditions or for materials that will be continuously exposed to water. It’s essential to note that while it can offer some protection against moisture, it may not be suitable for all projects or applications.
Another disadvantage of using waterproof PVA glue is that it can be more expensive than regular PVA glue or other types of adhesives. This can make it less cost-effective for certain projects or applications.
In summary, before deciding whether or not to use waterproof PVA glue, it’s crucial to weigh the pros and cons carefully. Consider factors such as bonding strength, drying time, viscosity, effectiveness, and cost to determine whether this type of adhesive is appropriate for your specific needs.
Testing the Adhesive Strength
It’s essential to test the adhesive strength to ensure that the glue can withstand water exposure. Testing the adhesive strength involves measuring the force required to pull apart two surfaces bonded with the glue.
There are multiple methods for testing adhesive strength, including the lap shear, tension, and peel tests. The lap shear test involves bonding two materials together with the adhesive and then pulling them apart in a specific direction. The tension test involves pulling a single piece of material apart to measure the force required to break the adhesive bond. The peel test involves pulling apart two materials bonded together at a 180-degree angle.
To test PVA adhesive strength correctly, it’s vital to follow specific testing procedures and standards. These standards vary depending on the type of adhesive being tested and the materials it is applied to. For instance, ASTM International has established standards for testing adhesives on metal substrates, while ISO has established standards for testing adhesives on plastics.
By testing the adhesive strength of PVA glue, you can ensure that it can withstand water exposure without losing its bond strength. This is crucial for applications where water resistance is necessary, such as outdoor furniture or boats.
However, before making PVA glue waterproof, it’s equally important to consider the potential downsides. Such downsides may include reduced bonding strength and changes in viscosity and drying time, which could affect the overall quality of the glue.
1VTADdLgquU” >
Conclusion
In summary, waterproofing PVA glue is a total game-changer for DIY enthusiasts. Armed with knowledge about the science behind PVA and the various ways to make it water-resistant, you can create long-lasting and sturdy projects that can endure harsh environmental conditions. Whether you opt to add additives like acrylics, latex, or silicone, mix PVA with water-resistant materials like acrylic paint or silicone caulk, or apply waterproof sprays and coatings, there are countless options at your disposal. Just remember to test the adhesive strength before embarking on any significant project.
While waterproofing PVA has numerous advantages such as improved durability and a stronger bond compared to regular glue, it’s essential to consider potential downsides as well. It may not be as effective as other adhesives in extreme conditions or for materials continuously exposed to water. Additionally, adding chemicals to make PVA waterproof could potentially affect its overall quality.
Therefore, it’s critical to weigh the pros and cons carefully before deciding whether or not waterproof PVA glue is right for your specific needs. By testing the adhesive strength and following specific procedures and standards, you can ensure that your creations remain intact even when exposed to moisture or water.