Picture this: you’ve just returned from an epic road trip or parked your car near a construction site, only to discover that pesky adhesive residue has decided to make itself at home on your car’s flawless paint job. The thought of scraping it off might be tempting, but you don’t want to risk damaging the precious paint. Fear not, my friend, because we’ve got the solution you’re looking for.
In this all-encompassing guide, we’ll take you through foolproof and safe methods to remove adhesive from your car without causing any harm to the paint. Whether it’s remnants of a decal, sticker, or bumper sticker, these tried-and-tested techniques will save you from shelling out big bucks at the auto body shop.
But before we dive into the nitty-gritty of specific methods, let’s talk about prevention. Because let’s face it – avoiding adhesive mishaps in the first place is always a win. However, if preventive measures are no longer an option for you, fear not. We’re here to equip you with the best tricks in the book for successfully banishing adhesive residue from your vehicle.
Join us as we embark on a journey through a range of techniques – from simple household remedies to specialized products – that are suitable for various types of adhesives and car surfaces. Get ready to restore your car’s pristine appearance without breaking a sweat or risking any damage.
So buckle up and get ready to delve into the exciting world of adhesive removal while keeping your beloved car paint intact.
Cautionary Reminder: How to Avoid Damaging Your Car’s Paint
Contents
- 1 Cautionary Reminder: How to Avoid Damaging Your Car’s Paint
- 2 Various Methods and Products for Safely Removing Adhesive
- 3 Testing the Method or Product on a Small Area First
- 4 Using Heat to Soften the Adhesive
- 5 Automotive Adhesive Removers for Dissolving Sticky Substances
- 6 DIY Solutions with Rubbing Alcohol or Isopropyl Alcohol
- 7 Using Soft Cloths or Sponges When Applying Adhesive Removers
- 8 Step-by-Step Instructions for Safely Removing Adhesive
- 9 Conclusion
Your car’s paint is not just a protective layer; it’s a reflection of your style and investment. However, when it comes to removing adhesives from your car’s surface, there is a risk of inadvertently damaging the paint. Don’t worry. We have compiled some cautionary reminders and best practices for safely removing adhesives without harming your car’s paint.
Common Scenarios and Cautionary Reminders:
- Use Gentle Techniques: Avoid using sharp objects or excessive force that can leave unsightly scratches. Instead, opt for plastic or rubber scrapers to minimize the risk of damage.
- Test in an Inconspicuous Area: Always test any adhesive removal method or product on a small, hidden area first. This will ensure that it doesn’t have any adverse effects on the paint.
- Use Heat or Solvents Cautiously: Heat or solvents can be helpful in loosening adhesives, but use them sparingly and carefully. Prolonged exposure to heat can damage the paint, and harsh solvents may strip away the protective clear coat.
- Follow Manufacturer Instructions: Different adhesives may require specific techniques or products for safe removal. Make sure to read and follow any instructions provided with adhesive removal products.
- Seek Professional Help if Unsure: If you are unsure about how to safely remove adhesives without damaging your car’s paint, it is best to seek professional assistance from a qualified auto detailer or body shop.
Effective Methods and Products:
- Heat Method: Use a hairdryer or heat gun on a low setting to warm up the adhesive, making it easier to remove.
- Automotive Adhesive Removers: These products are specifically designed to dissolve adhesives without harming the paint.
- Rubbing Alcohol or Isopropyl Alcohol: These substances are safe to use as DIY adhesive removers as they dissolve the adhesive without damaging the paint.
Step-by-Step Procedure:
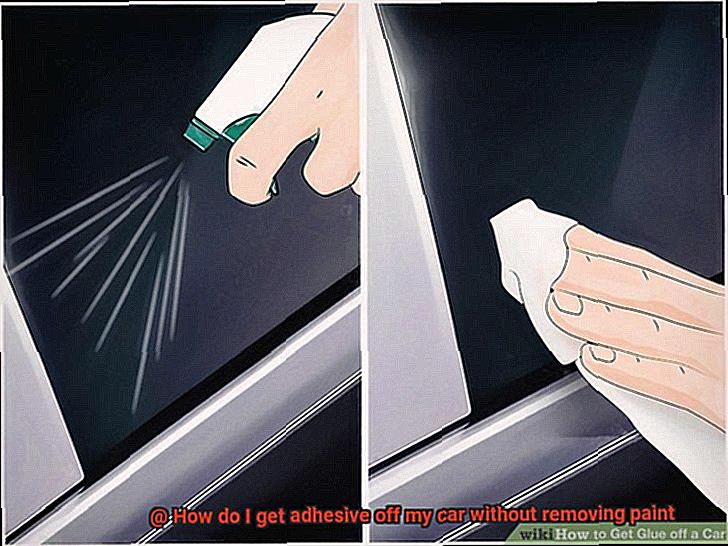
- Apply the chosen method or product onto a cloth.
- Gently rub the affected area in circular motions until the adhesive is dissolved.
- Repeat as necessary until all adhesive residue is removed.
- Wash and dry your car thoroughly after removing the adhesive residue.
- Apply wax or polish to protect and restore your car’s paint.
Various Methods and Products for Safely Removing Adhesive
We’ve all experienced the frustration of removing a sticker or decal, only to be left with a stubborn residue that seems impossible to eliminate. Fear not. This article will delve into the world of adhesive removal, exploring various methods and products that can safely restore your surfaces without causing any damage. Get ready to bid farewell to those sticky remnants.
Method 1: Harnessing the Power of Heat
One of the most effective methods for adhesive removal is the application of heat. By using a hairdryer or heat gun on a low setting, you can gently warm up the adhesive and soften it for easy removal. Remember, moderation is key – excessive heat can harm the paint, so exercise caution.
Method 2: Solvents and Adhesive Removers
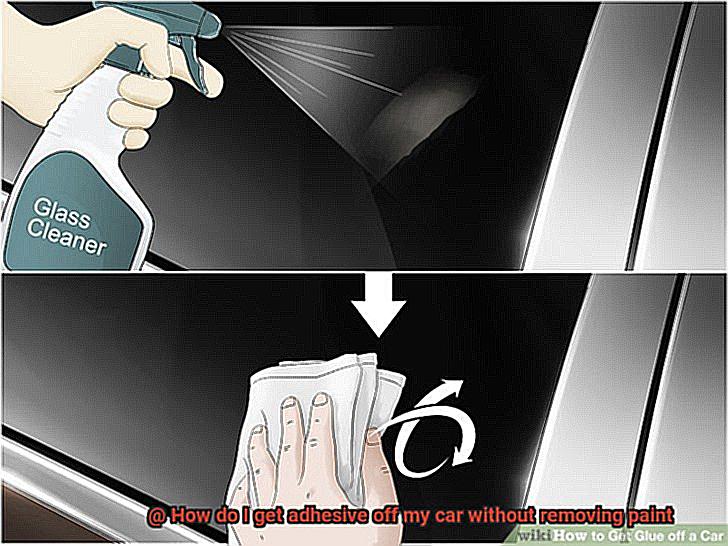
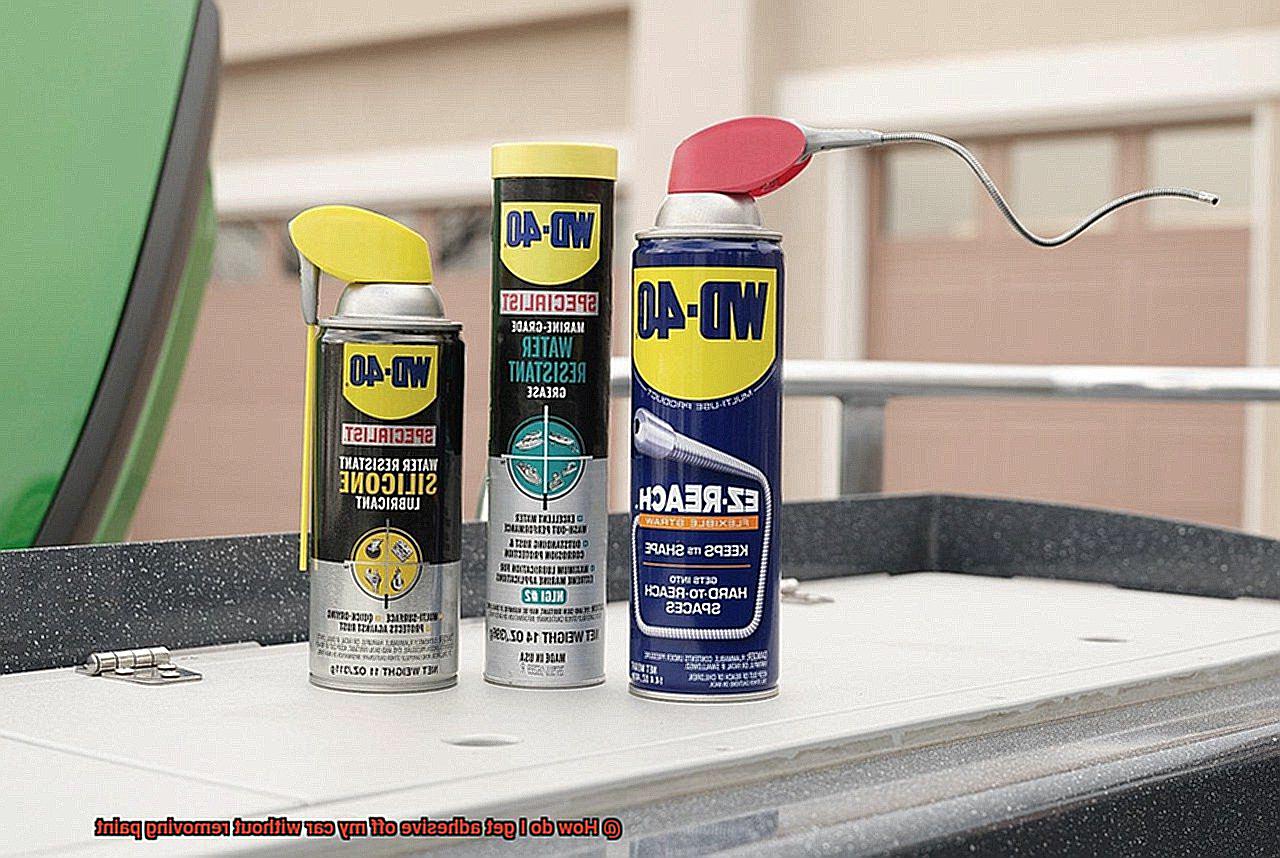
For tougher adhesive residues, solvents and adhesive removers designed specifically for automotive use come to the rescue. Products like Goo Gone, 3M Adhesive Remover, or WD-40 are formulated to dissolve adhesives without damaging your surfaces. Apply them following the manufacturer’s instructions, allowing some time for soaking before gently wiping away the residue.
Method 3: Mechanical Removal Techniques
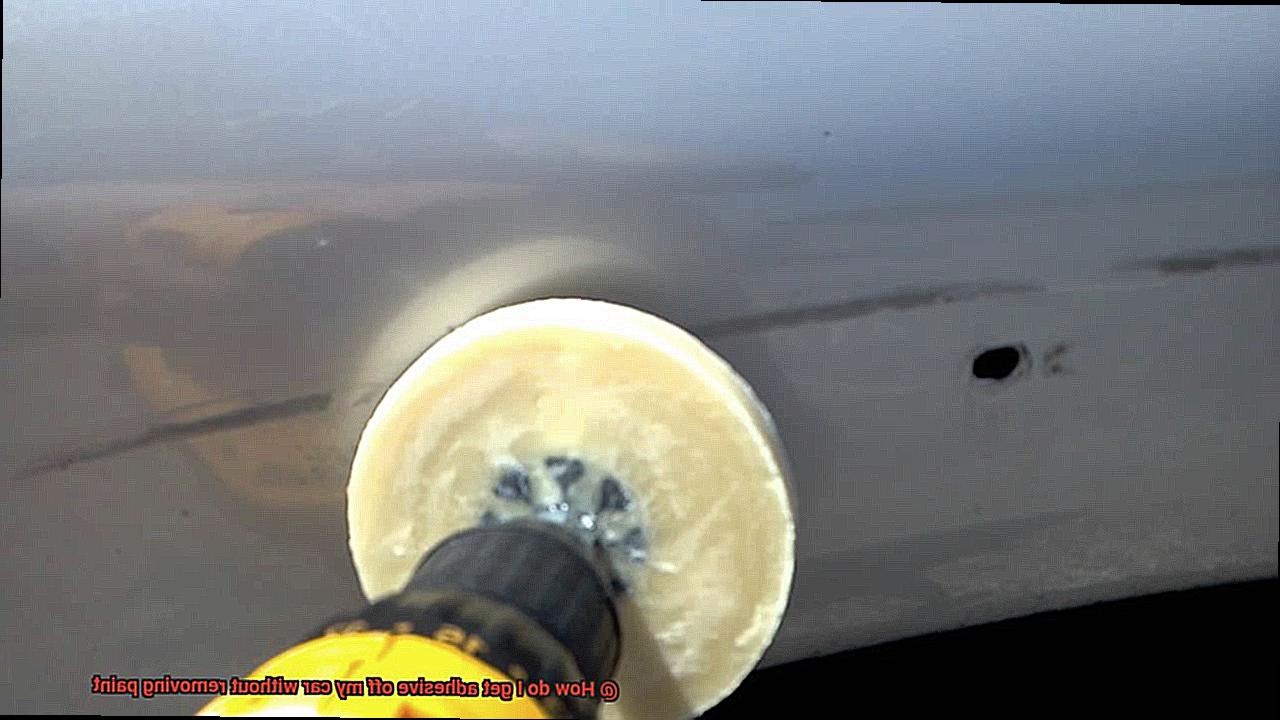
In some cases, a gentle scrape may be necessary to tackle stubborn adhesive. Utilize a plastic scraper or plastic razor blade, carefully lifting off the residue from the surface. Be cautious not to scratch the paint during this process.
A Word of Caution:
Before diving into adhesive removal, conduct a small test in an inconspicuous area to ensure no damage occurs. When using solvents or adhesive removers, always wear protective gloves and work in a well-ventilated area to avoid potential skin irritation or fumes inhalation.
Testing the Method or Product on a Small Area First
Imagine the satisfaction of finally removing that stubborn bumper sticker from your car, only to be left with sticky residue mocking your hard work. Fear not. In this comprehensive guide, we will explore why testing a method or product on a small area of your car before proceeding is crucial. So, fasten your seatbelt and let’s dive in.
Choosing the Right Test Area:
When it comes to testing adhesive removal methods, location is everything. Protecting the precious paint on your ride is of utmost importance. Select a small, inconspicuous area such as the back or underside of your vehicle. This ensures that any potential mishaps won’t be glaringly obvious and allows you to assess the method without risking damage to prominent areas.
Follow the Manufacturer’s Instructions:
Every product comes with its own set of guidelines for a reason. Pay close attention to the instructions provided by the manufacturer. They are the experts. By adhering to these guidelines, you ensure proper usage and maximize the effectiveness of the product.
Patience is Key:
Rome wasn’t built in a day, and adhesive removal takes time too. After applying the product to the test area, exercise patience and wait for the recommended amount of time. This waiting period enables you to observe any adverse reactions such as paint damage or discoloration. It’s better to uncover potential issues on a small scale rather than risking harm to your entire vehicle.
One Test Does Not Fit All:
Success on your test area does not guarantee success elsewhere on your car. Different areas may have distinct paint types or thicknesses, which can impact how well the adhesive removal method works. Exercise caution and avoid assuming that success in one spot guarantees success everywhere.
Using Heat to Soften the Adhesive
Using heat to soften adhesive is a tried-and-true method for removing sticky residue from a car’s surface. Whether it’s old bumper stickers or decals that have overstayed their welcome, heat can help you achieve a clean and pristine car without causing any damage to the paint. As an expert in adhesive removal, let me guide you through the different methods you can use to tackle this sticky situation.
One of the most popular methods is using a hairdryer or heat gun. These tools produce hot air that can be directed towards the adhesive, effectively softening it and making it easier to scrape off. However, it’s crucial to maintain a safe distance between the tool and the car’s surface to prevent overheating or paint damage. Start with low heat settings and gradually increase as needed, exercising patience and caution throughout the process.
If you don’t have access to a hairdryer or heat gun, fear not. Hot water can be an effective alternative. Simply boil some water and pour it directly onto the adhesive. The heat will work its magic, softening the adhesive and allowing for easier removal. Just be careful not to let the hot water come into contact with sensitive painted surfaces. Always test a small inconspicuous area first before applying hot water to the entire affected area.
When hairdryers and hot water are not readily available, you can turn to a household item that usually resides in your laundry room – a clothes iron. Set the iron to a low or medium heat setting and place a cloth or towel over the adhesive. The heat will transfer through the cloth, gently softening the adhesive for easy removal. Remember, never place the iron directly on the adhesive or use high heat settings, as this can cause damage to your car’s paint.
No matter which method you choose, always exercise caution and patience. Remove the adhesive in small sections at a time, ensuring it’s adequately softened before attempting to scrape it off. To avoid scratching your car’s surface, use plastic or rubber scrapers instead of metal ones.
Automotive Adhesive Removers for Dissolving Sticky Substances
Sticky substances on car surfaces can be a frustrating sight, whether it’s leftover residue from decals, stickers, or old adhesive that just won’t budge. But fear not, for automotive adhesive removers are here to save the day. In this article, we’ll dive into the fascinating world of adhesive removers and explore how to use them effectively without causing any damage to your vehicle’s paint.
Types of Adhesive Removers:
Automotive adhesive removers come in various forms, such as liquids and sprays. These products contain powerful solvents that break down the adhesive, making it easier to remove. Before using any adhesive remover, it’s essential to perform a small patch test on an inconspicuous area to ensure compatibility with your car’s paint.
Using Adhesive Removers:
To begin the graceful dance of adhesive removal, apply the remover directly onto the affected area and let it sit for a few minutes. This allows the solvent to penetrate the adhesive and work its magic. Remember, patience is key. Allow the remover to do its job before proceeding. Once the adhesive has been sufficiently loosened, gently scrub the area with a soft cloth or sponge. Avoid using abrasive materials or excessive force, as they may damage the paint.
Safety Precautions:
While using automotive adhesive removers, safety should be your top priority. Work in a well-ventilated area to avoid inhaling fumes. Wear gloves to protect your hands from chemicals, and be cautious not to get any remover in your eyes or mouth. If you accidentally do, rinse thoroughly with water and seek medical assistance if necessary.
Achieving a Pristine Finish:
After removing the adhesive, take a moment to admire your hard work. But don’t stop there; complete the process by cleaning the area with soap and water to remove any residue left behind by the adhesive remover. Finally, apply a coat of wax or protective coating to restore shine and safeguard your car’s paint.
DIY Solutions with Rubbing Alcohol or Isopropyl Alcohol
Whether it’s leftover adhesive from a bumper sticker or a stubborn sticker that just won’t budge, we’ve got the solution for you. Say goodbye to expensive professional treatments or hours spent scraping away at the residue. With rubbing alcohol or a simple DIY solution, you can safely and effectively remove adhesive residue from your car without damaging the paint.
Rubbing alcohol, also known as isopropyl alcohol, is a superhero when it comes to tackling sticky substances. Before using it, though, it’s always a good idea to test it on a small, inconspicuous area of your car’s surface to ensure it won’t cause any damage or discoloration. Once you’ve done that, you’re ready to get started.
Here’s what you’ll need:
- Rubbing alcohol or isopropyl alcohol
- Clean cloth or cotton ball
- Water and mild soap (for cleaning afterward)
Now let’s get down to business:
- Pour a small amount of rubbing alcohol onto a clean cloth or cotton ball.
- Gently rub the adhesive residue with the soaked cloth, applying light pressure.
- Watch as the rubbing alcohol works its magic, dissolving and removing the sticky residue.
- Keep rubbing until all the residue is gone. For stubborn spots, repeat the process if necessary.
- After removing the adhesive, thoroughly clean the area with water and mild soap to remove any traces of rubbing alcohol.
But what if you don’t have rubbing alcohol on hand? Don’t worry. You can still achieve adhesive-free perfection with a simple DIY solution.
Here’s what you’ll need:
- Warm water
- Dish soap
- Spray bottle or bucket
- Soft cloth or sponge
- Mix a few drops of dish soap with warm water in a spray bottle or bucket.
- Spray or apply the soapy water onto the adhesive residue and let it sit for a few minutes to loosen the stickiness.
- Gently scrub the area with a soft cloth or sponge until the adhesive comes off.
- Rinse with clean water and dry thoroughly to prevent water spots.
Here’s how to do it:
Remember, always use gentle pressure and avoid using abrasive materials or tools that could damage the paint. And don’t forget to test any solution on a small, inconspicuous area before applying it to the entire affected surface.
Using Soft Cloths or Sponges When Applying Adhesive Removers
In this article, we will explore the numerous benefits of utilizing soft cloths or sponges when applying adhesive removers. So sit back, relax, and let’s delve into the world of adhesive removal.
Gentle Approach:
When it comes to adhesive residue removal, a gentle touch is crucial. Soft cloths or sponges are specially designed to be non-abrasive and lint-free, ensuring that your car’s paint remains unscathed. The epitome of gentleness lies in microfiber cloths, renowned for their softness, absorbency, and adhesive-holding capacity.
Prepping for Success:
Before applying any adhesive remover, it’s essential to dampen your chosen cloth or sponge with water. This step guarantees an even distribution of the adhesive remover and prevents premature evaporation. After all, we want the adhesive remover to break down the adhesive effectively, not vanish into thin air.
Application Technique:
Apply a small amount of adhesive remover directly onto the affected area. Avoid saturating the cloth or sponge with excessive liquid, as this can result in unwanted liquid spilling onto other parts of your car’s surface. Employ gentle circular motions while rubbing the cloth or sponge over the adhesive residue. These soft tools will delicately lift and dislodge the adhesive without causing any harm to your precious paint job.
Persistence Pays Off:
For those pesky spots that refuse to let go of their adhesive grip, a little extra effort may be necessary. Apply a small amount of adhesive remover directly to these stubborn areas and repeat the gentle rubbing motion. However, exercise caution not to overuse the adhesive remover, as extended exposure can potentially damage the paint.
The Finishing Touch:
Once the adhesive residue is eradicated, it’s time to wipe down the area with a clean, dry soft cloth. This final step ensures no residue is left behind, preventing dirt and grime from accumulating and safeguarding your car’s flawless finish.
Step-by-Step Instructions for Safely Removing Adhesive
Fear not, for we have the perfect solution. In this comprehensive guide, we will take you through the process of safely removing adhesive from your car, step by step, without causing any damage to the paint.
Before we begin, it’s important to gather all the necessary supplies. You’ll need adhesive remover, a plastic scraper or credit card, a clean microfiber cloth, mild soap or car wash solution, and some wax or polish to restore the shine.
Now that you have everything ready, let’s dive into the process. First things first, start by cleaning the area around the adhesive with mild soap or car wash solution. This will ensure that no dirt or grime interferes with the adhesive removal process. Remember, a clean surface is key.
Next, it’s time to put the adhesive remover to the test. Apply a small amount to a small, inconspicuous area of your car and wait for a few minutes. Check for any discoloration or damage to the paint. If all looks good, you’re good to go.
Now comes the fun part – applying the adhesive remover. Take your clean microfiber cloth and apply the remover directly to the adhesive. With gentle circular motions, rub away at the adhesive to loosen it from the surface. The adhesive remover will work its magic by breaking down the stickiness and making it easier to remove.
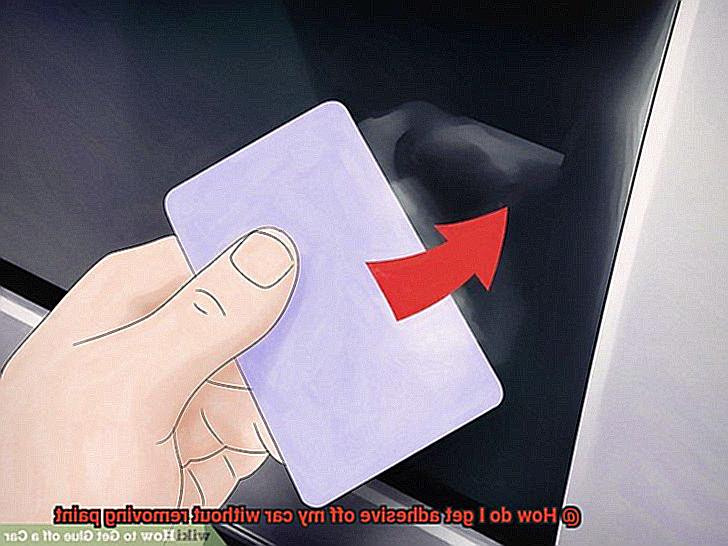
To tackle the loosened adhesive, grab your trusty plastic scraper or credit card. Here’s a word of caution: be careful not to apply too much pressure or use sharp tools that could scratch the paint. Take your time and be patient as you scrape away the adhesive. It may take a few passes to get rid of it completely.
If needed, repeat the process of applying adhesive remover and scraping until every last bit of adhesive is gone. Remember, persistence is key.
Once the adhesive is completely removed, give the area another cleaning with mild soap or car wash solution. This will ensure that there is no residue left from the adhesive remover. Rinse thoroughly with water and dry with a clean microfiber cloth. You want to make sure there’s no soap residue left on the surface.
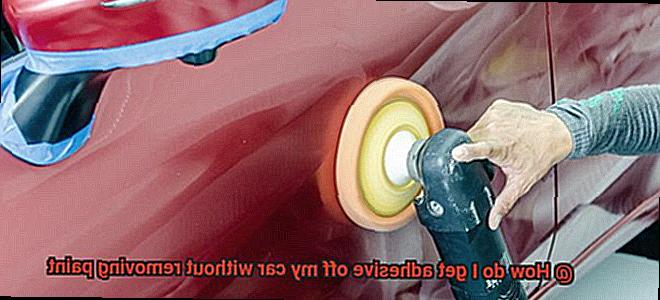
Last but not least, protect and restore the shine of your car’s paint by applying wax or polish. This final step not only adds a beautiful shine but also creates a protective layer against any future adhesive mishaps.
Ssc3lb-5Uzs” >
Conclusion
Removing adhesive from your car without damaging the paint can be a tricky task. But fear not, for there are effective methods that will leave your vehicle looking spotless and pristine. By following these simple steps, you’ll bid farewell to those stubborn adhesive marks and restore the beauty of your car’s exterior.
Firstly, gather the necessary supplies. You’ll need some rubbing alcohol, a microfiber cloth, a plastic scraper or credit card, and a gentle adhesive remover. These items are readily available at most automotive stores or even in your own home.
Next, start by applying a small amount of rubbing alcohol onto the adhesive residue. Gently rub it in circular motions using the microfiber cloth. The alcohol will break down the adhesive and make it easier to remove.
If the adhesive is particularly stubborn, try using a plastic scraper or credit card to carefully lift it off the surface of your car. Be cautious not to apply too much pressure as this may cause scratches on your paintwork.
For more persistent adhesive marks, apply a gentle adhesive remover directly onto the affected area. Let it sit for a few minutes to allow the solution to penetrate the adhesive. Then, use a clean cloth to wipe away both the residue and any remaining traces of adhesive.
Remember to always work in small sections and avoid excessive scrubbing or scraping, as this can damage your car’s paint. Patience is key when dealing with stubborn adhesives.
Once you have successfully removed all traces of adhesive from your car’s surface, give it a final wipe down with a clean microfiber cloth to ensure no residue remains.
In conclusion, removing adhesive from your car without harming its paint requires patience and careful execution. With the right tools and techniques, you can say goodbye to unsightly marks and hello to a flawless finish.