Get ready to say goodbye to the waiting game when it comes to drying LOCTITE adhesive.
Whether you’re a DIY enthusiast or a seasoned pro, we all know how frustrating it can be to sit around twiddling our thumbs while glue takes forever to dry. But fear not, my friend.
In this blog post, we’re going to spill the beans on some super cool and easy ways to speed up the drying process of LOCTITE. We’ll show you how to create the perfect environment for speedy drying and even help you choose the right LOCTITE product for your needs.
So grab a cup of coffee (or tea, if that’s your thing) and let’s get this adhesive party started.
What is LOCTITE?
Contents
- 1 What is LOCTITE?
- 2 Factors that Affect the Drying Time of LOCTITE
- 3 Increasing the Temperature to Speed Up Drying
- 4 Reducing Humidity to Accelerate Curing
- 5 Choosing the Right Type of LOCTITE
- 6 Proper Application Techniques for Faster Drying
- 7 Utilizing Accelerators or Activators
- 8 Following Manufacturer’s Instructions and Recommendations
- 9 Conclusion
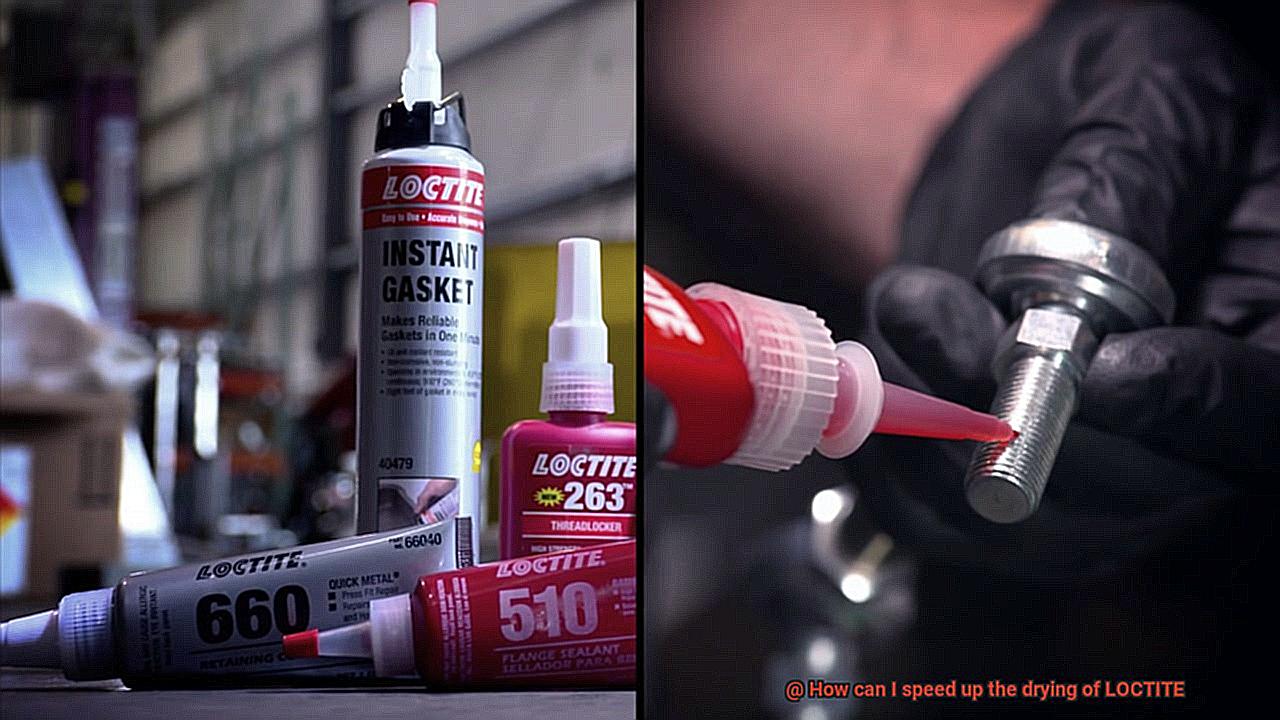
In the world of adhesives, one brand reigns supreme for its unmatched reliability and versatility – LOCTITE. Glue may seem like a simple tool, but the impact it has on various industries cannot be underestimated. In this engaging blog post, we will take a deep dive into the wonders of LOCTITE and explore how it works to create powerful and long-lasting bonds in a wide range of applications.
The Science Behind LOCTITE:
LOCTITE adhesives utilize a fascinating process known as curing, where liquid adhesive transforms into a solid state through a chemical reaction. This curing process is what gives LOCTITE its incredible strength and durability. Factors such as temperature, humidity, and the specific LOCTITE product being used determine the speed at which curing occurs.
Tailored Solutions for Every Need:
LOCTITE offers an extensive array of adhesive solutions that cater to specific materials and surfaces, ensuring optimal results in every project. Whether you’re looking to bond metal, plastic, rubber, wood, or ceramics, LOCTITE has precisely what you need. This versatility makes LOCTITE the go-to choice for professionals across industries.
Fast and Reliable Bonds:
What sets LOCTITE apart is its ability to deliver both speed and reliability in bonding. These adhesives are engineered to cure quickly and securely, ensuring that joined parts stay firmly together. This feature proves crucial in time-sensitive applications or when immediate functionality is required.
Speeding Up the Drying Process:
To expedite drying time, several techniques can be employed. Increasing the temperature in the application environment can accelerate curing, but caution must be exercised to prevent damage to materials. Similarly, reducing humidity through dehumidifiers or proper ventilation promotes faster drying.
Choosing the right type of LOCTITE for your specific application is also vital. Some variants are designed for rapid curing, enabling you to complete projects in a shorter time frame. Additionally, proper surface preparation and the application of thin layers of LOCTITE can facilitate quicker drying.
In certain cases, specialized products like accelerators or activators can be used to speed up the curing process. These additives initiate the chemical reaction in the adhesive, ensuring faster drying on porous or inactive surfaces.
Factors that Affect the Drying Time of LOCTITE
We’re here to shed some light on the factors that can affect its drying time. Understanding these factors can help you optimize your application process and achieve faster drying times.
First and foremost, let’s talk about temperature. Just like we humans prefer warmer weather, LOCTITE adhesives also thrive in higher temperatures. The heat speeds up the drying process, allowing you to get back to work quicker. On the flip side, colder temperatures can slow down the drying time. So, make sure to check the recommended temperature range provided by LOCTITE for optimal drying.
Next up is humidity. While we appreciate a little moisture in the air to keep us hydrated, high humidity levels can prolong the drying process of LOCTITE. This is because moisture in the air interferes with the curing process of the adhesive. On the other hand, low humidity levels promote faster drying. So, if you’re working in a humid environment, consider using dehumidifiers or fans to circulate air and speed up the drying time.
The type of material you’re bonding also plays a role in drying time. Different materials have different porosities and surface characteristics, which can affect how quickly LOCTITE dries and bonds. Porous materials like wood or cardboard tend to absorb more adhesive and may require additional drying time compared to non-porous materials like metal or glass. To ensure a strong bond and reduce drying time, make sure to clean and roughen the substrate surface before applying LOCTITE.
Additionally, the specific formulation of LOCTITE being used can impact drying time. Some formulations are designed for fast-drying applications, while others offer extended open times for repositioning or adjusting parts before bonding. It’s important to select the appropriate LOCTITE formulation based on your desired drying time and application requirements.
Lastly, the thickness of the adhesive layer applied can also affect drying time. Thicker layers take longer to dry as the moisture in the adhesive needs more time to evaporate. For faster drying and better bond strength, it’s recommended to apply a thin, even layer of LOCTITE. If a thicker layer is needed, you can consider using accelerators or activators specifically designed for LOCTITE adhesives to speed up the curing process.
Increasing the Temperature to Speed Up Drying
Increasing the temperature is a widely recognized and effective technique for expediting the drying process of LOCTITE adhesives. By subjecting the adhesive to higher temperatures, the chemical reactions within it occur at an accelerated rate, resulting in faster curing and drying times. However, it is vital to adhere to the recommended temperature range for the specific LOCTITE product being used to ensure optimal performance.
Viscosity, or the thickness of the adhesive, is a key factor that influences drying time. Adhesives with higher viscosity generally take longer to dry compared to those with lower viscosity. Fortunately, increasing the temperature can address this issue by reducing the adhesive’s viscosity. This reduction allows it to flow more easily and facilitates quicker drying. This benefit is particularly advantageous when time is of the essence and rapid drying is desired.
Nevertheless, it is essential to consider the temperature limitations provided by LOCTITE for each product. Some adhesives have a maximum recommended temperature beyond which their performance may be compromised. Excessive heat can also lead to thermal degradation of the adhesive, resulting in reduced strength and effectiveness. Therefore, following the manufacturer’s guidelines regarding temperature is crucial for achieving optimal results.
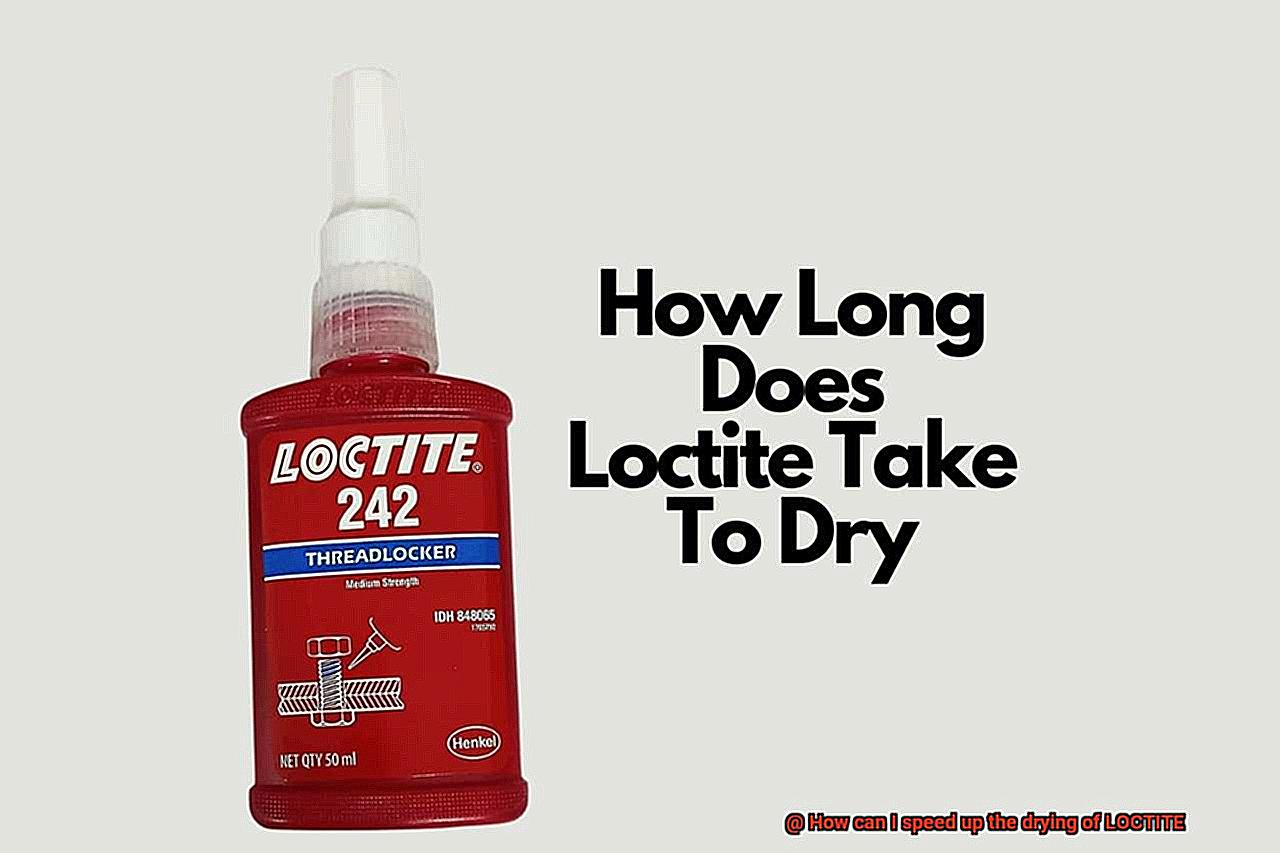
When employing heat to expedite drying, several methods can be utilized depending on the application and available equipment. One popular technique involves using a heat gun or hot air blower to direct heated air onto the bonded surface. This targeted heating promotes the evaporation of solvents present in the adhesive and facilitates faster curing.
For larger or more intricate assemblies that cannot be easily heated with a heat gun, utilizing an oven is a viable option. Placing the bonded assembly in an oven set at a controlled temperature ensures that the desired heat level is maintained throughout the drying process. This method is particularly useful when dealing with complex projects that require a consistent temperature environment.
It is important to note that while increasing the temperature can accelerate drying, there may be trade-offs to consider. Higher temperatures can reduce the working time or open time of the adhesive, which is the duration during which it remains in a liquid or tacky state for bonding. Therefore, it is essential to weigh the benefits of faster drying against any potential drawbacks when deciding on the temperature to use.
Reducing Humidity to Accelerate Curing
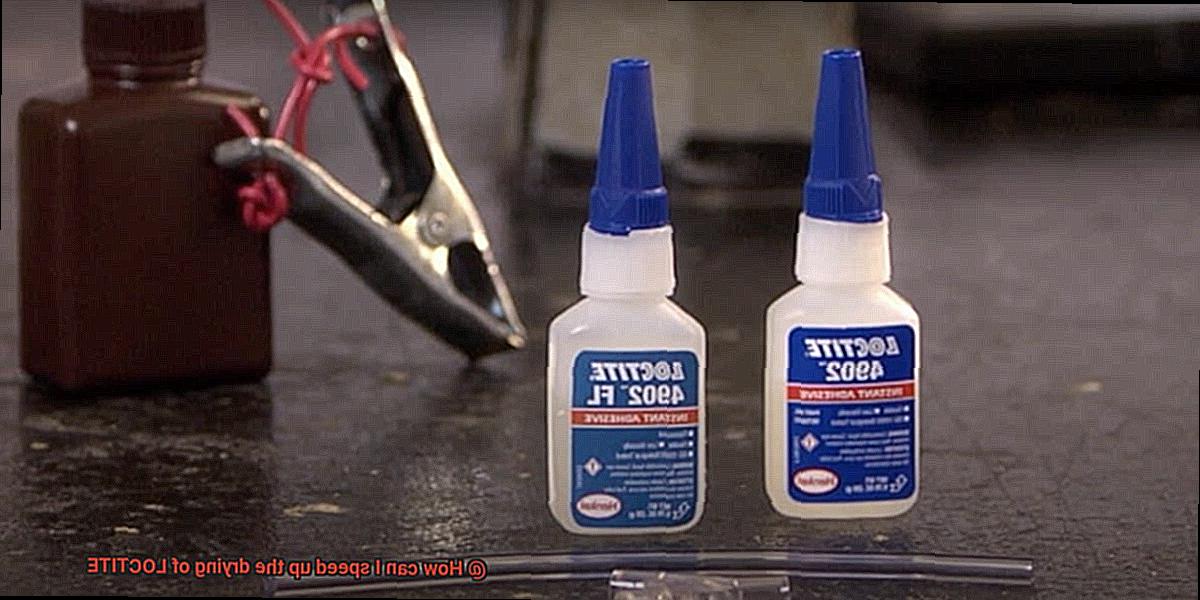
Reducing humidity is a critical step in expediting the curing process of LOCTITE adhesive. We all know that humidity refers to the moisture content in the air, but did you know that it can actually put a damper on the drying time of our beloved glue? When there’s too much humidity hanging around, it becomes a roadblock to the evaporation of solvents and water within the adhesive, resulting in a painstakingly slow curing process. Ain’t nobody got time for that.

But fear not, my fellow glue enthusiasts, because I’m about to share some mind-blowing tips on how to reduce humidity and kickstart the curing process into high gear. Get ready to have your adhesive knowledge taken to the next level.
Ventilation is the name of the game, folks. Crack open those windows and let that fresh air flow in. Better yet, turn on a fan and let it work its magic. By promoting air circulation, moisture dissipates faster, allowing your adhesive to dry at lightning speed. And if you find yourself working in a confined space, consider bringing in reinforcements like a dehumidifier or air conditioning unit to bring those pesky humidity levels down.
Now, let’s talk temperature control – the secret weapon in our quest for accelerated drying times. Higher temperatures are the superheroes of curing. They speed up evaporation by turning up the heat on solvents and water. But hold your horses, my friends – too much heat can be detrimental to your bond’s quality. We’re aiming for turbocharged drying power, not a hot mess.
Oh, and don’t even think about neglecting storage conditions. Keep your LOCTITE adhesive cool and dry before using it. Moisture absorption is public enemy number one when it comes to adhesives. And once you’re done using it, seal those containers tight to minimize exposure to humid air.
Here’s a little bonus tip just for you – heat-assisted drying. When you’re in a real hurry, whip out a heat gun or pop your project in the oven (if it’s big enough). But remember, my friends, caution is key here. Too much heat can lead to thermal degradation or uneven curing, and we definitely don’t want that.
So, there you have it – the ultimate guide to reducing humidity and accelerating the curing process of LOCTITE adhesive. With proper ventilation, temperature control, and correct storage practices, you’ll be curing like a pro in no time. Just remember to follow LOCTITE’s guidelines and recommendations for optimal results.
Choosing the Right Type of LOCTITE
Look no further than LOCTITE. With a wide range of adhesive products designed for specific applications and drying times, you can find the perfect solution to speed up your drying process.
When choosing the right type of LOCTITE, there are several factors to consider. Let’s take a closer look at each one:
- Material: The type of material you are bonding is an important consideration. Different materials have varying surface characteristics and porosities, which can affect how quickly the adhesive dries. For example, porous materials like wood or paper may absorb the adhesive, slowing down the drying time. In these cases, opt for a faster-drying LOCTITE product.
- Temperature and humidity: The temperature and humidity of your working environment also play a role in the drying process. Higher temperatures generally accelerate drying, while lower temperatures can slow it down. Similarly, high humidity levels can affect the curing time of adhesives. It’s vital to check the product datasheet or consult with a LOCTITE representative to determine the best adhesive for your specific working conditions.
- Viscosity: The thickness or viscosity of the adhesive affects drying time as well. Thin adhesives tend to dry faster than thicker ones. If you’re looking to speed up the drying process, consider using a low viscosity LOCTITE product.
- Rapid cure and quick-drying options: For situations where fast assembly or production turnaround times are required, some LOCTITE products are specifically formulated for rapid cure or quick-drying applications. These adhesives offer shorter curing times without compromising bond strength.
- Accelerators and activators: Certain LOCTITE products come with accelerators or activators that can be used to speed up the drying process even further. These additives are applied before or during adhesive application and help promote faster curing. It is important to carefully follow the instructions provided by LOCTITE for using accelerators to ensure optimal bond strength and performance.
Proper Application Techniques for Faster Drying
Achieving faster drying times for LOCTITE adhesive is within your reach. Say goodbye to the frustration of waiting for glue to dry and say hello to efficient bonding. In this article, we will uncover the proper application techniques that will help you achieve strong and durable bonds in no time.
First and foremost, cleanliness is crucial. Before applying LOCTITE adhesive, ensure that the surfaces you are bonding are clean, dry, and free from any contaminants. Dirt, oil, or moisture can hinder the drying process and weaken the bond. So grab a suitable solvent or cleaner recommended by the manufacturer and give those surfaces a thorough scrub.
Temperature and humidity also have a significant impact on drying time. Check the recommended temperature range for optimal performance and drying of your LOCTITE adhesive. If it’s too cold, the drying process will be sluggish; if it’s too hot, it may dry too quickly. Aim for that perfect middle ground. Similarly, high humidity levels can prolong drying time, so keep an eye on that as well.
Now let’s talk about the amount of adhesive applied. Don’t go overboard. Applying too much adhesive will only extend the drying time as excess material takes longer to cure. On the other hand, don’t skimp on the adhesive either. Insufficient amounts can result in weak bonds. Follow the manufacturer’s recommendations regarding the appropriate quantity to be applied.
If you’re dealing with a two-component LOCTITE adhesive, proper mixing is crucial. Make sure you mix both components in the specified ratio before application. Inadequate mixing can lead to incomplete curing and longer drying times. Take your time and ensure both components are thoroughly combined.
When it comes to applying the adhesive itself, evenness is key. Apply LOCTITE in a thin, uniform layer with consistent pressure. Uneven application or excessive pressure can disrupt the bond formation process and prolong drying time. Avoid excessive squeeze-out and aim for a smooth and controlled application.
Last but not least, be patient. After applying LOCTITE, give it sufficient curing time before subjecting the bond to any stress or load. Even though the surface may appear dry, the curing process continues internally. Rushing the curing process can compromise the bond integrity and result in weaker joints. Follow the manufacturer’s instructions regarding the recommended curing time for optimal bond strength.
Utilizing Accelerators or Activators
Well, we’ve got some exciting news for you – there’s a way to speed up the drying process of LOCTITE glue. Say goodbye to the frustration of waiting and hello to quick and efficient bonding.
So, how does it work? The secret lies in accelerators or activators. These nifty little products are specifically designed to enhance the curing time of adhesives like LOCTITE, allowing them to dry faster and form a strong bond quickly. They contain special chemicals that promote the cross-linking of the adhesive molecules, resulting in faster curing.
Accelerators or activators work their magic by initiating the chemical reaction between the adhesive and the substrate. When applied to the adhesive or substrate surface, they kickstart the curing process, speeding up the drying time significantly. It’s like giving your adhesive a boost of energy.
One popular accelerator for LOCTITE is the LOCTITE SF 745This bad boy is formulated to accelerate the cure speed of LOCTITE adhesives, particularly anaerobic adhesives. It’s perfect for industrial applications where time is of the essence. With this accelerator in your arsenal, you’ll be able to achieve lightning-fast bonding without breaking a sweat.
To utilize an accelerator or activator, you’ll first need to ensure that your adhesive is compatible with the specific product you intend to use. Different adhesives may require different accelerators, so it’s important to check the manufacturer’s recommendations or consult technical data sheets. Don’t worry, though – once you find the right match, it’ll be smooth sailing from there.
Once you’ve found a suitable accelerator, simply apply a small amount directly onto the adhesive or substrate surface. Be careful not to go overboard – too much accelerator can negatively affect the bond strength or cause other issues. After applying the accelerator, give it some time to evaporate or react with the adhesive before joining the surfaces together. Think of it as giving your adhesive a moment to catch its breath before it works its magic.
Now, here comes the important part – be patient. The exact curing time will depend on factors like temperature, humidity, and the type of adhesive used. It’s best to follow the recommended curing time provided by the adhesive manufacturer. Trust us, rushing the process could lead to a weak bond and nobody wants that. So, sit back, relax, and let the accelerators do their thing.
It’s worth mentioning that while accelerators can speed up drying times, they may also have an impact on other properties of the adhesive. Some accelerators may slightly reduce the ultimate strength or increase the brittleness of the cured adhesive. So, it’s important to consider the specific requirements of your application and weigh the trade-offs between faster drying and other performance characteristics. It’s all about finding the right balance.
Following Manufacturer’s Instructions and Recommendations
We’ve got the inside scoop on how to speed up the drying process and get your projects done in a flash. The secret? Following the manufacturer’s instructions and recommendations. Trust us, they know their stuff.
First off, make sure you’ve got the right type of LOCTITE glue for your specific application. Different types have different drying times, so choose wisely. Don’t rush this step, because it sets the foundation for a successful bond.
Once you’ve got the right glue in hand, take a moment to read and understand the instructions provided by the manufacturer. They’ll give you all the details you need on application methods, curing times, and any extra steps you might need to take. It’s like having a personal guide for your glue adventures.
Now, here’s a pro tip: patience is key. Don’t be tempted to speed things up by any means necessary. Following the recommended curing time ensures that your bond will be strong and durable. So resist the urge to cut corners and let your glue work its magic.
Temperature and humidity also play a role in drying time. Higher temperatures and lower humidity levels tend to speed things up, while lower temperatures and higher humidity levels can slow it down. So find that sweet spot – an environment with moderate temperature and humidity – for optimal results.
Proper surface preparation is another secret to quicker drying. Before applying the glue, clean and degrease those surfaces to ensure better adhesion and faster drying. Trust us, this step is worth it.
Remember, less is more when it comes to applying LOCTITE glue. A thin, even layer is all you need for a strong bond. So don’t go overboard – just a smooth touch of glue will do the trick.
If you’re still itching for speed, consider using additional activators or primers recommended by the manufacturer. These products are specially designed to enhance adhesive properties and reduce curing time. Just follow the instructions carefully to maximize their effectiveness.
And finally, don’t forget about ventilation. Good airflow helps dissipate any fumes emitted during the curing process and can contribute to faster drying. So crack open a window or turn on a fan to get that air circulating. Your nose will thank you.
Conclusion
Speeding up the drying process of LOCTITE is a common concern for many users. Luckily, there are several effective methods to accelerate the drying time and get your project completed in no time. By following these tips, you can ensure a faster and more efficient drying process.
Firstly, consider applying heat to the LOCTITE. Heat helps to evaporate the moisture in the adhesive, allowing it to dry quicker. You can use a hairdryer or a heat gun on a low setting to gently warm the area where LOCTITE is applied. However, be cautious not to overheat as excessive heat might compromise the integrity of the adhesive.
Another technique that can expedite drying is increasing air circulation. Adequate airflow helps in removing moisture from the LOCTITE, aiding in faster evaporation. You can achieve this by using fans or opening windows to allow fresh air into the workspace. Additionally, using dehumidifiers or air conditioning units can help create an environment with lower humidity levels, which promotes faster drying.
Furthermore, choosing the right type of LOCTITE for your specific application can also impact drying time. Some variants of LOCTITE are formulated for rapid curing and offer quicker drying times compared to others. Therefore, it is essential to carefully select the appropriate product based on your project requirements.
Lastly, proper surface preparation plays a crucial role in speeding up drying time. Ensure that surfaces are clean and free from any contaminants such as oil or dirt before applying LOCTITE. This will allow for better adhesion and faster curing.
In conclusion, by employing techniques such as applying heat, increasing air circulation, selecting the right LOCTITE variant, and ensuring proper surface preparation, you can significantly speed up the drying process of LOCTITE.

