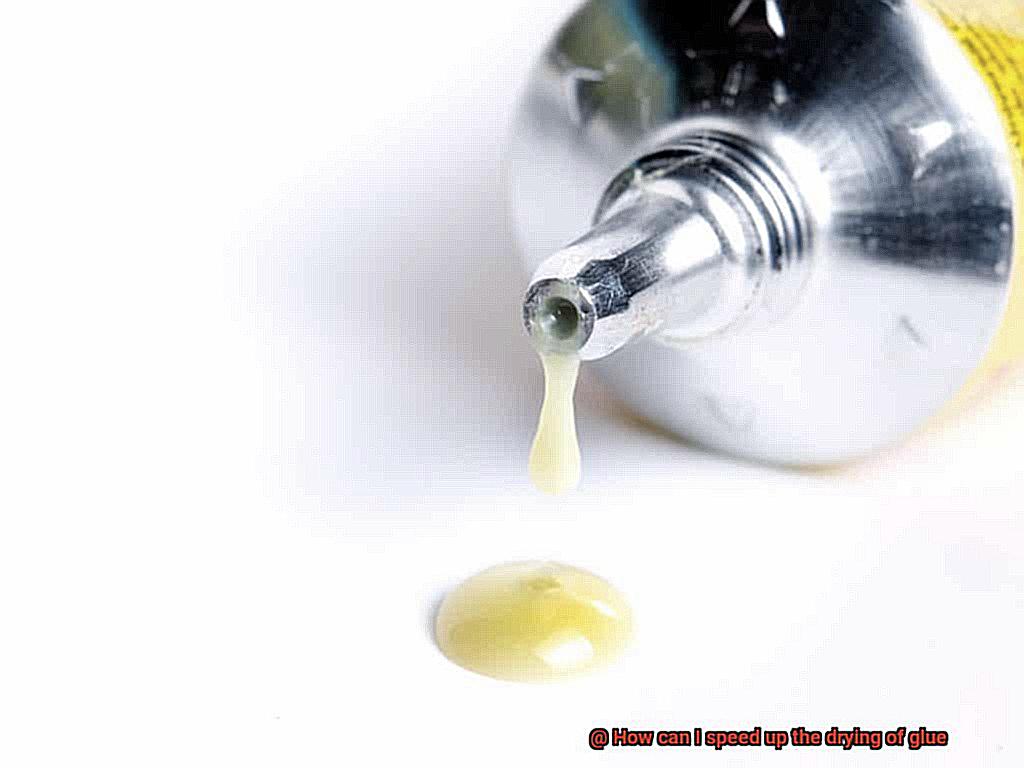
We’ve all been there – stuck in glue purgatory, waiting for our projects to dry. It’s a buzzkill that can put a damper on our creative mojo. But fear not, my fellow glue aficionados. In this blog post, we’re going to spill the beans on some game-changing methods to speed up the drying time of your glue. Say goodbye to the agony of waiting and hello to instant gratification. So strap in, grab your trusty glue gun, and let’s dive into the fast-paced world of turbocharged adhesives.
[Expert Advice] When it comes to adhesive wizardry, one crucial factor is the type of glue you’re using. Different glues have different drying times. For lightning-fast results, go for cyanoacrylate (super glue) or epoxy adhesives. These bad boys dry in a flash and will have your project locked down before you can say “sticky situation.” But if you’re more of a traditionalist using PVA or wood glue, don’t worry – we’ve got some tricks up our sleeves to accelerate the drying process.
[Casual Tips] Hey there crafters. Let’s get real – waiting for glue to dry is like watching paint dry on steroids. Ain’t nobody got time for that when creativity is calling. Lucky for you, we’ve got some killer hacks that’ll get you back in action faster than a cheetah chasing its prey. First things first: choose the right glue for your mission. If patience isn’t your strong suit, reach for super glue or epoxy – they work like magic. But if you’re rocking old-school PVA or wood glue, don’t fret; we’ve got some sneaky tricks that’ll save your day.
[Engaging Storytelling] Picture this: You’re about to embark on an epic DIY adventure. Your imagination is in overdrive, and you’ve got all the tools ready to bring your masterpiece to life. But then, the glue gods decide to play a cruel joke on you – time stands still as you wait for that sticky stuff to dry. It’s enough to drive any creative soul mad. But fear not, my friend. We’ve uncovered some top-secret techniques that’ll have your glue drying faster than Usain Bolt at the Olympics. From expert tips to crafty shortcuts, we’re here to make sure boredom doesn’t stand a chance
Increasing Temperature
Contents
- 1 Increasing Temperature
- 2 Using a Fan or Ventilation System
- 2.1 Evaporation: The Magic Behind Drying Glue
- 2.2 The Impact of Air Circulation on Drying
- 2.3 Positioning for Success: The Fan’s Role
- 2.4 Finding the Perfect Balance: Distance and Angle
- 2.5 Ventilation Systems: The Heroes of Big-Scale Crafting
- 2.6 Unlocking the Power of Airflow
- 2.7 Obstacles, Be Gone.
- 2.8 The Fine Print: Environmental Requirements
- 2.9 A Helpful Tool, Not a Magic Wand
- 3 Utilizing a Dehumidifier
- 4 Applying Pressure
- 5 Using Accelerators or Catalysts
- 6 Choosing Glue with Faster Drying Times
- 7 Allowing Sufficient Curing Time
- 8 Conclusion
Glue is a remarkable adhesive that helps us bring our creative projects to life. However, waiting for glue to dry can be a tedious process, delaying our progress and enthusiasm. Fortunately, there are ways to expedite this process, and one effective method is by harnessing the power of temperature. In this article, we will delve into the science behind increasing temperature and its impact on glue drying time. By understanding the intricacies of this phenomenon, you will gain valuable insights and techniques to achieve faster results in your projects.
Method 1: Heat It Up.
One powerful way to accelerate glue drying is by using heat. By directing hot air onto the glued surface using a heat gun or a hairdryer, you can elevate the temperature and promote faster evaporation of moisture in the glue. This method is particularly useful for glues that can withstand higher temperatures without compromising their adhesive properties. However, it is crucial to exercise caution and avoid excessive heat, as it may damage certain types of glue or materials.
Method 2: Embrace Controlled Heat
For a more controlled approach, consider utilizing heating pads or electric blankets. These devices provide a steady source of heat that can be placed underneath or around the glued object. The gentle warmth generated helps speed up the chemical reactions responsible for glue drying, ensuring a quicker bond. This method is especially beneficial for larger projects where precise application of heat is required.
Method 3: Airflow Matters
The flow of air around the glued area can significantly affect drying time. By increasing airflow using fans or ensuring adequate ventilation, you facilitate better evaporation of moisture. This method works wonders for water-based glues and helps expedite the drying process. Remember to position fans strategically to maximize airflow and minimize interference with the glued objects.
Method 4: Embrace Low Humidity
Did you know that humidity levels can impact glue drying time? Lower humidity environments facilitate faster evaporation, expediting the drying process. Consider using a dehumidifier to create an optimal condition for quicker glue drying. However, it is important to strike a balance and avoid raising the temperature excessively, as some glues are sensitive to high heat.
Method 5: Apply Pressure
Applying pressure to the glued parts can help expedite drying while ensuring a strong bond. Utilize clamps or weights to provide contact pressure, allowing excess moisture to escape. This technique is particularly effective for glues that require pressure for proper bonding, such as wood glues or epoxy adhesives.
Method 6: Accelerators and Catalysts
Certain glues can benefit from the use of accelerators or catalysts. These products contain chemicals that react with the glue, speeding up the curing process. However, it is crucial to select an accelerator that is compatible with your glue type and follow the manufacturer’s instructions closely. This method can significantly reduce drying time, but caution must be exercised to avoid compromising the strength or integrity of the bond.
Using a Fan or Ventilation System
In this guide, we’ll explore how using a fan or ventilation system can be a game-changer, saving you time and accelerating the drying process of glue. Prepare to be amazed as we dive into the science behind it all.
Evaporation: The Magic Behind Drying Glue
When glue is exposed to air, a fascinating process called evaporation takes place. The liquid components in the glue transform into gas and escape into the surrounding environment. It’s like witnessing a magical disappearing act.
The Impact of Air Circulation on Drying
Now, here’s where things get interesting. Increasing air circulation around the glued surface enhances evaporation, which, in turn, speeds up the drying process. It’s like giving your glue a breath of fresh air.
Positioning for Success: The Fan’s Role
Imagine this: placing a fan near your glued object and directing the airflow towards it. The fan becomes your best ally in dispersing moisture and turbocharging the drying process. Talk about a superfan.
Finding the Perfect Balance: Distance and Angle
We don’t want to blow away all your hard work. To avoid disturbing or displacing the glued materials, it’s crucial to position the fan at just the right distance and angle. Precision is key.
Ventilation Systems: The Heroes of Big-Scale Crafting
When it comes to larger projects or multiple glue applications, ventilation systems are here to save the day. These systems circulate air within a room or workspace, creating an ongoing flow of fresh air that helps your glue dry in record time. It’s like having your own personal drying assistant.
Unlocking the Power of Airflow
Want to take your glue drying to the next level? Open those windows and doors. Allowing proper air exchange enhances the effectiveness of fans and ventilation systems, making them even more efficient. Fresh air, here we come.
Obstacles, Be Gone.
Who needs obstacles slowing you down? Removing any barriers that impede airflow around the glued object is a surefire way to facilitate quicker drying. Clear the path for creativity.
The Fine Print: Environmental Requirements
Before you dive headfirst into fan and ventilation system bliss, be mindful that some glues have specific temperature or humidity requirements for optimal drying. To ensure success, always refer to the manufacturer’s instructions or consult an expert. Better safe than sorry.
A Helpful Tool, Not a Magic Wand
Fans and ventilation systems are incredible tools for speeding up glue drying. However, it’s important to remain realistic about the time saved. While they significantly reduce drying time, patience is still required for certain projects. Don’t worry—your masterpiece will be ready in no time.
Utilizing a Dehumidifier
Luckily, there’s a straightforward solution: harness the power of a dehumidifier. In this article, we will delve into the benefits of using a dehumidifier to speed up glue drying, covering crucial aspects such as positioning, setting, ventilation, and environmental considerations.
Positioning:
Placing the dehumidifier in close proximity to the glue is key. By positioning it within arm’s reach of the adhesive masterpiece, you allow the dehumidifier to directly extract moisture from the surrounding air, expediting the drying process. Remember, distance matters – keep the dehumidifier within easy reach for optimal results.
Setting:
Unlock the full potential of your dehumidifier by adjusting its humidity settings. To accelerate glue drying, set the humidity level lower, preferably between 30% and 40%. This creates an arid environment that turbocharges the drying process. Don’t forget to consult the manufacturer’s instructions for specific guidelines tailored to your particular glue type.
Ventilation:
In tandem with your dehumidifier, proper ventilation plays an indispensable role in expediting glue drying. Unleash the power of airflow by opening windows or employing fans to facilitate air circulation. This dynamic combination helps banish humid air while introducing fresh currents, effectively slashing drying times. For extensive projects, consider deploying ventilation systems to ensure consistent airflow throughout the space.
Environmental Considerations:
Keep in mind that different glues have varying drying times and requirements. Always consult the manufacturer’s instructions for temperature ranges and curing conditions specific to your chosen adhesive. Adhering to these guidelines ensures optimized outcomes.
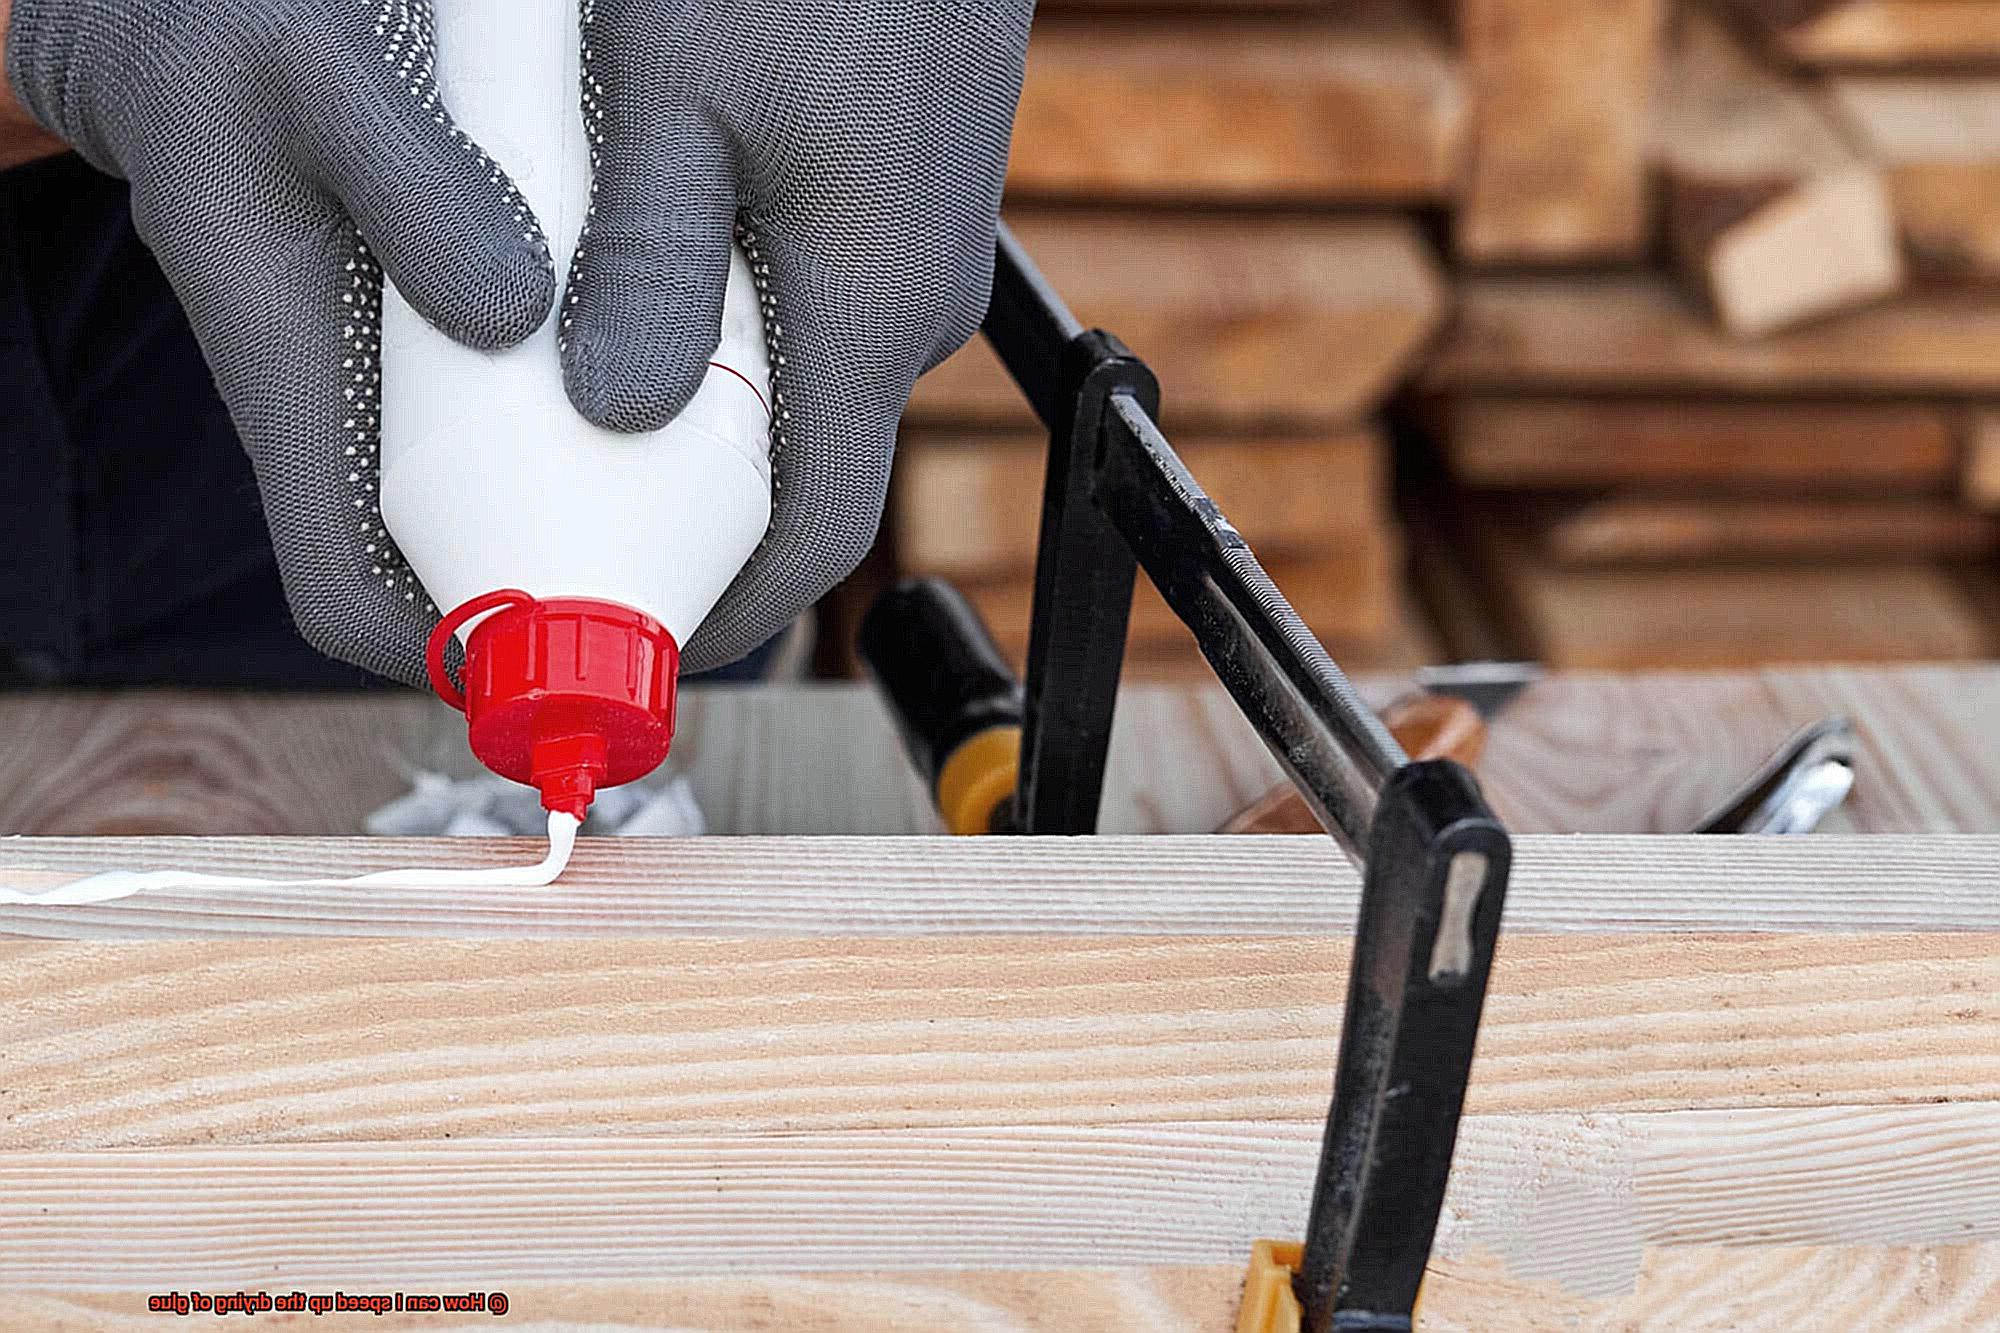
Applying Pressure
Applying pressure is a tried and true method for speeding up the drying process of glue. By exerting force on the glued surfaces, you can squeeze out excess moisture and encourage faster and more efficient drying. There are several techniques and tools you can utilize to apply pressure effectively, depending on the size and requirements of your project.
Firstly, clamps and heavy objects are go-to options for smaller projects. Clamps are versatile tools that allow you to tightly hold the glued surfaces together. This ensures even distribution of the glue and maximum contact with both surfaces, promoting rapid drying. The key is to create a tight squeeze that eliminates any lingering moisture and expedites the drying time.
For larger projects where clamps may not be practical, heavy objects come to the rescue. By placing evenly distributed weight on top of the glued surfaces, you can compress the glue and speed up the drying process. Think of it as giving your glue a gentle squeeze from all angles, pushing it to dry in no time.
But what if you find yourself without clamps or heavy objects? Don’t fret. Tape or rubber bands can be your secret weapons. These simple yet effective tools can be wrapped tightly around the glued surfaces, exerting constant pressure. They come to the rescue when clamps or heavy objects are not readily available. Just make sure not to wrap them too tightly, as this may distort or damage your project.
Now, here’s a tip from the experts: specialized tools like glue spreaders or rollers can take your pressure application game to the next level. These tools ensure that the glue is evenly distributed across the surfaces and help expel any excess moisture. By using these specialized tools, you give your glue that extra push it needs to dry faster and more effectively.
It’s important to note that not all glues require pressure for drying. Some types, such as super glue or cyanoacrylate adhesive, cure quickly on their own. However, for many other glues out there, applying pressure can make a significant difference in drying time.
Before concluding, let’s touch on a couple of crucial points. Always align your glued parts correctly before applying pressure. Once the pressure is applied, avoid moving the glued surfaces until the glue has fully dried. Following the manufacturer’s instructions is also essential, as different glues may have specific guidelines or precautions when it comes to applying pressure.
Using Accelerators or Catalysts
In the world of crafting, woodworking, and repairs, glue is an indispensable tool. However, waiting for glue to dry can sometimes feel like watching paint dry – a slow and tedious process. But fear not. There are ways to expedite the drying time of glue using accelerators or catalysts. In this article, we’ll delve into these magical substances and how they can revolutionize your gluing experience.
Unleashing the Power of Accelerators and Catalysts:
Accelerators and catalysts are substances that ignite or enhance the chemical reactions involved in the glue drying process. By speeding up these reactions, they enable faster curing and drying times.
Heat: Igniting the Blaze:
Heat is a potent accelerator for glue drying. By applying heat to the glued area, you can expedite the evaporation of moisture within the glue, propelling it towards rapid curing. Utilize a heat gun, hairdryer, or position your glued object near a warm source for maximum effect.
Illuminating with UV Rays:
Certain types of glue thrive under ultraviolet (UV) light as an accelerator. Harness the power of UV lamps or bask your glued item in sunlight to catalyze the drying process. Ensure that the glued area receives direct light for optimal results.
Chemical Accelerators: A Mighty Boost:
Chemical accelerators are additives mixed with glue to accelerate its drying time. These additives contain compounds like peroxides or amines that react with the glue’s components, hastening curing. Choose an accelerator compatible with your specific type of glue for best results.
Best Practices and Precautions:
When using accelerators or catalysts, it is crucial to adhere to the instructions provided by the glue manufacturer. Improper usage may yield subpar results or damage your glued object. Exercise caution and wear appropriate protective gear when handling chemicals or applying heat.
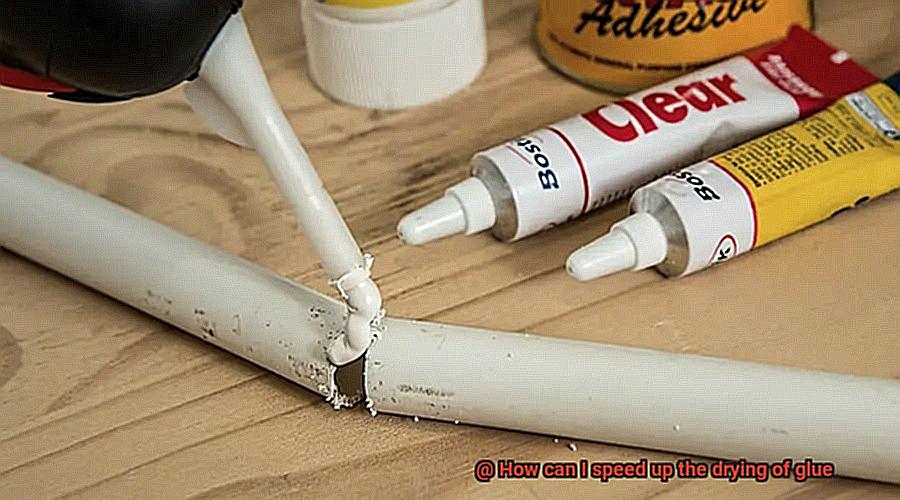
Choosing Glue with Faster Drying Times
Well, worry no more. In this article, we will explore the world of adhesives and help you choose the perfect glue with faster drying times.
When it comes to selecting the right glue, it’s important to consider the specific requirements of your project. Are you working with small repairs or larger undertakings? What materials are you bonding together? How strong does the bond need to be? These factors will guide you in determining the type of glue that suits your needs.
One option for fast-drying glue is cyanoacrylate glue, also known as instant glue. This adhesive superhero dries within seconds and is perfect for quick fixes or bonding materials like plastic, metal, or rubber. However, keep in mind that it may not be suitable for larger projects or porous surfaces.
If you’re looking for a balance between speed and strength, epoxy glue might be your sidekick. Epoxy glues provide a strong bond on various materials such as wood, metal, ceramic, and glass. The drying time can range from 5 minutes to several hours, depending on the specific product.
For those woodworking enthusiasts, quick-dry wood glues are specifically formulated to dry within 30 minutes or less. These glues are perfect when time is of the essence and you need to move on to the next step of your project quickly.
To ensure optimal results, it’s crucial to read and follow the manufacturer’s instructions. Faster drying times may come with trade-offs such as shorter working times or more precise application requirements. By paying attention to these guidelines, you can achieve the best results with your chosen glue.
Before applying the glue to your entire project, it’s always a good idea to test it on a small sample or inconspicuous area. This will help ensure compatibility with your materials and give you an idea of how fast the glue will dry.
If you’re looking to speed up the drying time even further, consider using accelerators or catalysts. These additives can reduce the overall curing time of certain glues. However, it’s important to check the manufacturer’s recommendations as not all glues are compatible with accelerators.
Proper ventilation and temperature control can also affect drying times. Adequate airflow and warmer temperatures can help evaporate solvents or water content in the glue, leading to faster drying. Just be sure to stay within the recommended temperature range specified by the glue manufacturer.
Allowing Sufficient Curing Time
Then you know the frustration of waiting for glue to dry before moving on with your project. But did you know that rushing the drying process can lead to weak bonds and poor adhesion? In this blog post, we will explore the importance of allowing sufficient curing time for glue to dry properly. So, let’s dive in and discover why patience is indeed a virtue when it comes to glue.
Understanding the Curing Process:
Glue needs time to cure, meaning it needs to dry and harden completely. Different glues have varying curing times, depending on factors such as type, materials being bonded, and environmental conditions. Following the manufacturer’s recommended curing time is crucial for obtaining strong bonds.
The Surface vs. Interior Drying:
Don’t be fooled by the surface appearance. Just because the glue feels dry to the touch doesn’t mean it’s fully cured. Rushing to use or manipulate glued objects before they are fully cured can compromise bond strength and result in failure.
Environmental Factors:
Ambient temperature and humidity levels affect glue drying times. Higher temperatures and lower humidity promote faster drying, but extreme conditions can negatively impact bonding. Striking a balance between drying time and environmental conditions is key.
Patience Pays Off:
To ensure sufficient curing time, leave glued objects undisturbed for at least 24 hours. Following manufacturer’s recommendations or waiting longer is even better for optimal results. Keep glued objects stable and protected from external factors that can interfere with drying.
Quick-Drying Techniques (With Caution.):
If time constraints arise, gentle heat or increased air circulation can speed up the drying process. However, caution must be exercised, and these methods should only be used if permitted by the glue manufacturer.
NHlvpr62nFE” >
Also Read: How to Make Glue Dry Faster
Conclusion
Speeding up the drying of glue is a common concern for many people. Whether you’re working on a craft project or making repairs, waiting for glue to dry can be time-consuming and frustrating. But fear not. There are several techniques you can try to expedite the drying process and get back to your project in no time.
One simple method is to increase the air circulation around the glued area. By using a fan or opening windows, you can help evaporate the moisture in the glue faster. The movement of air will facilitate the drying process and reduce the overall drying time.
Another trick is to apply heat to the glued surface. You can use a hairdryer on its low setting or even a heat gun if you have one available. Be cautious not to overheat the glue, as this could cause it to bubble or melt. Keep a safe distance and continuously move the heat source around for even drying.
If you’re working with a small item, consider using a desiccant like silica gel packets. These little packets are commonly found in packaging and are excellent at absorbing moisture. Place them near your glued object, and they will help draw out excess moisture from the air, accelerating the drying process.
In some cases, using an accelerator or activator specifically designed for glues can significantly speed up drying times. These products work by chemically reacting with certain types of glues, causing them to cure faster. However, it’s essential to check compatibility before using these accelerators, as not all glues are compatible with them.
Lastly, choosing the right type of glue for your project can make a significant difference in drying time. Some glues dry faster than others naturally, so selecting an adhesive that suits your needs can save you valuable time in waiting for it to set.
In conclusion, there are several effective ways to speed up the drying of glue. Increasing air circulation, applying gentle heat, utilizing desiccants, using accelerators, and selecting the right glue type can all contribute to faster drying times. By employing these techniques, you’ll be able to complete your projects more efficiently and enjoy the satisfaction of a job well done in less time.