Midway through a tile installation and desperate for your adhesive to dry faster?
We’ve all been there, impatiently waiting for that crucial step to be over. But fear not.
There are actually a few tricks up our sleeves to speed up the drying process of your tile adhesive. In this blog post, we’ll walk you through some tried-and-true methods that can help get your adhesive dried in a jiffy, so you can get back to tiling without any delays.
Let’s dive into the world of tile adhesive drying techniques.
What is Tile Adhesive?
Contents
- 1 What is Tile Adhesive?
- 2 Factors Influencing Tile Adhesive Drying Time
- 3 Using a Dehumidifier to Speed Up Drying
- 4 Increasing Airflow with Fans or Air Circulation Systems
- 5 Choosing a Fast-Drying Tile Adhesive
- 6 Applying Heat to Accelerate Drying Time
- 7 Following Manufacturer Instructions for Mixing and Applying the Adhesive
- 8 Utilizing Additives for Faster Drying Times
- 9 Conclusion
Tile adhesive, often referred to as tile glue or tile cement, is an essential component in the world of tile installation. This unique adhesive plays a vital role in ensuring that your tiles stay securely in place, withstanding the test of time. In this comprehensive exploration, we will delve into the intricacies of tile adhesive, from its purpose and characteristics to best practices and tips for expedited drying.
The Bonding Power:
At its core, tile adhesive is formulated to establish a strong bond between ceramic or porcelain tiles and a plethora of surfaces. Its chemical composition enables it to grip both the tile and the substrate, creating a durable connection that withstands high-traffic areas and moisture exposure.
Flexibility Matters:
Tiles are not static entities; they expand and contract due to temperature fluctuations. Rigid adhesives crack under pressure, leading to loose tiles. Tile adhesives are thoughtfully designed with flexibility in mind, allowing them to adapt to these movements without compromising the bond. The result? Tiles that remain intact and stunning for years to come.
Enhanced Performance:
To optimize performance, manufacturers often enrich tile adhesive with additives that enhance its properties. Polymer modifiers improve strength and flexibility, while agents prevent mold and mildew growth or enhance water resistance. These additives contribute to a longer-lasting and more resilient tile installation that stands the test of time.
Choosing the Right Adhesive:
Selecting the appropriate type of tile adhesive is paramount for successful tiling projects. Indoor or outdoor use, as well as the type of substrate (concrete, wood, drywall), should be considered when making this decision. By choosing the right adhesive for your specific needs, you can ensure optimal results and minimize potential issues down the line.
Tips for Quicker Drying:
While proper drying time is crucial for successful installations, there are ways to expedite the process:
- Reduce humidity levels with a dehumidifier.
- Increase airflow using fans or ventilation systems.
- Opt for fast-drying adhesives specifically designed for quicker drying times.
- Apply heat using a heat gun or underfloor heating systems, if available.
- Follow the manufacturer’s instructions and avoid excessive water usage or thick application.
Factors Influencing Tile Adhesive Drying Time
In this blog post, we’re going to explore the factors that influence tile adhesive drying time, so you can maximize efficiency and achieve excellent results.
Firstly, let’s talk about climate and temperature. Warmer temperatures and lower humidity levels promote faster drying, while colder temperatures and higher humidity levels can slow it down. So, if you’re working in a chilly or humid environment, be prepared to wait a bit longer for the adhesive to dry.
Next up is the type of tile adhesive you choose. Different adhesives have different drying times. It’s important to select an adhesive that suits your specific needs and requirements. Consider factors such as the type of tiles being installed, the substrate, and the environment. Reading the manufacturer’s instructions and seeking professional advice will help you make an informed decision.
The size and thickness of the tiles also affect drying time. Larger, thicker tiles retain more moisture, which can prolong the process. Conversely, smaller and thinner tiles dry faster due to their reduced moisture content.
Proper substrate preparation is crucial for efficient drying. Cleaning and leveling the substrate before applying the adhesive is essential. Any dust, dirt, or debris on the surface can hinder adhesion and affect drying time.
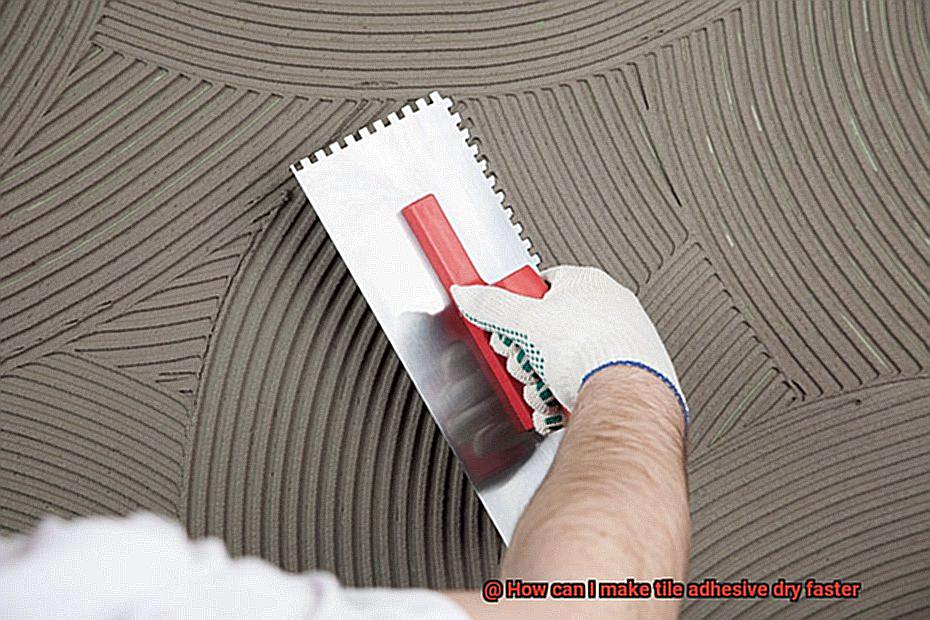
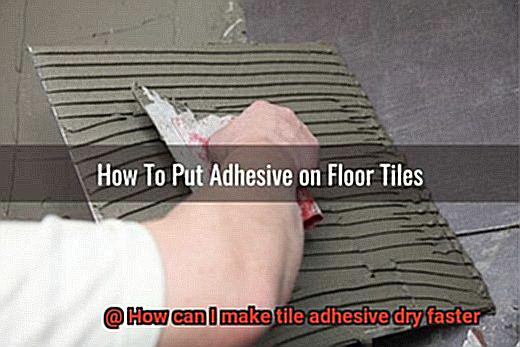
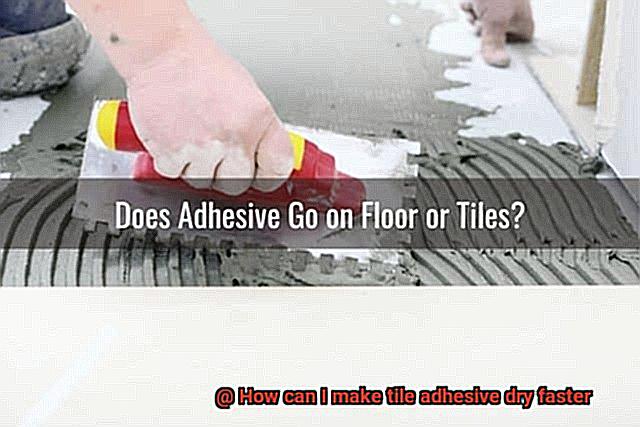
The method of adhesive application can influence drying time as well. Applying an even layer of adhesive using the recommended trowel size and technique ensures proper coverage and facilitates efficient drying.
Ventilation is another factor to consider. Adequate airflow helps remove excess moisture from the adhesive, allowing it to dry faster.
Lastly, remember that even if the adhesive appears dry to the touch, it may not have fully cured. Curing refers to the chemical process through which the adhesive reaches its maximum strength and durability.
Using a Dehumidifier to Speed Up Drying
Are you tired of waiting for your tile adhesive to dry? Don’t worry, we have the solution for you – a dehumidifier. This powerful device can work wonders in reducing moisture in the air and speeding up the drying process. Here are some key points to consider when using a dehumidifier:
- Understand the role of humidity: Tile adhesive requires a certain level of humidity to cure properly. However, if the humidity level is too high, it can significantly slow down the drying time. By using a dehumidifier, you can lower the humidity level in the room and create ideal conditions for faster drying.
- Properly seal off the room: Before using a dehumidifier, make sure to seal off the room properly. This prevents outside air from entering and interfering with the drying process. By creating a controlled environment, the dehumidifier can work more effectively in reducing humidity levels.
- Position the dehumidifier strategically: Place the dehumidifier in the center of the room or near the area where the tile adhesive is applied. This ensures that it targets the specific area where drying is needed most. By strategically positioning the dehumidifier, you can maximize its effectiveness.
- Monitor and adjust humidity levels: Check the manufacturer’s instructions for the recommended humidity level during drying. Adjust the settings on the dehumidifier accordingly to maintain the desired humidity level. This careful monitoring ensures that the drying process progresses at an optimal pace.
- Consider other factors: While a dehumidifier can speed up the drying process, it should not be relied upon solely. Other factors such as temperature and ventilation also play crucial roles in proper drying. Ensure adequate airflow and maintain a moderate temperature in the room to achieve the best results.
Increasing Airflow with Fans or Air Circulation Systems
Increasing airflow with fans or air circulation systems is a game-changer when it comes to speeding up the drying process of tile adhesive. So, let’s dive into the details and explore how you can make your tile adhesive dry in a flash.
First up, fans. These trusty machines are like superheroes, creating a powerful breeze that promotes airflow in the room. Place a fan strategically near the tiled area, ensuring it blows directly across the surface of the tiles. This strategic positioning maximizes airflow and turbocharges the drying power.
But hold on tight, because fans aren’t the only option. You can also go big with an air circulation system, like an HVAC system or an air mover. These beasts are designed to move massive volumes of air, creating a constant flow throughout the room. With an air circulation system on your side, every nook and cranny will be exposed to the moving air, resulting in lightning-fast drying times.
Now, let’s talk ventilation. Opening windows or doors adds an extra boost of airflow and aids in drying. However, if it’s humid or damp outside, keep those windows shut tight to prevent moisture from sneaking back in.
But wait, there’s more. Temperature and humidity control are crucial factors too. Crank up the heat and lower the humidity levels to supercharge the drying process. A dehumidifier is your secret weapon for sucking out excess moisture from the air. And don’t forget to adjust the thermostat to a slightly higher temperature for rapid evaporation.
Before you rev up your fans or unleash your air circulation system, check the manufacturer’s guidelines for your specific tile adhesive. They might have specific recommendations for drying time and conditions. Stick to those instructions for optimal results and avoid any sticky situations.
Choosing a Fast-Drying Tile Adhesive
Are you tired of waiting for your tile adhesive to dry? Do you want to complete your tiling project in record time? Look no further. In this blog post, we will explore the various factors to consider when selecting a fast-drying tile adhesive. So, grab your cape and let’s dive in.
Type of Adhesive: Thin-Set Mortar vs. Mastic Adhesive
When it comes to fast-drying tile adhesives, thin-set mortar is the superhero you need. This adhesive is known for its quick-drying properties and is commonly used for ceramic and porcelain tiles. On the other hand, mastic adhesive is a premixed adhesive that generally takes longer to dry. If speed is your top priority, opt for thin-set mortar.
Manufacturer’s Drying Time Specifications
Every brand of tile adhesive has its own drying time. Check the product labels or specifications before making a purchase to ensure it meets your need for speed. Some manufacturers even offer fast-drying options explicitly designed to reduce drying time significantly.
Environmental Factors: Temperature and Humidity
Believe it or not, the environment plays a significant role in the drying time of tile adhesives. Higher temperatures and lower humidity levels generally facilitate faster drying. Choose a sunny day with optimal weather conditions for your tiling project.
Maximize the drying process by using fans, opening windows or doors for extra ventilation, cranking up the heat, and considering a dehumidifier to remove excess moisture from the air.
Trowel Size Matters
Yes, even the size of your trowel can impact drying time. Using a larger trowel creates thicker adhesive beds, which take longer to dry. Opt for a smaller trowel size to create a thinner adhesive bed and promote faster drying. It’s like having a sidekick that helps you save time.
Surface Preparation: Clean, Dry, and Contaminant-Free
Proper surface preparation is crucial for fast-drying adhesion. Ensure the surface where you will be applying the adhesive is clean, dry, and free from any debris or contaminants. Removing any existing adhesives or coatings can also contribute to better adhesion and quicker drying times. Unleash your inner cleaning superhero.
Applying Heat to Accelerate Drying Time
Look no further than the mighty power of heat to expedite the drying time of your tile adhesive. In this comprehensive guide, we will explore how applying heat can unleash your inner speedster in the world of tile installation. So tighten your tool belt and get ready to conquer your tiling project with blazing speed.
The Benefits of Applying Heat:
- Evaporating moisture at lightning speed: Heat accelerates the evaporation process, swiftly eliminating moisture from your adhesive and causing it to dry faster.
- A time-saving solution: By harnessing the power of heat, you can significantly reduce the drying time of your tile adhesive, allowing you to complete your project in record time.
Methods for Applying Heat:
- The superhero duo: Heat gun or hairdryer: These trusty tools emit hot air that can be directed towards the adhesive surface, lending their powers to expedite drying.
- The invisible assistant: Heating pad or electric blanket: These stealthy allies can be placed underneath the tile installation area, providing a consistent source of low-level heat. They are especially handy for larger projects where multiple tiles need to dry simultaneously.
Safety Considerations:
- Follow the manufacturer’s guidelines with vigilance: Adhere to the recommended temperature limits to prevent damage to the adhesive and ensure optimal bonding properties.
- Unleash the wind: Proper ventilation is crucial to prevent condensation and aid in removing evaporated moisture from the adhesive surface.
Monitoring Temperature:
- The vigilant guardian: Use a thermometer to keep a close eye on the temperature, ensuring it remains within the desired range. Adjust or reduce heat if necessary, avoiding overheating.
Curing Time:
- Embrace patience for lasting strength: While heat accelerates drying time, it does not replace the need for proper curing. Allow sufficient time for the adhesive to develop its full strength and durability, ensuring a long-lasting bond.
Following Manufacturer Instructions for Mixing and Applying the Adhesive
Embarking on a tiling project is like stepping into the realm of artistry, where every brushstroke matters. To create a masterpiece, it is crucial to understand the significance of following manufacturer instructions when mixing and applying tile adhesive.
In this comprehensive guide, we will unlock the secrets to successful adhesive application, revealing the key steps and techniques that guarantee an impeccable result.
So, let’s dive into the world of tile adhesive and discover how to unleash its full potential.
The Mixing Ratio:
Just like a chef follows a recipe diligently, precise measurements are paramount when mixing tile adhesive. The manufacturer’s instructions provide the perfect ratio of adhesive powder to water or liquid additive. Follow these instructions meticulously to achieve the desired consistency and drying time, ensuring that your adhesive becomes the building blocks of your masterpiece.
The Right Tools for the Job:
Every artist needs their tools, and so does every tiling project. A mixing paddle, bucket, measuring cup, and trowel are indispensable companions in your adhesive adventure. These tools, recommended by the manufacturer, ensure that the adhesive is blended thoroughly and applied evenly, allowing you to sculpt your tiles with precision.
The Mixing Process:
Picture yourself in an alchemist’s lab, carefully measuring ingredients and stirring with intent. Pour the adhesive powder into a clean bucket and gradually add the specified amount of water or liquid additive while continuously stirring with a mixing paddle. Your goal is to achieve a smooth and lump-free consistency that will make your tiles adhere like magic.
Patience is a Virtue:
Before you dive into applying the adhesive, remember that patience is key. The mixed adhesive may require a resting period before application. This allows the components to interact and activate properly, ensuring optimal bonding capabilities. Follow the manufacturer’s instructions regarding the duration of this resting period for maximum effectiveness.
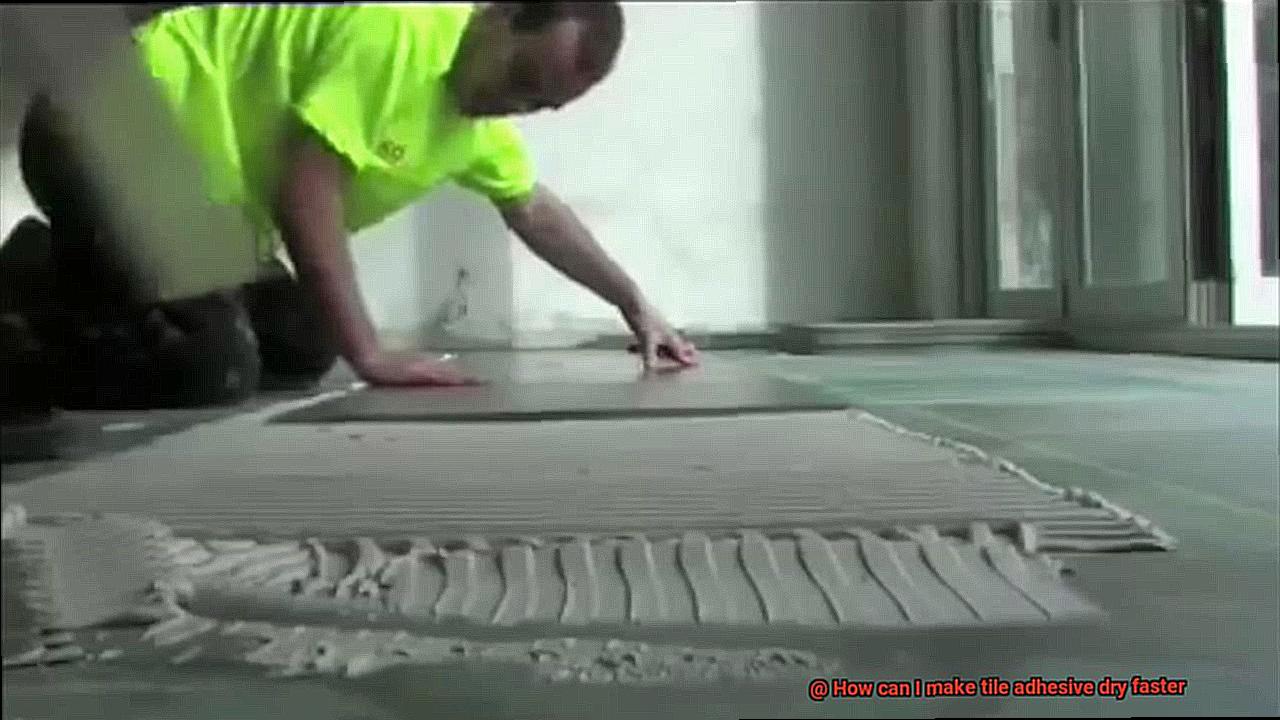
Application Techniques:
Now it’s time to unleash your inner artist. Pay close attention to the manufacturer’s recommended application techniques. Whether it involves using a trowel to spread the adhesive or creating grooves with a notched trowel for better adhesion, following these techniques guarantees proper coverage and a secure bond between your tiles and the substrate. Each stroke brings you closer to perfection.
Open Time Awareness:
Did you know that tile adhesive has its own sense of time? It has an open time, a period during which the adhesive remains workable after application before it starts to dry. Exceeding this open time can lead to adhesive failure, so be sure to work within the specified timeframe.
This gives you the flexibility to make adjustments in tile placement and ensures a secure bond that withstands the test of time.
Temperature and Humidity Considerations:
Nature’s elements can have a significant impact on your tile adhesive’s drying time. To navigate this challenge, follow the manufacturer’s guidelines regarding the recommended temperature and humidity range for application.
Extreme temperatures or high humidity levels can prolong drying, while low humidity may cause rapid drying. By maintaining optimal conditions, you’ll create an environment where your adhesive thrives.
Ventilation is Key:
Inhale the fresh air of creativity as you ensure proper ventilation during the application and drying process of tile adhesive. Good airflow promotes proper curing and prevents moisture buildup, which can extend drying times. Embrace the manufacturer’s recommendations for ventilation requirements, and watch as your adhesive dries efficiently, setting the stage for your masterpiece.
Utilizing Additives for Faster Drying Times
When it comes to tile installation, time is of the essence. Waiting for the adhesive to dry can be frustrating and delay your project. Fortunately, there is a solution – additives that can speed up the drying time of tile adhesive. Let’s explore the benefits of utilizing these additives and how they can help you achieve faster results.
The Benefits of Using Additives for Faster Drying Times:
- Time-saving: The most obvious advantage of using additives is that they significantly reduce the drying time of tile adhesive. This means you can complete your tiling project much faster, saving valuable time and allowing for quicker turnaround on your projects.
- Increased productivity: By using additives to speed up drying times, you can increase your productivity on the job. This is especially beneficial for professional contractors who rely on completing projects quickly to move on to the next one.
- Simplified installation: Some tile adhesives come with pre-mixed additives designed specifically for faster drying times. These ready-to-use adhesives eliminate the need for separate additives and simplify the installation process. They are particularly useful for time-sensitive projects or when fast drying is crucial.
- Enhanced bonding strength: Certain additives, such as liquid acrylic admixtures, not only expedite drying but also enhance the bonding strength and flexibility of the adhesive. This means your tiles will be securely attached to the surface and less likely to come loose over time.
While utilizing additives for faster drying times has numerous benefits, it’s important to consider some potential drawbacks as well.
The Drawbacks of Using Additives for Faster Drying Times:
- Proper usage is crucial: While additives can be a game-changer for speeding up drying times, it’s essential to follow the manufacturer’s instructions carefully. Overusing or misusing additives can lead to weakened bond strength or compromised durability of the adhesive.
- Impact on open time: The open time of tile adhesive refers to the duration during which the adhesive remains tacky and allows tiles to be easily positioned. Some additives may affect the open time, so it’s essential to consider this factor when choosing and using additives.
- Compatibility testing: Before adding any additives, it’s advisable to test them on a small area or sample tiles. This will help you assess the impact of the additive on both the adhesive’s performance and the tiles themselves, ensuring compatibility and desired results.
- Not a substitute for proper surface preparation: While additives can speed up drying times, they should not be seen as a substitute for proper surface preparation and installation techniques. Adequate cleaning, priming, and leveling of the substrate, as well as following the manufacturer’s guidelines, are still crucial for achieving a successful tile installation.
NmKLREr004Q” >
Conclusion
Looking to speed up the drying process of your tile adhesive? Well, you’re in luck. There are a few tricks you can try to make that sticky stuff dry faster. So, let’s dive right in and discover how you can get those tiles in place sooner rather than later.
- Increase air circulation: One simple way to help your tile adhesive dry faster is by improving the airflow around it. Open windows, turn on fans, or use a dehumidifier to promote better ventilation in the room. This will allow moisture to evaporate more quickly, speeding up the drying process.
- Reduce humidity: Humidity can be a major hindrance when it comes to drying tile adhesive. Lowering the humidity levels in the room will help moisture evaporate faster from the adhesive, allowing it to dry more rapidly. You can use a dehumidifier or air conditioner to achieve this.
- Apply heat: Heat can be an effective tool for accelerating the drying time of tile adhesive. You can use a hairdryer or heat gun set on low heat to gently warm up the area where the adhesive has been applied. Be cautious not to overheat it though, as excessive heat may cause damage.
- Use rapid-setting adhesives: If you’re looking for a quick-drying solution from the start, consider using rapid-setting tile adhesives. These specialized products are designed to cure and dry much faster than regular adhesives, allowing you to move forward with your tiling project without delay.
- Follow manufacturer’s instructions: Always refer to the manufacturer’s instructions for proper application and drying times of your specific tile adhesive product. Following these guidelines will ensure that you achieve optimal results and avoid any potential issues down the line.
By implementing these tips and tricks, you’ll be well on your way to getting that tile adhesive dried faster than ever before.