Got a DIY project in mind that involves acrylic? Looking for the perfect adhesive to bring your vision to life? Well, you’ve come to the right place. Today, we’re diving deep into the world of adhesives to answer that burning question: Does Gorilla Glue work on acrylic?
Whether you’re a seasoned crafting pro or just starting out on your DIY journey, finding the right glue is essential. And with Gorilla Glue’s reputation for strength and versatility, it’s no wonder people are curious about its compatibility with acrylic.
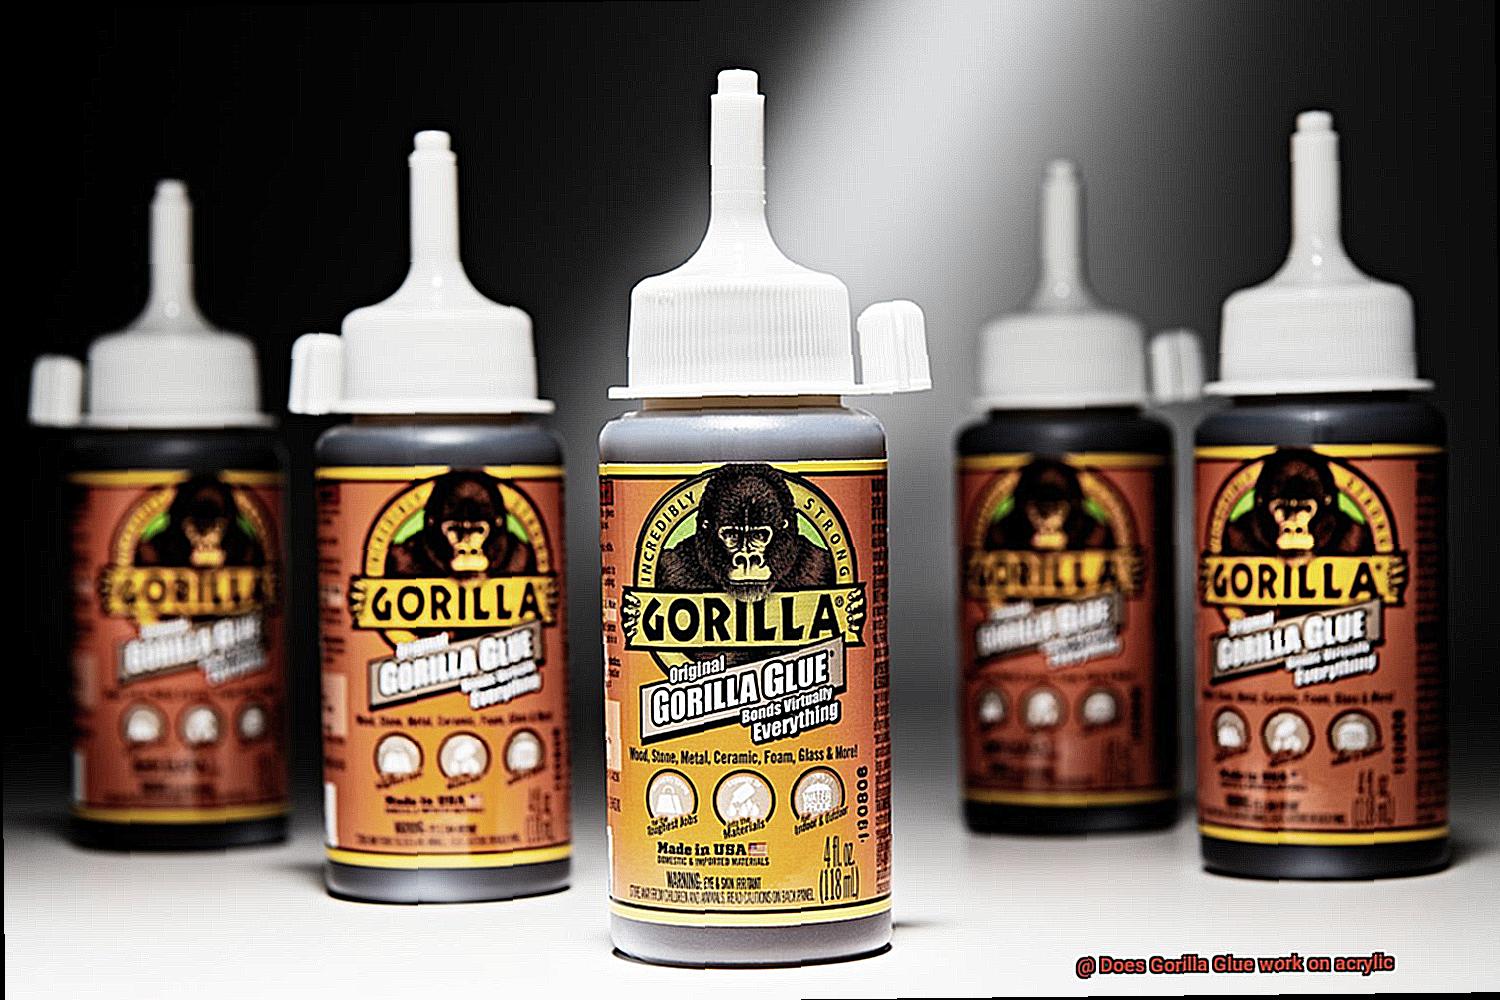
In this blog post, we’ll unravel the truth behind this sticky situation. We’ll weigh the pros and cons of using Gorilla Glue on acrylic, giving you all the juicy details you need to make an informed decision. So grab your safety goggles and let’s get down to business.
Join us as we explore whether Gorilla Glue is truly a match made in heaven for acrylic. We’ll share key insights, expert advice, and maybe even a few personal anecdotes along the way. By the end of this post, you’ll be armed with all the knowledge you need to tackle your next project like a pro.
So, stick around (pun intended) as we peel back the layers and discover if Gorilla Glue is truly up to the task of bonding with acrylic. Let’s dive in.
What is Gorilla Glue?
Contents
- 1 What is Gorilla Glue?
- 2 What is Acrylic?
- 3 Advantages of Using a Specialized Acrylic Adhesive
- 4 Disadvantages of Using Gorilla Glue on Acrylic
- 5 How to Choose the Right Adhesive for Acrylic
- 6 Types of Specialized Acrylic Adhesives
- 7 Preparing the Surfaces for Bonding with Acrylic Adhesive
- 8 Applying the Adhesive to Create a Strong and Durable Bond
- 8.1 Step 1: Surface Preparation – Clean, Dry, and Contaminant-Free:
- 8.2 Step 2: Embrace the Power of Clamping:
- 8.3 Step 3: Apply Adhesive Like a Pro:
- 8.4 Step 4: Spread and Smooth for Seamless Bonding:
- 8.5 Step 5: Timing is Everything – Allow for Proper Curing:
- 8.6 Step 6: Treat Your Bond with Tender Loving Care:
- 9 Conclusion
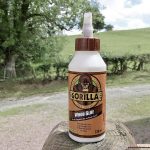
When it comes to finding an adhesive that can handle any task with unparalleled strength, durability, and versatility, look no further than Gorilla Glue. This renowned brand of adhesive has become a household name, thanks to its powerful bonding properties that make it the go-to choice for crafting, home repairs, and hobby projects alike. Let’s dive into the world of Gorilla Glue and discover why it has become an indispensable tool in any toolkit.
The Versatile Wonder:
Gorilla Glue is a polyurethane-based adhesive designed to provide a long-lasting and durable bond that can withstand the test of time. Its versatility truly shines as it can be used on an array of materials, including wood, metal, stone, glass, ceramics, and most plastics. No matter what project you have in mind – from fixing broken furniture to creating intricate masterpieces – Gorilla Glue is your ultimate bonding companion.
Unrivaled Strength and Durability:
One of the standout features of Gorilla Glue is its incredible strength. It forms a bond that is known to be remarkably tough and reliable. This adhesive expands as it cures, allowing it to fill gaps seamlessly and create an even stronger bond. Once fully cured, Gorilla Glue can be sanded or painted over, ensuring a flawless finish that blends seamlessly with your project.
Versatility at Its Finest:
Gorilla Glue offers different forms to cater to various application needs. If you require precision and control, the liquid glue is perfect for you. For vertical surfaces or intricate designs, the gel glue provides extra stability. And if convenience and ease of use are what you seek, Gorilla tape is your answer. With Gorilla Glue’s range of products, there’s always a solution for every project.
Crafting Marvels and Home Repairs:
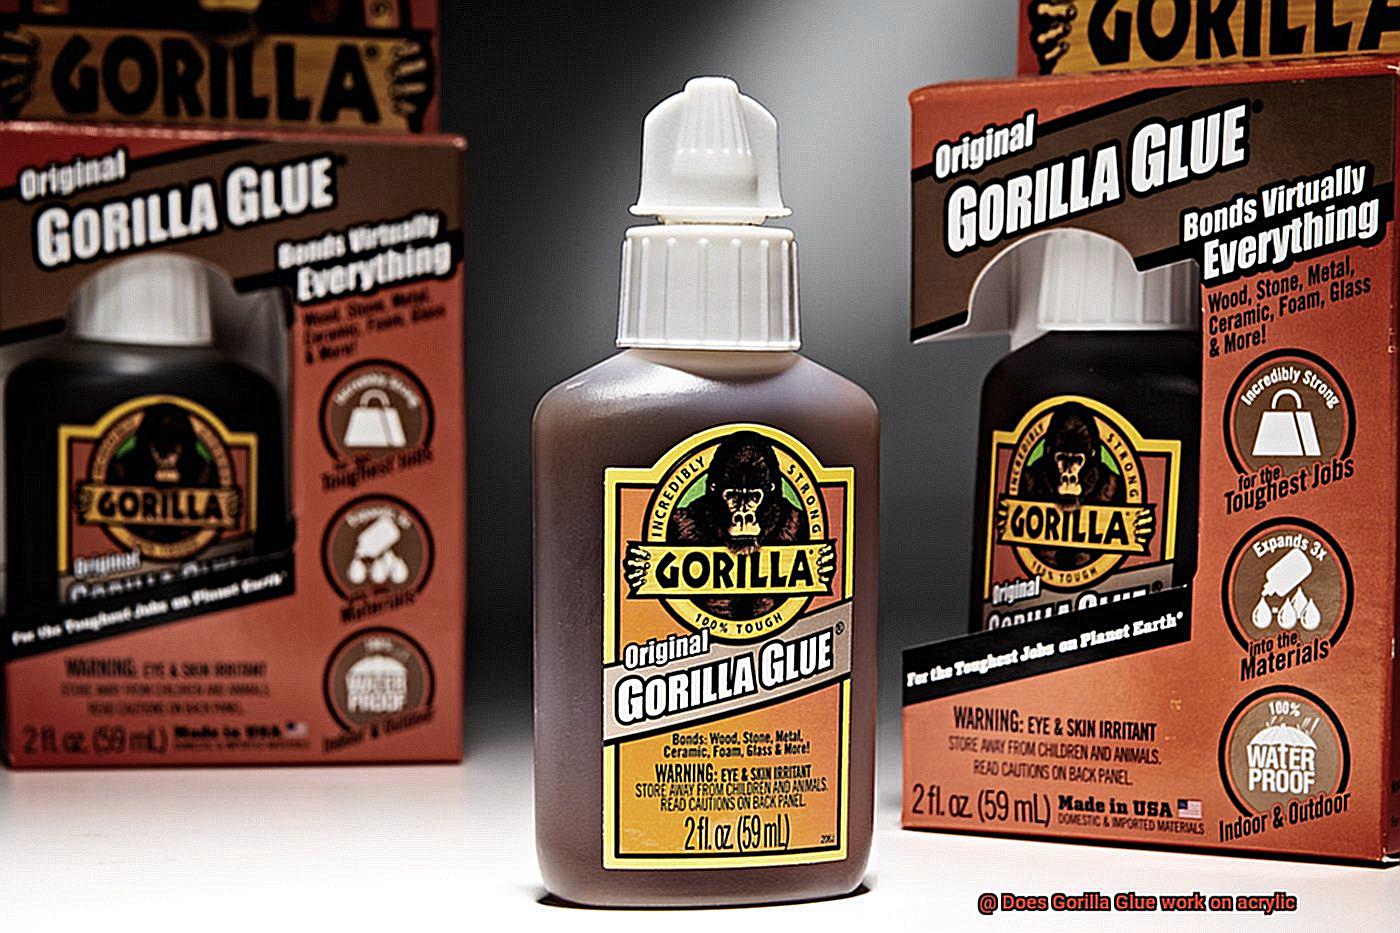
Crafters and DIY enthusiasts swear by Gorilla Glue for their projects because of its ability to bond different materials together effectively. Whether you’re sculpting intricate sculptures or building sturdy furniture pieces, this adhesive ensures that your creations withstand the test of time. Homeowners also rely on Gorilla Glue for repairing broken items, such as ceramics, glassware, or even outdoor fixtures, knowing that they can count on its strong and durable bond.
What is Acrylic?
Acrylic, a remarkable plastic with boundless possibilities, has long captivated the curiosity of many. Its versatility and resilience make it a ubiquitous presence in countless products. So, what exactly is acrylic? Brace yourself as we embark on an enlightening journey into the world of this extraordinary material.
At its core, acrylic is a synthetic polymer derived from acrylic acid or its derivatives. This fascinating substance boasts a myriad of enchanting properties that set it apart from its counterparts. To truly appreciate its wonder, let us delve into its mesmerizing characteristics.
First and foremost, acrylic’s transparency is nothing short of awe-inspiring. Unlike ordinary glass, acrylic possesses exceptional optical traits, enabling it to transmit light with unparalleled clarity and minimal distortion. This extraordinary feature renders it an ideal choice for display cases, windows, and signage where flawless visibility reigns supreme.
The resilience of acrylic is nothing short of legendary. Its remarkable impact resistance empowers it to endure physical blows without shattering or succumbing to fractures. This formidable attribute makes it the perfect guardian for protective shields, safety goggles, and even bullet-resistant panels.
Yet another enchanting quality lies within acrylic’s DNA – its indomitable spirit against the whims of Mother Nature. With its excellent resistance to UV radiation, moisture, and temperature fluctuations, acrylic laughs in the face of the harshest elements. This unrivaled fortitude makes it a trusted ally in outdoor applications such as architectural glazing, outdoor signs, and automotive parts.
But acrylic’s allure does not stop at its physical prowess alone. Its malleability is a true testament to its adaptability. Through techniques like injection molding and extrusion, acrylic can be molded into any shape imaginable. It can be cut, drilled, and laser engraved with graceful ease, allowing for customization and intricate designs that leave onlookers spellbound.
In its various forms – sheets, rods, tubes, and pellets – acrylic unveils an expansive palette of colors and finishes, beckoning designers and manufacturers into a world of limitless creativity. With this versatile material, the possibilities are as boundless as the imagination itself.
Yet, even the mightiest of materials require the right adhesive to forge an unbreakable bond. When working with acrylic, one must choose an adhesive that can withstand the rigors of stress and environmental conditions. Only then can the full potential of acrylic be unleashed.
Advantages of Using a Specialized Acrylic Adhesive
When it comes to working with acrylic materials, finding the right adhesive is crucial to ensuring a strong and long-lasting bond. Regular glues may fall short in terms of durability and aesthetics. That’s where specialized acrylic adhesive comes to the rescue. With a range of advantages specifically tailored for acrylic materials, this superhero glue unleashes the full potential of your projects.
Exceptional Bonding Power:
Specialized acrylic adhesive boasts exceptional bonding power. Formulated with acrylic surfaces in mind, it creates a strong and resilient bond that can withstand various stresses and strains. Say goodbye to worries about your acrylic projects falling apart – with specialized adhesive, your creations will stay securely in place.
Clear and Transparent Finish:
Acrylic adhesives dry clear and transparent, enhancing the aesthetic appeal of your projects. The virtually invisible bond line ensures a seamless finish that lets the beauty of the acrylic shine through. Whether you’re working on signage, displays, or artwork, using specialized acrylic adhesive guarantees a flawless result.
UV Resistance:
Specialized acrylic adhesives are designed to withstand UV radiation, offering protection against sun-induced damage. Unlike regular glues that may cause acrylic materials to degrade and weaken over time, these adhesives keep your creations strong and unaffected by the sun’s harmful rays.
Temperature Resistance:
Acrylic adhesives excel in temperature resistance, making them suitable for both indoor and outdoor applications. Unlike regular glues that lose their bonding properties or cause acrylic materials to warp under extreme temperatures, specialized adhesives can handle high heat levels without compromising strength. Your bonded acrylic pieces remain intact even in the face of temperature fluctuations.
Chemical Resistance:
In industries where acrylic materials come into contact with chemicals and solvents, specialized acrylic adhesives are a game-changer. They exhibit excellent resistance to harsh chemicals and cleaning agents, ensuring that the bond remains unaffected even in demanding environments. Your acrylic projects will maintain their integrity and withstand the test of time.
Easy Application:
Specialized acrylic adhesives are designed for easy application. User-friendly formats, such as tubes or cartridges, allow for precise and controlled dispensing. Many adhesives have quick curing times, enabling faster project completion. Whether you’re a professional or a DIY enthusiast, using specialized acrylic adhesive is a breeze.
Disadvantages of Using Gorilla Glue on Acrylic
Finding the right adhesive is crucial when it comes to joining materials. While Gorilla Glue is known for its strength and versatility, using it on acrylic comes with a set of drawbacks. In this article, we will explore the potential pitfalls of using Gorilla Glue on acrylic, from potential damage to the surface to curing time and more.
Damage to the Acrylic Surface:
One major disadvantage of using Gorilla Glue on acrylic is the potential for damage. The expanding properties of Gorilla Glue can seep into gaps or cracks in the acrylic, leading to discoloration, warping, or even breakage. Such outcomes can be a deal-breaker for projects requiring a pristine finish.
Messy and Uneven Bonding:
Achieving a clean and seamless bond can be challenging when using Gorilla Glue on acrylic. As the glue expands during drying, excess glue may squeeze out from the edges, resulting in messy and uneven glue lines. This compromises the overall aesthetic appeal of your project.
Difficulty in Activation:
Gorilla Glue requires moisture to activate its adhesive properties. However, acrylic is non-porous and water-resistant, making it difficult to create a strong bond without proper surface preparation. This extra step can be time-consuming and inconvenient for some projects.
Foaming During Curing:
Another drawback of using Gorilla Glue on acrylic is its tendency to foam up as it cures. The foaming action can create air bubbles beneath the surface, weakening the bond and compromising the structural integrity of your project. This could lead to unexpected failure over time.
Long Curing Time:
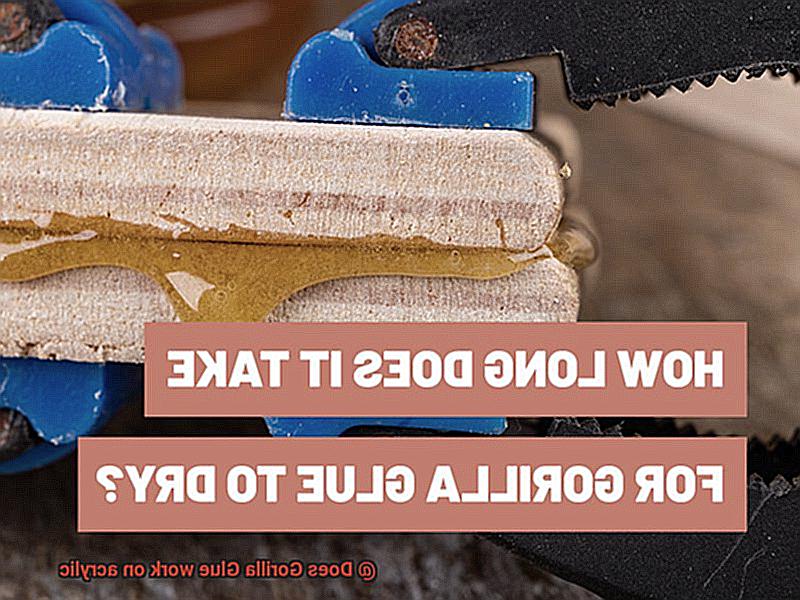
Patience is key when using Gorilla Glue on acrylic. It requires up to 24 hours or longer to fully cure, depending on the conditions. This prolonged curing time can be inconvenient for projects that require quick turnaround or immediate use of the bonded acrylic.

Lack of Acrylic-Specific Formulation:
While Gorilla Glue is a reliable adhesive, it is not specially formulated for acrylic bonding. This lack of specialization can lead to long-term issues, such as brittleness, discoloration, or weakening of the acrylic over time. For a reliable and long-lasting bond, it is best to explore adhesives specifically designed for acrylic.
How to Choose the Right Adhesive for Acrylic
Acrylic is a versatile and beautiful material used in various applications, from crafting to construction. Choosing the right adhesive for acrylic is essential to ensure a strong and long-lasting bond. In this guide, we will discuss the factors to consider when selecting the perfect glue for your acrylic projects.
Determine the Type of Acrylic:
The type of acrylic you are working with plays a significant role in adhesive selection. Cast acrylic has a smooth surface, making it easier to bond, while extruded acrylic has a slightly rougher texture that may require a stronger adhesive. Understanding the characteristics of your acrylic ensures an optimal bond.
Consider the Application:
The nature of your project influences the adhesive you choose. For small pieces or quick repairs, a fast-drying adhesive is suitable, offering quick and secure bonding. Conversely, larger projects or those requiring longer work times benefit from adhesives with slower curing times that allow for precise positioning.
Opt for Transparency:
Acrylic’s transparency is one of its key features, so it’s crucial to select an adhesive that dries clear without leaving any visible marks or residue. This ensures an invisible bond that does not compromise the appearance of your acrylic project.
Prioritize Bonding Strength:
Given acrylic’s rigidity, selecting an adhesive with high bonding strength is essential. Look for adhesives specifically labeled for use with acrylic or other plastics to ensure a durable and reliable bond. Two-part epoxy adhesives or acrylic-specific adhesives are often recommended for their exceptional strength.
Follow Manufacturer’s Instructions:
Each adhesive has its own application procedures and curing times. Following the manufacturer’s instructions guarantees optimal results. Taking shortcuts or deviating from these instructions may compromise the effectiveness of the adhesive and weaken the bond.
Types of Specialized Acrylic Adhesives
When it comes to bonding acrylic materials, using the right adhesive is crucial for a strong and durable bond. While popular adhesives like Gorilla Glue may work well for other materials, they may not provide optimal results when used on acrylic. In this article, we will explore the different types of specialized acrylic adhesives available in the market and provide guidance on how to choose the right one for your specific application.
Solvent-Based Acrylic Adhesives:
Solvent-based acrylic adhesives are renowned for their fast curing time and high bond strength. These adhesives contain solvents that evaporate during the curing process, leaving behind a robust bond between the acrylic surfaces. Ideal for applications requiring quick results and a strong bond, such as in the automotive or construction industries, they deliver reliable performance. However, it’s important to note that solvent-based adhesives may have a stronger odor and require proper ventilation during application.
UV-Curable Acrylic Adhesives:
UV-curable acrylic adhesives cure when exposed to ultraviolet light, forming a strong and transparent bond between acrylic surfaces. Offering quick curing times, they are perfect for applications where clarity and aesthetics matter, such as in signage or display cases. Additionally, these adhesives do not leave any visible residue, ensuring a clean and professional finish.
Structural Acrylic Adhesives:
Structural acrylic adhesives are formulated to provide high strength and load-bearing capabilities. Widely used in the aerospace or automotive industries, they offer excellent resistance to impact, vibration, and extreme temperatures. These adhesives are ideal for demanding environments that require a durable bond.
Specialty Acrylic Adhesives:
Specialty acrylic adhesives are designed for specific applications or bonding dissimilar materials. For instance, there are adhesives specifically formulated for bonding acrylic to metal or glass, ensuring compatibility between different materials and providing a reliable bond. These specialty adhesives have unique properties to meet the requirements of specific applications.
Choosing the Right Adhesive:
When selecting a specialized acrylic adhesive, it’s crucial to consider factors such as curing time, bond strength, transparency, and compatibility with different materials. Carefully read and follow the manufacturer’s instructions for proper application and curing to ensure optimal results. Proper surface preparation, including cleaning and roughening the acrylic surfaces, will also contribute to a successful bond.
Preparing the Surfaces for Bonding with Acrylic Adhesive
Are you tired of your DIY projects falling apart because of weak adhesive bonds? If you’re working with acrylic materials, then you need to pay extra attention to the surface preparation before applying any adhesive. Don’t worry, I’ve got you covered. In this post, I’ll walk you through the steps to prepare surfaces for bonding with acrylic adhesive, ensuring a strong and long-lasting bond.
Step 1: Cleanliness is Key
Before anything else, make sure to clean the surfaces thoroughly. Any dirt, dust, or grease on the acrylic can prevent the adhesive from bonding effectively. Grab a mild detergent and warm water, and give those surfaces a good scrub. Rinse them well afterward to remove any residue. Avoid using abrasive cleaners or solvents as they can damage the delicate acrylic surface.
Step 2: Roughen Up the Surface
Acrylic has a smooth and non-porous surface, which can make bonding a bit challenging. To overcome this hurdle, grab some fine-grit sandpaper or a sanding block and gently roughen up the surface. Create small scratches in a circular motion to improve adhesion between the acrylic and the adhesive. This step might sound counterintuitive, but trust me, it works wonders.
Step 3: Banish Debris and Dust
After sanding, it’s crucial to remove any debris or dust that may have been generated. Grab a microfiber cloth or a tack cloth and wipe away those pesky particles. You want to make sure that the surfaces are squeaky clean before moving forward.
Step 4: Prime Time (Maybe)
Depending on the specific adhesive you’re using, priming the surface of the acrylic might be necessary. Priming helps create a more receptive surface for bonding, enhancing adhesion. Look for primers specifically designed for use with acrylic materials and follow the manufacturer’s instructions carefully. Apply a small amount of primer to a clean cloth or applicator and spread it evenly over the surface. Let it dry completely before applying the adhesive.
Step 5: Dry ‘Em Out
Before applying the acrylic adhesive, ensure that the surfaces are completely dry. Moisture can interfere with the bonding process and compromise the strength of the adhesive joint. Allow the surfaces to air dry or use a clean, lint-free cloth to dry them thoroughly.
Applying the Adhesive to Create a Strong and Durable Bond
Imagine embarking on an exciting DIY project, eager to bring your vision to life. But before diving into the fun part, it’s crucial to understand how to apply adhesive correctly to create a strong and durable bond on acrylic surfaces. In this comprehensive guide, we will walk you through the steps that will guarantee the success of your project.
Step 1: Surface Preparation – Clean, Dry, and Contaminant-Free:
To ensure a solid bond, start by giving your acrylic surface some tender loving care. Thoroughly clean it using a microfiber cloth, removing all dust, dirt, or grease. Any contaminants left behind can hinder the bonding process and weaken the bond. Once clean, allow the surface to air dry completely before proceeding.
Step 2: Embrace the Power of Clamping:
Pressure is your ally when it comes to creating a strong bond. Utilize clamps or suitable tools to firmly hold the pieces together while the adhesive cures. This step eliminates any movement during drying and results in a robust bond that withstands the test of time.
Step 3: Apply Adhesive Like a Pro:
Now it’s time for the main event – applying the adhesive. Gorilla Glue offers various forms such as liquids, gels, or tapes. Choose the one that suits your needs and carefully follow the manufacturer’s instructions. Apply a thin, even layer of glue on one of the surfaces you plan to bond. It’s important not to go overboard with adhesive; too much can lead to messy results and compromise the bond strength.
Step 4: Spread and Smooth for Seamless Bonding:
After applying the glue, take a moment to spread it evenly across the surface using a brush or spreader tool. This ensures that there are no gaps or air bubbles between the adhesive and the acrylic, resulting in a stronger bond. Additionally, gently smooth out any excess glue that may have oozed out during clamping for a polished finish.
Step 5: Timing is Everything – Allow for Proper Curing:
Gorilla Glue requires moisture to cure effectively, and curing times may vary depending on temperature and humidity. Patience is key – allow sufficient time for the adhesive to dry and cure completely before subjecting the bonded acrylic to any stress or load. Following the recommended curing time provided by the manufacturer guarantees optimal bond strength.
Step 6: Treat Your Bond with Tender Loving Care:
Congratulations on successfully bonding your acrylic surfaces. Now, it’s crucial to handle them with care. Avoid exposing your project to extreme temperatures or harsh chemicals as this may weaken the bond over time. Gentle handling and regular maintenance will help preserve the strength and durability of your hard work.
U-E3AgLYce0″ >
Also Read: How To Glue Acrylic Together? – Glue Things
Conclusion
In conclusion, Gorilla Glue is not recommended for use on acrylic surfaces.
While it may provide a temporary bond, it is not designed to withstand the unique properties of acrylic. Acrylic is a smooth and non-porous material, making it difficult for adhesives like Gorilla Glue to form a strong and lasting bond.
It may discolor or warp the acrylic, compromising its aesthetic appeal.

