Today, we’re delving into the captivating world of adhesives to answer a burning question: Can Gorilla Glue stick to metal? We’ve all been there, struggling to find the perfect glue that can hold our projects together like a rock.
Gorilla Glue, renowned for its incredible bonding powers, has caught the attention of metal enthusiasts everywhere.
Prepare to be amazed as we unravel the secrets behind this extraordinary adhesive’s ability to stick it to metal.
What is Gorilla Glue?
Contents
- 1 What is Gorilla Glue?
- 2 Can Gorilla Glue Stick to Metal?
- 3 Preparing the Metal Surface for Bonding
- 4 Types of Gorilla Glue for Metal Bonding
- 5 Applying Gorilla Glue to Metal
- 6 Curing Time for Gorilla Glue on Metal
- 7 Advantages of Using Gorilla Glue on Metals
- 8 Considerations When Using Gorilla Glue on Metals
- 9 Conclusion
When it comes to DIY projects and repairs, finding a reliable adhesive that can bond different materials together is crucial. One popular choice among professionals and enthusiasts alike is Gorilla Glue. Known for its exceptional strength and versatility, this polyurethane-based adhesive has become a staple in workshops and households around the world. But can Gorilla Glue stick to metal? Let’s find out.
Understanding Gorilla Glue:
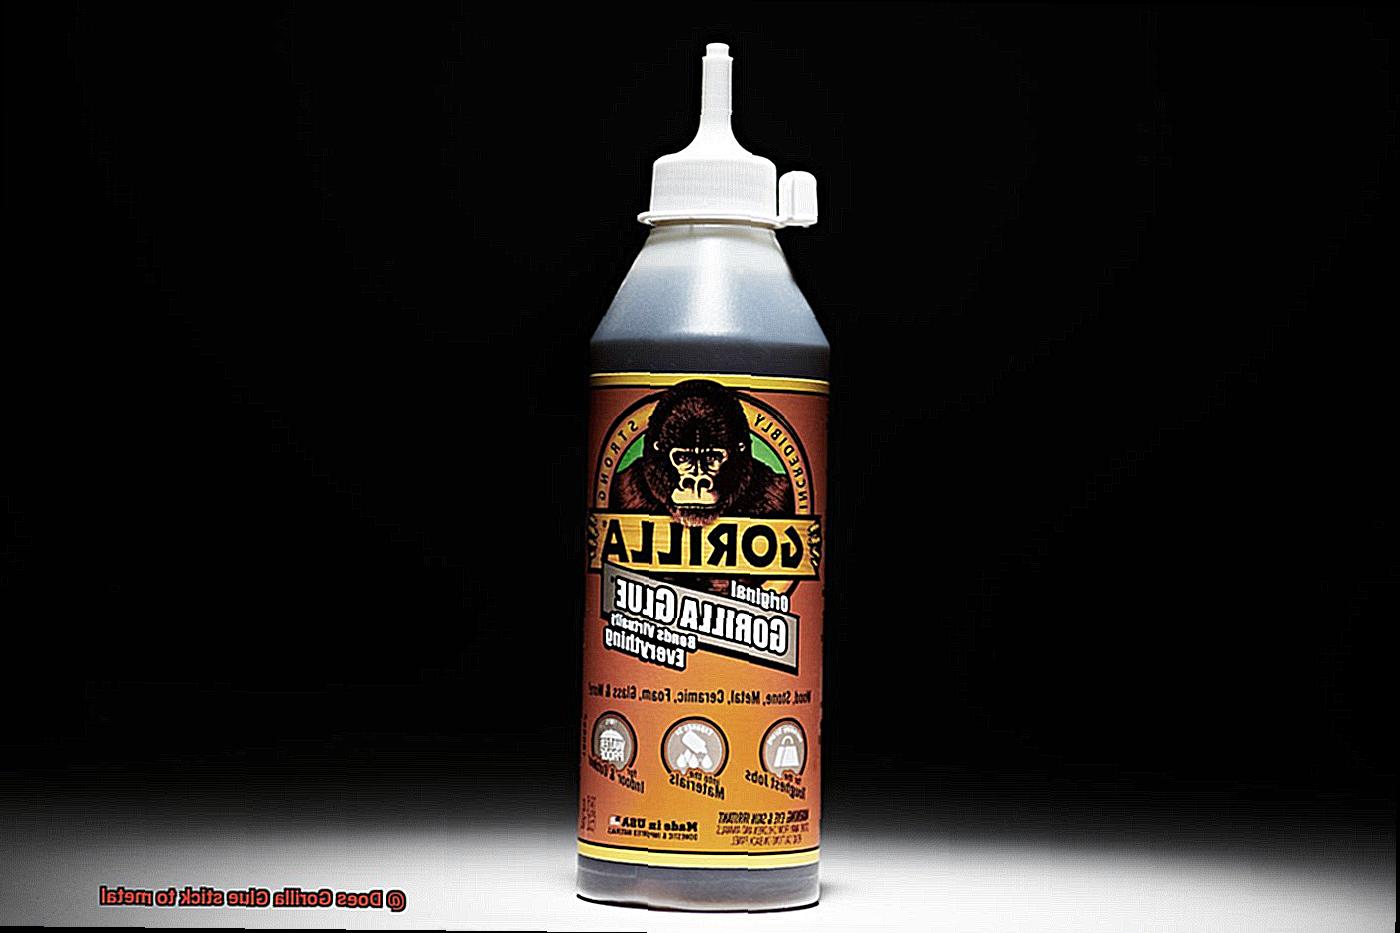
Gorilla Glue is a unique adhesive that has revolutionized the way people use glue. It is composed of a polyurethane-based polymer that bonds together materials like wood, metal, stone, foam, ceramics, glass, and more. Its powerful formula creates an incredibly strong bond that can hold up to extreme temperatures and humidity levels.
The Bonding Process:
To achieve optimal bonding between Gorilla Glue and metal, it’s essential to follow a few guidelines. First, ensure that the metal surface is clean from any contaminants like dirt or grease. This can be achieved by using a mild detergent or rubbing alcohol. Next, thoroughly dry the surface before applying the glue.
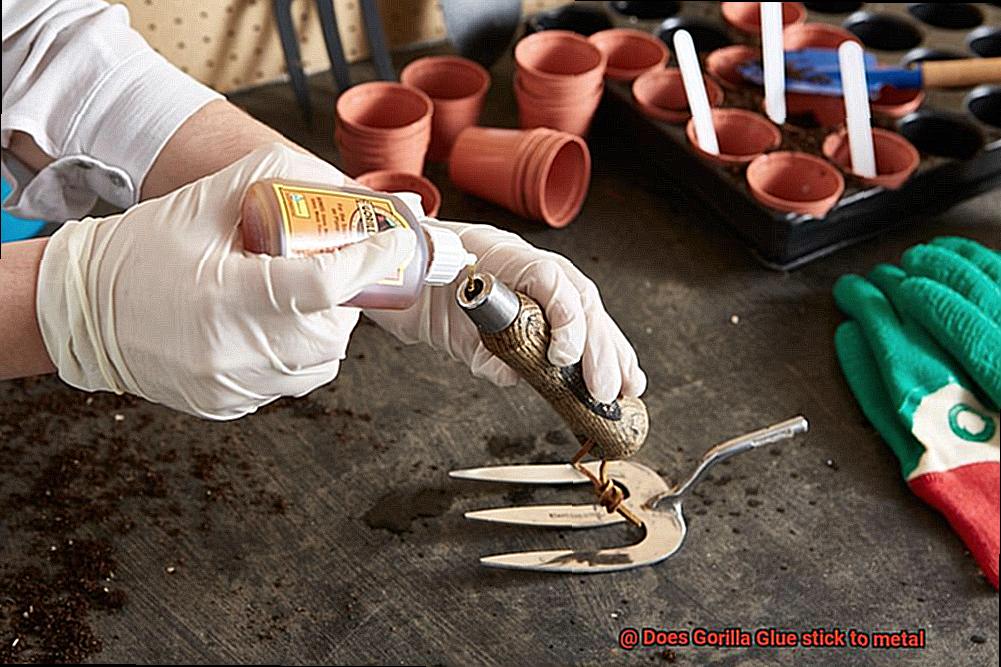
Specifically for bonding metal, the Original Gorilla Glue variant is recommended. Dampening one of the surfaces with water before applying the glue activates the curing process and helps create a strong bond. Apply a thin layer of glue evenly across the surface, avoiding excessive amounts that may weaken the bond.
Pressing the bonded surfaces firmly together for at least two hours while the glue dries is crucial. It’s important to note that Gorilla Glue expands as it cures, so precautions should be taken to prevent excess glue from seeping out or spreading onto undesired areas.
Drying Time and Longevity:
Gorilla Glue requires approximately 24 hours to fully cure and achieve its maximum strength. Once cured, it forms a durable bond that can withstand temperature changes and moisture, making it suitable for both indoor and outdoor applications.
Can Gorilla Glue Stick to Metal?
If you’ve ever found yourself wondering whether Gorilla Glue can stick to metal, we’ve got the answer for you. Brace yourself, because the truth is…yes. However, before you start rejoicing, there are a few things you need to know.
Metal surfaces can be smooth and non-porous, making it a challenge for glue to adhere properly. But fear not. With the right techniques and preparation, Gorilla Glue can successfully bond metal surfaces, and we’re here to spill the secret sauce.
First things first, prepare that metal surface like a boss. Grab some sandpaper or a wire brush and roughen it up slightly. This creates a textured surface that gives the glue more area to grip onto, resulting in a bond that’s stronger than your morning coffee.
Now, let’s talk about the type of metal you’re working with. Metals like aluminum or stainless steel are notorious for their resistance to adhesives. So, if you’ve got one of these bad boys in your hands, extra preparation or specialized adhesives designed for bonding metal may be necessary.
When it’s time to apply the Gorilla Glue to your metal masterpiece, don’t forget to read those instructions. Follow them religiously. Apply a thin layer of glue onto one surface, then join the two pieces together while applying pressure for the recommended amount of time. This ensures proper bonding and enhances the overall strength of the bond.
Oh, and here’s a pro tip: Gorilla Glue expands as it cures. So, go easy on that glue bottle when working with metal. Using too much glue can result in overflow and make your project look messier than a toddler’s art project.
Temperature and humidity can also make or break your bonding process. For optimal results, find a well-ventilated area with moderate temperatures and low humidity. This helps the glue cure properly and ensures a bond that’s as solid as Superman’s grip.
But hold on a second. While Gorilla Glue can stick to metal surfaces, it may not be your best bet for all types of metal applications. If you’re dealing with load-bearing or high-stress situations, it’s time to bring in the big guns. Specialized metal adhesives or mechanical fasteners are your go-to for a bond that can withstand anything life throws at it.
Preparing the Metal Surface for Bonding
Today, we’re diving into the fascinating world of Gorilla Glue and uncovering the secrets to preparing your metal surface for the ultimate bond. So grab your safety goggles and get ready for a bonding adventure like never before.
First things first, let’s talk about cleanliness. Before applying any glue, it’s crucial to give your metal surface a thorough cleaning. We’re talking about getting rid of dirt, grease, and any pesky contaminants that might interfere with the bonding process. A mild detergent or degreaser will do the trick. Rinse it off with some clean water and let it dry completely. Trust me, a clean surface is the foundation for a perfect bond.
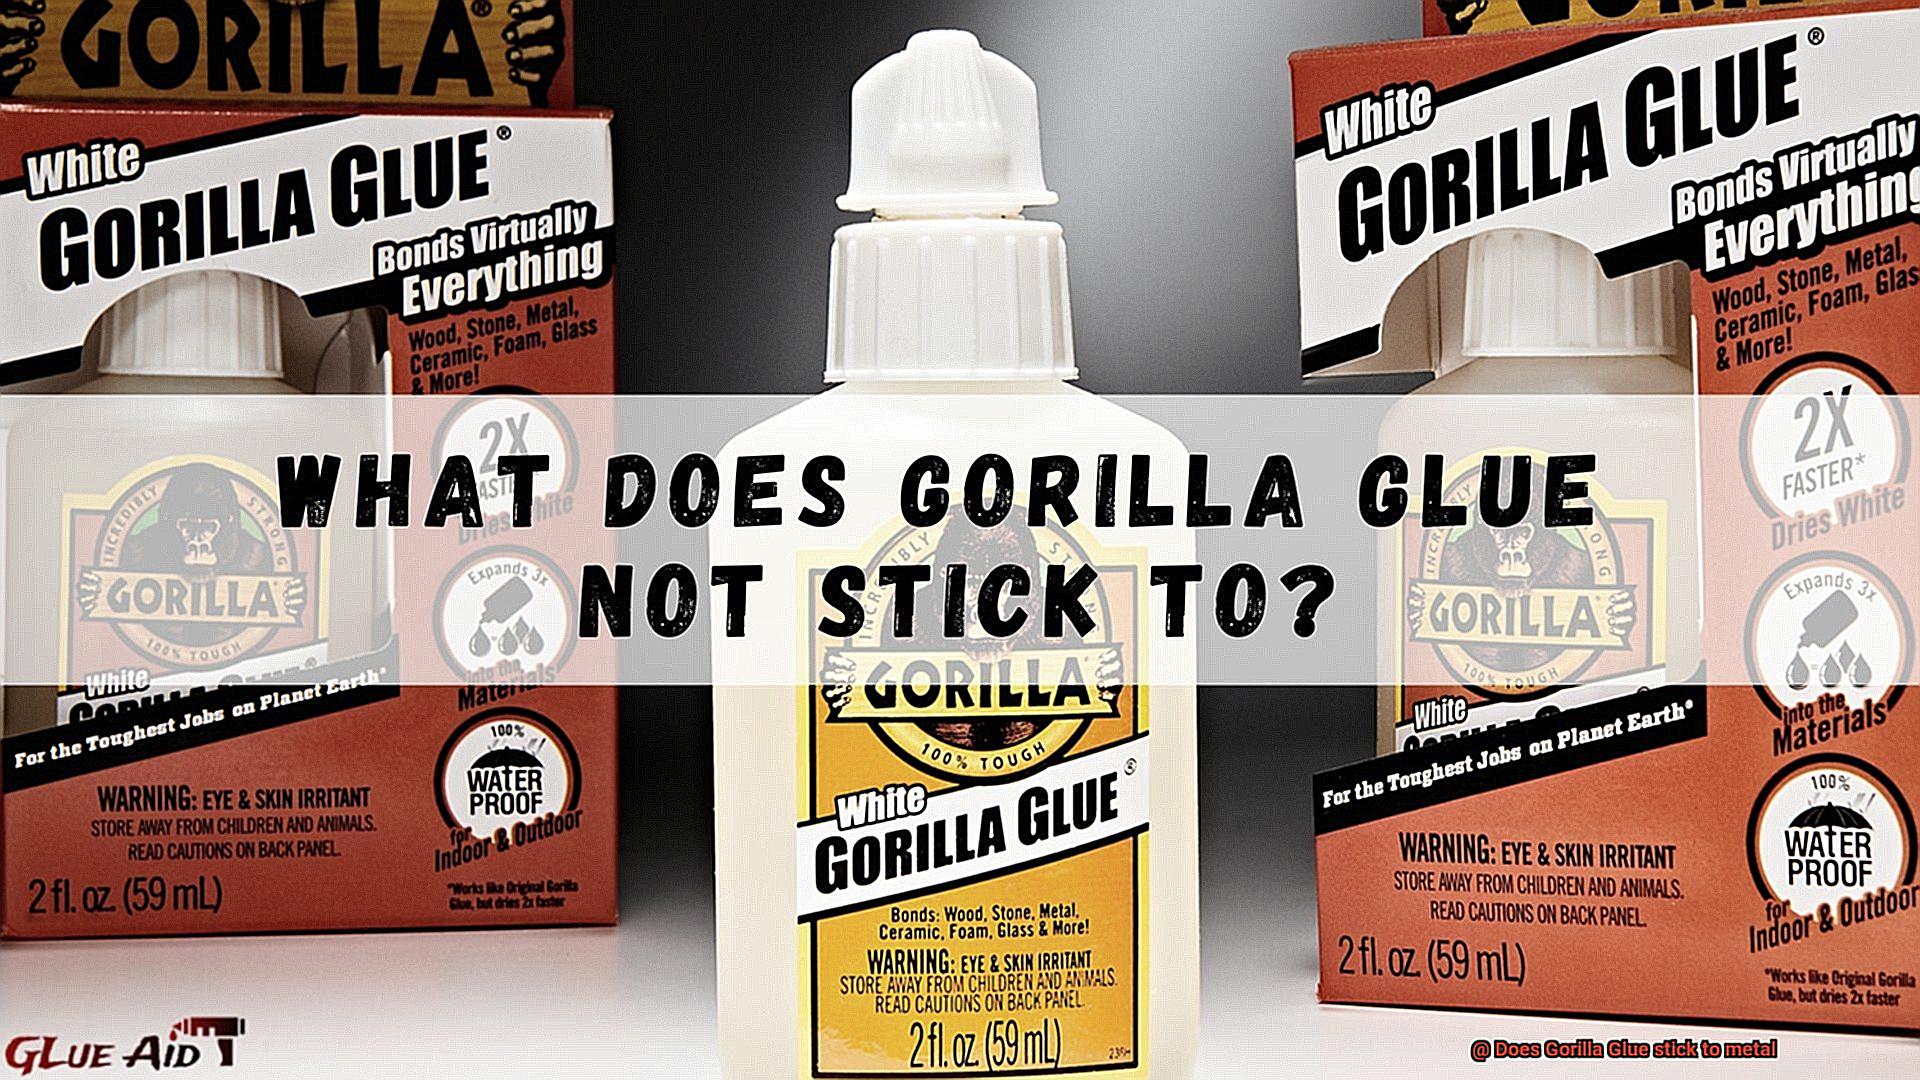
Now, let’s roughen things up a bit. Metal surfaces can be smooth and shiny, making it tricky for glue to stick properly. But fear not. Grab some sandpaper or a wire brush and lightly roughen the surface. Think of it as giving your metal surface a little makeover. These small abrasions create texture and increase the bonding area for the glue. It’s like giving your bond more grip and strength.
But what if rust or corrosion has made an unwelcome appearance? Don’t panic, we’ve got a solution for that too. Use a wire brush or sandpaper to gently remove any rust or corrosion from the surface. You want to make sure you get rid of all those loose particles that can weaken the bond. Leave your metal surface rust-free and ready for action.
Now, here’s a little secret weapon – primer. While not always necessary, using a primer specifically designed for metal bonding can take your bond to the next level. It creates a strong chemical bond between the glue and the metal surface, enhancing adhesion and durability. Just follow the manufacturer’s instructions when applying the primer and make sure it’s fully dry before moving on.
Last but not least, let’s protect the surrounding areas. Gorilla Glue is a powerful adhesive, but accidents can happen. Take a moment to mask off any adjacent areas that shouldn’t come into contact with the glue. This simple step will save you from explaining why there’s glue on your kitchen counter. Use masking tape or any suitable protective covering to safeguard those precious surfaces.
Types of Gorilla Glue for Metal Bonding
When it comes to bonding metal, you need a glue that can withstand the toughest challenges. With its incredible strength and versatility, Gorilla Glue offers different types suitable for metal bonding. In this article, we’ll explore these types in detail and provide expert tips to help you achieve the strongest connection.
Original Gorilla Glue: The Hulk of Adhesives
The original Gorilla Glue is a polyurethane adhesive that’s perfect for bonding metal surfaces. This glue expands as it dries, filling in gaps and irregularities in the metal for an unbreakable bond. To ensure a strong connection, clean the metal surface first and dampen one side before applying the glue. This mighty adhesive will hold your metal together like the Hulk’s grip.
Gorilla Super Glue: Lightning-Fast and Precise
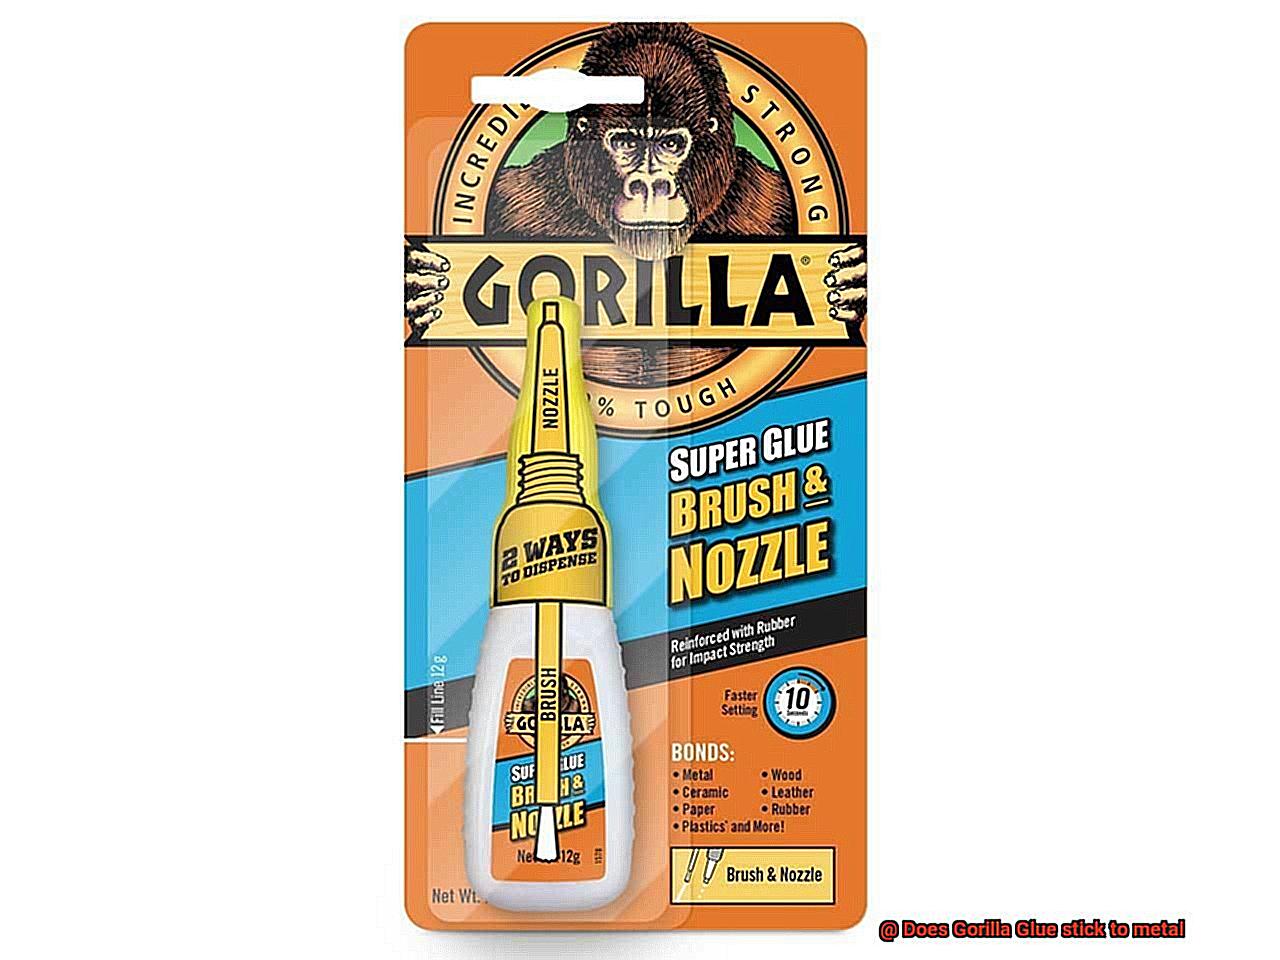
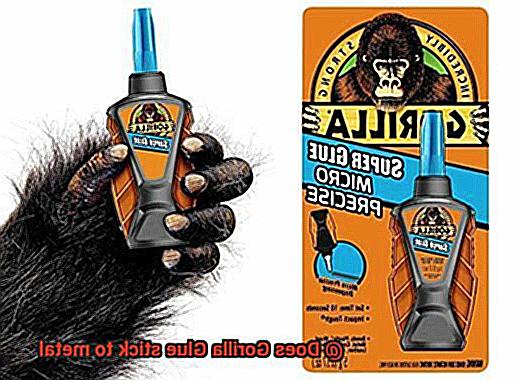
When you need a quick fix, Gorilla Super Glue is your hero. This cyanoacrylate-based adhesive creates an instant bond when it touches moisture. It’s perfect for smaller metal projects that require precise adhesion, like fixing broken jewelry or securing tiny metal parts. Just a touch, and your metal will be as good as new.
Gorilla Weld: Battle-Tested Epoxy Bonding
For heavy-duty metal bonding, unleash the power of Gorilla Weld. This epoxy-based adhesive is specially designed for metal surfaces. It can withstand extreme temperatures and harsh conditions, making it perfect for outdoor projects or repairs involving metals that need to stay strong. With Gorilla Weld, your metal bond will be unbeatable.
Preparing for the Connection: Surface is Key.
Before you dive into bonding your metal pieces, make sure you prep the surfaces properly. Clean them thoroughly to remove any dirt, grease, or rust that could weaken the bond. For an extra strong grip, roughen the surface with sandpaper or a wire brush. Remember, a strong foundation makes for a stronger bond.
Applying the Glue: Small Steps, Big Results
When it comes to applying Gorilla Glue, less is more. Use a thin layer and spread it evenly on both surfaces. Don’t go overboard, or you might end up with excess glue oozing out. If that happens, wipe it away quickly with a damp cloth or acetone before it sets. Small steps in application lead to big results in your metal bond.
Applying Gorilla Glue to Metal
When it comes to bonding metal surfaces, Gorilla Glue is the adhesive of choice. Renowned for its exceptional strength and versatility, Gorilla Glue can create an unbreakable bond that will leave even the mightiest gorilla impressed. To successfully apply Gorilla Glue to metal surfaces, it is crucial to follow a few key steps.
First and foremost, preparing the metal surface is essential. Cleanliness is paramount, so grab a mild detergent or rubbing alcohol and give the metal a thorough scrub. We want to eliminate any dirt, dust, or grease that could hinder the adhesive’s effectiveness. After cleaning, lightly roughen the surface using sandpaper or steel wool. This step promotes better adhesion between the glue and the metal.
Now it’s time to get sticky. Apply a thin layer of Gorilla Glue onto one of the surfaces you wish to bond. Remember, less is more when it comes to this adhesive. A small amount goes a long way, so resist the temptation to go overboard.
Next, bring the two surfaces together and apply pressure for a few minutes. This pressure helps evenly distribute the glue and ensures a strong bond. Hold the surfaces in place while the magic happens.
After the initial application, patience is key. Allow the glued surfaces to cure for at least 24 hours. The curing time may vary depending on factors such as humidity and temperature, so be sure to give it enough time to set properly.
It’s important to note that Gorilla Glue expands as it cures. Therefore, avoid excessive application of the adhesive to prevent seepage and messiness. Remember, less is more.
In case you accidentally spill some glue where you don’t want it, act swiftly. Wipe it off immediately with a damp cloth before it dries up. Once dry, removing excess glue can be quite challenging and may require scraping or sanding.
Now for some good news: Gorilla Glue is resistant to water and extreme temperatures, making it ideal for outdoor metal projects. However, prolonged exposure to sunlight may cause some degradation over time, so keep that in mind if your metal masterpiece will be basking in the sun.
Gorilla Glue is not suitable for all metals. Avoid using it on polyethylene or polypropylene surfaces. Additionally, for load-bearing metal parts or high-stress applications, it’s best to consult a professional or choose a specialized adhesive.
Curing Time for Gorilla Glue on Metal
Well, let’s delve into the world of adhesive wonders and uncover the mysteries behind the curing time for Gorilla Glue on metal.
Gorilla Glue is renowned for its exceptional adhesive properties, making it an ideal choice for bonding various materials, including metal. However, when it comes to metal surfaces, there are a few factors that can influence the curing process.
One critical factor is the temperature and humidity of the environment. Higher temperatures and lower humidity levels generally result in faster curing times, while lower temperatures and higher humidity levels can prolong the process. So if you find yourself working in a chilly and humid garage, be prepared to exercise some patience.
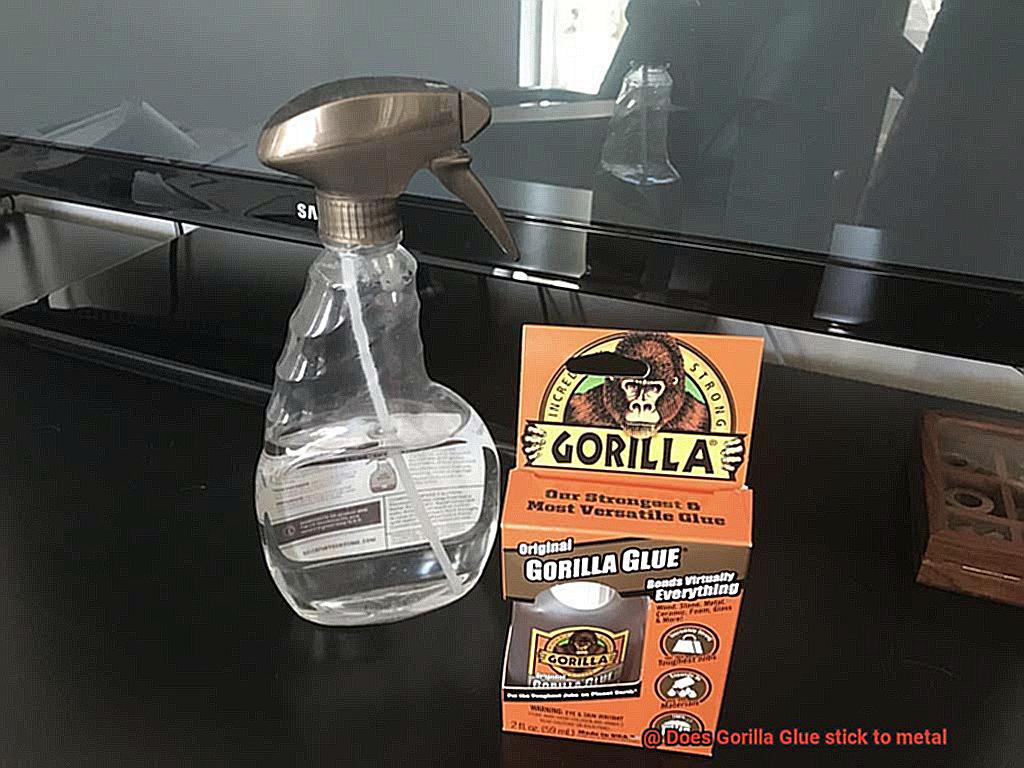
Another significant factor is moisture. Gorilla Glue requires moisture to activate the curing process. Unfortunately, metal surfaces typically lack sufficient moisture for proper curing. To counter this, it is recommended to lightly moisten the metal surface before applying the glue. A quick wipe with a damp cloth or a light spritz of water should do the trick.
Once you’ve applied the glue to the metal surface, ensure that you clamp or hold the pieces together tightly throughout the curing process. This step is crucial in creating a robust and secure bond that will endure the test of time.
Now, let’s discuss the actual curing time. On average, Gorilla Glue takes about 24 hours to cure on metal surfaces. However, depending on various circumstances, it could take several days for the glue to fully set and achieve that unbreakable bond we all desire.
It’s important to note that not all metals are created equal when it comes to bonding with Gorilla Glue. Some metals, such as aluminum and stainless steel, may require special primers or surface treatments to ensure a strong bond. So always refer to the manufacturer’s instructions before embarking on your metal bonding project.
Advantages of Using Gorilla Glue on Metals
When it comes to adhesive wonders, few can rival the impressive capabilities of Gorilla Glue. From wood to ceramics, plastics to metals, this versatile adhesive is a go-to choice for many DIY enthusiasts and professionals alike. In this article, we will explore the advantages of using Gorilla Glue specifically on metals, unlocking its secrets to strong bonding power and unmatched durability.
Advantage 1: Unbreakable Bonds
The first advantage of using Gorilla Glue on metals lies in its exceptional bonding power. This adhesive creates unbreakable bonds capable of withstanding heavy loads and harsh conditions. Whether you’re repairing a metal object or constructing something new, Gorilla Glue ensures your creation stays intact for the long haul.
Advantage 2: Seamless Gap-Filling
Unlike traditional metal adhesives that require welding or soldering to fill gaps, Gorilla Glue can be directly applied to the metal surface, even if there are irregularities or spaces between the pieces. As it cures, it expands to fill any voids or imperfections, resulting in a seamless and secure bond that leaves no room for weakness.
Advantage 3: Defying Extreme Conditions
Gorilla Glue is designed to conquer the elements. Its resistance to water and extreme temperatures makes it suitable for both indoor and outdoor applications. When metals are exposed to moisture or varying weather conditions, corrosion and weakening of the adhesive bond become concerns. However, with Gorilla Glue’s waterproof and temperature-resistant properties, your metal creations remain intact even in the most challenging environments.
Advantage 4: Versatility at Its Finest
Gorilla Glue is a true multitasker. It can be used on various types of metals such as steel, aluminum, brass, and copper. This versatility makes it a convenient option for different projects involving different metal materials. So, whether you’re fixing a broken metal object or creating a brand-new masterpiece, Gorilla Glue provides a reliable and long-lasting bond that adapts to your needs.
Advantage 5: Accessibility and Ease of Use
Unlike welding or soldering, which may require specific tools and skills, using Gorilla Glue on metals is simple and accessible to all. No special equipment or expertise is needed. Just apply the adhesive to the metal surface, hold the pieces together, and allow it to cure. This accessibility makes Gorilla Glue a popular choice for DIY enthusiasts or individuals who may not have access to professional welding equipment but still seek exceptional results.
Advantage 6: The Jack-of-All-Trades
Gorilla Glue isn’t just limited to metals. It can also be used on other materials like wood, ceramics, plastics, and more. This versatility makes it an excellent choice for projects that involve multiple materials or require a versatile adhesive solution. With Gorilla Glue by your side, you can tackle various projects without the need for multiple adhesives.
Considerations When Using Gorilla Glue on Metals
Gorilla Glue is a popular adhesive known for its strength and versatility. While it excels at bonding various materials, including wood, plastic, and fabric, using Gorilla Glue on metals requires careful consideration. In this comprehensive guide, we will explore the essential factors to keep in mind when using Gorilla Glue on metals to ensure successful bonding.
Surface Preparation:
Proper surface preparation is crucial when applying Gorilla Glue to metal surfaces. Begin by identifying the type of metal being used, as some metals have low surface energy. Enhance the bonding process by lightly roughening the metal with sandpaper or a wire brush to create an optimal adhesive surface.
Cleanliness is Key:
Contaminants such as oils, dirt, or rust can hinder adhesive bonds. Thoroughly clean the metal surface using a degreaser or isopropyl alcohol before applying Gorilla Glue. This step ensures optimal adhesion and long-lasting results.
Temperature and Humidity Control:
Temperature and humidity significantly impact the curing process of Gorilla Glue on metals. Follow the manufacturer’s guidelines and apply the glue within the recommended temperature range of 50°F to 90°F (10°C to 32°C). Additionally, ensure a dry working environment as high humidity levels can delay curing.
Expansion Considerations:
Gorilla Glue expands as it cures, which can be advantageous for filling gaps and creating strong bonds. However, when working with metals that require precise fits or tight tolerances, avoid excessive glue application to prevent unwanted foaming or seepage.
Proper Clamping Technique:
To achieve optimal bond strength and avoid potential weak spots, it’s essential to clamp or secure the bonded pieces during the curing process. Use heavy objects or clamps to maintain constant pressure on the metal surfaces until the glue has fully cured, typically 24 hours.
Application-Specific Considerations:
Consider the intended use and specific application of the metal pieces bonded with Gorilla Glue. While it is a waterproof adhesive suitable for outdoor or wet environments, it may not perform optimally under extreme temperatures or heavy stresses. Evaluate the adhesive’s compatibility with your specific application to ensure desired results.
qivw4DTs3wo” >
Conclusion
In conclusion, Gorilla Glue is indeed a reliable adhesive for bonding metal surfaces.
Its strong and durable formula ensures a solid bond that can withstand the test of time. Whether you’re repairing a broken metal object or creating something new, Gorilla Glue provides the strength and reliability you need.
Say goodbye to loose screws and wobbly joints – with Gorilla Glue, your metal projects will stay firmly in place.

