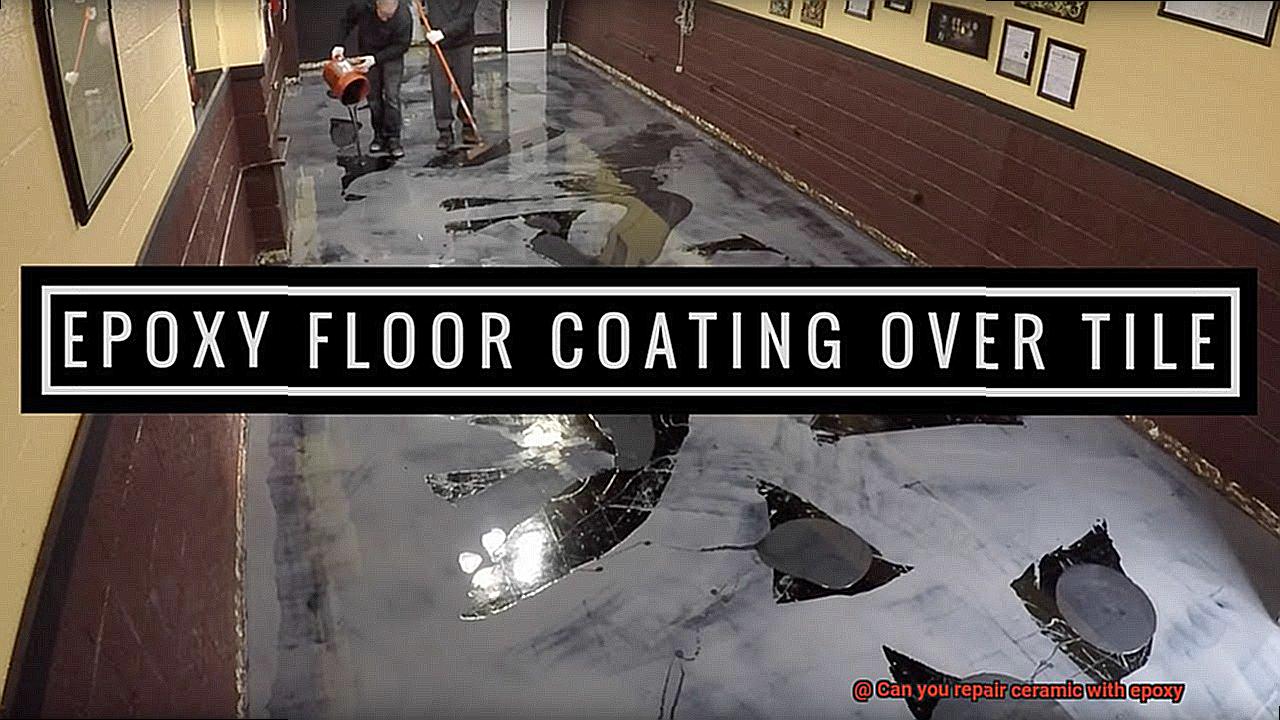
Ceramic pieces are like works of art that can last a lifetime. But even the slightest chip or crack can be a major bummer. Fear not, though. There’s a solution: epoxy. Yes, you heard that right – epoxy is a game-changer when it comes to repairing ceramics.
Epoxy is an adhesive known for its strength, durability, and long-lasting properties. It’s no wonder why it’s used across various industries. When it comes to ceramic repair, epoxy is perfect because it bonds seamlessly with the surface of your beloved piece.
What’s even better? Repairing ceramic with epoxy is a simple and affordable DIY project that doesn’t require any special tools or experience. So if you’re ready to give your favorite ceramics a new lease on life, keep reading.
In this blog post, we’ll dive deeper into the world of ceramic repair with epoxy. We’ll cover everything from the types of ceramics that can be repaired with epoxy to the step-by-step process involved in making those repairs happen. Plus, we’ll share some helpful tips to ensure your repair job is successful.
So get ready to say goodbye to those pesky cracks and chips in your cherished ceramics. With epoxy on your side, there’s no need for disappointment anymore – just beautiful and flawless pieces that will stand the test of time.
Benefits of Using Epoxy for Ceramic Repair
Contents
- 1 Benefits of Using Epoxy for Ceramic Repair
- 2 Preparing the Ceramic Surface for Epoxy Application
- 3 Choosing the Right Type of Epoxy for Ceramic Repair
- 4 Applying the Epoxy to the Ceramic Surface
- 5 Holding the Two Surfaces Together Until Dried
- 6 Limitations of Using Epoxy for Ceramic Repair
- 7 Alternative Adhesives to Consider for Ceramic Repair
- 8 Professional Services Available for Complex Repairs
- 9 Conclusion
When it comes to repairing ceramics, epoxy is a top choice for many reasons. With its exceptional adhesive properties, epoxy can mend ceramic items and restore them to their original strength and durability. But that’s not all – here are some of the top benefits of using epoxy for ceramic repair:
- Strength and Durability: Ceramic items are notoriously delicate and prone to breaking. Epoxy creates a strong bond that can withstand pressure, heat, and moisture, making it an ideal adhesive for repairing ceramics.
- Clear Finish: Unlike other adhesives that leave a visible residue or discoloration, epoxy dries clear. This creates an invisible bond that seamlessly blends with the ceramic material, making it perfect for repairing decorative ceramics such as vases, figurines, and dishes.
- Long Lifespan: Epoxy maintains its adhesive properties even after years of use. This means that once you’ve repaired your ceramic item with epoxy, you won’t have to worry about it breaking or falling apart again anytime soon.
- Versatility: Epoxy comes in different forms such as liquid or putty, allowing for easy application and flexibility in repairing different types of ceramic items. It can also be sanded and painted over once it dries, making it ideal for restoring the appearance of the ceramic item.
Before attempting to repair your ceramic item with epoxy, it’s important to ensure that the ceramic surface is clean and free of any debris or dust. You should also choose the right type of epoxy for your repair job – one that is specifically designed for ceramics.
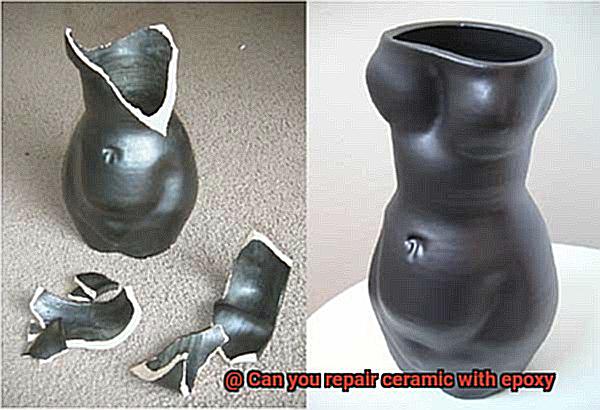
While epoxy is a strong adhesive, it may not be suitable for all types of ceramic repairs. If your ceramic item has a large crack or is broken into multiple pieces, it may be better to use a different type of adhesive or seek professional repair services.
Preparing the Ceramic Surface for Epoxy Application
Before diving into the application process, let’s talk about the critical first step: preparing the ceramic surface. As an expert in this field, I can tell you that properly preparing the ceramic surface is vital to ensure a successful repair. A smooth surface won’t allow the adhesive to penetrate and adhere effectively. Therefore, follow these simple steps to ensure a strong and long-lasting repair:
Step 1: Clean the Surface
The first step is to wipe down the damaged area with a clean, damp cloth. Next, use a mild detergent to wash the area thoroughly and rinse it with water. It’s crucial to ensure that there are no contaminants like dirt, grease, or debris left on the surface. Lastly, allow the surface to dry completely before moving on to the next step.
Step 2: Rough Up the Surface
Creating a slightly rough texture on the surface is crucial for effective epoxy adhesion. Use sandpaper or a wire brush to achieve this texture. But be careful not to overdo it; you only need a slightly rough texture.
Step 3: Clean Again
After roughing up the surface, wipe it down again with a clean, damp cloth to remove any dust or debris. This will ensure that your adhesive will bond effectively.
Step 4: Dry Completely
Allow the surface to dry completely before beginning the epoxy application. Any moisture can interfere with the bonding process and affect the strength of your repair.
Choosing the Right Type of Epoxy for Ceramic Repair
With a plethora of epoxies available on the market, it can be an overwhelming task to pick the perfect one. But fear not, as I have compiled some essential factors to consider when choosing the right type of epoxy for your ceramic repair.
Firstly, strength is a critical factor to consider. The strength of the epoxy you choose will determine how well it will hold the pieces together and withstand stress and weight. Therefore, if you’re repairing a ceramic item that will be subjected to heavy use or weight, opt for an epoxy with high strength.
The drying time is another essential factor to keep in mind. You don’t want to end up with a mess of epoxy on your hands, so make sure to choose an epoxy with a suitable drying time. Quick-drying epoxies are ideal for small repairs, while slower-drying epoxies are better for larger repairs that require more time.
Ceramics can be exposed to high temperatures, so it’s crucial to choose an epoxy that is heat resistant. This will ensure that your repair remains intact even when exposed to high temperatures. Similarly, if your ceramic piece will be used in water-containing environments like bathrooms and kitchens, make sure to choose a water-resistant epoxy. This will prevent the repair from getting damaged due to exposure to water.
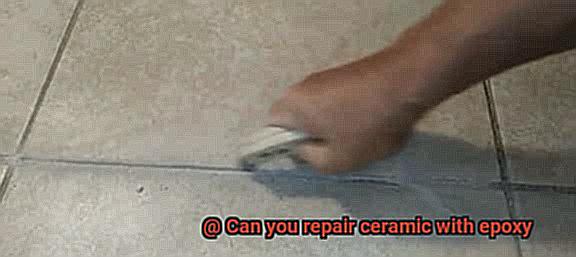
Finally, if your ceramic piece has a particular color or pattern, it’s important to choose an epoxy that matches its color or pattern. This will ensure that your repair is seamless and not visible. You can also consider using clear epoxy if you want to maintain the original color and pattern of the ceramic piece.
Applying the Epoxy to the Ceramic Surface
The application process is key to ensuring a successful repair. Let me walk you through the process step-by-step.
Firstly, prep the ceramic surface. Give it a thorough clean and dry before applying any epoxy. You don’t want any dirt or debris to interfere with the adhesion of the epoxy. Use a gentle cleanser or rubbing alcohol to eliminate any unwanted particles.
Once the surface is clean and dry, it’s time to mix the epoxy according to the manufacturer’s instructions. Take your time and mix it thoroughly, ensuring both components are evenly combined. Keep an eye out for specific ratios of resin to hardener, as some epoxies may require it.
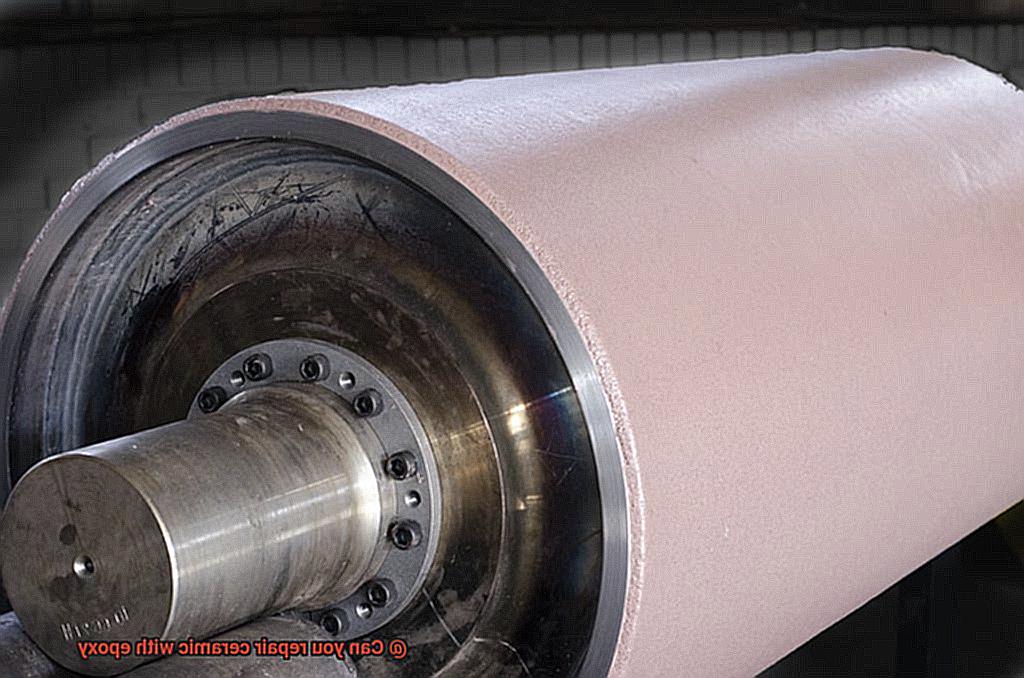
Now for the fun part – applying the epoxy. Use a small brush or applicator and apply a thin layer of epoxy onto the ceramic surface. Remember, thick layers may take longer to cure and may not adhere as well, so keep it thin. If you need to, apply additional layers once the first one has cured.
Pro-tip: Work quickly and efficiently as many epoxies have a limited working time before they begin to cure.
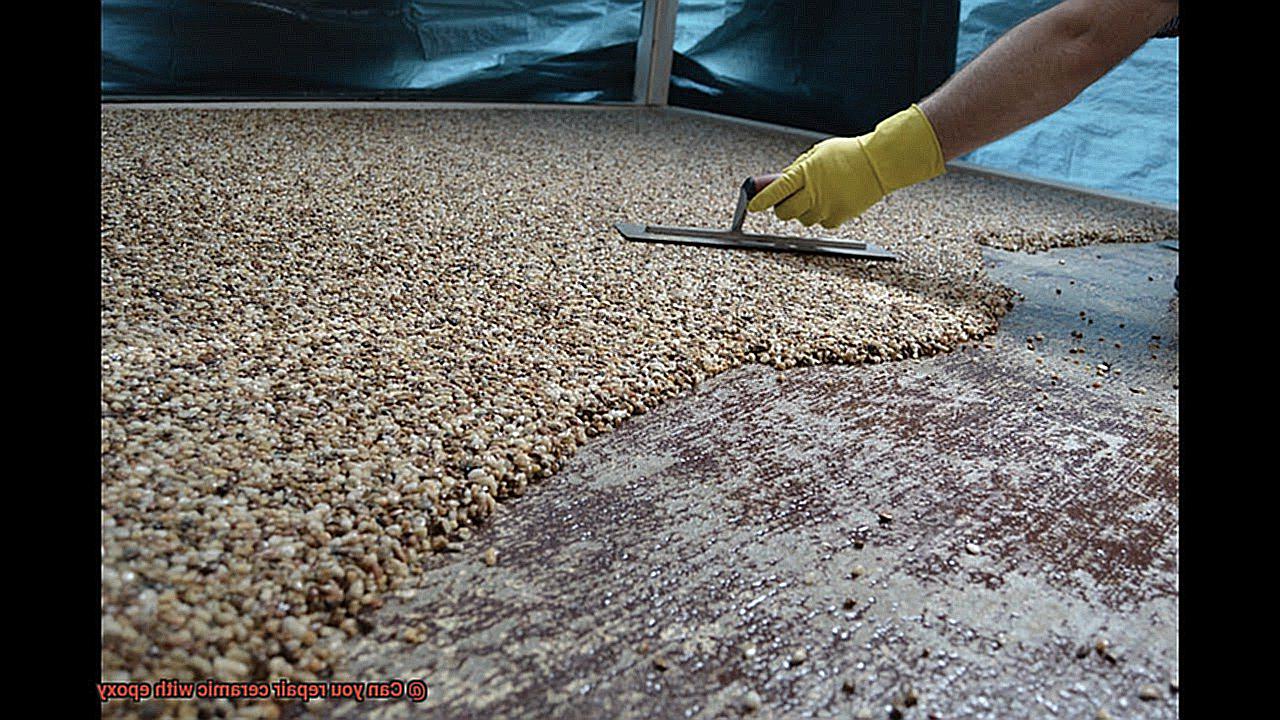
After applying the epoxy, leave it to cure according to the manufacturer’s instructions. This may involve leaving the ceramic in a warm, dry place for several hours or overnight. Patience is key here.
Holding the Two Surfaces Together Until Dried
It is important to understand the significance of holding the two surfaces together until the epoxy has fully dried. This is because the adhesive properties of the epoxy rely on it bonding with both surfaces that it is applied to. Without proper pressure and contact between the surfaces, the bond may not be strong enough and your repair may fail.
To achieve a strong bond, it is crucial to clean and dry both surfaces before applying the epoxy. Any dirt, grease, or moisture can weaken the bond and cause the repair to fail. Therefore, before application, ensure that both surfaces are clean and dry. Once you have cleaned and dried both surfaces, apply a small amount of epoxy to one surface and press the other surface firmly against it.
Now comes the critical part – holding the two surfaces together until the epoxy has fully cured. Curing time can take anywhere from a few hours to several days, depending on various factors such as the type of epoxy used and the temperature and humidity of your surroundings. To avoid disappointment, it is best to follow the manufacturer’s instructions for curing time.
To hold the two surfaces together during curing, you can use clamps, tape or even your hands. However, make sure to apply enough pressure without damaging or misaligning the surfaces. Using clamps is an excellent way to apply consistent pressure throughout the curing process.
Limitations of Using Epoxy for Ceramic Repair
When it comes to repairing ceramics, epoxy is a popular choice due to its strong bonding properties and ability to withstand high temperatures. However, while it may seem like an easy fix, there are some limitations to using epoxy for ceramic repair that should be considered.
One of the main challenges when working with epoxy is the mixing process. Achieving the correct ratio of the two components can be difficult, and an incorrect ratio can result in a weak bond that won’t hold the ceramic together. If you’re not confident in your mixing skills, seeking out a professional for help may be the best option.
Another limitation of epoxy is its curing time. Epoxy can take a while to harden and cure, which can be frustrating if you need a quick fix. In some cases, you’ll need to hold the broken pieces together with clamps or tape until the epoxy sets. If time is of the essence, epoxy may not be the best option.
In addition to these challenges, it’s important to consider the type of ceramic you’re trying to repair. Epoxy may not be suitable for ceramics with complex shapes or designs, as it can be difficult to apply evenly and achieve a strong bond. Additionally, certain types of ceramics may not be able to withstand the heat required to cure the epoxy.
Lastly, while epoxy can provide a strong bond for ceramic repair, it may not always be the best choice for valuable or sentimental pieces. If the ceramic has significant monetary or emotional value, seeking out a professional restoration service instead of attempting a DIY repair with epoxy may be a better option.
Alternative Adhesives to Consider for Ceramic Repair
While epoxy is the most common adhesive used for repairing ceramics, it’s important to note that there are alternative adhesives that may be more suitable, depending on the type of ceramic and the extent of the damage.
First on our list is cyanoacrylate, also known as super glue. This adhesive is perfect for small cracks and chips in ceramics. It forms a strong bond quickly and is easy to apply. However, it may not be strong enough for larger or more severe damage.
If you’re dealing with larger cracks or breaks, polyurethane glue may be a better option. This adhesive is waterproof and can expand to fill gaps in the ceramic surface. However, keep in mind that polyurethane glue may not be suitable for all types of ceramics.
For more delicate ceramics such as porcelain or china, a specialized adhesive like methyl methacrylate may be a better choice. This adhesive is specifically designed for these types of ceramics and provides a strong and long-lasting hold.
It’s vital to remember that not all adhesives are suitable for all types of ceramics. Before attempting any repair, it’s crucial to research the specific type of ceramic and consult with a professional if necessary to determine the best adhesive for the job.
To summarize, here are some alternative adhesives to consider for ceramic repair:
- Cyanoacrylate (super glue) for small cracks and chips
- Polyurethane glue for larger cracks or breaks (but may not be suitable for all ceramics)
- Methyl methacrylate for delicate ceramics such as porcelain or china
Professional Services Available for Complex Repairs
Repairing ceramic items with epoxy can be a challenging and time-consuming process, especially when the damage is too complex for a DIY fix. In such cases, seeking the services of a professional repair person is essential. Professional ceramic repair services offer a range of repair options, employing skilled technicians who specialize in restoring ceramics to their original state using specialized equipment and techniques.
The benefits of using professional services for complex ceramic repairs are numerous. Here are some of the advantages:
Handling Complex Repairs
Professional services can handle complex repairs that may not be possible with DIY methods. They have the experience and expertise to tackle even the most challenging repairs, such as filling gaps or restoring items with large cracks or missing pieces.
High-Quality Adhesives
Professional services use high-quality adhesives specially designed for ceramic repairs. These adhesives are stronger and more durable than regular epoxy glues, ensuring that the repaired item can withstand everyday use, making it last for years to come.
Longevity of Repaired Items
Professional repair services provide advice on caring for repaired ceramic items to ensure their longevity. They recommend cleaning products and techniques that will not damage the repaired areas, ensuring that your item stays looking beautiful for years to come.
Additional Benefits
Aside from repairing complex damages, professional services also offer other benefits such as color matching, glazing, and restoration of antique or historical pieces. They can also provide estimates for insurance claims in case of accidental damage.
08uP1McBuJk” >
Conclusion
In summary, epoxy is a revolutionary adhesive that can work wonders when it comes to repairing ceramics. Its strength, durability, and long-lasting properties make it the ideal solution for restoring your treasured ceramic items. Repairing ceramics with epoxy is not only easy and cost-effective but also an enjoyable DIY project that requires no special tools or expertise.
To ensure a successful repair, it’s crucial to select the right type of epoxy for the specific ceramic you’re working with. Additionally, properly preparing the surface before applying epoxy is essential in achieving a strong and durable bond. It’s also important to hold the two surfaces together until the epoxy has fully cured.
While epoxy may not be suitable for all types of ceramic repairs, there are alternative adhesives such as cyanoacrylate, polyurethane glue, and methyl methacrylate that may be more appropriate depending on the extent of damage.
For complex repairs that require specialized equipment and techniques, seeking professional repair services is highly recommended. Professional services can handle even the most challenging repairs and provide high-quality adhesives that ensure longevity of repaired items.
Overall, whether you’re fixing a tiny chip or restoring an antique masterpiece, using epoxy for ceramic repair can give your beloved ceramics a new lease on life. So why not give it a try?

