Get ready to embark on a puzzle-preservation adventure like no other. Ever wondered if you can glue a puzzle while you’re still putting it together? Well, buckle up because the answer is a resounding YES. In this blog post, we’ll unravel the secrets behind gluing puzzles as you go, sharing all the juicy details and insider tips to help you create jaw-dropping masterpieces.
Gluing your puzzle as you assemble it is like capturing lightning in a bottle. It’s a way to immortalize your hard work and transform it into an awe-inspiring work of art. But let’s be real – this process isn’t always a walk in the park. That’s why we’re here to guide you through potential pitfalls and equip you with the know-how to make your gluing endeavor seamless.
So, grab those puzzle pieces, arm yourself with your trusty glue, and get ready for an exhilarating journey into the world of gluing puzzles together while watching them come alive right before your very eyes.
What is Puzzle Glue?
Contents
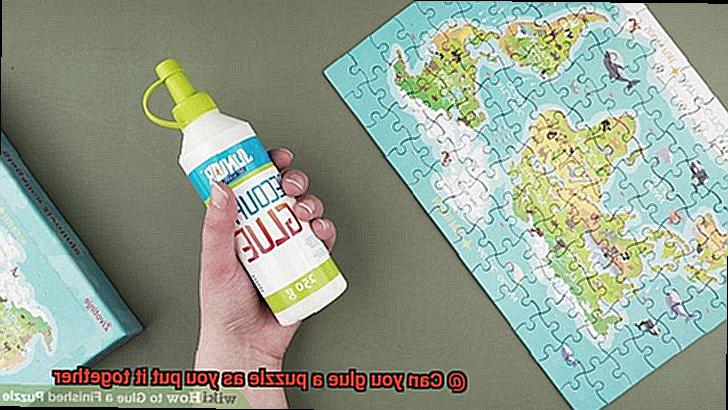
Enter puzzle glue, a specially formulated adhesive that not only holds your puzzle together but also protects it from damage. In this article, we’ll delve into the world of puzzle glue, exploring its different types and how to use them effectively to preserve and showcase your puzzles.
Types of Puzzle Glue:
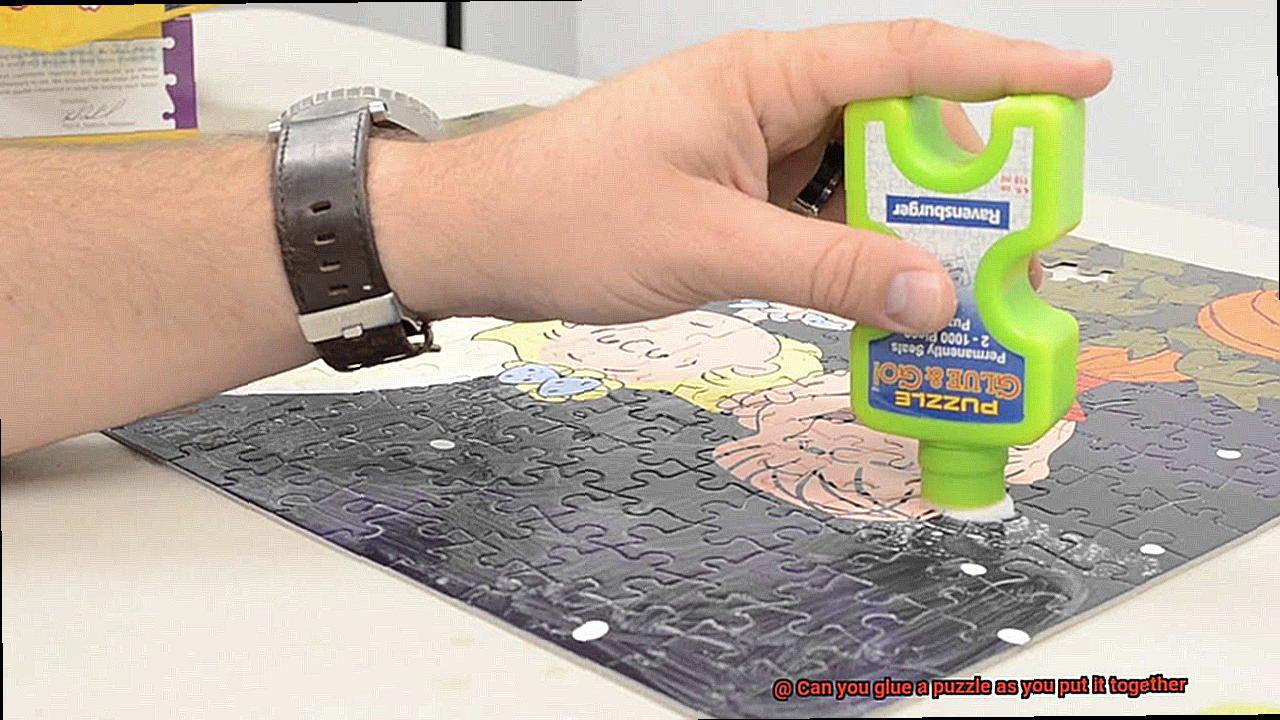
- Liquid Puzzle Glue: The most commonly used type of puzzle glue, liquid glue comes with a brush or sponge applicator for even distribution. Once dry, it forms a clear and protective layer, ensuring your puzzle stays intact and preventing accidental disassembly.
- Spray Adhesive: If you prefer convenience and quick drying times, spray adhesive is your go-to option. It can be evenly sprayed onto the puzzle without the need for additional tools. With multiple thin layers, it provides complete coverage and adds a glossy finish, enhancing the appearance of your puzzle.
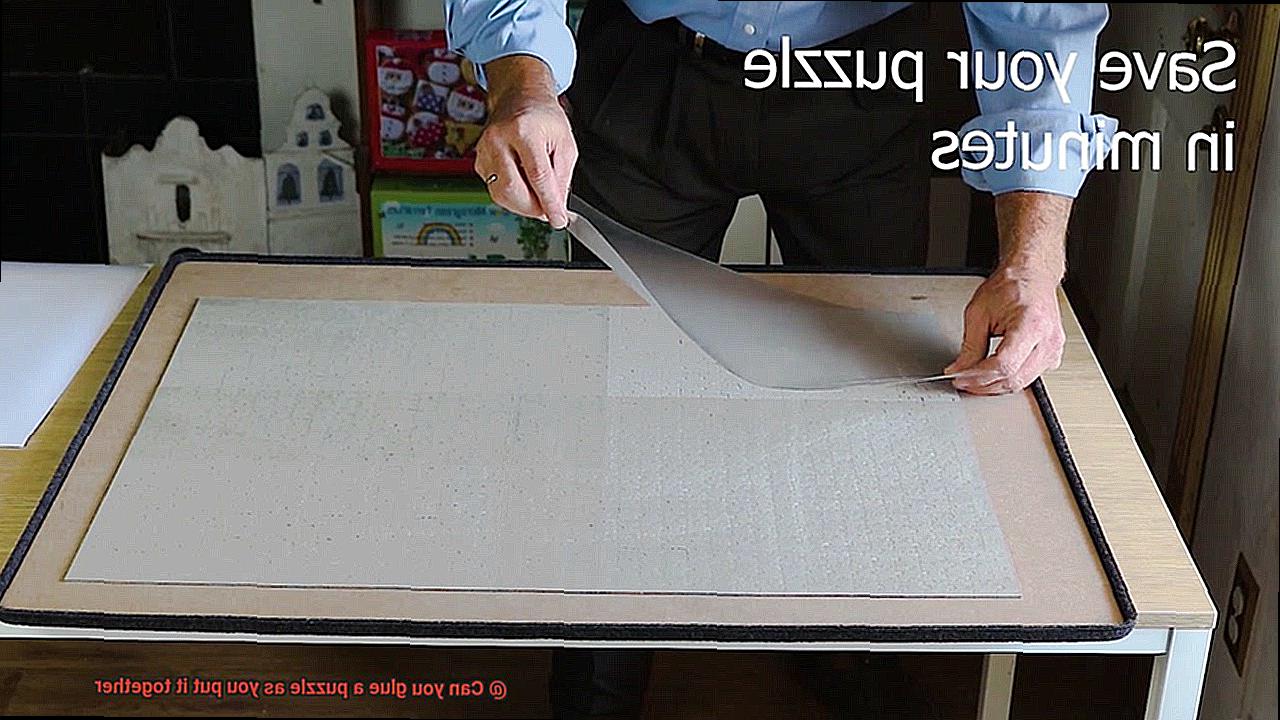
- Peel-and-Stick Puzzle Sheets: For a mess-free solution, peel-and-stick sheets are ideal. These adhesive-backed sheets can be easily applied to the back of your finished puzzle, reinforcing it and protecting against bending or warping. They offer quick application and added protection without any hassle.
How to Use Puzzle Glue:
- Complete your puzzle: Puzzle glue should only be applied once your puzzle is fully assembled and all the pieces are in place.
- Protect your workspace: Before applying the glue, place a plastic sheet or wax paper underneath the puzzle to safeguard your working surface.
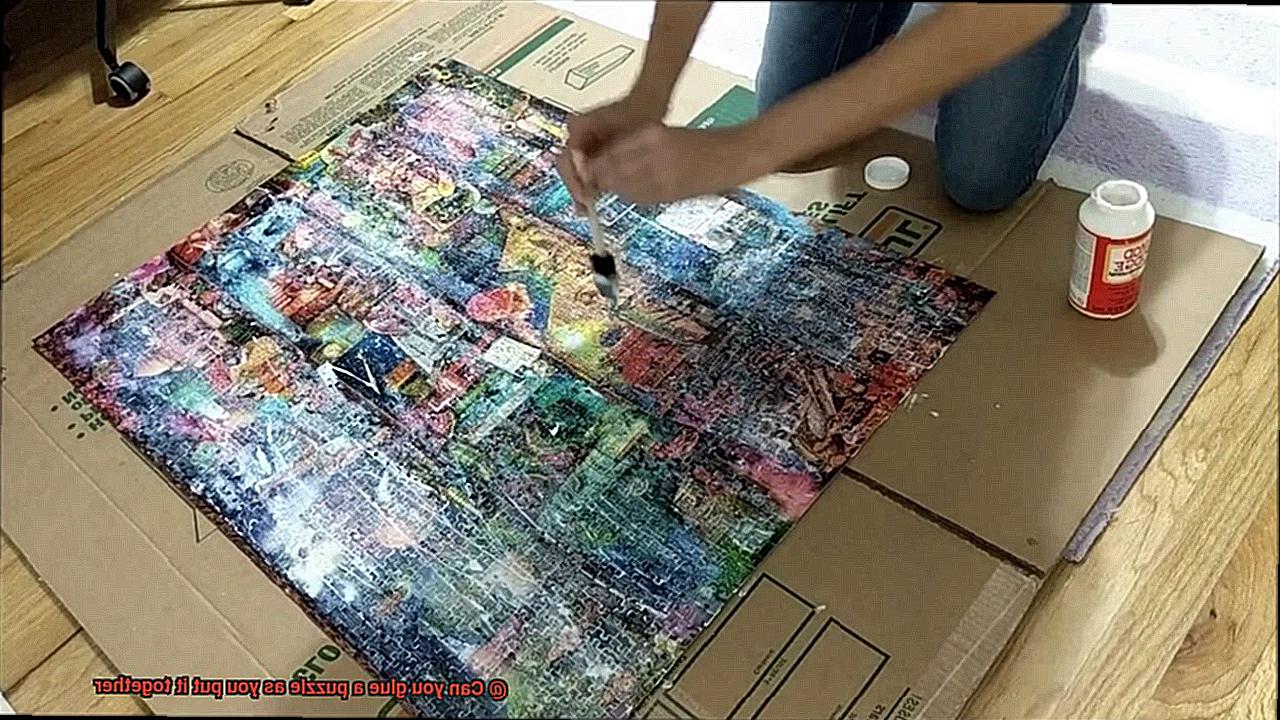
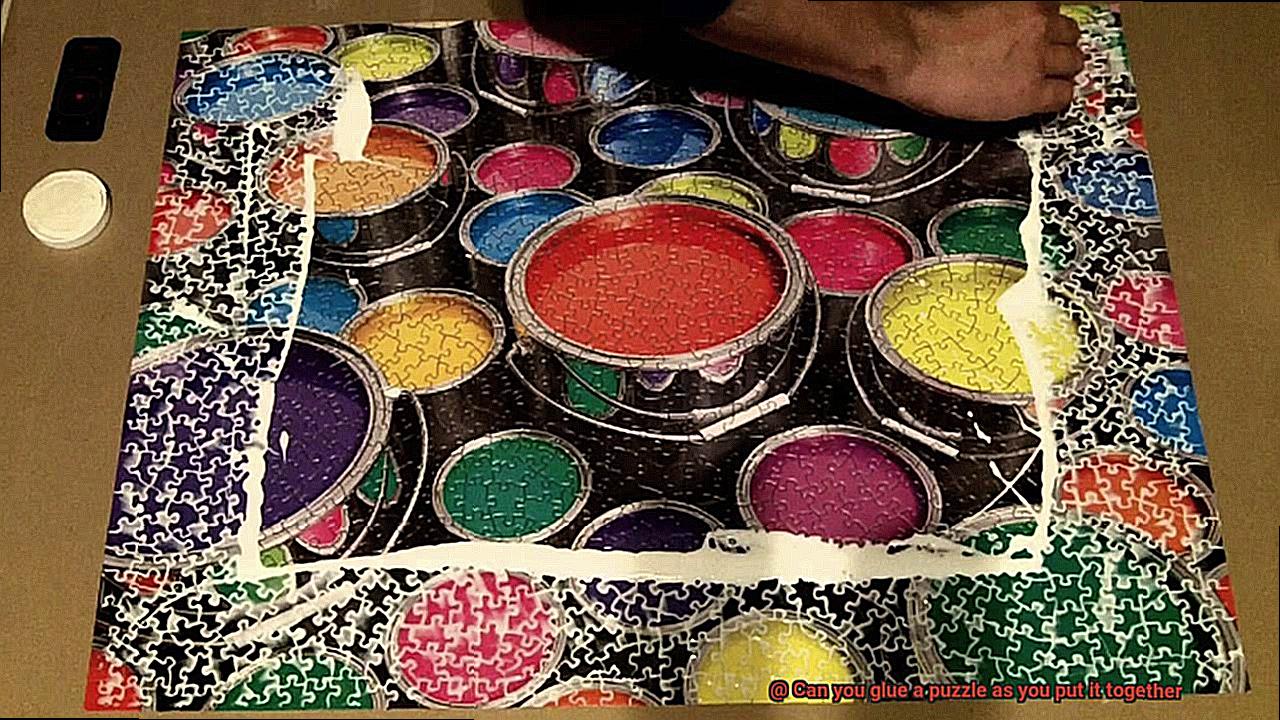
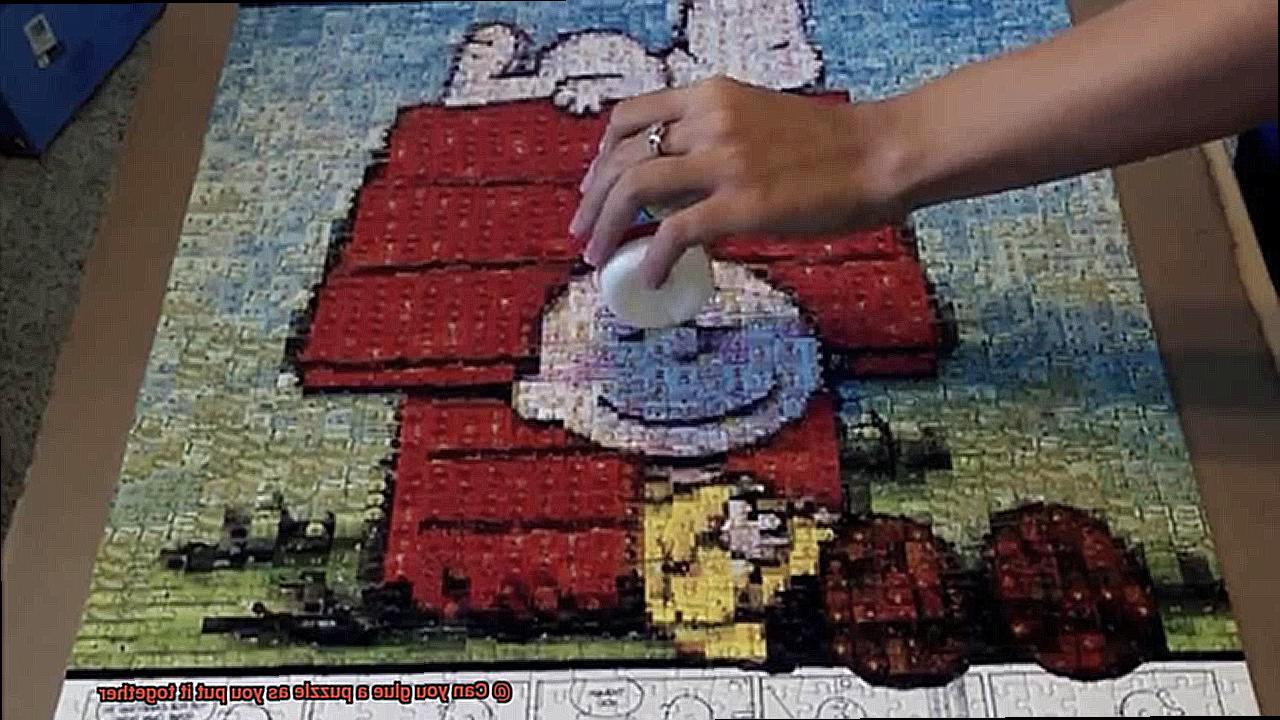
- Apply the glue: Starting from one corner, apply a thin layer of glue over the entire surface of the puzzle, making sure to cover all the pieces and edges.
- Allow it to dry: Follow the manufacturer’s instructions for drying time. Once dry, carefully lift the puzzle from the working surface using a spatula or cardboard piece.
- Trim excess glue: If desired, trim any excess dried glue from the edges of the puzzle to give it a neat and finished look.
Benefits of Puzzle Glue:
- Preservation: Puzzle glue keeps your puzzle intact, preventing accidental disassembly and ensuring its long-term preservation.
- Display: Glued puzzles can be displayed as wall art, showcasing your hard work and adding a touch of creativity to your home decor.
- Protection: Puzzle glue forms a protective layer that guards against dust, moisture, and other potential damages, keeping your puzzle in pristine condition.
Preparation Before Gluing
Look no further. In this comprehensive guide, we will walk you through the essential preparations you need to make before gluing your puzzle together. By following these steps, you will ensure a successful outcome and create a long-lasting masterpiece that can be proudly displayed.
Gather your materials:
Before diving into the gluing process, gather all the necessary materials. You will need puzzle glue, a brush or sponge for application, wax paper or cardboard for surface protection, and a flat work area. Additionally, consider investing in a puzzle mat or an alternative method to keep your puzzle in place during gluing, preventing any shifting or damage to the pieces.
Clean your work surface:
Achieving proper adhesion requires a clean work surface. Wipe down your table or puzzle mat with a clean cloth to remove any dust or debris that could interfere with the glue’s effectiveness. This step ensures that your puzzle sticks together seamlessly.
Assemble the puzzle:
Take your time and enjoy the process of assembling your puzzle. Ensure that all the pieces fit together correctly, savoring every piece falling into place. This step is crucial to guarantee that your completed puzzle is structurally sound before applying any adhesive.
Secure loose pieces:
Before applying glue, double-check that all puzzle pieces are firmly in place. Loose or ill-fitting pieces can cause issues when applying the adhesive, leading to an uneven finish or potential damage during the drying process.
Read the instructions:
To achieve optimal results, carefully read and follow the instructions provided on the puzzle glue bottle. Different brands may have varying application methods and drying times. Following the manufacturer’s guidelines ensures proper usage and prevents any mishaps.
Apply the glue:
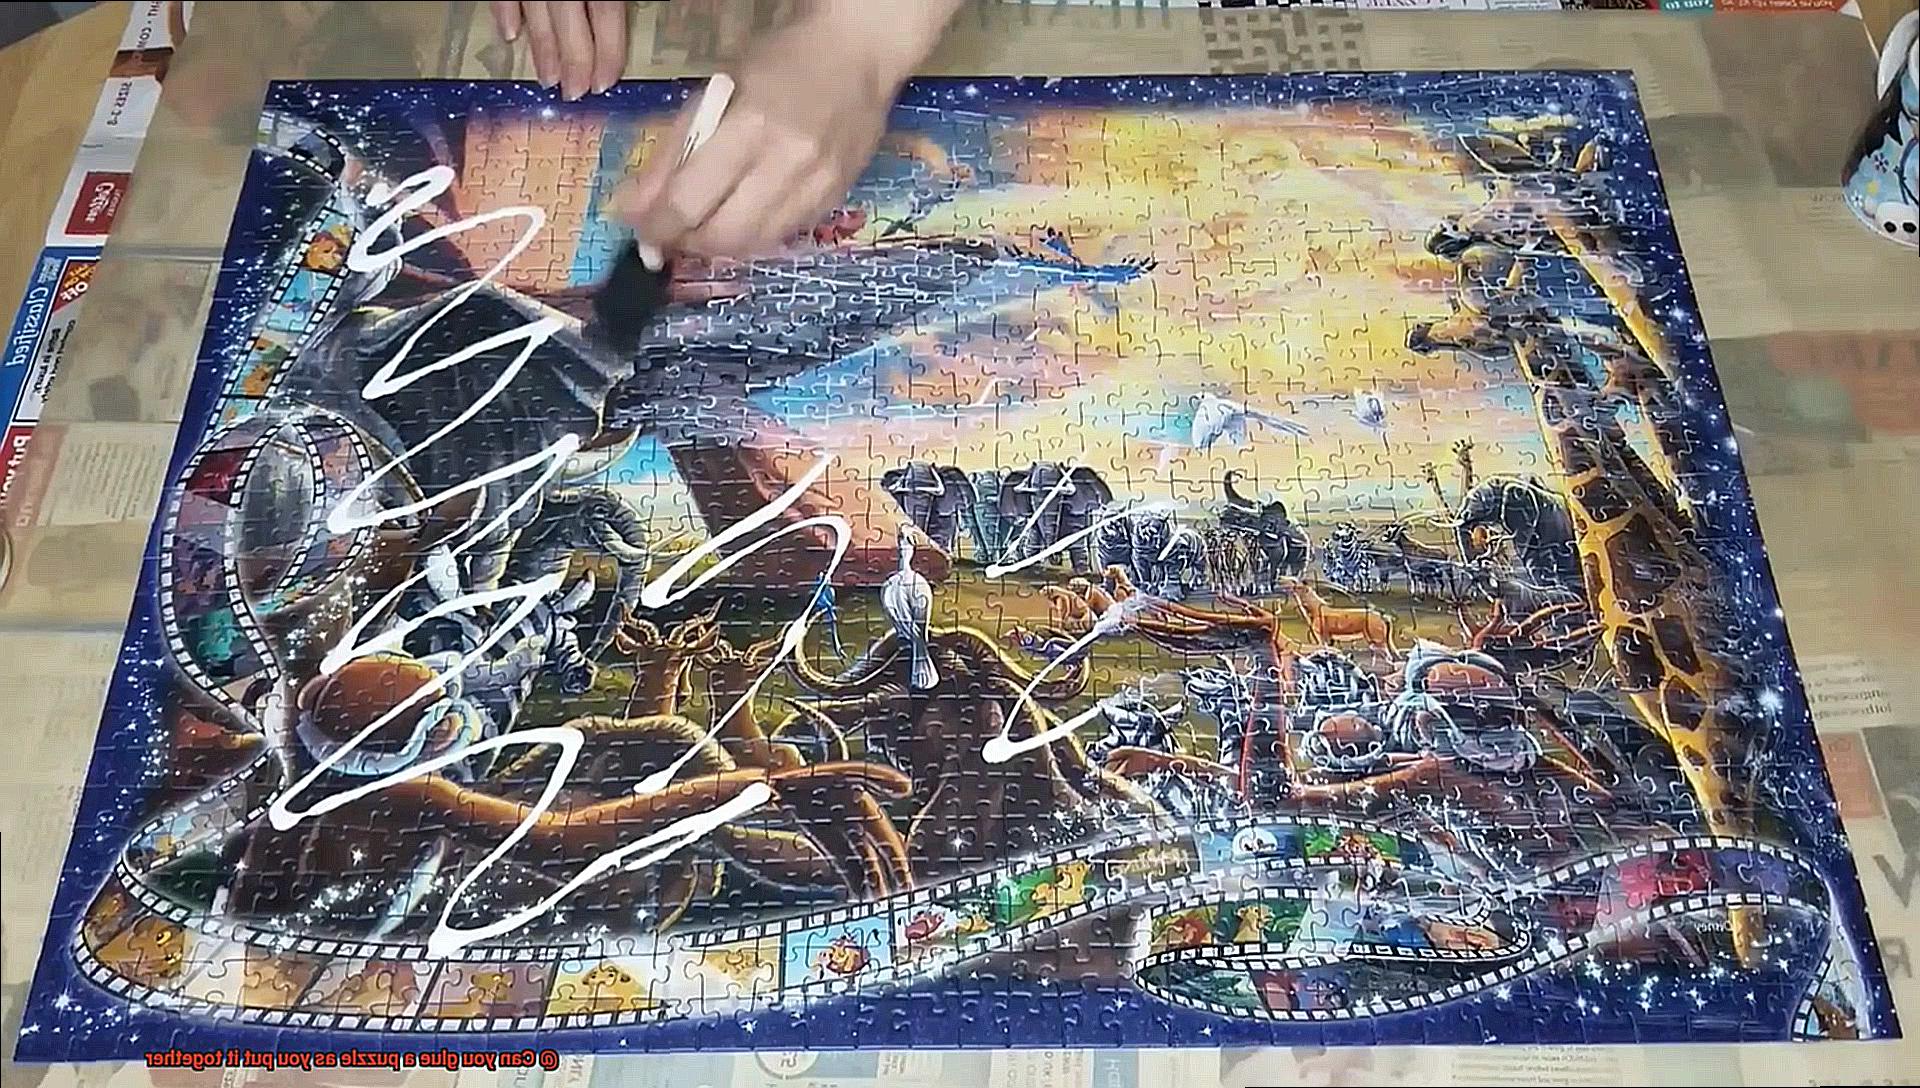
Using a brush or sponge, apply a thin and even layer of glue over the entire surface of the completed puzzle, including the edges and corners. Avoid using excessive glue, as it can introduce too much moisture, potentially warping or buckling the puzzle pieces. A thin layer is enough to secure the puzzle together effectively.
Allow drying time:
Patience is key during this step. Let the glue dry according to the instructions provided by the manufacturer. This may take several hours or even overnight. To protect your work surface and make it easier to move the puzzle once dry, place wax paper or cardboard underneath.
Check for loose pieces:
Once the glue has fully dried, carefully lift the puzzle from the work surface. Gently inspect each piece to ensure they are securely glued in place. If any pieces feel loose, apply a small amount of additional glue and let it dry again. This attention to detail guarantees that your puzzle will remain intact over time.
How to Apply the Glue
Gluing a puzzle as you put it together can be an exciting and imaginative way to preserve and display your finished masterpiece. To ensure successful glue application, follow these steps:
Step 1: Complete the Puzzle
Before applying the glue, ensure that your puzzle is fully assembled with all the pieces in their correct places. Take a moment to double-check for any gaps or missing pieces to ensure completeness.
Step 2: Clean the Surface
Next, give the puzzle surface a thorough cleaning to eliminate any dust, debris, or fingerprints. A gentle wipe with a soft cloth or brush will do the trick. This step is crucial to ensure proper adhesion and a clean finish.
Step 3: Choose the Right Glue
Selecting a puzzle-specific adhesive or puzzle glue is vital for optimal results. These glues are specially formulated for puzzles, typically water-based and non-toxic. Avoid using regular white glue or other adhesives that could potentially damage the puzzle.
Step 4: Protect the Surface
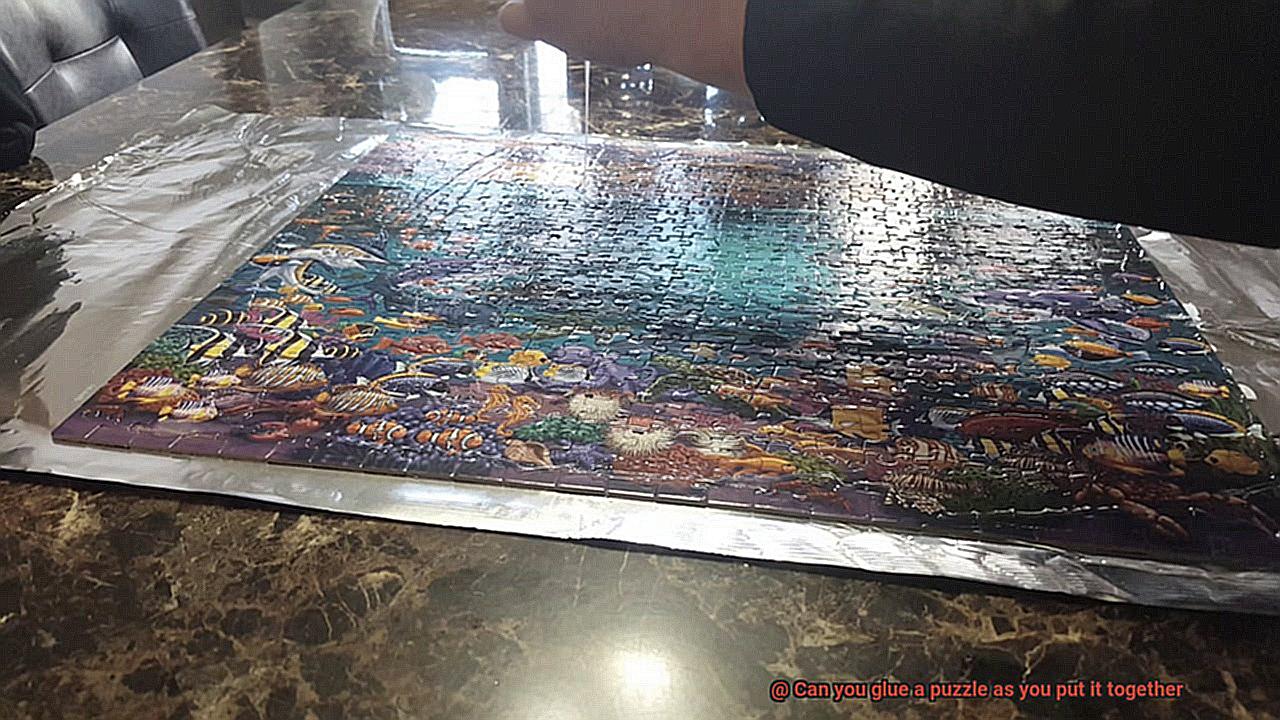
To safeguard the underlying surface, place a plastic sheet or wax paper underneath the puzzle. This precautionary measure prevents any glue from seeping through and causing damage.
Step 5: Apply the Glue
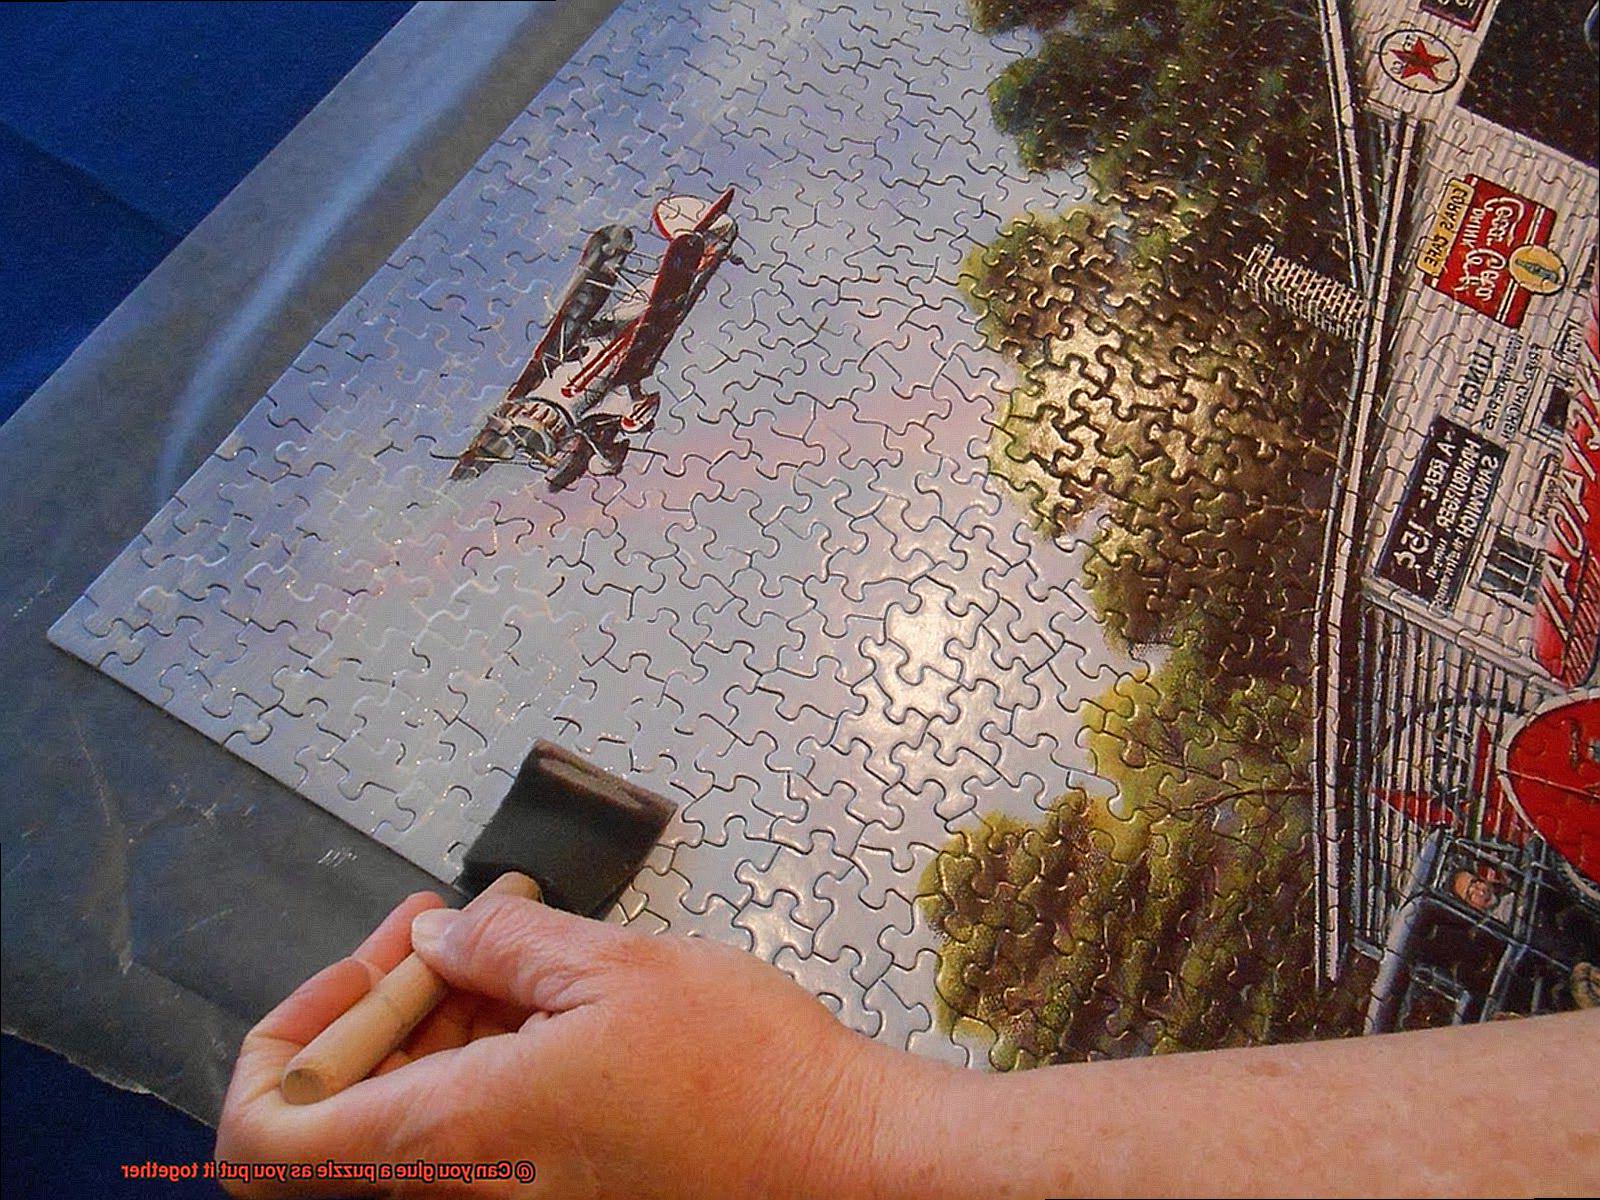
Using a foam brush or flat brush, begin applying the glue from one corner of the puzzle and work your way across. Ensure that each area receives an even and smooth layer of glue. Be cautious not to use excessive amounts of glue, as it may seep into the gaps between puzzle pieces.
Step 6: Let it Dry
After applying the first layer of glue, exercise patience and allow it to dry completely. The drying time can vary depending on the specific glue used. It may take several hours or even overnight for the glue to dry thoroughly.
Step 7: Optional Second Layer
For enhanced durability and protection, consider applying a second layer of glue once the first layer is dry. Although optional, this step is recommended for long-term preservation of your puzzle.
Step 8: Trim Excess Glue
When the final layer of glue is dry, carefully trim any excess glue from the edges of the puzzle using a sharp knife or scissors. This final touch provides a clean and polished appearance.
Step 9: Display Your Puzzle
Now that your puzzle is glued and ready to be showcased, explore various display options. You can frame it using a picture frame or mount it on a board for wall hanging. Choose the display method that best suits your preferences and the size of your puzzle.
Drying Time and Trimming Excess Glue
Transforming a puzzle into a stunning work of art requires more than just fitting the pieces together. To truly elevate your creation, understanding the importance of drying time and trimming excess glue is crucial. In this comprehensive guide, we will explore the significance of these steps and provide expert advice on how to perfect them.
Drying Time: The Key to a Strong Bond
To ensure a secure bond between puzzle pieces, allowing sufficient drying time is essential. Different glues have varying drying times, so it is vital to follow the manufacturer’s instructions for your specific adhesive. Some glues may dry within hours, while others require overnight drying.
During the drying process, protect your work surface by placing a protective covering underneath. This simple step can prevent any mishaps and guarantee a smooth transition to the next stage.
Trimming Excess Glue: Enhancing Your Puzzle’s Appearance
Once the glue has dried, you might notice excess glue seeping out between puzzle pieces. Trimming this excess glue is vital for achieving a professional finish. Two effective methods can be employed for removal.
Firstly, employ a craft knife or sharp blade to carefully scrape away the dried glue along the puzzle’s edges. Exercise caution to avoid cutting too deeply into the pieces. Secondly, gently sand the puzzle’s edges with fine-grit sandpaper or a sanding block to remove excess glue without causing damage.
Precision is key during this step. Mishandling or applying excessive force can potentially harm your puzzle or cause pieces to come apart. Take your time and work diligently for optimal results.
Advantages of Gluing a Puzzle As You Put It Together
Hours of dedication and focus, gone in an instant. But fear not, puzzle enthusiasts. There is a simple solution to this problem – gluing your puzzle as you put it together. This technique not only preserves your masterpiece but also offers a range of other advantages that will take your puzzling experience to the next level.
First and foremost, gluing a puzzle ensures its preservation. By applying glue to the backside of the puzzle, you can guarantee that all the pieces stay in place, avoiding any accidental disassembling. This is especially crucial if you want to proudly display your completed puzzle or keep it intact for an extended period. Imagine the satisfaction of showcasing your masterpiece on a shelf, knowing that it will remain perfectly intact for years to come.
But preservation is just the tip of the iceberg. Gluing a puzzle as you put it together adds stability to the overall structure. The adhesive properties of the glue hold the pieces firmly in place, preventing any shifting or movement. This is particularly beneficial if you have limited space to work on your puzzle or plan to move it from one location to another. No more worrying about accidentally bumping into your puzzle and ruining all your hard work.
In addition to stability, gluing a puzzle enhances its durability. Puzzle pieces are often made of delicate materials like cardboard that are prone to bending, tearing, or damage. By gluing the puzzle, you create an extra layer of protection that reinforces the fragility of each piece. This makes the puzzle more robust and less susceptible to wear and tear, ensuring that it can be enjoyed for a longer period.
Now, let’s talk about displaying your completed masterpiece. Gluing a puzzle allows you to explore various framing and display options. Once the puzzle is dried and glued together, it can be framed and hung on a wall or displayed on a shelf. This adds a touch of decoration to your living space and showcases your creativity. Plus, gluing the puzzle ensures that it remains intact even when mounted vertically, eliminating the worry of any pieces falling out.
But gluing a puzzle doesn’t just have aesthetic benefits – it also opens up artistic possibilities. Once glued, the puzzle becomes a fixed image that can be further enhanced with additional artistic touches. You can paint over certain areas of the puzzle or add glitter and other embellishments to make it more unique and personalized. Your completed puzzle can become a one-of-a-kind artwork that reflects your creativity and style.
Beyond aesthetics, gluing a puzzle can serve as an educational tool. By preserving the completed puzzle, it can be used for future reference or as a learning aid. If you have a puzzle depicting a map or historical event, it can be displayed in a classroom or used as a visual aid during discussions. This adds an interactive element to the learning experience and reinforces the knowledge gained from completing the puzzle.
Disadvantages of Gluing a Puzzle As You Put It Together
While the idea of preserving your masterpiece may be appealing, there are several disadvantages to consider. In this article, we will explore the drawbacks of gluing a puzzle prematurely and why it may not be the best choice for every puzzler.
Lack of Flexibility in Rearranging Pieces:
Imagine meticulously placing each piece, only to realize that you made a mistake or want to change the layout. Gluing a puzzle as you go eliminates the flexibility to rearrange pieces, leading to frustration and dissatisfaction with the final result. Remember, puzzles are all about solving challenges, and gluing them prematurely restricts your ability to make adjustments.
Diminished Versatility:
A partially completed puzzle offers versatility – it can be easily transported or stored without losing any pieces. However, once glued, the puzzle becomes rigid and cannot be disassembled or moved without risking damage. This lack of flexibility can be problematic if you plan on showcasing or framing your completed masterpiece.
Gluing a puzzle extinguishes the possibility of reassembling it in the future or sharing it with friends and family. If you enjoy revisiting completed puzzles or passing them on to others, gluing prematurely eliminates these options. Additionally, finding someone else who appreciates your glued puzzle might be challenging, as they would have to accept it in its completed form.
Deprivation of Tactile Experience:
The joy of solving puzzles lies in the tactile experience – feeling the texture of each piece, snapping them together, and experiencing the satisfaction when finding the perfect fit. Gluing a puzzle as you go takes away this hands-on engagement, reducing the overall enjoyment derived from completing a puzzle.
Reduced Challenge and Satisfaction:
Solving a puzzle is not only about the final result but also the process itself. Gluing a puzzle prematurely robs you of the satisfaction that comes from placing that final piece and witnessing the complete image emerge. The challenge and sense of accomplishment are diminished when the puzzle is already considered “finished” before truly reaching that point.
Where to Find Puzzle Glue
Now, it’s time to preserve your masterpiece for everyone to admire. Puzzle glue is the key to keeping your puzzle intact, and I’m here to help you find it. Let’s explore some fantastic options.
- Online Shopping: The world of e-commerce brings convenience right to your doorstep. Platforms like Amazon and Walmart offer a wide range of puzzle glues from different brands, sizes, and price ranges. You can read customer reviews and ratings to make an informed decision. The best part? You can shop in your pajamas.
- Hobby and Craft Stores: If you enjoy a more hands-on shopping experience, head to hobby and craft stores like Michaels, Hobby Lobby, or Joann Fabrics. These stores have dedicated crafting sections where you can find puzzle glue. Knowledgeable staff members can guide you in selecting the perfect glue for your needs.
- Toy Stores and Game Shops: Don’t forget to check out toy stores and game shops. They often have puzzle sections where you can find not only puzzles but also puzzle accessories like glue. It’s like hitting two birds with one stone.
- Bookstores: Believe it or not, bookstores can surprise you with their puzzle selections. Some carry puzzle glue in their puzzle or toy sections. While browsing through books, you might stumble upon puzzle-related goodies.
- Budget-Friendly Options: If you’re looking for affordable options, dollar stores and discount stores might be worth a visit. While their selection may be limited, they often offer puzzle glues that still do the job of preserving your puzzles. It’s like finding a hidden gem.
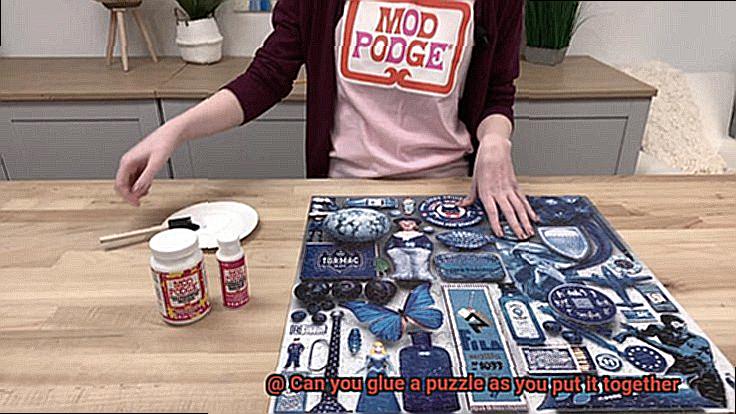
- DIY Approach: Feeling crafty? Some DIY enthusiasts recommend using Mod Podge as a puzzle glue alternative. However, keep in mind that homemade solutions may not provide the same level of durability as dedicated puzzle glues.
- Also Read: How To Glue Together A Puzzle For Framing?
Conclusion
Gluing a puzzle as you piece it together may seem like a tempting idea, but it’s important to consider the potential drawbacks.
While it might provide a sense of accomplishment and permanence, it also eliminates the possibility of reassembling the puzzle in the future. The act of gluing can be messy and imprecise, potentially damaging the delicate pieces.
It’s like sealing a moment in time, freezing the puzzle in its completed state forever.

