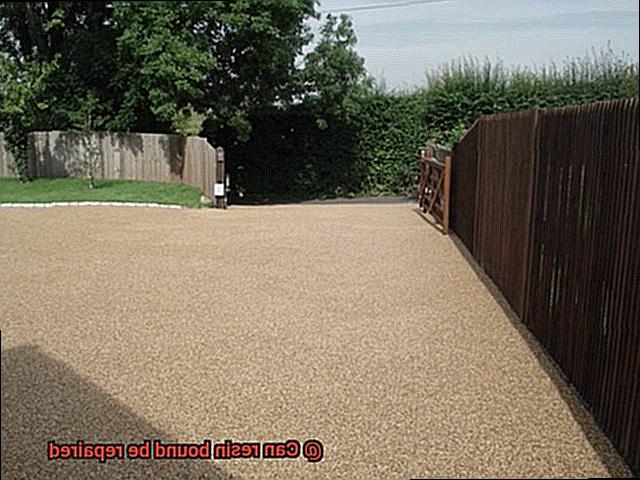
Resin bound surfaces: they’re tough, they’re trendy, and they’re here to stay.
But let’s face it, life happens. Chips happen.
Cracks happen. Potholes happen.
Contents
- 1 Common Issues with Resin Bound Surfaces
- 2 How to Repair Cracks in Resin Bound Surfaces
- 3 Step-by-Step Guide to Repairing Cracks in Resin Bound Surfaces
- 4 Additional Steps for Larger Cracks or Areas of Damage
- 5 Patching Up Loose Areas in Resin Bound Surfaces
- 6 The Importance of Hiring Experienced Contractors for Repairs
- 7 Benefits of Professional Repairs for Resin Bound Surfaces
- 8 Conclusion
So what do you do when your beautiful resin bound surface isn’t looking so hot anymore? Well, fear not my friends, because I’m here to tell you that resin bound can be repaired.
Yep, you heard me right. No need to panic or start saving up for a whole new surface just yet.
So grab a cuppa and get ready to learn how to bring back the beauty of your resin bound surface.
Common Issues with Resin Bound Surfaces
Resin bound surfaces are a popular choice for outdoor spaces due to their durability and aesthetic appeal. However, like any other surfacing material, they can experience certain issues over time.
Here, we will explore the common issues associated with resin bound surfaces and provide solutions to resolve them. By addressing these issues promptly and effectively, you can ensure that your resin bound surface remains beautiful and functional for years to come.
Cracking:
One of the most common issues with resin bound surfaces is cracking. This can occur due to heavy traffic, freeze-thaw cycles, or inadequate installation. To resolve this issue, address cracks as soon as they appear by filling them with a compatible resin binder.
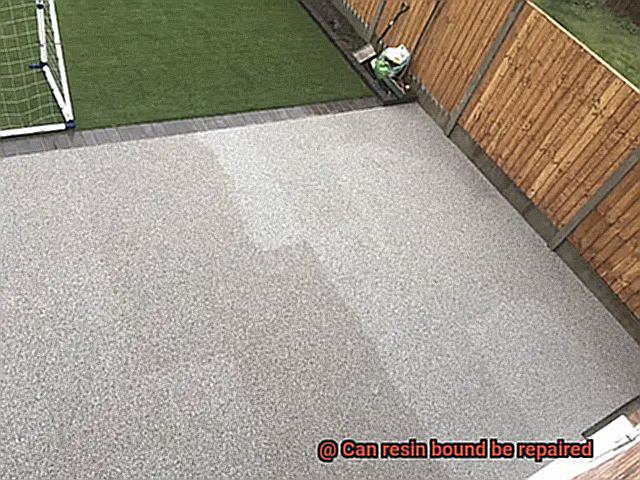
Level the surface to create a seamless finish. For larger cracks or significant damage, consider cutting out the damaged section and replacing it with fresh resin bound material.
Fading or Discoloration:
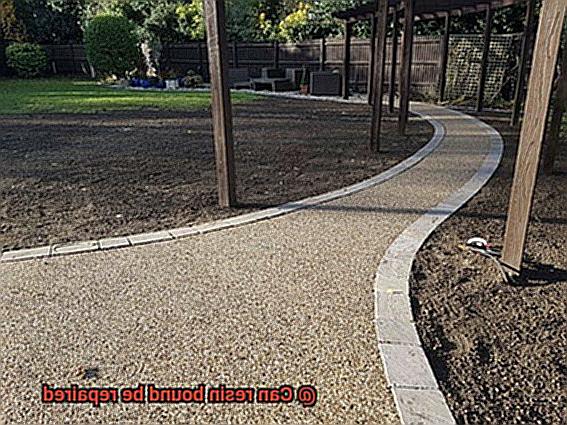
Over time, resin bound surfaces may fade or change color due to exposure to UV rays from the sun. Prevent or minimize fading by regularly maintaining and periodically resealing the surface. Resealing protects it from UV damage and maintains its vibrant color.
Weed Growth:
Weeds and vegetation can start to grow through the small gaps in resin bound surfaces if proper maintenance is not carried out. Prevent weed growth by regularly brushing and using weed killer. These simple measures will help maintain the aesthetic appeal of the surface.
Drainage Issues:
Poor drainage can lead to water pooling on resin bound surfaces, causing damage over time. Ensure proper installation techniques and maintain a suitable gradient for water runoff to prevent drainage issues. If problems persist, consult a professional contractor for proper assessment and resolution.
Wear and Tear:
In high traffic areas, resin bound surfaces may experience wear and tear over time. Regular maintenance, such as sweeping and power washing, removes debris and prevents excessive wear. Address any unevenness or damage to the surface promptly through timely repairs.
How to Repair Cracks in Resin Bound Surfaces
Resin bound surfaces are a popular choice for outdoor spaces due to their durability and aesthetic appeal. However, over time, these surfaces may develop cracks that can affect their appearance and functionality. In this blog post, we will discuss the process of repairing cracks in resin bound surfaces and restoring the beauty of your outdoor space.
Assessing the Damage:
Before embarking on the repair process, it is crucial to assess the severity and extent of the cracks in your resin bound surface. This will help determine whether simple DIY methods or professional assistance is required. Thoroughly inspect the surface, paying attention to the size, depth, and number of cracks.
Cleaning the Crack:
To ensure a proper repair, it is essential to clean the crack thoroughly before applying any repair materials. Use a wire brush or scraper to remove debris, dirt, and any vegetation that may have accumulated in the crack. This step promotes proper adhesion of the repair material and helps achieve a seamless finish.
Filling the Crack:
For small cracks, a resin repair kit is an effective solution. These kits typically include a two-part epoxy resin that can be mixed together and applied directly to the crack. The resin bonds with the existing surface, sealing the crack effectively. Use a putty knife or similar tool to apply the mixed epoxy resin, ensuring that the crack is completely filled. Smooth out the resin to create a seamless repair.
Widening the Crack (if necessary):
In certain cases, it may be necessary to widen the crack slightly before applying the resin for better adhesion and prevention of future cracking. A chisel or similar tool can be used to create a V-shaped groove along the crack. Ensure that the groove is clean and free from debris before proceeding with the repair.
Allowing for Proper Curing:
After applying the resin, it is crucial to allow it sufficient time to cure. Follow the manufacturer’s instructions regarding curing time and any additional steps that may be necessary. This ensures that the repair material properly bonds with the existing surface, providing a long-lasting solution that withstands regular use and exposure to the elements.
Seeking Professional Assistance (if needed):
While DIY methods can be effective for small cracks, larger or more extensive damage may require professional assistance. If you are unsure about the severity of the damage or lack the necessary tools and expertise, it is recommended to consult a professional installer or contractor who specializes in resin bound surfaces. They have the knowledge and experience to properly assess and repair the damage, ensuring a high-quality and long-lasting result.
Step-by-Step Guide to Repairing Cracks in Resin Bound Surfaces
Resin bound surfaces are a popular choice for driveways, paths, and patios due to their durability and attractive appearance. However, over time, cracks can develop due to various factors like weather conditions, heavy use, or improper installation. It’s important to repair these cracks promptly to prevent further damage and maintain the integrity of the surface.
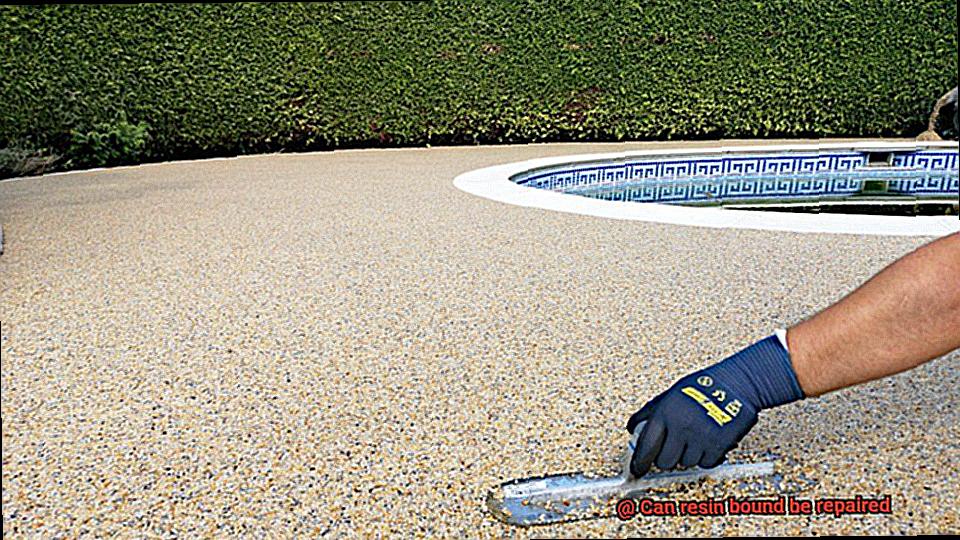
In this comprehensive step-by-step guide, we will walk you through the process of repairing cracks in resin bound surfaces.
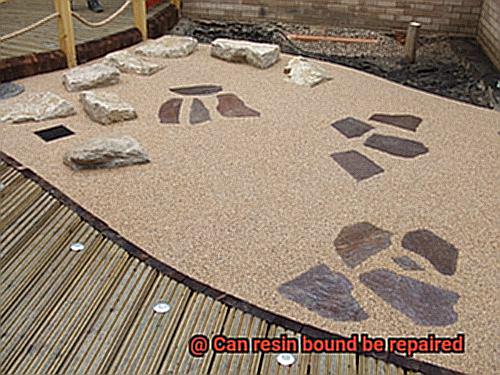
- Thoroughly clean the cracked area: Start by removing any loose debris, dirt, or vegetation that may have accumulated in the crack. This is crucial for ensuring proper adhesion of the repair material. Use a wire brush or a high-pressure water jet to effectively clean the crack and surrounding area.
- Prepare the crack for repair: Use a chisel or grinder to widen the crack slightly. This step helps create a better bond between the existing resin and the new repair material. Be careful not to widen the crack too much, as it may compromise the overall stability of the surface.
- Mix the repair material: Combine a two-part epoxy resin with a suitable aggregate according to the manufacturer’s instructions. The exact mixture ratios may vary depending on the specific product used. Thoroughly mix the components until a uniform consistency is achieved.
- Apply the repair material: Using a trowel or spatula, carefully apply the repair material to the crack. Fill the crack completely and level it with the surrounding surface. Smooth out any excess material and ensure a seamless finish.
- Allow curing: Let the repair material cure according to the manufacturer’s instructions. This usually takes a few hours to a day, depending on temperature and humidity conditions. It’s important to avoid walking or driving on the repaired area until it has fully cured to prevent any damage.
- Inspect and refine: Once the repair material has cured, inspect the repaired area for any unevenness or imperfections. If necessary, lightly sand down any high spots or rough edges to achieve a smooth and seamless finish. This ensures that the repair blends in seamlessly with the rest of the surface.
- Clean up: Clean up any tools or equipment used during the repair process and dispose of any waste materials responsibly. This helps maintain a tidy work area and ensures that no residual material is left behind to interfere with the appearance of the repaired surface.
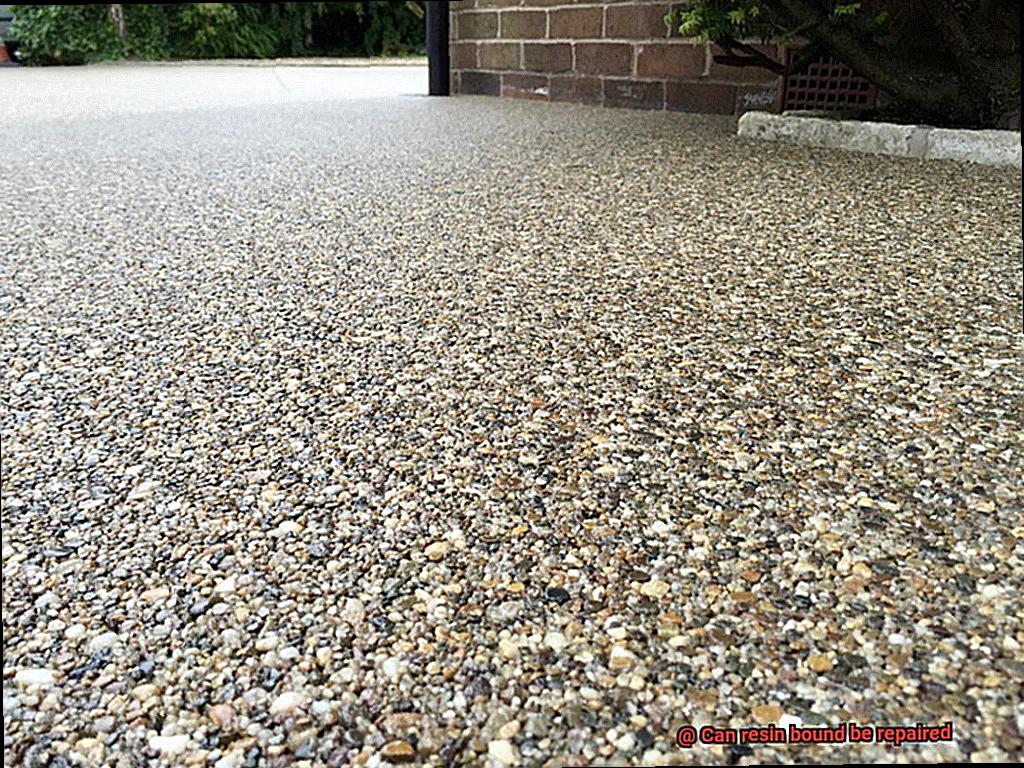
Additional Steps for Larger Cracks or Areas of Damage
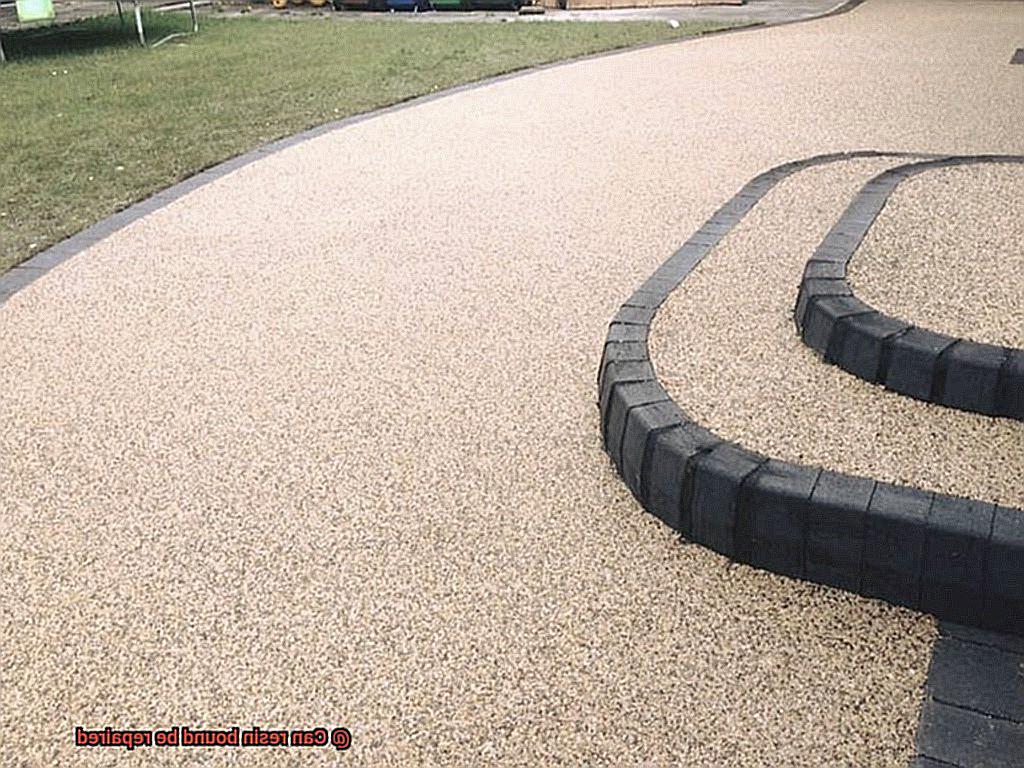
When it comes to larger cracks or areas of damage in resin bound surfaces, a more thorough approach is needed to ensure a successful repair. Here are the additional steps you should take:
- Thoroughly clean the damaged area: Use a stiff brush or pressure washer to remove any loose debris, dirt, or vegetation that may have accumulated in the crack or damaged section. A clean surface is essential for proper adhesion and effectiveness of the repair materials.
- Assess the extent of the damage: Larger cracks or areas of damage may require additional preparation. It may be necessary to widen the crack or remove any loose material surrounding the damaged section. Use a chisel or suitable tools to ensure that the edges of the repair area are clean and free from any loose particles.
- Choose the right repair material: For larger repairs, epoxy resin-based products are recommended. They offer excellent adhesion properties and durability. These products can be found in various forms such as kits or premixed solutions. Applying them is easy – use a trowel or suitable tools to spread the repair material evenly over the damaged area.
- Prime the damaged area: Before applying the repair material, it is crucial to prime the damaged area. Apply a thin layer of primer to enhance adhesion between the repair material and the existing resin bound surface. Follow the manufacturer’s instructions on how to apply and dry the primer.
- Apply the repair material: Once the primer has dried, apply the chosen repair material according to the manufacturer’s instructions. Spread it over the damaged area using a trowel, ensuring that it fills the crack or damaged section completely.
- Allow for proper curing: The repair material needs time to cure properly. Leave the repaired area undisturbed for a specific period to ensure proper bonding and hardening of the repair material. Curing times may vary depending on the product used, so consult the manufacturer’s instructions for accurate information.
- Smooth out any excess material: Once the repair has fully cured, use sandpaper or a suitable abrasive tool to smooth out any excess material or rough edges. Take your time to blend the repaired area seamlessly with the surrounding resin bound surface for a visually appealing and structurally sound finish.
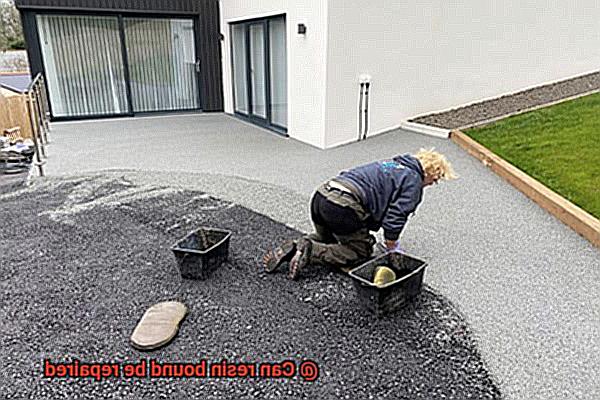
Patching Up Loose Areas in Resin Bound Surfaces
Resin bound surfaces are renowned for their durability and longevity, but even the toughest surfaces can develop loose or damaged areas over time. The good news is that these issues can be easily addressed through proper repair techniques.
In this comprehensive guide, we will walk you through the step-by-step process of patching up loose areas in resin bound surfaces, ensuring a strong and seamless repair that will stand the test of time.
Step 1: Assess the Damage
Before diving into the repair work, take a moment to assess the extent of the damage. Is it just a small area that needs attention, or is there more extensive cracking or damage? By understanding the scope of the problem, you can better determine the appropriate course of action.
Step 2: Clean with Precision
To achieve a solid bond between the existing resin and the new repair material, start by thoroughly cleaning the affected area. Arm yourself with a stiff brush or power washer and remove any loose aggregate or debris. This meticulous cleaning is crucial for ensuring a successful repair.
Step 3: Prime for Adhesion
Promote a strong bond between the existing resin and the repair material by applying a high-quality primer. This crucial step sets the foundation for a lasting repair. Allow the primer to dry completely before moving on to the next step.
Step 4: Craft a Perfect Mix
Now it’s time to create a repair material that will fill in the damaged or loose area seamlessly. Mix together a resin binder and aggregate, paying careful attention to match the color and texture of the existing resin bound surface. This meticulous blending ensures that your repair won’t stick out like a sore thumb.
Step 5: Apply with Precision
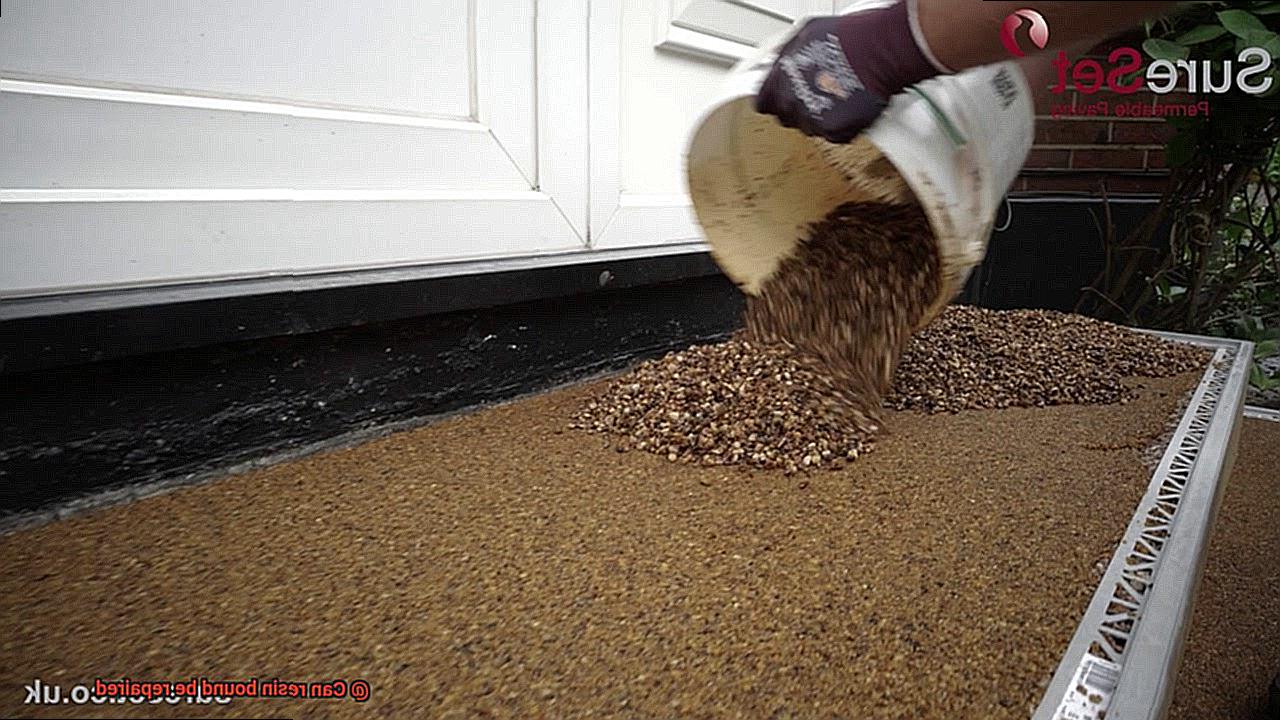
With your perfectly mixed repair material in hand, apply it evenly to the damaged area using a trowel or float. Smooth out the surface to achieve a flawless finish that blends harmoniously with the surrounding resin bound surface. Take pride in your craftsmanship.
Step 6: Allow for Proper Curing Time
Patience is key to a successful repair. Give the resin binder ample time to fully set and harden. Depending on temperature and humidity levels, this typically takes around 24 to 48 hours. During this crucial curing period, avoid any foot traffic or heavy loads that could compromise the repair.
Step 7: Maintain for Longevity
To ensure the longevity of your repaired resin bound surface, make regular maintenance a habit. Keep the surface clean by sweeping away debris regularly, avoiding harsh chemicals or abrasive cleaning methods. Promptly address any issues that arise to prevent them from worsening and causing further damage.
The Importance of Hiring Experienced Contractors for Repairs
When it comes to repairs on resin bound surfaces, the importance of hiring experienced contractors cannot be overstated. These professionals possess the knowledge, expertise, and skills necessary to tackle any repair job with precision and efficiency. Here’s why you should never cut corners when it comes to hiring experienced contractors for resin bound surface repairs.
First and foremost, experienced contractors understand the complexities of resin bound surfaces. They have extensive knowledge about the material and can quickly identify the root cause of any issues that may arise. This means they won’t just slap a band-aid on the problem, but will actually fix it properly and efficiently.
Durability is another crucial factor to consider. We all want our resin bound surfaces to last as long as possible, right? Well, hiring experienced contractors ensures just that. These professionals have the skills and tools to carry out repairs with finesse, resulting in a long-lasting and durable surface. No more worries about recurring problems or further damage – these pros have got you covered.
On the other hand, inexperienced or unqualified contractors may lack the necessary understanding when it comes to resin bound repairs. They might not have the required skills or knowledge to diagnose and address underlying issues correctly. And trust me, a subpar repair job just won’t cut it when it comes to your beautiful resin bound surface.
Safety is also a significant concern when it comes to repairs. Experienced contractors are well-versed in safety protocols and take all necessary precautions during repairs. They know how to handle potential hazards, reducing the risk of accidents or injuries. So you can rest easy knowing that your repair job is being handled by professionals who prioritize your safety.
And here’s another perk – expert advice. Experienced contractors can assess the overall condition of your resin bound surface and provide valuable recommendations for repairs or maintenance measures. Their knowledge and expertise can help you make informed decisions about your surface, ensuring its longevity and beauty for years to come.
Benefits of Professional Repairs for Resin Bound Surfaces
Perhaps you’ve tried your hand at DIY repairs, only to find that the results were less than satisfactory. Well, fear not. Professional repairs for resin bound surfaces are here to save the day. Let’s take a closer look at the benefits of hiring the experts for all your repair needs.
- Expertise and Experience: Professionals bring a wealth of knowledge and experience to the table. They understand the intricacies of resin bound surfaces and know exactly how to tackle repairs effectively.
- Specialized Tools and Equipment: Professionals have access to specialized equipment and tools specifically designed for repairing resin bound surfaces. These tools allow them to work with precision and efficiency, ensuring a top-notch repair job.
- High-Quality Materials: Professionals use high-quality materials that are specially formulated for resin bound surfaces. These top-grade resins and aggregates ensure a strong and durable repair, as well as better aesthetic results.
- Guarantee or Warranty: When you hire professionals, you often get a guarantee or warranty on the work performed. This means that if any issues arise within a specified period, the professionals will come back and fix it without any additional cost. Talk about peace of mind.
- Time and Effort Savings: Resin bound surfaces require specific preparation and application techniques, which can be time-consuming and labor-intensive for someone without proper training. By entrusting the job to professionals, you can avoid the hassle and ensure efficient and effective repairs.
- Enhanced Aesthetics: Professional repairs seamlessly blend with the existing surface, leaving no visible signs of damage or repair. This is particularly important for commercial properties or areas with high foot traffic, where aesthetics play a crucial role.
mRiQWM3BhP0″ >
Conclusion
In conclusion, if your resin bound surface is starting to show signs of wear and tear – whether it’s chips, cracks, or other issues – there’s no need to panic. The good news is that resin bound can indeed be repaired.
There are a few common problems that can occur with resin bound surfaces, such as cracking, fading or discoloration, weed growth, drainage issues, and general wear and tear. But rest assured, each of these problems has a solution.
When it comes to fixing cracks in resin bound surfaces, the first step is to assess the extent of the damage. Once that’s done, it’s important to thoroughly clean the crack before filling it with a compatible resin binder. In some cases, widening the crack may be necessary for better adhesion. After that, it’s crucial to allow for proper curing time and seek professional assistance if needed.
Patching up loose areas in resin bound surfaces follows a similar process. First, you’ll need to carefully evaluate the damage and clean the area meticulously. Then comes priming for adhesion and crafting a perfect mix of repair material that matches the existing surface color and texture. Applying this material with precision is key before allowing for adequate curing time. And don’t forget about regular maintenance.
It’s absolutely essential to hire experienced contractors for resin bound repairs. These professionals have the expertise and knowledge needed to handle these surfaces effectively. They also have access to specialized tools and equipment as well as high-quality materials specifically formulated for resin bound surfaces. Plus, they often offer guarantees or warranties on their work – saving you both time and effort.
By investing in professional repairs for your resin bound surface, you’ll not only restore its beauty but also prolong its durability. So why let chips or cracks ruin the aesthetics of your outdoor space?

