Permanent Glue Dots have completely changed the game when it comes to sticking things together. They’re like the superheroes of adhesives, offering unbeatable strength and durability. But what if you find yourself in a sticky situation where you need to remove these seemingly indestructible dots? Can they really be removed, or are they truly permanent?
Well, fear not. In this blog post, we’re going to dive deep into the world of permanent Glue Dots and uncover the secrets to successfully removing them. Whether you’re a craft enthusiast, a DIY guru, or just someone who needs a practical solution to fix a mistake, we’ve got your back.
Now, I know what you might be thinking – “permanent” sounds pretty final. But here’s the thing: with the right approach and a few handy tools, it is absolutely possible to remove those stubborn Glue Dots without causing any damage. So get ready to become an expert on removing adhesive dots as we explore the process step by step.
By the end of this post, you’ll be armed with all the knowledge and techniques you need to tackle those pesky permanent Glue Dots head-on. So let’s jump right in and discover how to undo their mighty bond.
Can Permanent Glue Dots Be Removed?
Contents
- 1 Can Permanent Glue Dots Be Removed?
- 2 Removing Permanent Glue Dots from Smooth Surfaces
- 3 Removing Permanent Glue Dots from Porous Surfaces
- 4 Removing Permanent Glue Dots from Delicate Surfaces
- 5 Using a Specialized Adhesive Remover or Solvent
- 6 Prevention is Better Than Cure
- 7 Tips for Using and Removing Permanent Glue Dots
- 8 Conclusion
Permanent Glue Dots are the go-to adhesive dots for crafting and DIY enthusiasts. But despite their name, many wonder if these adhesive dots can actually be removed. In this article, we will explore the various methods and considerations for removing Permanent Glue Dots.
Can Permanent Glue Dots be Removed?
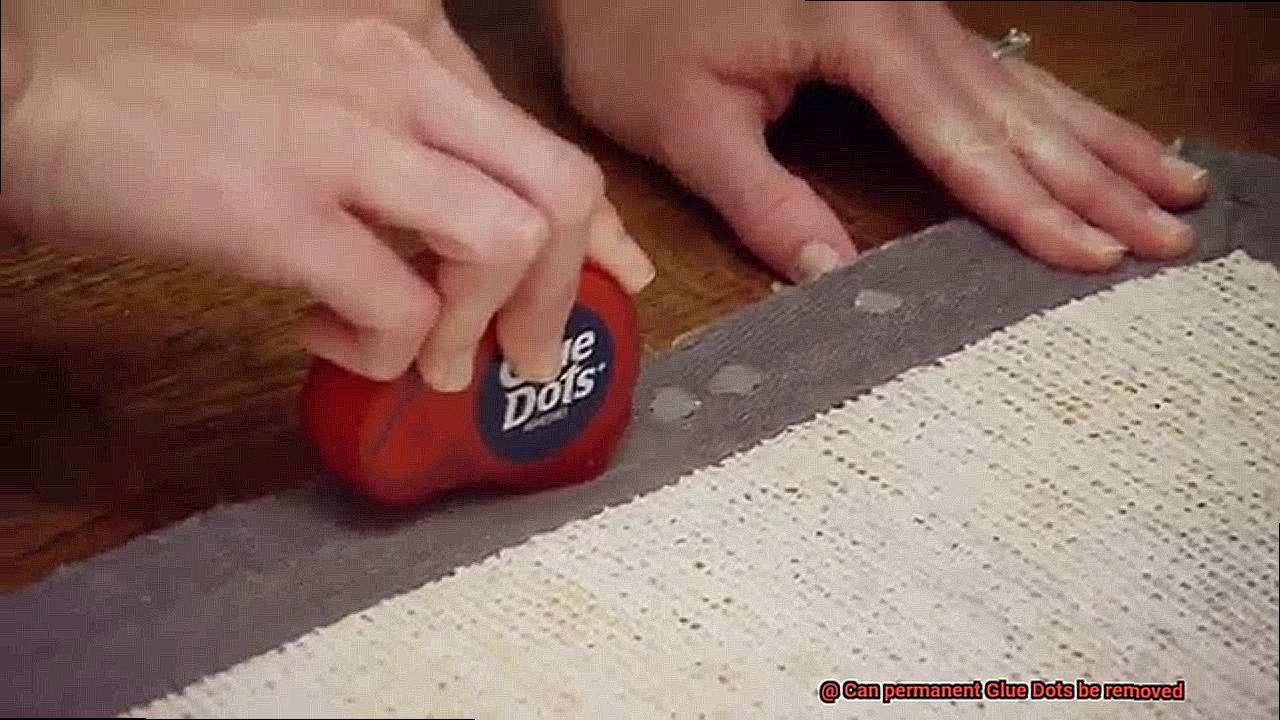
Contrary to their name, Permanent Glue Dots can indeed be removed under certain circumstances. The removal process depends on the surface they are adhered to and the specific type of adhesive used.
Method 1: Applying Heat
One effective technique for removing Permanent Glue Dots is by applying heat to soften the adhesive. Gently warm the Glue Dot using a hairdryer or heat gun on a low setting. Once the glue softens, it can be easily peeled off without leaving any residue behind. This method works wonders on smooth surfaces like glass or plastic.
Method 2: Adhesive Remover or Solvent
Another approach is using an adhesive remover or solvent. Apply a small amount of the remover onto a cloth or cotton swab, then gently rub it onto the Glue Dot. Allow it to sit for a few minutes before attempting to remove the glue using a scraping tool or your fingers. However, always test the adhesive remover on a small, inconspicuous area first to ensure it won’t damage or discolor the surface.
Considerations for Removal:
Different surfaces may require specific removal techniques. Seek professional advice or follow manufacturer instructions when dealing with delicate surfaces like paper or fabric.
- Porous surfaces like fabric or carpet may require additional techniques such as freezing the glue dot with ice cubes before attempting removal.
- Exercise caution when removing Permanent Glue Dots from delicate items like photos or artwork, as they can be easily damaged.
- Prevention is key: If you anticipate needing to remove Glue Dots in the future, consider using removable or repositionable adhesive dots instead.
Removing Permanent Glue Dots from Smooth Surfaces
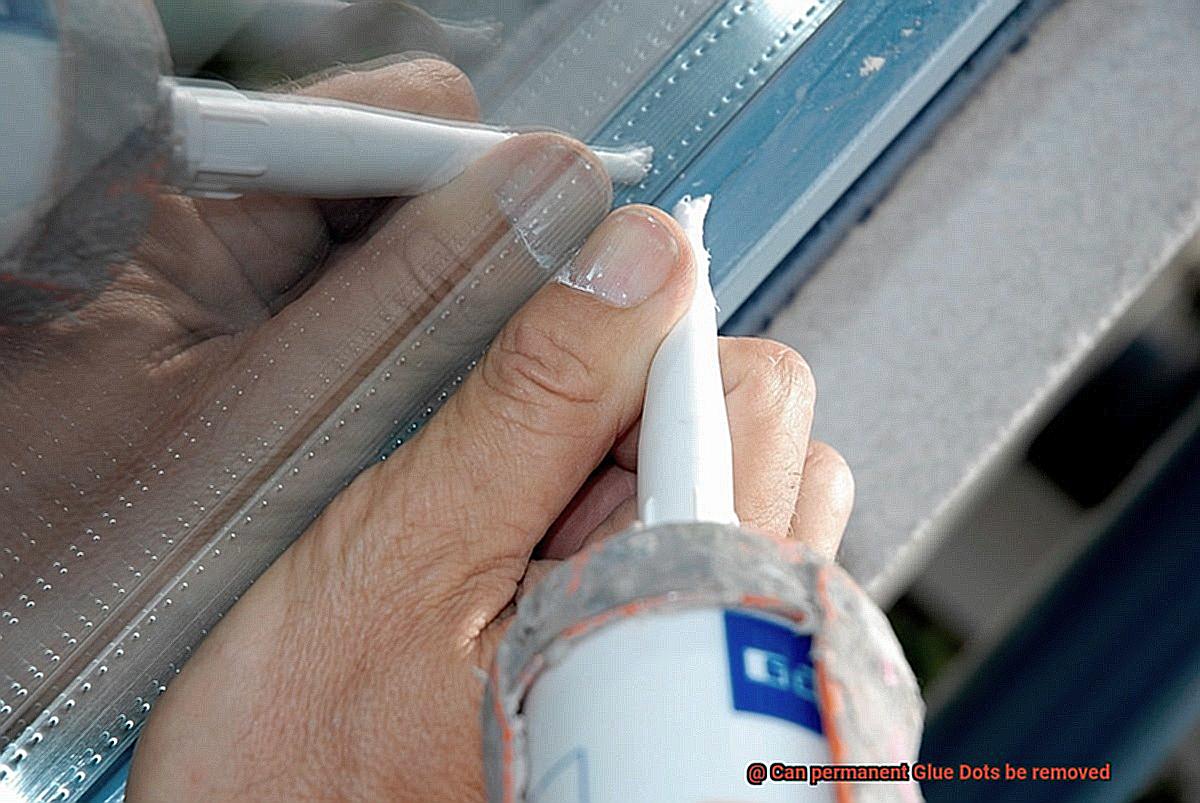
Permanent glue dots are notorious for their strong adhesive properties, but fear not. With the right techniques and tools, you can easily remove them from smooth surfaces without leaving a trace. In this comprehensive guide, we will explore the heat and solvent methods, as well as provide expert tips to ensure successful removal and prevention for future adhesive mishaps.
Method 1: Heat it Up
To loosen the grip of those stubborn glue dots, grab a hairdryer or heat gun. Set the heat source to a moderate setting and hold it a safe distance away from the glue dot. Apply heat evenly for about 30 seconds, allowing the adhesive to soften. Now comes the satisfying part—gently peel off the glue dot using a plastic scraper or your trusty fingernail. Patience is key here, so resist the urge to forcefully rip it off.
Method 2: Solvent Magic
When heat alone won’t do the trick, it’s time to bring out the solvents. Rubbing alcohol or nail polish remover are your secret weapons in this battle against sticky residue. Apply a small amount onto a clean cloth or cotton ball and gently rub the glue dot until it starts to loosen. Witness the magic as the adhesive dissolves and let out a victorious smile. Wipe away the softened glue dot with the cloth or cotton ball, repeating if necessary.
Method 3: Adhesive Removers
For those particularly stubborn glue dots that refuse to budge, adhesive removers come to the rescue. Purchase a specialized adhesive remover designed for this purpose and carefully follow the manufacturer’s instructions. Apply the product to the glue dot and let it sit for a few minutes, allowing it to penetrate the adhesive. With a gentle hand, scrape off the glue dot using a plastic scraper or wipe it away with a clean cloth.
Post-Removal Cleanup:
After triumphantly removing the glue dot, it’s time for some post-battle cleanup. Use mild detergent or soap and water to clean the surface, ensuring that any residue left behind by solvents or adhesive removers is completely removed.
Restore the smoothness and cleanliness of your once-sticky surface.
Expert Tips:
- Delicate surfaces require extra care. Start with the gentlest method (heat) and proceed cautiously to avoid any damage.
- Prevention is key. Use double-sided tape or removable adhesive dots to avoid future adhesive mishaps.
- When using solvents or adhesive removers, ensure proper ventilation and protect yourself by avoiding contact with eyes and skin.
Removing Permanent Glue Dots from Porous Surfaces
Porous surfaces, such as fabric, paper, and wood, can be particularly challenging when it comes to removing permanent glue dots. These materials have the tendency to absorb adhesives, making it difficult to separate without causing damage.
There are several tried and tested methods that can help you bid farewell to those stubborn glue dots while preserving the beauty of your favorite porous surfaces.
- The Power of Heat: Applying heat is a powerful method for softening adhesive. You can use a warm iron or hairdryer on a low heat setting to make the adhesive more pliable. Gently peel off the glue dot after it has softened. It is crucial to test a small, inconspicuous area first to avoid any unwanted discoloration or harm.
- Adhesive Removers: There are adhesive removers specially designed for porous surfaces. These magical potions are formulated to dissolve the adhesive without harming the material. Follow the instructions provided by the manufacturer and work in a well-ventilated area for optimal results.
- Rubbing Alcohol or Acetone: For fabric surfaces, rubbing alcohol or acetone can be effective in removing glue dots. Dab a small amount on a clean cloth and gently blot at the glue dot. Always test these substances on an inconspicuous area first to avoid any undesirable damage or color bleeding.
- Gentle Abrasion: Sometimes, a little bit of gentle abrasion can go a long way in removing stubborn glue dots from porous surfaces like wood. Use a soft-bristled brush or fine-grit sandpaper to scrub away at the adhesive. Be careful not to scratch or damage the material in the process.
- Natural Solutions: If you prefer natural remedies, look no further than your kitchen pantry. Lemon juice, vinegar, and olive oil can work wonders in breaking down the adhesive bond. Apply one of these substances with a cloth or sponge, let it sit for a few minutes, and then gently wipe away the glue dot.
Remember, patience is key when it comes to removing permanent glue dots from porous surfaces. Avoid using excessive force, as this can lead to more harm than good. If all else fails, don’t hesitate to seek professional help from restoration specialists or conservators. These experts have the know-how to safely remove those stubborn glue dots without causing any further damage.
Removing Permanent Glue Dots from Delicate Surfaces
Glue dots have the power to securely hold items together, but removing them from delicate surfaces without causing damage can be a challenge. Fear not. This blog post will guide you through gentle and effective methods to bid farewell to stubborn permanent glue dots while preserving your cherished belongings.
Method 1: Harnessing the Power of Heat
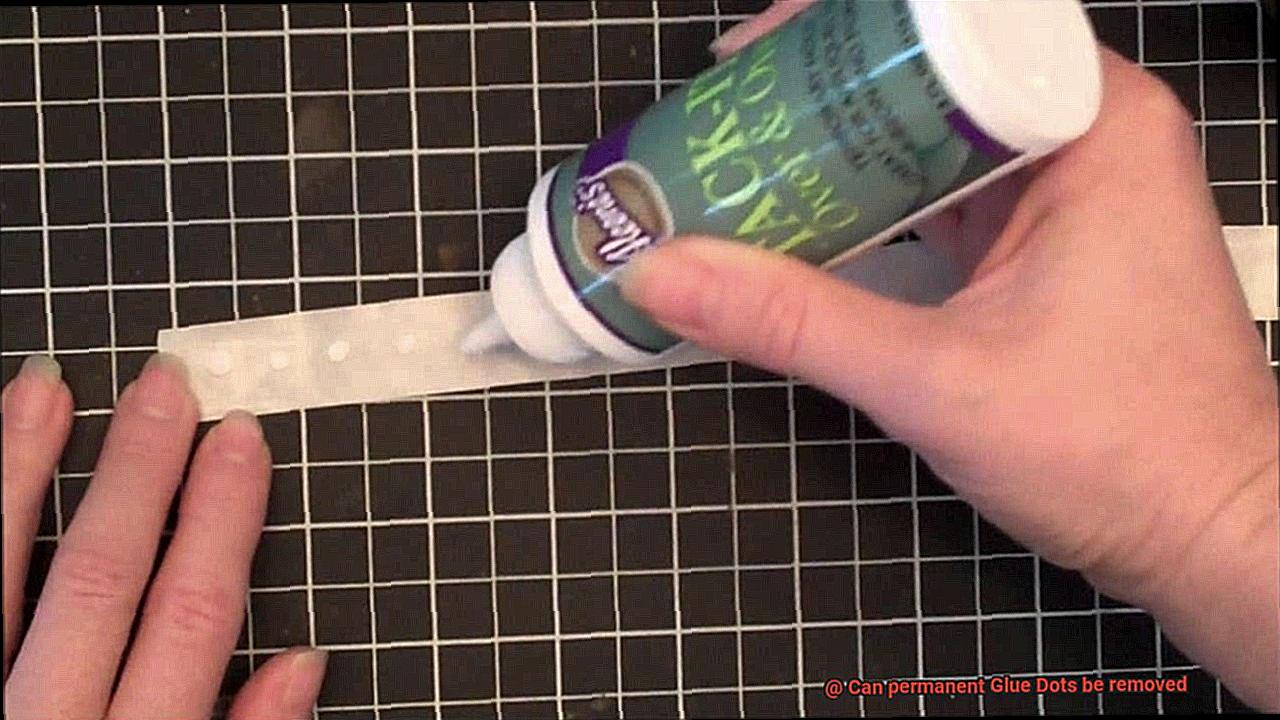
- Apply low heat from a hairdryer or a safe distance with a heat gun.
- Gently heat the glue dot for a few seconds until it becomes pliable.
- Once softened, delicately peel it off the surface using a clean cloth or your fingers. Avoid excessive force or pulling too hard.
Method 2: Adhesive Removers or Solvents
- Test an inconspicuous area with an adhesive remover to prevent damage or discoloration.
- Apply a small amount of adhesive remover onto a clean cloth or cotton swab.
- Rub it gently onto the glue dot, allowing the solvent to penetrate for a few minutes.
- After loosening, carefully peel off the glue dot using a clean cloth or your fingers.
Method 3: Professional Assistance
- Seek help from professionals if all else fails or if you’re concerned about potential damage.
- Professionals possess specialized techniques and tools to safely remove glue dots without causing harm.
Remember, prevention is key. Opt for removable or temporary adhesives whenever possible on delicate items. This simple step can save you from future removal hassles.
Using a Specialized Adhesive Remover or Solvent
Using a specialized adhesive remover or solvent can be a game-changer when it comes to removing stubborn adhesives like glue dots. These products are specifically designed to dissolve or weaken the adhesive properties of glue, making them easier to remove without causing any damage to the surface.
One of the benefits of using a specialized adhesive remover is that it can save you time and effort. Instead of struggling to scrape off adhesive residue with brute force, these removers work by breaking down the adhesive bonds, allowing for easier removal. This can be especially helpful when dealing with large or intricate surfaces covered in adhesive.
Another advantage is that specialized adhesive removers are formulated to be safe for use on various surfaces. Whether you’re working with glass, plastic, metal, or wood, there is likely a remover that is compatible with your surface. However, it’s always a good idea to test the remover on a small, inconspicuous area before applying it to the entire surface to ensure compatibility.
Specialized adhesive removers also come in different formulations to suit different needs. Citrus-based solvents, for example, are derived from natural ingredients like orange or lemon peel extracts. They are known for their pleasant scent and eco-friendly properties. These solvents are effective in breaking down adhesive bonds without causing harm to most surfaces.
Alcohol-based removers, on the other hand, work by dissolving the adhesive. Isopropyl alcohol is a common ingredient in these removers and can be quite effective in removing adhesives. However, it’s important to note that alcohol-based removers may not be suitable for all surfaces and should be used with caution.
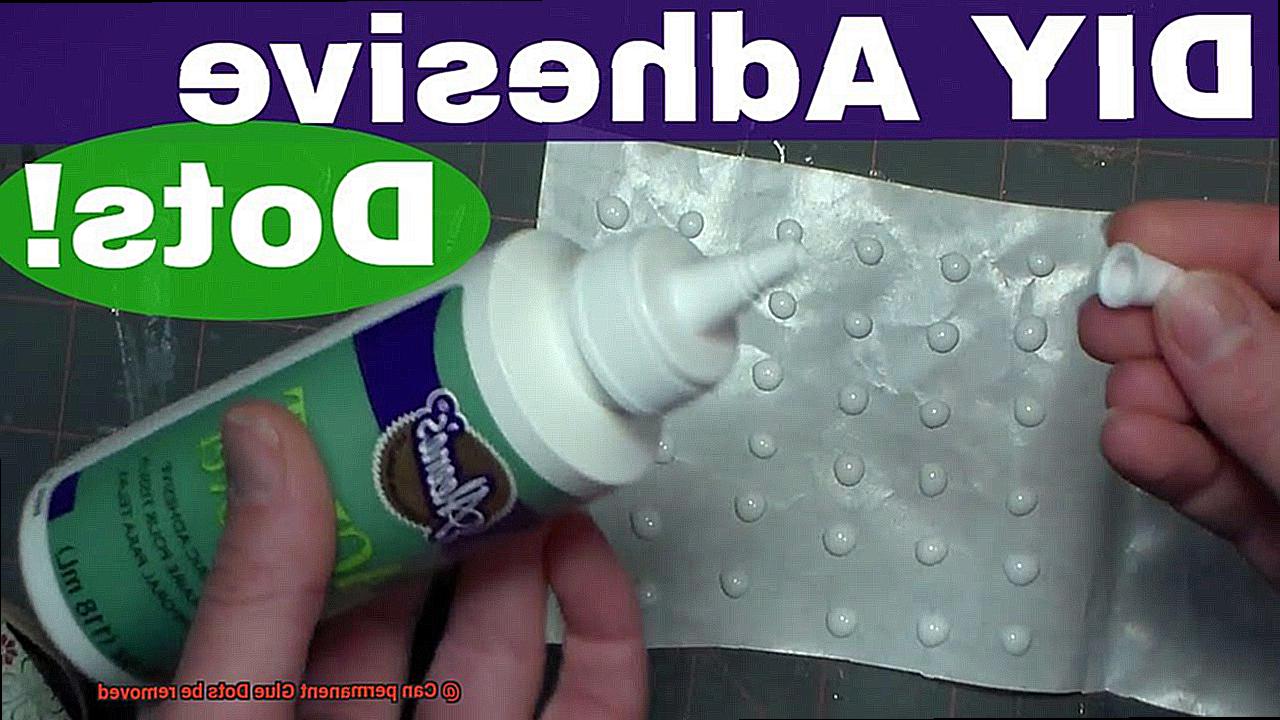
For heavy-duty adhesive removal tasks, commercial adhesive removers are available. These products are specifically formulated to tackle different types of adhesives and are often found in hardware or home improvement stores. They may contain stronger chemicals than citrus-based or alcohol-based solvents, so it’s important to handle them with care.
When using a specialized adhesive remover or solvent, it’s best to follow the manufacturer’s instructions carefully. Start by applying a small amount of the remover onto a clean cloth or sponge. Gently rub it onto the adhesive and let it sit for a few minutes to allow the remover to penetrate and weaken the adhesive bonds.
Once the adhesive has been sufficiently weakened, you can use a plastic scraper or your fingers (protected with gloves if necessary) to carefully lift off the adhesive from the surface. Avoid using sharp objects that may scratch or damage the surface.
After removing the adhesive, it’s important to clean the surface thoroughly to remove any residue from the adhesive remover. Use a mild detergent or soap and rinse with water. Dry the surface with a clean cloth.
It’s important to note that the effectiveness of specialized adhesive removers may vary depending on factors like the type and age of the adhesive, as well as the surface it’s adhered to. In some cases, multiple applications or additional techniques may be required for complete removal.
Prevention is Better Than Cure
When it comes to dealing with permanent glue dots, prevention is undoubtedly better than cure. The frustration and time-consuming process of removing these stubborn adhesives can be avoided altogether by taking proactive measures to prevent their occurrence in the first place. So, how can you save yourself the trouble? Let’s explore some key strategies for prevention.
First and foremost, choosing the right adhesive is crucial. Permanent glue dots are designed to provide strong and long-lasting adhesion, which can be great for certain applications but a headache when it comes to removal. Opting for temporary or removable adhesive options is a smart move. These adhesives offer a strong hold without the permanence, making them much easier to remove when needed.
Proper application techniques also play a crucial role in preventing permanent glue dot mishaps. It’s important to follow the manufacturer’s instructions and ensure that the surface is clean and dry before applying the glue dots. By doing so, you can achieve better adhesion and reduce the chances of needing to remove them later on.
Considering the surface material is another important factor in prevention. Different surfaces may react differently to adhesive removal methods or be more prone to damage. By choosing an appropriate adhesive for each specific surface, you can minimize the risk of damage and make removal a breeze.
Exploring alternative solutions that serve the same purpose as permanent glue dots but are easier to remove is also a wise preventive strategy. For example, using hook and loop fasteners or double-sided tape can provide a strong hold while allowing for easy removal when necessary.
Educating yourself about different types of adhesives and their properties is beneficial as well. Understanding which adhesives are suitable for different surfaces and applications can help you avoid using permanent glue dots when they are not necessary.
Tips for Using and Removing Permanent Glue Dots
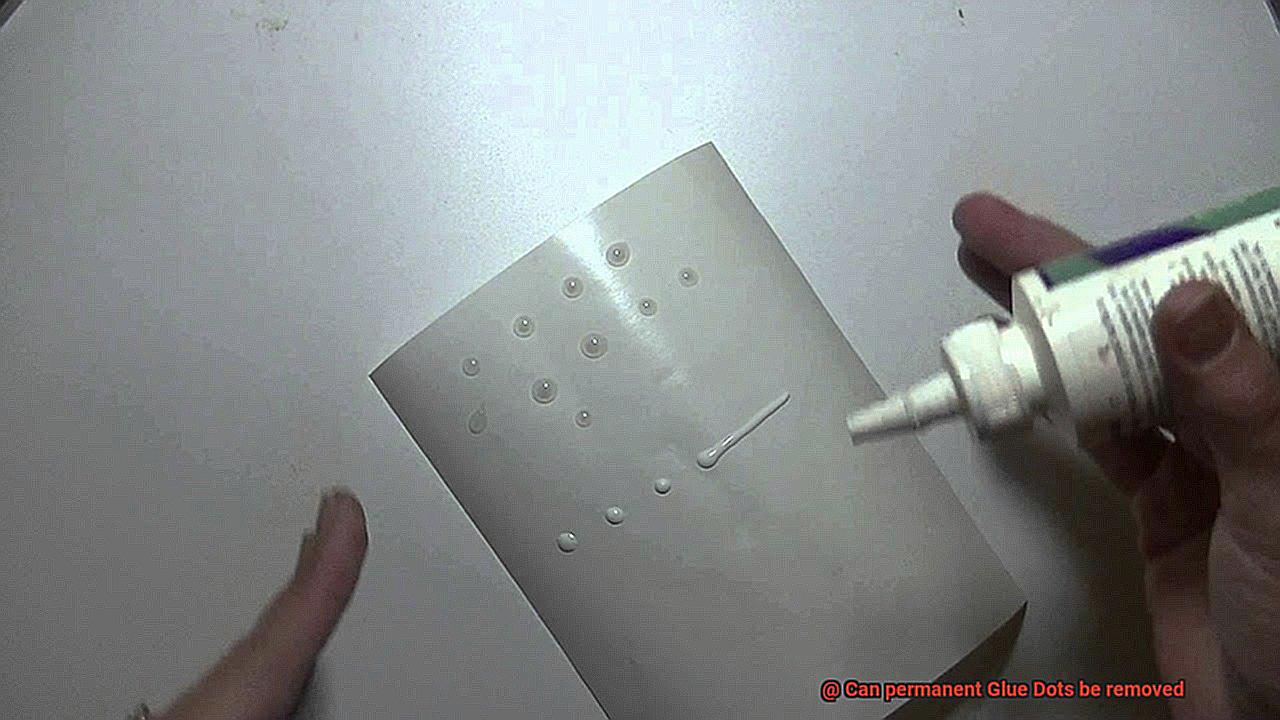
Well, fear not. In this blog post, we will explore some helpful tips and techniques for both using and removing permanent Glue Dots. So, let’s dive in and discover how to make the most of these powerful adhesives.
Assess the Surface:
Before attempting to remove permanent Glue Dots, take a close look at the surface they are attached to. Different surfaces may require different removal methods to avoid damage. For delicate surfaces like paper or fabric, proceed with caution and choose a gentle approach.
Use the Power of Heat:
If you need to remove permanent Glue Dots from smooth surfaces such as glass or plastic, harness the power of heat. Gently warm the Glue Dot with a hairdryer or heat gun on a low setting. This softens the adhesive, making it easier to peel off without causing harm.
Adhesive Removers to the Rescue:
For stubborn Glue Dots on porous surfaces like paper or fabric, reach for an adhesive remover or solvent. Apply a small amount onto a soft cloth and gently rub it over the Glue Dot until it starts to loosen. Always perform a patch test on an inconspicuous area before applying the remover widely.
Common Household Heroes:
No adhesive remover on hand? Don’t worry. You can utilize everyday household items like rubbing alcohol or nail polish remover. Apply a small amount onto a cloth and gently rub it over the Glue Dot until it starts to dissolve.
Say Goodbye to Residue:
Even after removing the Glue Dot, there may be some residue left behind. To tackle this, create a mild soap and water solution or use a specialized adhesive residue remover. Gently scrub the area until all the residue disappears, leaving your surface clean and ready for its next adventure.
Prevention is Key:
To avoid the hassle of removing permanent Glue Dots, consider using removable Glue Dots or other temporary adhesives if you anticipate repositioning or removing your project later on. Remember, prevention is always better than cure.
Conclusion
In conclusion, the answer to the question “Can permanent Glue Dots be removed?” is a resounding yes. These adhesive powerhouses may be designed for unyielding strength, but fear not – there are countless methods and techniques at your disposal to conquer their grip without causing any harm.
Smooth surfaces like glass or plastic can be tamed with the application of heat. Unleash the power of a hairdryer or heat gun, and watch as the adhesive succumbs to its softened state, ready for effortless peeling. For those seeking a chemical solution, adhesive removers or solvents can dissolve even the most stubborn bonds, making Glue Dot removal a breeze.
Porous surfaces like fabric or wood require a different approach. Embrace gentle abrasion or harness the natural powers of lemon juice or vinegar to loosen those tenacious Glue Dots. With finesse and determination, you’ll bid farewell to their clingy grasp in no time.
Remember, each surface material has its own demands. Always heed manufacturer instructions or seek professional advice when necessary. And let’s not forget prevention – choosing removable or repositionable adhesives and properly prepping surfaces before applying Glue Dots will minimize any future need for removal.
So don’t let the word “permanent” intimidate you – armed with these tips and techniques, you’ll face any sticky situation with unwavering confidence.

