Picture this: you’re knee-deep in a DIY project, staring at a pile of PVC pipes and fittings. You need an adhesive that can handle the pressure, something that will bond them together with unwavering strength. And then it hits you – Liquid Nails. But before you embark on this sticky adventure, let’s dive into the nitty-gritty of using Liquid Nails on PVC.
Liquid Nails has earned its stripes as a tried-and-true adhesive solution for countless projects. It’s like having a superhero by your side, ready to tackle any bonding challenge that comes your way. With its versatility and rock-solid grip, it has become a go-to choice for both seasoned DIY enthusiasts and professionals alike.
When it comes to PVC projects, Liquid Nails is no stranger to success. Its epoxy-like qualities allow it to form an unbreakable bond with PVC, creating connections that can withstand everything from scorching summers to bone-chilling winters. Whether you’re working with wood, metal, or good old PVC itself, Liquid Nails has got your back.
But hold your horses. Before you dive headfirst into the world of Liquid Nails and PVC bliss, there are a few things you should know. The manufacturer recommends using PVC primer and cement prior to applying Liquid Nails for optimal results. Skipping these crucial steps could jeopardize the integrity of your bond and lead to future headaches.
In this ultimate guide, we’ll unravel the mysteries behind using Liquid Nails on PVC. We’ll explore its benefits and potential drawbacks while equipping you with practical tips and guidelines for successful bonding adventures. By the time we’re done here, you’ll have all the knowledge and confidence needed to conquer your PVC projects with Liquid Nails – leaving behind nothing but sturdy connections and professional finishes.
So, whether you’re dreaming up PVC furniture, tackling plumbing projects, or venturing into uncharted creative territories, let’s plunge into the depths of using Liquid Nails on PVC and unlock a world of possibilities.
Advantages of Using Liquid Nails on PVC
Contents
- 1 Advantages of Using Liquid Nails on PVC
- 2 Factors to Consider When Using Liquid Nails on PVC
- 3 Preparing the Surface for Bonding with Liquid Nails
- 4 Applying the Adhesive to Create a Secure Bond
- 5 Different Types of Liquid Nails Formulations for PVC
- 6 Testing the Adhesive Before Full Application
- 7 Alternatives to Liquid Nails for Bonding PVC
- 8 Conclusion
When it comes to bonding PVC materials, choosing the right adhesive is crucial for achieving a long-lasting and durable bond. Liquid Nails, a versatile construction adhesive, is widely recognized for its ability to bond various surfaces effectively. In this article, we will delve into the advantages of using Liquid Nails specifically for PVC applications, highlighting its strong bond, versatility, waterproof nature, quick drying time, and ease of application.
Advantage 1: Strong Bond
Liquid Nails is specially formulated to create a strong and durable bond on smooth and non-porous surfaces like PVC. Its adhesive properties ensure that the PVC remains firmly in place, even under extreme stress or pressure. Whether you’re working on PVC pipes, fittings, or other construction materials, Liquid Nails provides a reliable bond that will stand the test of time.
Advantage 2: Versatility
One of the key advantages of using Liquid Nails on PVC is its versatility. This adhesive can be used for both interior and exterior projects involving PVC. It is suitable for a wide range of applications, including plumbing projects, outdoor installations, and general construction work. This versatility makes Liquid Nails a go-to choice for professionals and DIY enthusiasts alike.
Advantage 3: Waterproof
PVC is often used in applications where water resistance is crucial. The good news is that Liquid Nails creates a waterproof seal when applied to PVC surfaces. This prevents water from seeping through the bond and causing damage. So whether you’re working on a plumbing project or an outdoor installation exposed to the elements, you can trust that your bond will remain secure and protected against moisture-related issues.
Advantage 4: Quick Drying Time
In the world of construction and DIY projects, time is of the essence. Fortunately, Liquid Nails has a relatively quick drying time compared to other adhesives. Depending on factors such as temperature and humidity, the adhesive typically sets within 24 hours. This quick drying time reduces waiting periods and allows you to continue working on your project without unnecessary delays.
Advantage 5: Ease of Application
Liquid Nails is designed for easy application, making it user-friendly even for those with limited adhesive experience. It comes in a convenient tube or cartridge that can be easily dispensed using a caulking gun. The adhesive has a thick consistency that prevents excessive dripping or running, allowing for precise and controlled application. This ease of use ensures that the adhesive can be applied evenly on PVC surfaces, maximizing its bonding effectiveness.
Factors to Consider When Using Liquid Nails on PVC
Liquid Nails, the adhesive superhero, can work wonders when it comes to bonding PVC materials. But like any hero, it needs a little help to ensure a successful bond. In this article, we’ll explore seven key factors that will make your PVC project stick strong and last long with the power of Liquid Nails.
Choose the right Liquid Nails product:
Be a matchmaker. Not all Liquid Nails formulations are PVC-compatible. Before diving into your project, make sure to select a product that is specifically designed for bonding PVC materials. This perfect pairing will maximize the adhesive’s effectiveness and guarantee a successful bond.
Prepare the PVC surface:
Cleanliness is next to adhesive godliness. Ensure that the PVC surface is squeaky clean, bone-dry, and free from any dirt, grease, or debris before applying Liquid Nails. Grab a mild detergent or solvent and give it a good scrub to create the ideal environment for bonding.
Roughen or score the PVC surface:
Smooth surfaces need some tough love. PVC’s non-porous nature can be a challenge for adhesives, but fear not. Grab sandpaper or a scoring tool and roughen or score the surface of the PVC. These microgrooves will give Liquid Nails something to grip onto, creating a bond that can withstand anything.
Consider temperature and humidity conditions:
Mother Nature holds the key to success. Apply Liquid Nails in temperatures between 40°F and 100°F (4°C – 38°C) and keep humidity levels below 70%. Extreme weather conditions can mess with the adhesive’s powers, weakening its bond. So, keep an eye on the thermometer and humidity levels for a superhero-worthy bond.
Allow sufficient curing time:
Patience is a virtue. Different Liquid Nails products have different curing times, so follow the manufacturer’s instructions religiously. Curing time is the secret ingredient for a strong bond. Don’t rush it. Allow enough time for Liquid Nails to work its magic and create a bond that will hold your PVC project together.
Consider load-bearing requirements:
Strength in numbers. If your PVC application involves heavy loads or constant stress, Liquid Nails may need some reinforcements. Consider using mechanical fasteners or supports to give your bond that extra muscle. This superhero duo will ensure your PVC project stands tall and strong.
Test the bond:
Trust but verify. Before putting all your faith in the bond, perform a test run. Apply a small amount of Liquid Nails on a scrap piece of PVC and let it cure. Once it’s solid, put it to the test by applying pressure or giving it a gentle tug. A successful test will boost your confidence and guarantee a reliable bond in your final project.
Preparing the Surface for Bonding with Liquid Nails
Hold on tight, because we’re about to embark on a journey of adhesive magic.
Cleanliness is Key:
Start by giving the PVC surface a thorough cleaning. Grab a mild detergent or soap and water, and scrub away any dirt or grime. Rinse off any residue and make sure the surface is completely dry before moving on.
Roughen Things Up:
To create a strong bond, grab your trusty sandpaper or sanding block and gently sand the area where the adhesive will be applied. This creates a slightly roughened texture, giving the Liquid Nails something to grip onto. Think of it as creating a playground for the adhesive to frolic on.
Wipe Away the Dust:
After roughening up the surface, take a clean cloth and wipe away any lingering sanding dust. We don’t want any loose particles interfering with our bonding party, do we?
Boost with Primer (Optional):
For an extra boost of adhesion power, consider using a primer designed specifically for PVC bonding. These primers create a chemical bond between the adhesive and the PVC, strengthening the connection even further. Just follow the instructions on the primer bottle for application.
The Main Event – Applying Liquid Nails:
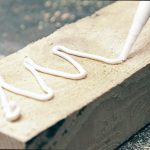
It’s time to apply the Liquid Nails adhesive. Squeeze out a bead of adhesive onto the PVC surface in a zigzag pattern or as directed by the manufacturer. Use enough adhesive to create a solid bond, but don’t go overboard and create a glue monster.
Let it Set:
Before joining the PVC surfaces together, give the Liquid Nails some time to work its magic. Let it set for a few minutes until it becomes tacky. This will ensure better adhesion when you press the surfaces together. Check the product’s instructions for the recommended drying time.
Joining the Surfaces:
Now comes the satisfying part – joining the PVC surfaces. Apply firm pressure evenly across the bonded area to ensure the adhesive spreads and creates a strong bond. You can even use clamps or other methods to hold the pieces in place while the adhesive cures. Again, refer to the product’s instructions for the recommended curing time.
And there you have it. By following these steps, you’ve successfully prepared the surface for bonding with Liquid Nails. Now sit back, relax, and watch that bond become one to be reckoned with. Just remember to follow all safety guidelines and test the bond to ensure it’s strong enough for any challenge you throw at it.
Applying the Adhesive to Create a Secure Bond
If you’re looking to create a secure bond between PVC and liquid nails adhesive, get ready for an adhesive adventure. In this comprehensive guide, we’ll walk you through the step-by-step process of achieving a rock-solid connection. So, fasten your seatbelts and let’s dive in.
Step 1: Surface Preparation
Proper surface preparation is the foundation for a successful bond. Begin by thoroughly cleaning the PVC surface, wiping away any dirt, grease, or debris. A mild detergent solution works wonders. Rinse it off and ensure it’s completely dry. This step ensures a direct bond without any barriers.
Step 2: Adhesive Selection
Choosing the right adhesive is crucial for a successful bond. Look for liquid nails adhesives designed specifically for PVC bonding. These adhesives offer superior compatibility and ensure optimal results. Check labels or consult experts at your local hardware store to find the perfect match for your project.
Step 3: Application Technique
Now, let’s get into the heart of the process – applying the liquid nails adhesive. Follow the manufacturer’s instructions carefully for optimal results. Load the adhesive into a caulk gun or use a notched trowel to apply a thin, even layer onto the PVC surface. Complete coverage without gaps or excess is key.
Step 4: Clamping and Curing
Bring our PVC pieces together in holy matrimony. After applying the adhesive, use clamps to firmly hold them in place for the recommended curing time provided by the manufacturer. This maintains constant pressure as the adhesive sets, ensuring a secure bond. Remember to use clamps that distribute even pressure across the entire bonded area.
Step 5: Temperature and Humidity Considerations
Temperature and humidity during curing can impact bond strength. Follow the manufacturer’s guidelines for temperature and humidity ranges. Extreme temperatures or high humidity levels can weaken bonds or prolong curing times. Mind these factors for optimal results.
Step 6: Safety Precautions
Safety first. Wear protective gloves and goggles to avoid contact with the adhesive. Ensure proper ventilation in your workspace to prevent inhaling fumes. Read and follow all safety instructions provided by the manufacturer. Keep yourself and others safe throughout the bonding process.
Different Types of Liquid Nails Formulations for PVC
Liquid Nails, a renowned adhesive brand, is widely used in construction and DIY projects. When it comes to bonding PVC materials, selecting the correct Liquid Nails formulation is vital to achieve a durable and robust bond. In this guide, we will explore different Liquid Nails formulations suitable for PVC and provide tips for successful bonding.
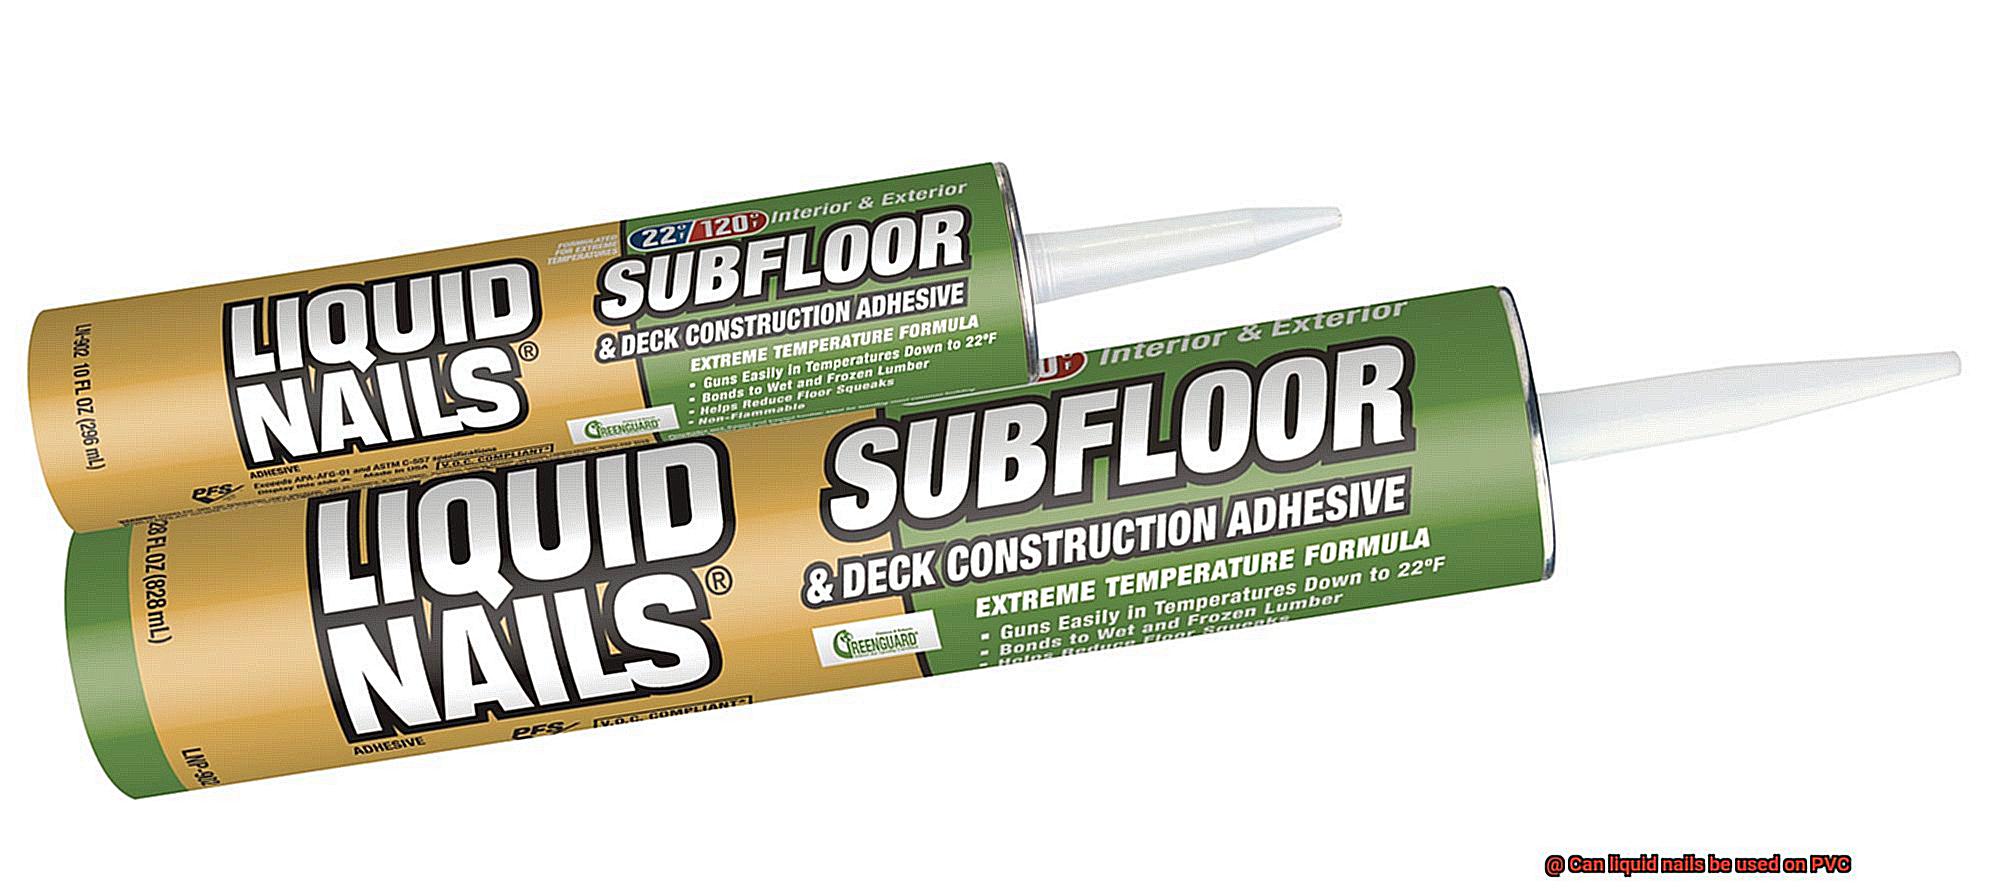
Understanding Liquid Nails Formulations:
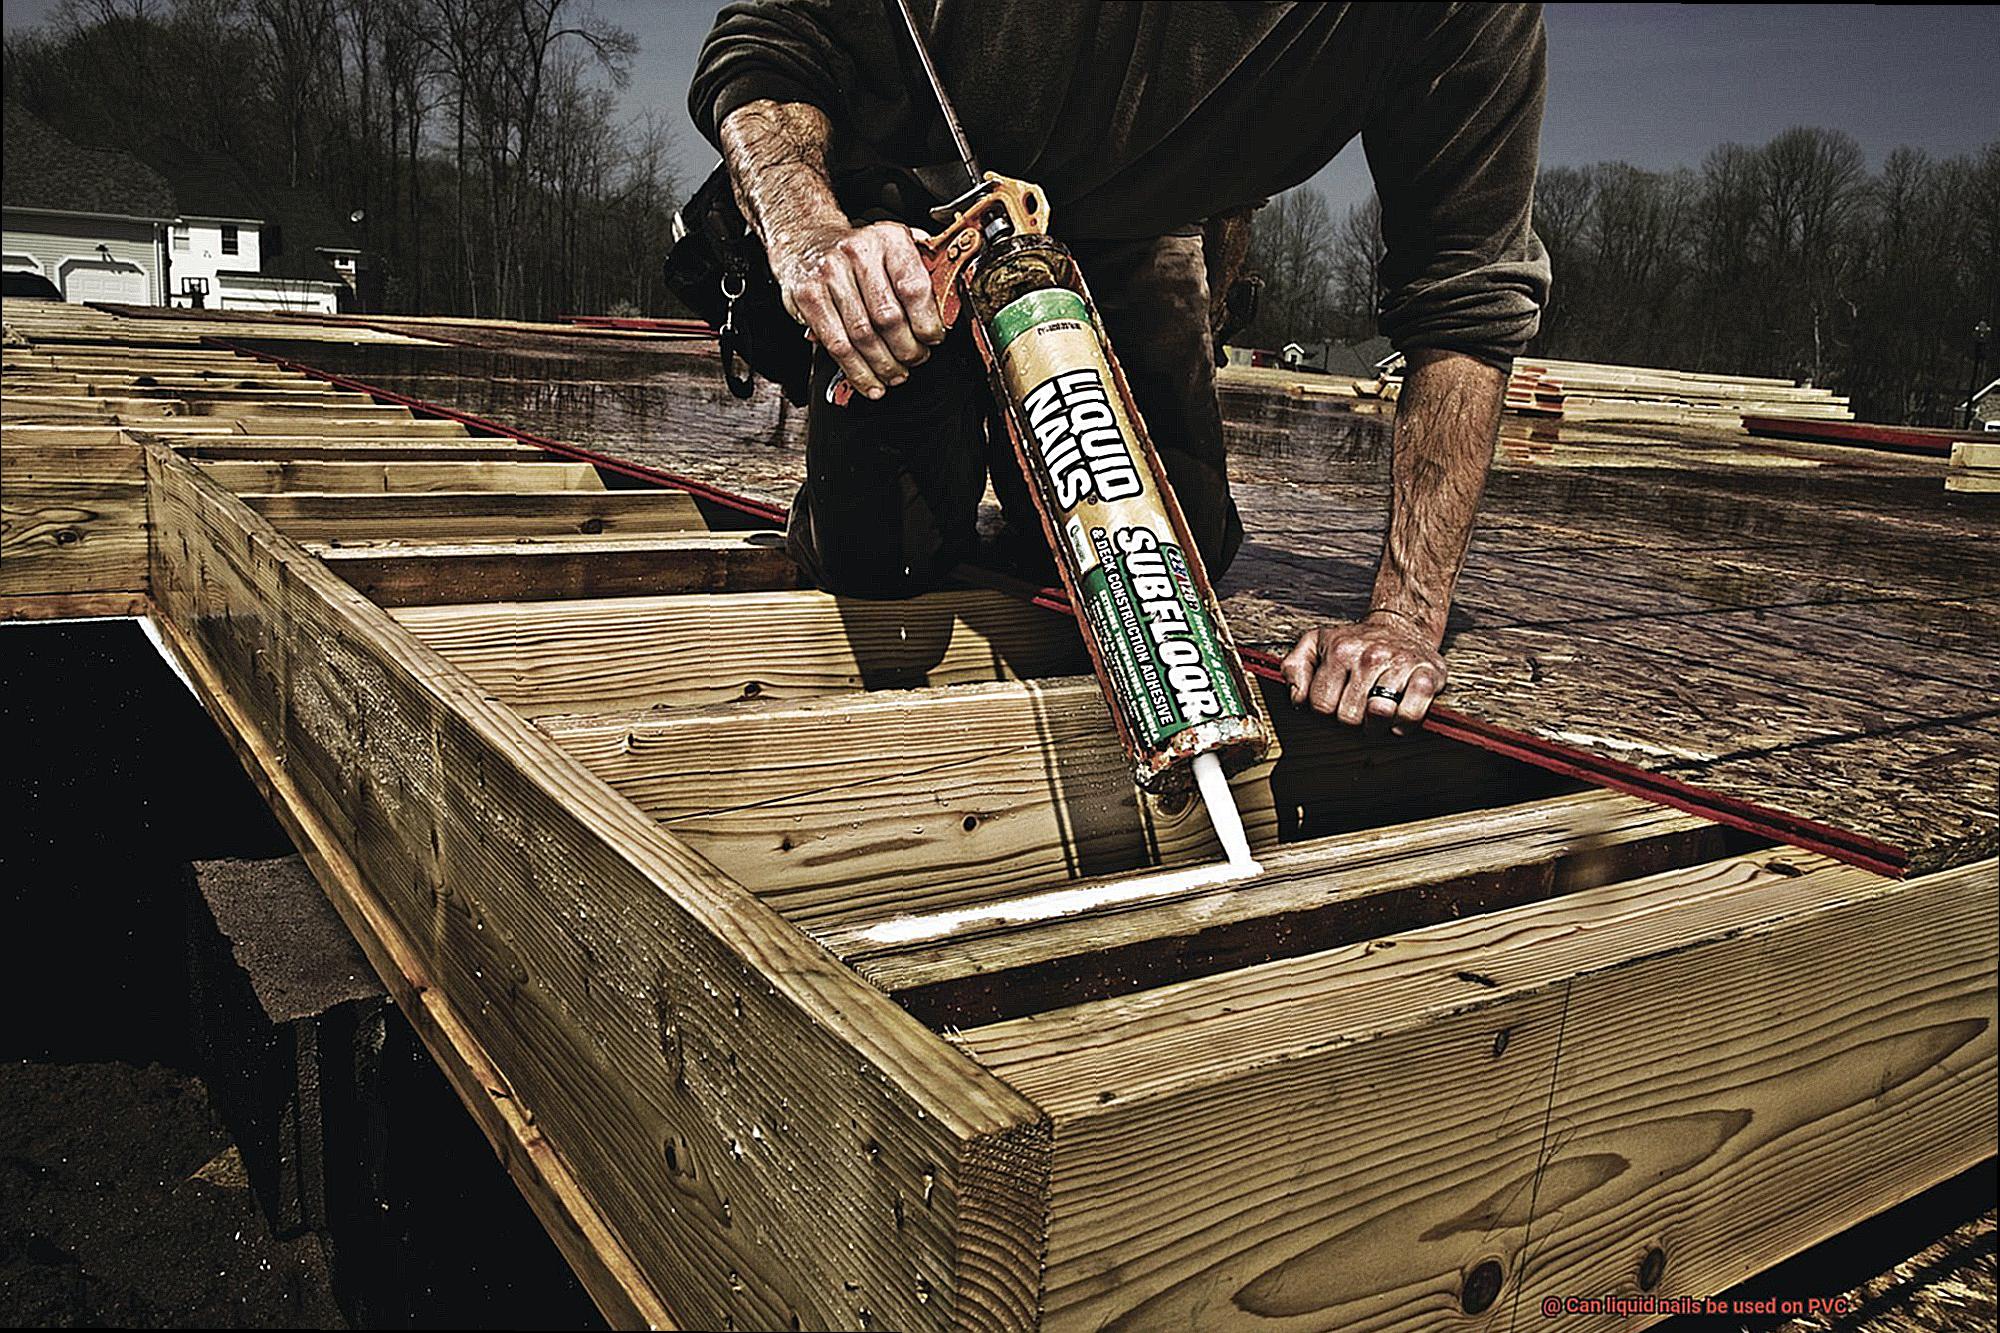
Liquid Nails offers various formulations, each designed for specific applications. Not all formulations are suitable for bonding PVC, so it’s crucial to choose the right one. Two popular options are the “Liquid Nails Subfloor and Deck Construction Adhesive” and the “Liquid Nails Heavy Duty Construction Adhesive.” These adhesives are known for their strength and versatility, making them suitable for bonding PVC materials.
Checking Compatibility:
Before applying any Liquid Nails adhesive on PVC, always check the product label or consult with a professional. Look for formulations that explicitly mention compatibility with PVC or plastic materials. Avoid using adhesives like “Liquid Nails Mirror Adhesive” or “Liquid Nails Cove Base and Stair Tread Adhesive,” as they are not recommended for PVC.
Proper Surface Preparation:
Preparing the PVC surface is crucial for a successful bond. Ensure that the surface is clean, dry, and free from any grease or contaminants that could affect adhesion. Consider lightly sanding the surface to improve the bond.
Application Techniques:
Follow the manufacturer’s instructions for application and curing time. Applying too much adhesive or not allowing sufficient curing time can result in weak bonds or adhesive failure. Apply an even layer of adhesive to both surfaces and firmly press them together.
Consider Mechanical Fasteners:
In some cases, using mechanical fasteners alongside Liquid Nails can provide added strength and stability. This can be beneficial for structural applications or projects involving heavy loads.
Testing the Adhesive Before Full Application
Before you embark on your PVC project and entrust its success to the power of Liquid Nails, it is crucial to put the adhesive to the test. Don’t jump in blind. By conducting a trial run on a small, inconspicuous area, you can ensure that the adhesive is compatible and effective. This simple yet essential step can save you from potential disasters down the line.
To begin the testing process, gather your Liquid Nails adhesive and two small pieces of PVC. Apply a small amount of the adhesive onto one of the PVC surfaces, ensuring an even spread. Then press the second piece of PVC firmly onto the adhesive, creating a bond that will be put to the ultimate test.
Now, patience becomes your ally. Allow the adhesive to cure for the recommended time, which can usually be found on the product label. This waiting period is not to be underestimated, as it allows the adhesive to fully set and form a bond that can withstand the challenges ahead.
Once the curing time has elapsed, it’s time for the moment of truth. With bated breath, gently attempt to pull apart the two pieces of PVC. If the adhesive holds firm and refuses to separate, rejoice. You have found a worthy companion for your PVC project.
But hold on just a moment. Don’t be too quick to celebrate. Take a closer look at the bonded area and scrutinize it for any signs of discoloration, warping, or damage caused by the adhesive. Your beloved PVC should remain unscathed by this bonding superhero.
Remember to take note of any environmental factors that may have influenced the test. Temperature fluctuations, humidity levels, and exposure to sunlight can all impact how well an adhesive performs.
If all goes well and the adhesive passes with flying colors, congratulations are in order. You have discovered a reliable and suitable adhesive for your PVC project. However, if any issues arise during testing, it’s best to seek an alternative adhesive that specifically mentions its compatibility with PVC materials.
Alternatives to Liquid Nails for Bonding PVC
In this comprehensive guide, we’ll explore the alternatives to Liquid Nails for bonding PVC. We’ll discuss the pros and cons of each option, factors to consider when selecting an adhesive, and provide expert tips along the way. Let’s dive in and find the perfect bonding companion for your PVC adventure.
PVC Cement:
First up, we have PVC cement – the superhero of PVC bonding. Specifically designed for joining PVC pipes and fittings, this adhesive offers a strong and permanent bond. It’s perfect for plumbing applications or any project involving PVC pipes.
Epoxy Resin:
Next on the list is epoxy resin – a versatile adhesive that bonds various materials, including PVC. With excellent strength and durability, epoxy resin is suitable for both indoor and outdoor applications. Choose a formulation made explicitly for bonding PVC.
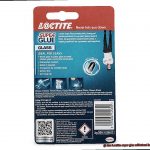
Cyanoacrylate Adhesive (Super Glue):
For quick fixes or small surface bonding needs, cyanoacrylate adhesive, also known as super glue, comes to the rescue. It forms a fast and strong bond, ideal for instant results. However, it may not be suitable for larger or load-bearing applications.
Polyurethane Adhesive:
Last but not least, we have polyurethane adhesive – known for its exceptional strength and flexibility. This adhesive can bond a wide range of materials, including PVC, providing a reliable and durable bond. It’s commonly used in construction and woodworking projects.
Factors to Consider:
When selecting an adhesive for bonding PVC, consider factors such as the size and weight of the materials being bonded, environmental conditions (temperature and humidity), and the intended use of the bonded item. Proper surface preparation is crucial – ensure the PVC surfaces are clean, dry, and free from grease or contaminants.
Conclusion:
While Liquid Nails can bond some types of PVC, there are alternative adhesives specifically formulated for bonding PVC that offer better adhesion and durability. PVC cement, epoxy resin, cyanoacrylate adhesive, and polyurethane adhesive are all excellent choices, depending on your project’s requirements.
Remember to conduct a trial run and test the adhesive’s compatibility and effectiveness before diving into your PVC project. With the right adhesive and proper surface preparation, you’ll be well-equipped to conquer your PVC adventure with confidence.
ccdw8KeK74g” >
Conclusion
In conclusion, it is indeed possible to use liquid nails on PVC.
Liquid nails, a versatile and strong adhesive, can effectively bond PVC materials together. Whether you’re working on plumbing projects or DIY crafts, liquid nails provide a reliable and durable solution for joining PVC components.
So, if you’re wondering if liquid nails can be used on PVC, the answer is a resounding yes.