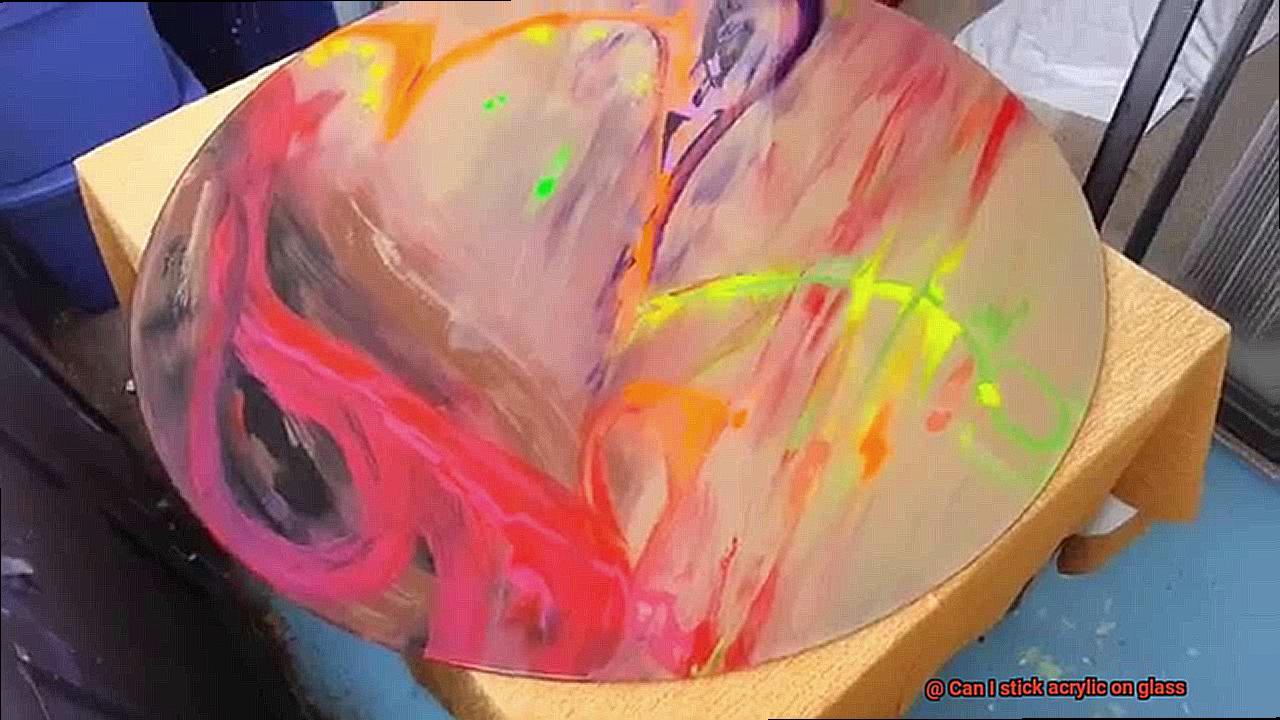
Picture this: a plain glass surface transformed into a vibrant masterpiece, effortlessly blending artistic expression with a touch of modern sophistication. Thanks to adhesive technology, the question arises – can you stick acrylic on glass? This captivating inquiry opens up a world of creative possibilities for DIY enthusiasts, artists, and interior designers alike.
Advantages and Disadvantages:
Adhering acrylic to glass comes with its fair share of advantages. Firstly, it offers durability and resistance to environmental factors like moisture and heat, ensuring your creation stands the test of time. Plus, it results in a smooth, professional finish that seamlessly merges the transparency of glass with the vibrancy and depth of acrylic colors.
However, before diving into this adhesive adventure, there are a few factors worth considering. Adding acrylic to glass can make it heavier, potentially becoming cumbersome. Moreover, improper application may lead to air bubbles or uneven adhesion, compromising both the aesthetic appeal and structural integrity.
Tips and Tricks for Success:
To ensure successful application, here are some valuable tips and tricks:
- Surface Preparation: Give your glass surface a thorough cleaning using a lint-free cloth and glass cleaner. Get rid of any grease, dust, or residue that could hinder the bonding process.
- Choose the Right Adhesive: Opt for a high-quality adhesive specifically designed for bonding acrylic to glass. Consider factors such as cure time, flexibility, and overall strength.
- Test Your Technique: Perform a small-scale test before applying acrylic to the entire glass surface. This allows you to gauge compatibility between the adhesive and acrylic while assessing adhesion strength and impact on aesthetics.
- Apply with Finesse: Use a smooth technique when applying the adhesive to prevent uneven coverage or unsightly bumps. Avoid excessive pressure or dragging to ensure a seamless bond.
- Support and Cure: During the curing process, provide proper support to ensure the acrylic adheres securely to the glass surface. Follow the manufacturer’s recommendations for curing time and conditions.
What is Acrylic?
Contents
- 1 What is Acrylic?
- 2 Adhesive Properties of Acrylic
- 3 Compatibility between Acrylic and Glass Surfaces
- 4 Choosing the Right Adhesive for the Job
- 5 Challenges in Sticking Acrylic to Glass
- 6 Preparing the Surfaces for Adhesion
- 7 Types of Adhesives Suitable for Bonding Acrylic to Glass
- 8 Other Considerations During Application
- 9 Conclusion
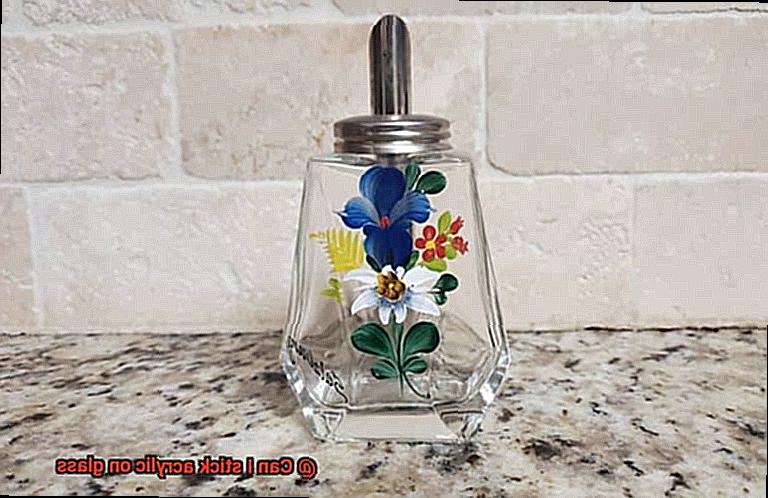
Enter the enchanting world of acrylic, a captivating material that has transformed industries far and wide. Known as acrylic glass or plexiglass, this remarkable substance has revolutionized art, construction, and manufacturing with its transparency, durability, and feather-like weight.
Prepare to be mesmerized as we delve into the properties, advantages, and potential drawbacks of acrylic, exploring its diverse applications and uncovering the secrets behind its allure.
Properties and Advantages:
Acrylic boasts an impressive array of properties that contribute to its widespread acclaim. Firstly, its optical clarity rivals that of glass, making it a breathtaking substitute for transparent applications. But acrylic doesn’t stop at beauty alone.
Its shatter-resistant nature sets it apart from fragile glass, ensuring safety without sacrificing elegance. Furthermore, with its exceptional resistance to UV radiation and weathering, acrylic emerges as the champion of durability in outdoor settings.
The versatility of acrylic is a defining characteristic that sets it apart from other materials. It bends to the will of designers, molding into any imaginable shape or size while maintaining its structural integrity. This unparalleled flexibility grants limitless potential in architectural projects, where acrylic reigns supreme in windows, skylights, and even building facades.
Artists have fallen under the spell of acrylic’s vibrant colors and swift-drying nature. Acrylic paints unleash a kaleidoscope of hues on canvas, as artists experiment with different techniques to bring their visions to life. And let’s not forget about the protective role acrylic sheets play in preserving artwork’s luster – a true guardian angel for creative masterpieces.
But acrylic’s appeal extends beyond aesthetics alone. Its strength and thermal insulation make it an unrivaled choice for practical applications. With high impact resistance as its armor against damage, acrylic becomes the trusted guardian for protective barriers and enclosures. Meanwhile, its lower thermal conductivity ensures consistent temperatures in aquariums, greenhouses, and energy-efficient windows, promising a haven for life to flourish.
Drawbacks:
While acrylic boasts numerous advantages, it’s only fair to acknowledge its potential drawbacks. Adhesive bonding between acrylic and glass surfaces can prove challenging due to differing surface properties. A strong and durable bond demands meticulous surface preparation and the use of suitable adhesives – the keys to unlocking the perfect union.
Acrylic’s Achilles’ heel lies in its susceptibility to scratching. To maintain its pristine appearance, proper care is paramount. Regular cleaning with non-abrasive materials and the application of protective coatings guard against unsightly scratches, ensuring acrylic’s enduring splendor.
Adhesive Properties of Acrylic
Acrylic, a wondrous material renowned for its transparency and durability, has revolutionized numerous industries. But how can we effectively join this magical substance with glass? We are about to uncover the secrets of adhesive bonding that will ensure a seamless and long-lasting union between acrylic and glass surfaces. So, let us embark on an adhesive adventure and discover the art of sticking acrylic to glass.
Choosing the Right Adhesive:
Selecting the appropriate adhesive is crucial when it comes to bonding acrylic to glass. One popular choice is clear silicone adhesive.
With its outstanding flexibility, resistance to moisture and temperature changes, and strong bonding properties, silicone adhesive proves to be a reliable partner in this sticky endeavor.
However, depending on your specific needs, other options such as double-sided adhesive tapes and solvent-based adhesives may also be suitable.
Proper Surface Preparation:
To achieve a flawless bond, meticulous surface preparation is essential. Before applying the adhesive, ensure that both the acrylic and glass surfaces are meticulously cleaned to eliminate any dust, grease, or dirt. These intruders can hinder the bonding process and weaken the connection.
Consider Thickness:
The thickness of the acrylic plays a vital role in determining the strength of the bond. Thicker acrylic sheets provide a larger surface area for bonding, resulting in a stronger connection. Therefore, when selecting your acrylic sheet, consider the desired strength of your bond.
Factors Affecting Adhesive Properties:
Be mindful of external factors that can influence the adhesive properties of acrylic. UV exposure, temperature fluctuations, and moisture pose challenges. If your acrylic will be exposed to these conditions, choose an adhesive that can withstand them to ensure a lasting bond.
Test Before Committing:
Before embarking on a full-scale bonding mission, conducting a small-scale test is always wise. Apply the adhesive to a sample piece of acrylic and glass to assess its compatibility and bond strength. This trial run ensures that you achieve the desired results without any surprises.
Follow the Manufacturer’s Instructions:
To ensure optimal bonding, adhere to the instructions provided by the adhesive manufacturer. Apply the adhesive evenly, allowing sufficient time for it to cure or dry before subjecting the bond to any stress.
Temporary Solutions:
Not all bonds need to be permanent. If you require a removable or repositionable solution, consider temporary adhesive options such as removable adhesive tapes or suction cups. These offer flexibility while still providing adequate stability.
Compatibility between Acrylic and Glass Surfaces
When it comes to bonding acrylic to glass, compatibility is the name of the game. You want a bond that is not just strong and durable, but also long-lasting. But before you even think about grabbing that adhesive, there are several crucial factors that need to be taken into consideration.
First and foremost, the type of adhesive you choose is absolutely critical. There are specific adhesives that are designed specifically for bonding acrylic to glass, such as acrylic-based adhesives or specialized glass adhesives. Acrylic-based adhesives are particularly renowned for their exceptional adhesion to both acrylic and glass surfaces, making them a highly popular choice. On the other hand, specialized glass adhesives are formulated specifically for bonding glass surfaces but can also be used for acrylic-to-glass bonding.
Preparation of the surfaces is also of paramount importance. Both acrylic and glass have smooth surfaces, which can pose a challenge for adhesives in creating a strong bond. Therefore, it is absolutely imperative to thoroughly clean and dry both surfaces prior to applying any adhesive. This will ensure the removal of any dirt, oils, or contaminants that could potentially interfere with the bonding process.
In addition to adhesive selection and surface preparation, temperature and humidity can also play a role in determining the compatibility between acrylic and glass. It is essential to take these factors into account when choosing an adhesive as certain adhesives may perform better within specific temperature ranges or humidity levels.
Furthermore, exposure to chemicals can have an impact on the bond between acrylic and glass. If your application involves exposure to chemicals, it is crucial to select an adhesive that is resistant to those specific chemicals in order to maintain the integrity of the bond.
To guarantee that the bond strength meets your requirements, it is always advisable to conduct a test before committing to a permanent bond. Apply a small amount of adhesive on a test piece and subject it to stress or environmental conditions similar to what it will encounter in your intended application. This will provide you with valuable insights into the bond’s performance and help you make any necessary adjustments.
In some cases, mechanical fasteners such as screws or clips may be required in addition to adhesive bonding to provide additional strength and stability.
If you find yourself uncertain about the compatibility between acrylic and glass or need guidance for a specific application, it is always wise to consult with professionals or experts in adhesive bonding. They have the expertise and knowledge to provide valuable insights and recommendations based on their experience.
Choosing the Right Adhesive for the Job
Choosing the right adhesive for the job is crucial when it comes to bonding materials together. It’s like selecting the perfect partner – you need compatibility, strength, reliability, and transparency. Just like a successful relationship, the bond between materials needs to be strong, durable, and long-lasting.
First and foremost, consider compatibility. Different materials require different adhesives. For example, if you want to bond acrylic to glass, you need an adhesive that can bond well with both surfaces. Look for adhesives specifically formulated for bonding plastic to glass, as these are designed to provide a strong and reliable bond.
Strength is another important factor. If you need a permanent bond that can withstand heavy loads or extreme conditions, opt for a stronger adhesive. On the other hand, if your project requires a temporary bond or won’t be subjected to much stress, a less strong adhesive may suffice.
Drying time is also critical. Some adhesives dry quickly, while others take longer to fully cure. If you need to use the bonded materials immediately after sticking them together, choose a fast-drying adhesive. This ensures efficiency and saves you precious time.
Transparency is key, especially when bonding transparent materials like acrylic and glass. If you want the bond to be nearly invisible, look for an adhesive that dries clear. Some adhesives may dry with a slight yellow tint which could be noticeable when bonding transparent materials.
Lastly, consult the manufacturer of the materials for any specific recommendations or requirements. They may have their own recommended adhesives that have been tested for compatibility and performance.
Challenges in Sticking Acrylic to Glass
When it comes to sticking acrylic to glass, it can feel like trying to merge two worlds that are fundamentally different. The challenges that arise from this endeavor require careful consideration and expertise.
In this blog post, we will delve into the complexities of bonding acrylic and glass, exploring the difficulties encountered and offering practical solutions.
Finding the Perfect Adhesive:
The first hurdle in this process is selecting an adhesive that is specifically designed to bond both acrylic and glass. Compatibility is key, as many adhesives may work well with one material but not the other. It is essential to choose an adhesive that has been tested and approved for use on both acrylic and glass surfaces.
Surface Preparation:
To achieve a strong bond, thorough surface preparation is crucial. Both the acrylic and glass surfaces must be impeccably clean, dry, and free from any contaminants. Dust, grease, or fingerprints can hinder proper adhesion. Use a mild detergent or solvent to clean the surfaces thoroughly, ensuring there are no residues left behind.
Smooth Glass Surface:
The smooth surface of glass poses a challenge as it lacks the necessary texture for the adhesive to grip onto. This can result in weaker bond strength between the acrylic and glass. To enhance adhesion, consider using a sandpaper or abrasive pad to create a roughened surface on the glass before applying the adhesive. This will provide a better surface for the adhesive to grip onto.
Temperature Considerations:
Acrylic has a tendency to expand and contract with temperature changes. This movement can compromise the bond between acrylic and glass over time, necessitating careful consideration when selecting an adhesive. Look for an adhesive that is designed to withstand temperature fluctuations without losing its bonding properties.
Size and Weight:
Larger or heavier acrylic pieces may require a stronger adhesive or additional support, such as mechanical fasteners, to ensure they remain securely attached to the glass. Consider using screws, brackets, or clamps in conjunction with the adhesive to provide extra stability and support.
Environmental Factors:
If the acrylic-glass combination will be exposed to moisture, UV light, or other environmental factors, it is essential to choose an adhesive that can withstand these conditions for long-term durability. Look for adhesives that are specifically formulated to resist water, UV radiation, and other environmental stresses.
Following Manufacturer’s Instructions:
Always adhere to the manufacturer’s instructions for both the adhesive and surface preparation. Deviating from these guidelines can lead to subpar bonding results. Pay close attention to the recommended curing time and temperature for the adhesive to ensure optimal bond strength.
Preparing the Surfaces for Adhesion
Whether you’re embarking on a DIY project or tackling a professional endeavor, proper surface preparation is essential. In this comprehensive guide, we will walk you through the crucial steps involved in preparing acrylic and glass surfaces for adhesion. By following these steps, you’ll ensure a seamless join that stands the test of time.
Step 1: Cleaning the Surfaces
To kickstart the process, begin by meticulously cleaning both the acrylic and glass surfaces. Use a mild detergent or glass cleaner to banish any dirt, dust, or greasy residues that might impede the bonding process. For acrylic surfaces, opt for a non-abrasive cleaner and gently wipe away contaminants using a soft cloth or sponge. Remember, a pristine surface is the foundation for optimal adhesion.
Step 2: Sanding the Surfaces
To enhance adhesion, lightly sand both the acrylic and glass surfaces using fine-grit sandpaper. This step creates a slightly rougher texture for the adhesive to cling onto. Be cautious not to exert too much pressure, as it could inadvertently scratch or damage the materials. The goal is to eliminate any glossy or smooth finishes that may hinder the formation of a strong bond.
Step 3: Applying Primer
Consider taking an extra step by applying a primer specifically formulated for bonding acrylic to glass surfaces. Primers work wonders by promoting effective bonding between different materials. Follow the manufacturer’s instructions meticulously when applying the primer, ensuring an even and thin coat. This additional effort can significantly amplify the strength of your bond.
Step 4: Choosing the Right Adhesive
Selecting the appropriate adhesive is paramount in ensuring a successful bond between acrylic and glass surfaces. Look for an adhesive specifically designed for these materials or one suitable for bonding plastics and glass. Transparency, flexibility, and long-term durability should be key factors to consider when making your choice. Don’t settle for subpar adhesives that might compromise the integrity of your project.
Step 5: Applying the Adhesive
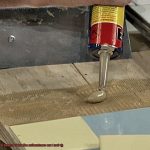
Once you’ve made an informed adhesive selection, it’s time to apply it. Follow the manufacturer’s instructions diligently. Apply a thin, even layer of adhesive to one of the surfaces using a brush, applicator, or nozzle, depending on the adhesive type. Refrain from using excessive adhesive as it can lead to messy results and potentially weaken the bond you’re aiming to achieve.
Step 6: Pressing and Curing
With the adhesive in place, carefully position and align the acrylic piece onto the glass surface. Apply gentle pressure to ensure optimal contact between the two surfaces. Depending on the adhesive used, it may require curing time or additional pressure before reaching its maximum strength.
Adhere strictly to the manufacturer’s recommendations regarding curing time and any supplementary steps required for optimal adhesion.
Types of Adhesives Suitable for Bonding Acrylic to Glass
Here, we’ll explore the different types of adhesives suitable for this task. Whether you’re a DIY enthusiast or a craft aficionado, choosing the right adhesive can make all the difference in creating a seamless and sturdy bond. Let’s dive right in.
Clear Silicone Adhesive:
Looking for flexibility and durability? Clear silicone adhesive is your go-to option. This adhesive forms a strong bond with both acrylic and glass surfaces, withstanding temperature changes and moisture. Its transparent nature ensures an invisible bond that won’t compromise the aesthetics of your project. Perfect for indoor and outdoor applications alike, this adhesive can weather any storm.
Acrylic-Based Adhesive:
When transparency is key, turn to acrylic-based adhesives. Made specifically for bonding acrylic surfaces, these adhesives offer high strength and clarity. They dry clear, ensuring that your project maintains its transparent beauty. Although they may require a longer curing time compared to other options, their exceptional bonding strength makes them worth the wait.
Epoxy Adhesive:
For an unbreakable bond, choose epoxy adhesives. These powerhouses provide excellent bonding strength and are resistant to chemicals, making them suitable for a wide range of applications. Keep in mind that epoxy adhesives may not be as transparent as silicone or acrylic-based options, but their strength compensates for it.
UV-Curing Adhesive:
Need speed? UV-curing adhesives are your answer. These adhesives cure quickly when exposed to UV light, creating a robust bond between acrylic and glass surfaces. With their rapid curing times and high bond strength, UV-curing adhesives are perfect for projects that need immediate completion.
Other Considerations During Application
When it comes to sticking acrylic on glass, there are several other considerations that should not be overlooked. These factors can greatly influence the success and durability of the bond between these two materials. Let’s dive into these considerations to ensure a seamless application process and a strong bond.
First and foremost, surface preparation is key. Before applying any adhesive, it is crucial to thoroughly clean both the acrylic and glass surfaces. Using a mild detergent or glass cleaner, scrub away any dirt, grease, or contaminants that could hinder the adhesive’s performance. A dirty bond is the last thing we want. Once cleaned, make sure to dry both surfaces completely. Remember, water and adhesive don’t mix well.
Now that we have squeaky-clean surfaces, let’s move on to adhesive selection. There are plenty of options available, but you want an adhesive specifically designed for bonding acrylic to glass. Look for acrylic adhesives or epoxy-based adhesives as they provide a strong and durable bond. Don’t settle for anything less.
Temperature and humidity are also critical factors to consider during application. It is important to apply the adhesive within the recommended temperature range specified by the manufacturer. Extreme temperatures can weaken the bond over time, so it is essential to work within the designated range. Additionally, high humidity levels can interfere with the curing process of the adhesive, so keep an eye on that as well.
Weight matters too. Acrylic and glass can vary in weight and structural integrity. When selecting an adhesive, consider the expected load and ensure that it can handle it without compromising safety. Check the manufacturer’s guidelines for maximum weight capacity – we certainly don’t want any accidents.
Lastly, not all acrylic is created equal. Some types may have unique characteristics or coatings that can affect adhesion. If your acrylic has a protective film or coating, make sure to remove it before sticking it to glass. Additionally, if necessary, lightly sand the acrylic surface to enhance adhesion. We want to create the strongest bond possible.
3KzZDi-aXD4″ >
Conclusion
Yes, you can definitely stick acrylic on glass. It’s a versatile adhesive option that provides a strong bond between these two materials. Acrylic adhesives are known for their excellent clarity and transparency, which makes them perfect for glass applications. Whether you’re working on crafts, DIY projects, or even industrial applications, using acrylic adhesive ensures a secure and long-lasting bond.
The beauty of sticking acrylic on glass lies in its simplicity. You don’t need any fancy tools or complicated techniques. Just make sure the glass surface is clean and free from any dust or grease. Apply a thin layer of the acrylic adhesive evenly onto the glass, making sure to cover the entire area where you want to attach the acrylic piece.
Once applied, carefully position the acrylic on top of the adhesive-covered glass surface. Press firmly but gently to ensure good contact between the two materials. Give it some time to cure and set properly according to the instructions provided by the adhesive manufacturer.
What’s great about using acrylic adhesive is that it dries clear, so it won’t leave any visible marks or residue behind. This means your finished project will have a seamless and professional look.
Whether you’re sticking acrylic onto glass for decorative purposes or functional reasons, such as creating signs or displays, this bonding method is reliable and effective. Acrylic adhesives provide excellent resistance to moisture and temperature changes, ensuring your project remains intact in various conditions.
So, go ahead and get creative with your glass and acrylic combination. With the right adhesive and proper application techniques, you can achieve stunning results that will impress others while enjoying the durability of this bond.
Remember to always follow safety guidelines when working with adhesives and consult with professionals if needed.

