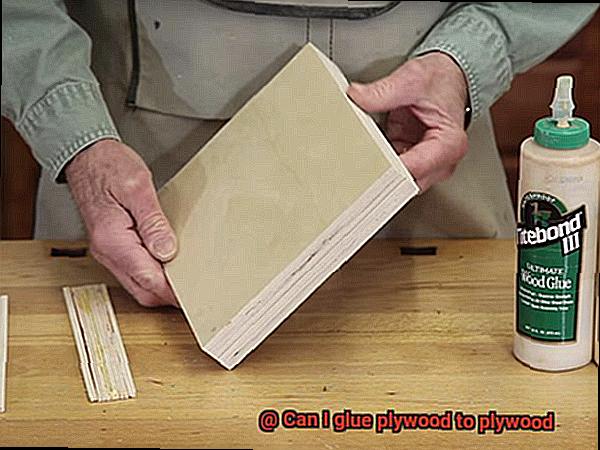
You’ve got a woodworking project in mind, and you’re wondering if gluing plywood to plywood is the way to go. Well, you’ve come to the right place. In this blog post, we’ll dive into the nitty-gritty of bonding plywood layers together.
By the end, you’ll have a clear understanding of whether this technique is a match made in woodworking heaven or a recipe for disaster.
Advantages:
- Strength That Stands Tall: When you glue plywood to plywood, it’s like creating a superhero duo – stronger together than apart. This method beefs up your structure’s muscle and stability, making it perfect for heavy-duty projects that need some serious reinforcement.
- Durability That Defies Odds: Gluing plywood layers creates one sturdy unit that minimizes weak spots like knots or voids commonly found in wood. The result? A durable masterpiece that can resist warping and splitting like a champ.
- Saving Money Without Sacrificing Quality: Let’s face it – solid wood can be quite pricey. But fear not. By using glue to bond plywood sheets, you can achieve thicker panels without breaking the bank. It’s a cost-effective solution for larger projects where every penny counts.
Disadvantages:
- Surface-Level Connection: When gluing plywood to plywood, the adhesive only sticks to the surface, leaving the core layers with less contact. This means your bond might not be as strong as other joining methods like nails or screws.
- Moisture Mayhem: Plywood has its kryptonite – moisture damage. And when glued together, this vulnerability intensifies. If you don’t seal or protect those glued edges properly, they might soak up moisture like a sponge, leading to swelling, delamination, or even mold growth.
- Precision Required: Gluing plywood to plywood demands a steady hand and precise alignment. You’ll need expert knowledge of clamping techniques, adhesive selection, and proper assembly to achieve the best results. It’s like a woodworking puzzle that requires finesse.
Types of Glue for Bonding Plywood
Contents
Plywood is a versatile material widely used in construction and woodworking projects. Choosing the right glue for bonding plywood is crucial to ensure a strong and durable bond. In this guide, we will explore various types of glue suitable for bonding plywood, their strengths and weaknesses, and factors to consider when selecting one.
Carpenter’s Glue (Yellow Glue or PVA Glue):
Carpenter’s glue, also known as yellow glue or PVA glue, is a water-based adhesive that provides a strong bond. It dries clear, making it ideal for interior projects where aesthetics matter. With its long open time, adjustments can be made before the glue sets. However, it is not waterproof and may not be suitable for outdoor applications or areas with high moisture levels.
Epoxy Glue:
Epoxy glue is renowned for its exceptional bonding strength. It forms a strong and durable bond between plywood surfaces and is resistant to moisture and temperature fluctuations. While it can be more expensive than other glues, its reliability makes it an excellent choice for structural projects or outdoor furniture.
Polyurethane Glue (Gorilla Glue):
Polyurethane glue, commonly known as Gorilla Glue, expands as it cures, filling gaps in the joint. It offers a strong bond and is moisture-resistant. However, its expanding properties can make it messy to work with, requiring careful application and clamping during the curing process.
Marine-Grade Adhesive:
For outdoor or marine applications requiring waterproof bonds, marine-grade adhesive is recommended. It withstands exposure to water, temperature fluctuations, and UV rays while providing a strong and durable bond. Although it may be more expensive than other glues, its ability to resist harsh environmental conditions makes it indispensable for long-lasting outdoor projects.
Contact Cement:
Contact cement provides an instant bond without the need for clamping. It is suitable for lightweight applications but may not be as strong as other glues for heavy-duty projects.
Considerations for Selecting the Right Glue:
When selecting the appropriate glue for bonding plywood, several factors should be considered. These include:
- Intended use: Determine whether the project is for interior or exterior use, and if it requires water resistance or exposure to harsh conditions.
- Strength and durability: Assess the level of strength and durability required for the specific application.
- Curing time: Consider the amount of time available for the glue to cure before the project can be further handled.
- Application method: Different glues have specific application methods, such as brush-on, squeeze bottle, or spray.
- Cost: Evaluate the budget constraints and balance them against the desired performance of the glue.
Successful Examples:
Preparing the Surfaces for Gluing
In this guide, we’ll explore the essential steps involved in preparing surfaces for gluing when bonding plywood to plywood. By following these steps, you’ll ensure that your project stands the test of time.
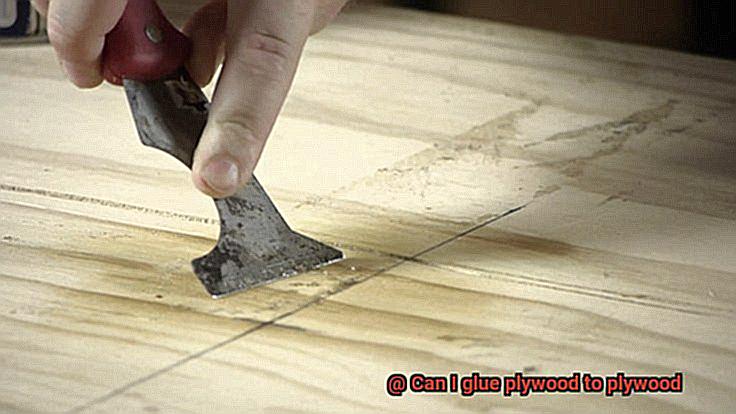
Step 1: Cleanliness is Key
Before embarking on any gluing project, ensure that both plywood pieces are clean and free from dust, dirt, or debris. Gently wipe down both surfaces using a soft cloth or sponge dampened with a mild detergent solution. Remove any loose particles, but be careful not to saturate the plywood with excessive water, as this can cause swelling or warping.
Step 2: Sanding for Better Adhesion
To enhance adhesion and remove any splinters or rough edges that could hinder a flush bond, sanding is crucial. Use medium-grit sandpaper and gently sand both plywood pieces in the direction of the grain. This step creates a rough texture on the surface, promoting better glue adhesion.
Step 3: Dust Away for Perfection
After sanding, it’s important to remove any sanding residue or dust. Even the tiniest amount of dust can impact the quality of the bond. Use a vacuum cleaner or compressed air to effectively remove loose particles and ensure a clean surface.
Step 4: Primer or Wood Conditioner for Extra Adhesion
For an added boost in adhesion, consider applying a thin layer of glue primer or wood conditioner. These products seal the surface and improve adhesion. Follow the manufacturer’s instructions for application and drying time to achieve optimal results.
Step 5: Choosing the Right Glue
Selecting the appropriate adhesive is crucial for a successful bond. Wood glue, epoxy, or polyurethane adhesive are suitable options for bonding plywood. Choose a glue specifically formulated for wood bonding and follow the manufacturer’s instructions for application and drying time.
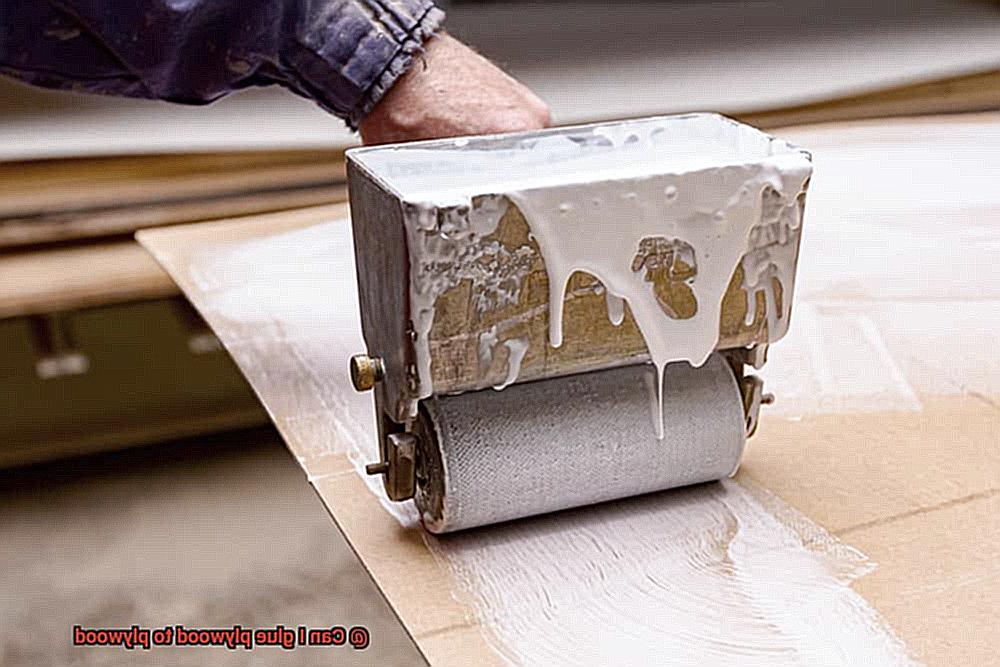
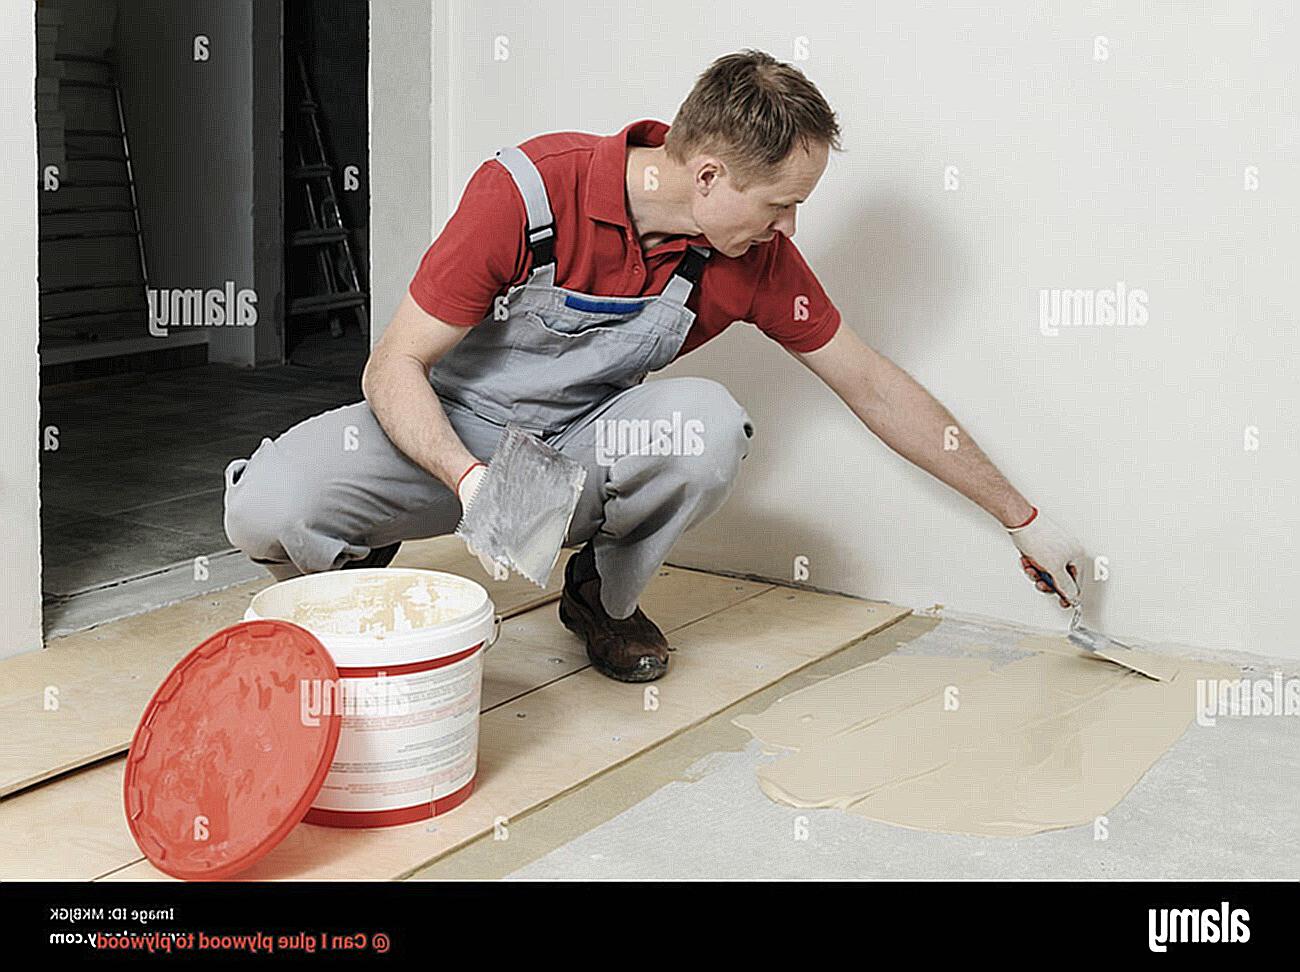
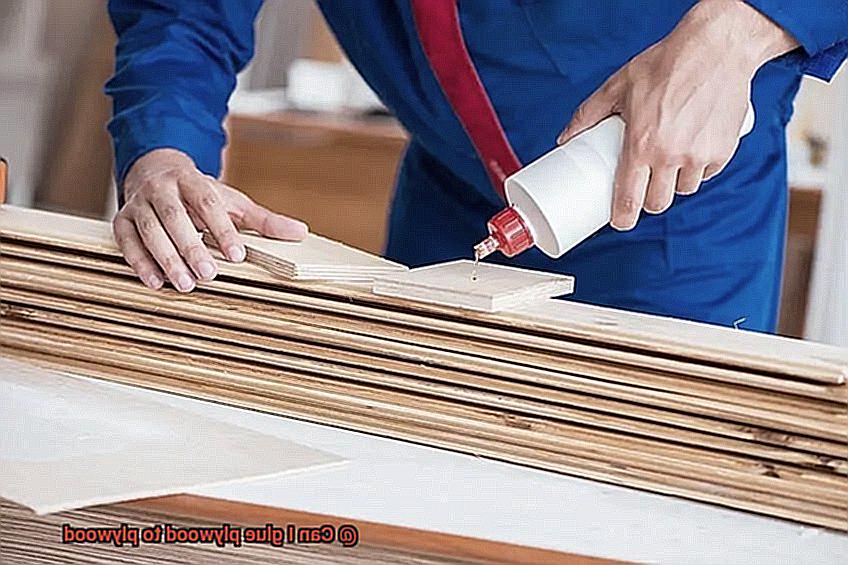
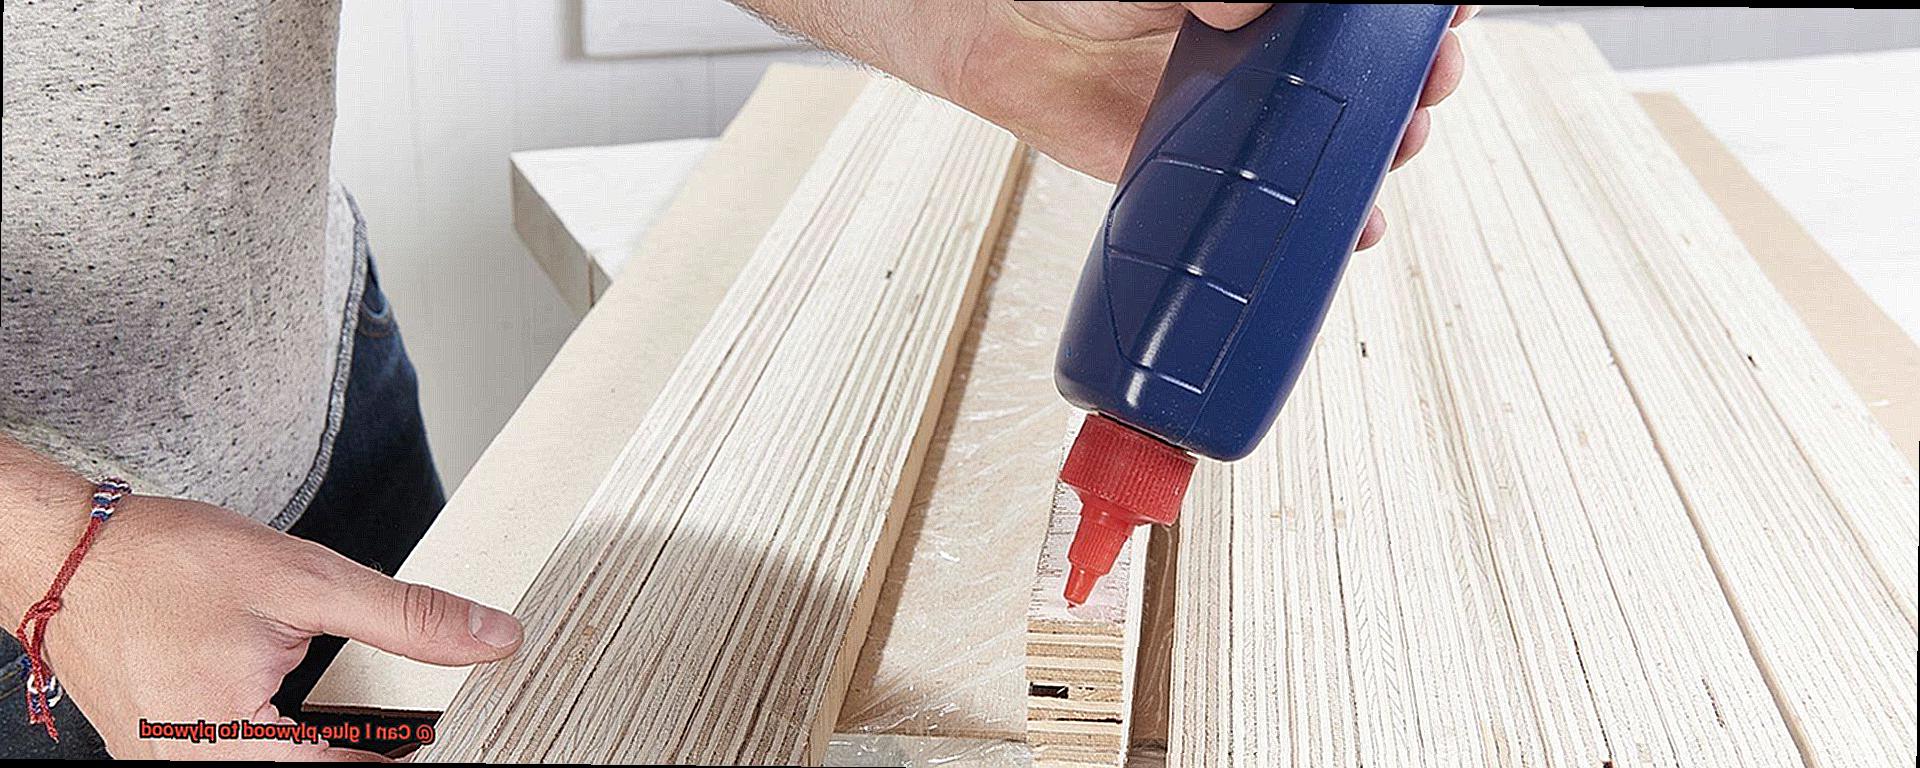
Step 6: Apply the Glue Evenly
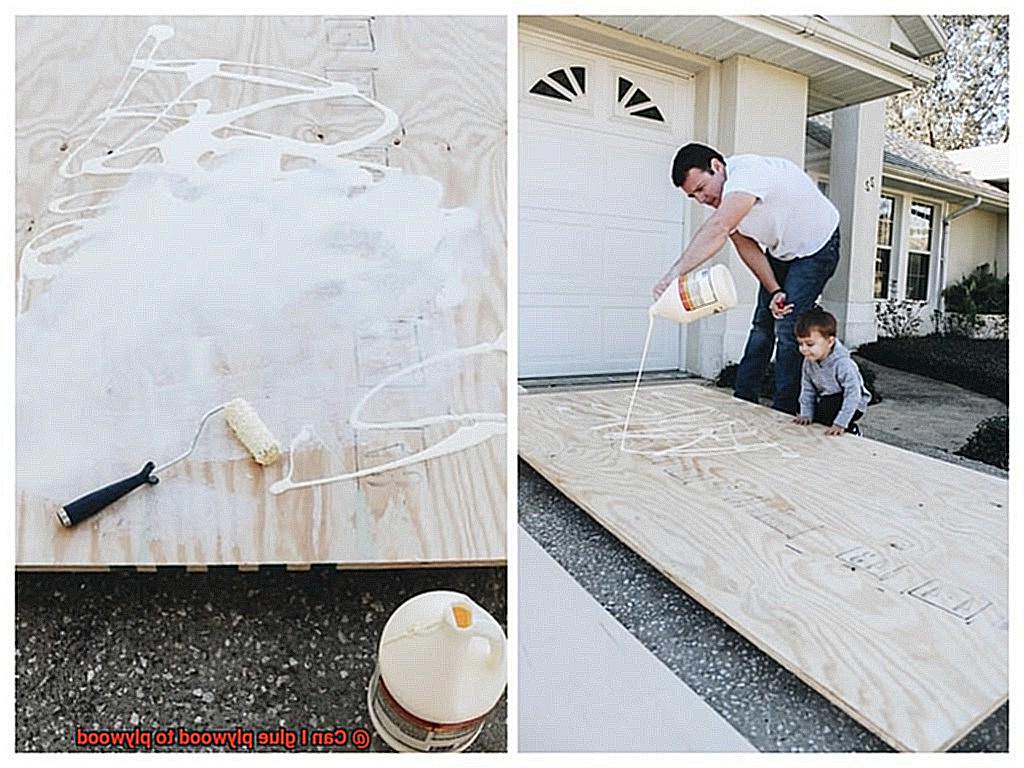
To ensure an even distribution of glue, use a notched trowel or a brush. Apply a thin layer of glue to both plywood pieces, ensuring full coverage. Avoid applying excess glue, as it can squeeze out during clamping and create a messy bond.
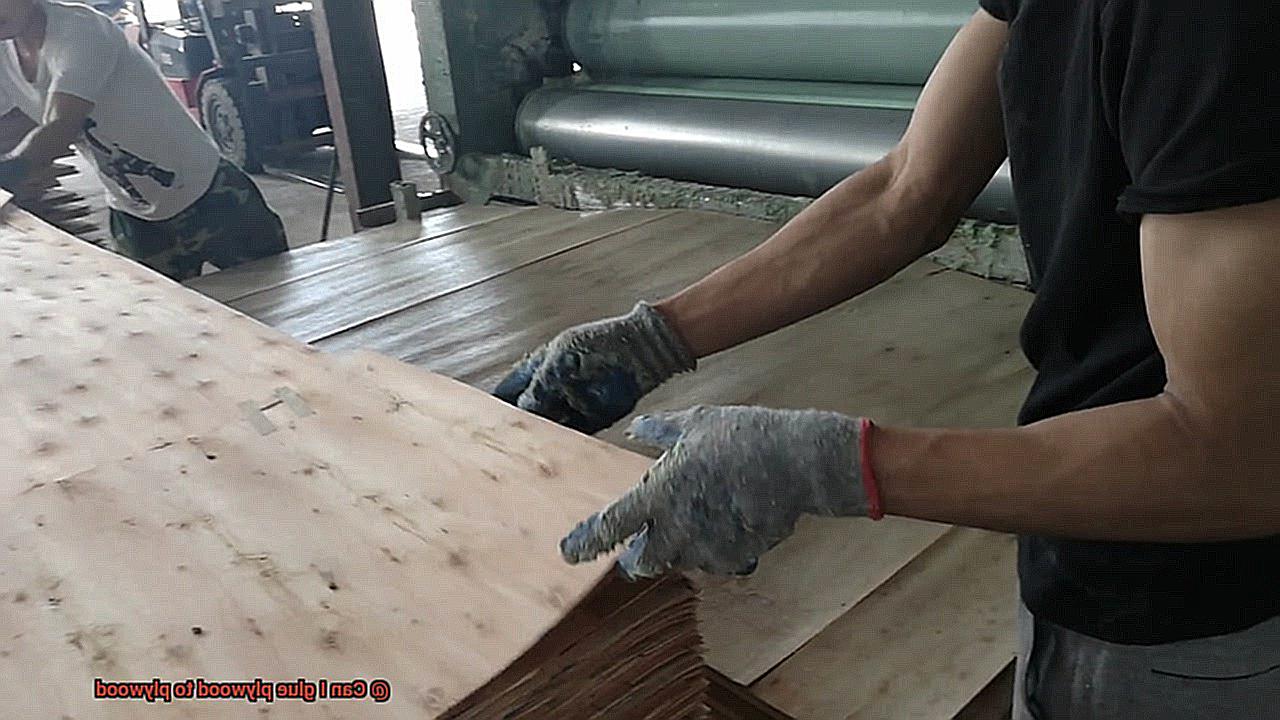
Step 7: Press and Clamp for Success
Carefully align the plywood pieces and press them firmly together. Apply even pressure across the entire surface to achieve a strong bond. Clamps or weights can be used to hold the plywood pieces in place while the glue dries. Follow the recommended drying time provided by the adhesive manufacturer.
Applying the Glue
Today, we will unravel the secrets behind achieving a solid bond that will withstand the test of time. So grab your safety goggles and get ready to dive into the intricate process of applying the glue.
- The Perfect Match: Adhesives come in a variety of flavors – wood glue, construction adhesive, epoxy – each with its own unique qualities. To ensure success, carefully select an adhesive that complements both your plywood type and project requirements.
- A Clean Canvas: Before diving into the gluing process, take a moment to prepare your plywood surfaces. Remove any dust or debris that might compromise the bond. Enhance adhesion by gently sanding the surfaces to create a textured foundation for the glue to cling onto.
- An Artful Stroke: Apply a thin, even layer of glue to one surface using a brush or roller. Remember, less is more. Overloading on glue can weaken the bond and create a messy aftermath.
- Spreading the Love: Now that you’ve laid down the foundation, it’s time to spread the glue evenly across the surface. Use a notched trowel or spreader to ensure complete coverage and eliminate any pesky air pockets.
- The Moment of Truth: Bring the two plywood pieces together with precision and care. Apply even pressure using clamps or weights to squeeze out excess glue and create an unbreakable bond that can withstand even your most ambitious projects.
- The Waiting Game: Patience is key when it comes to allowing the adhesive to fully cure. Refer to the manufacturer’s instructions for drying times as they may vary depending on the type of glue used. Remember, great things come to those who wait.
- Cleaning Up: Don’t let excess glue ruin your masterpiece. Swiftly wipe away any oozing glue with a damp cloth or sponge before it hardens. Pro tip: it’s much easier to clean up wet glue than to remove stubborn dried residue.
And there you have it – the art of applying the glue. By following these steps and harnessing the power of the right adhesive, you’ll be able to create bonds that would make any carpenter proud. So, unleash your creativity, embrace the process, and let the glue be your secret weapon for success.
Securing the Bond
Embark on a mission to create an unbreakable bond between plywood sheets with our comprehensive guide. Whether you’re a DIY enthusiast or a professional woodworker, this information will equip you with the knowledge to achieve remarkable results. Let’s dive in and unlock the secrets to securing the bond.
Step 1: Choose the Right Adhesive
To create a strong bond, start with the right adhesive. Consider wood glue, epoxy, polyurethane adhesive, or construction adhesive – each designed for bonding wood surfaces. Evaluate the application and specific properties of each adhesive before making your choice.
Step 2: Prepare the Surfaces
Properly preparing the surfaces is essential. Thoroughly clean both plywood sheets, removing dirt, dust, and grease that hinder adhesion. Enhance bonding by lightly sanding the surfaces to create a rough texture.
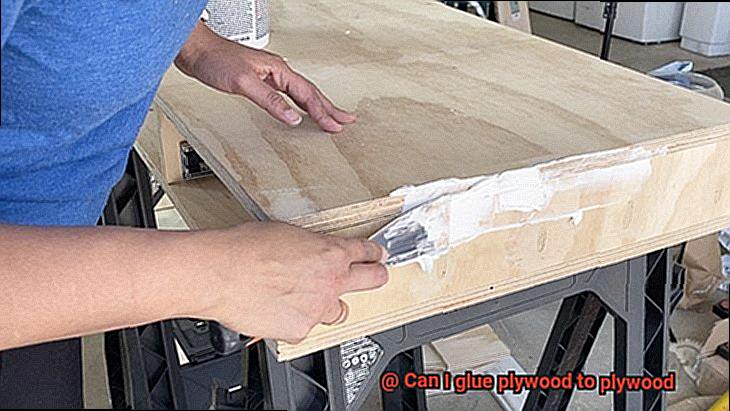
Step 3: Apply Adhesive Evenly
Achieve a secure bond by applying the adhesive evenly across both plywood surfaces. Use a notched trowel or paintbrush for complete coverage without excessive buildup. Follow the manufacturer’s instructions regarding open time and clamping requirements to prevent premature bonding.
Step 4: Join the Plywood Sheets
Carefully align the edges of the plywood sheets and apply even pressure across the entire surface. Firmly hold the pieces together during the curing process using clamps, weights, or other suitable methods.
Step 5: Allow Sufficient Curing Time
Patience is key. The curing time varies based on adhesive type and environmental factors like temperature and humidity. Ensure full drying and curing before subjecting the bond to stress or load-bearing activities.
Step 6: Consider Reinforcement (if necessary)
For high-stress applications or thinner plywood, reinforcement may be necessary. Enhance strength and stability by using mechanical fasteners like screws or nails in conjunction with the adhesive.
Step 7: Protect the Bond
Moisture, temperature changes, and external elements can affect the bond’s durability. Seal the edges and surfaces of the plywood to safeguard against these threats.
Considerations for Heavy Loads and Stress on Joints
Today, we’re diving into a crucial topic when it comes to creating sturdy structures and furniture: considerations for heavy loads and stress on joints. When dealing with heavy loads, it’s essential to pay special attention to the materials and techniques used to ensure the longevity and durability of your projects.
One of the key factors to consider is the type of adhesive used. Wood glue, also known as carpenter’s glue or yellow glue, is a popular option for bonding wood surfaces. Its exceptional strength and durability make it ideal for heavy load-bearing applications. Wood glue penetrates deep into the wood fibers, creating a solid connection that can withstand significant weight and stress on joints.
However, before applying any glue, cleanliness is paramount. Ensure that the surfaces you’re gluing together are squeaky clean. Remove any dirt, dust, or grease that could compromise the bond. If needed, give the surface a gentle sanding to roughen it slightly. This will enhance the bonding strength and allow the glue to grip more effectively.
When it comes to technique, an even application of glue is crucial for a strong bond. Use a brush or roller to spread the glue evenly on both surfaces. Be mindful not to create excessive pooling or dripping. Remember, too little glue may result in weak joints, while too much can lead to messy situations.
Clamping is another vital step in this process. Use clamps to hold the glued surfaces together tightly while they dry. The pressure from the clamps ensures maximum contact between the plywood sheets and allows the glue to cure properly. Position the clamps strategically along the joint to distribute pressure evenly and prevent any gaps or unevenness in the bond.
Now, let’s talk drying time. Different wood glues have varying drying times, so it’s important to follow the manufacturer’s instructions closely. Patience is key here—don’t rush the process by removing clamps too early or applying stress on the joints before the glue is fully cured. Remember, good things come to those who wait.
In some cases, additional reinforcement may be necessary to handle heavy loads and stress on joints. Consider using screws, nails, or dowels in conjunction with the adhesive. These reinforcements act as a backup plan, providing extra strength and stability to the joint. They ensure your plywood can withstand whatever weight or pressure you throw at it.
Pros and Cons of Gluing Plywood to Plywood
When it comes to woodworking projects, joining plywood pieces together is a crucial decision. While mechanical fasteners like screws and nails have their place, gluing plywood to plywood presents its own set of advantages and disadvantages. In this post, we will explore the pros and cons of this technique, equipping you with the knowledge needed to make an informed choice for your plywood projects.
The Pros:
Strength and Durability:
Gluing plywood to plywood creates a robust bond that can withstand heavy loads and stress on joints. When the right adhesive is used, the individual plywood pieces become a single, solid structure, providing enhanced strength and stability.
Even Distribution of Stress:
One significant benefit of gluing plywood to plywood is its ability to evenly distribute stress across the joint. This helps prevent warping or bending over time, making it ideal for larger or heavier plywood panels.
Aesthetically Pleasing Finish:
Unlike screws or nails, gluing plywood to plywood offers a seamless finish without visible fasteners. This creates a clean and smooth surface, perfect for furniture or cabinetry where aesthetics matter.
Reversibility:
Glued joints can be easily separated by applying heat or using specific solvents. This makes repair or modification easier compared to permanent joining methods like screws or nails.
The Cons:
Choosing the Right Glue:
Not all adhesives are suitable for bonding plywood, so selecting the right glue is crucial. Using an incompatible adhesive can lead to weak joints that may fail under stress. Opt for high-quality adhesives specifically designed for woodworking applications.
Lower Sheer Strength:
While glued joints can be strong and durable, they may not possess the same sheer strength as mechanical fasteners. This consideration is important when dealing with heavy loads or constant stress on the joint.
Surface Preparation:
Proper surface preparation is essential for a successful bond. Plywood surfaces must be clean, dry, and free from contaminants or coatings that could interfere with the adhesive. Take the time to sand the surfaces and apply a wood primer for improved adhesion.
Time-Consuming Process:
Gluing plywood to plywood can be more time-consuming compared to other joining methods. The glue requires sufficient curing and setting time before the joint can be subjected to stress. This can impact project timelines, so plan accordingly.
mg2WcoU57Fw” >
Also Read: How To Glue Plywood Together?
Conclusion
Yes, you can absolutely glue plywood to plywood.
It’s a common and effective method for joining pieces of plywood together. By using the right adhesive and following proper techniques, you can create a strong bond between the two surfaces.
Whether you’re working on a woodworking project or repairing furniture, gluing plywood to plywood offers a reliable solution. Just remember to prepare the surfaces by sanding them for better adhesion, apply an even layer of adhesive, and use clamps or weights to hold the pieces together while the glue dries.
With some patience and attention to detail, you’ll have a solid connection that will withstand the test of time.