Nature has a way of captivating us with its breathtaking beauty. Whether it’s the gentle lapping of waves on a sandy shore or the mesmerizing patterns formed by wind-blown dunes, we can’t help but be drawn to its raw allure. So, naturally, the idea of bringing a piece of nature into our homes through gluing sand to wood is both intriguing and exciting.
But here’s the burning question: Can it actually be done? Can we fuse the rugged textures of sand with the timeless elegance of wood to create stunning works of art or eye-catching home decor pieces? In this blog post, we’re going to dig deep into this fascinating topic.
We’ll explore the ins and outs of gluing sand to wood, uncovering techniques and secrets that will help you unleash your creativity and craft something truly extraordinary.
So, without further ado, let’s dive in and unlock the magic.
Understanding the Nature of Sand and Wood
Contents
- 1 Understanding the Nature of Sand and Wood
- 2 Factors to Consider When Gluing Sand to Wood
- 3 Using Epoxy Resin to Glue Sand to Wood
- 4 Applying the Sand onto the Wet Adhesive
- 5 Allowing the Epoxy Mixture to Cure and Harden
- 6 Utilizing Construction Adhesives for Bonding Sand to Wood
- 7 Pressing the Sand onto the Adhesive
- 8 Curing Times for Construction Adhesives
It may seem like an unusual combination, but with the right techniques and adhesive, it can be accomplished. In this blog post, we will explore the challenges of gluing sand to wood and the considerations necessary for successful adhesion.
Understanding the Nature of Sand and Wood:
Sand, with its rough and irregular surface texture, poses a unique challenge when it comes to adhesion. On the other hand, wood is a porous material that offers better bonding opportunities due to its ability to absorb moisture. These differences in surface characteristics make it crucial to choose the right adhesive for a strong bond.
Choosing the Right Adhesive:
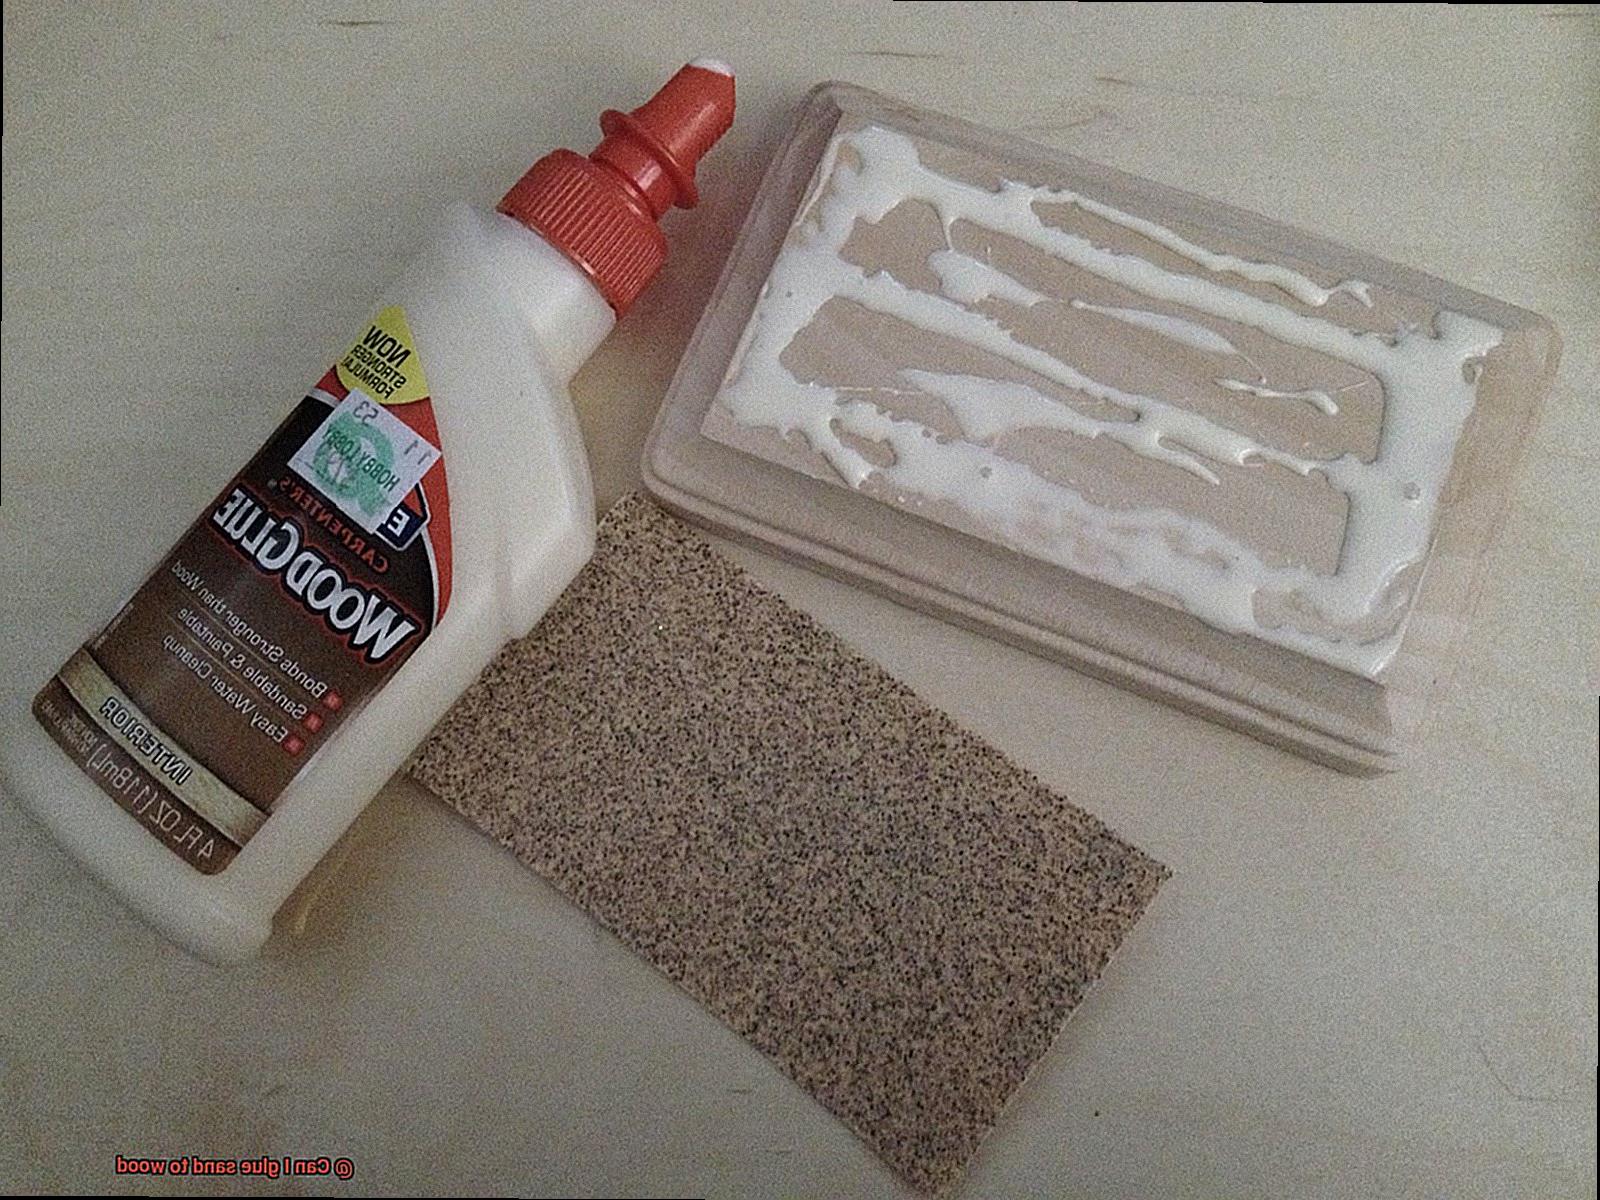
Epoxy glue and construction adhesive are two popular choices for gluing sand to wood. Epoxy glue, known for its high bonding strength and versatility, consists of a resin and a hardener that need to be mixed before application. Construction adhesive, specially formulated for excellent bonding on various surfaces, including wood and sand, provides a reliable option as well.
Considerations for Successful Adhesion:
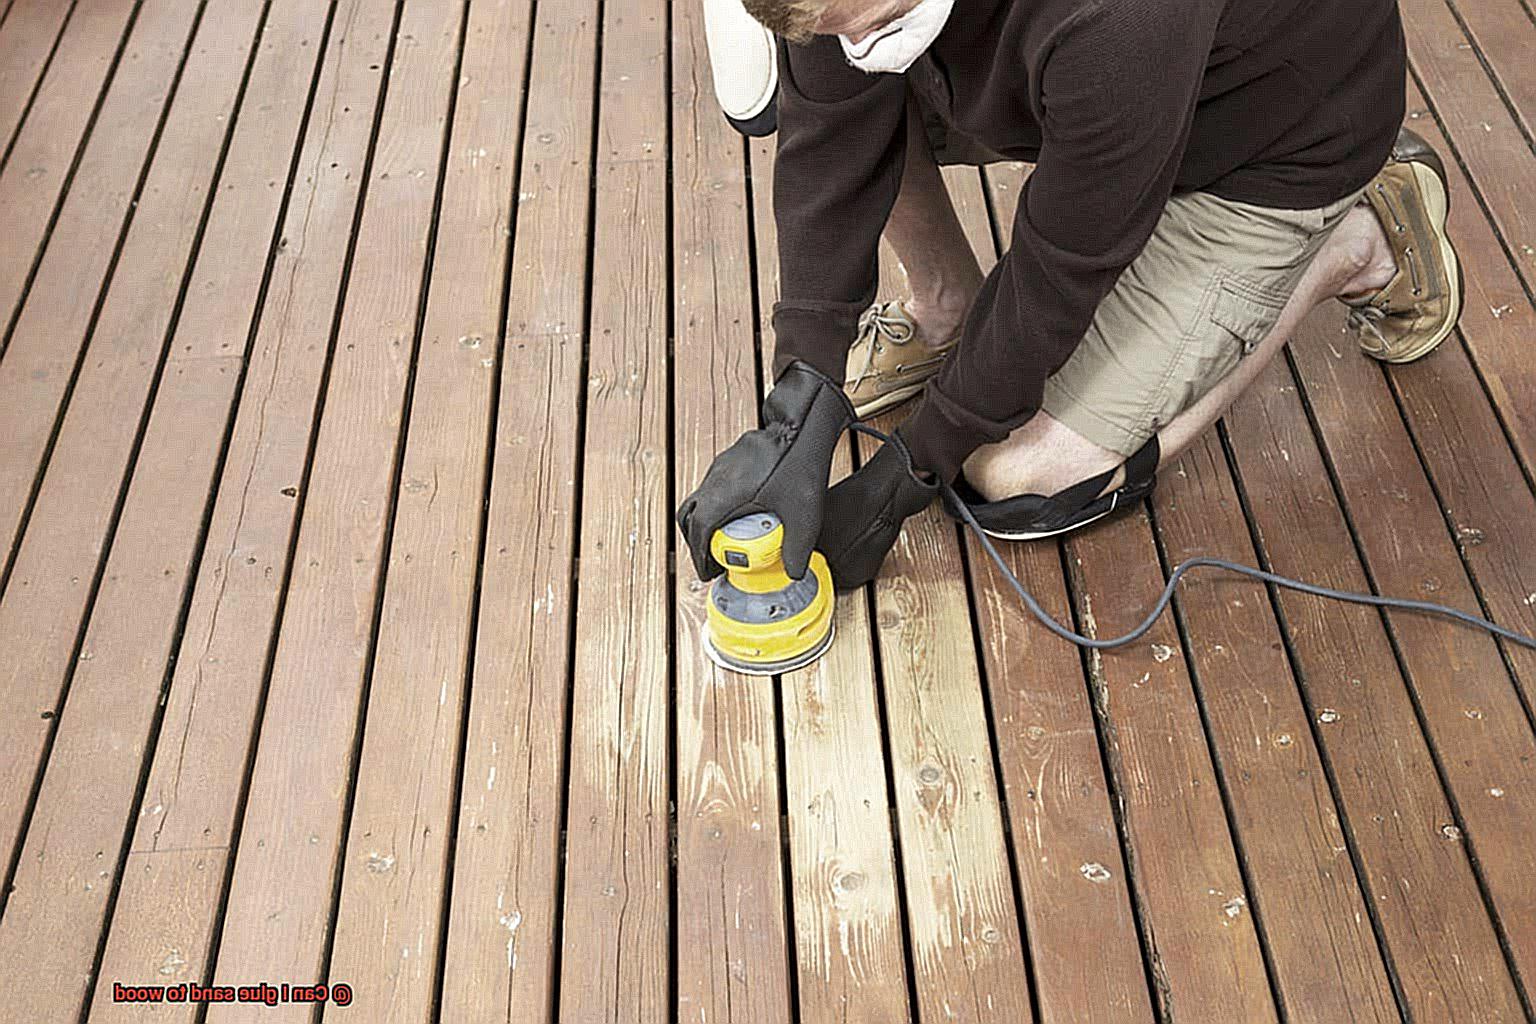
- Surface Preparation: Before applying any adhesive, ensure that both the wood surface and the sand are clean and free from debris or contaminants. Lightly sanding the wood surface can create a rougher texture, enhancing adhesion.
- Moisture Content: The moisture content of both sand and wood plays a crucial role in achieving a strong bond. Dry wood may not provide enough moisture for proper curing of the adhesive, while damp or moist sand can interfere with adhesion. Ensure the materials are appropriately dry before applying the adhesive.
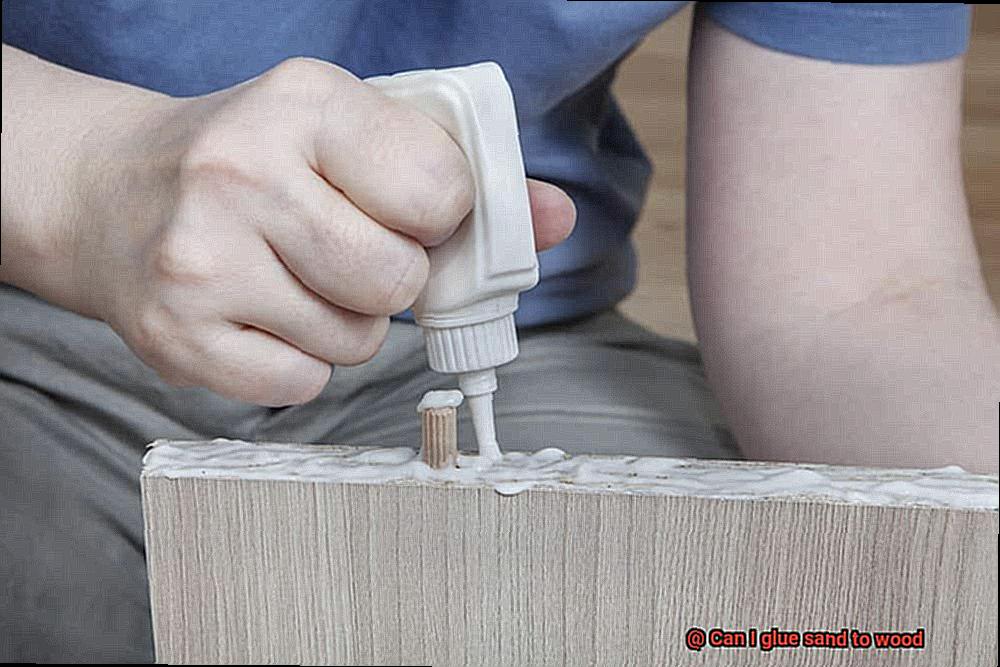
- Adhesive Application: Follow the manufacturer’s instructions for mixing and applying the chosen adhesive. For epoxy glue, thoroughly mix the resin and hardener before brushing or spreading it onto the wood surface. Sprinkle or press the sand gently onto the wet adhesive. With construction adhesive, apply it in a zigzag pattern or dots on the wood surface and press the sand onto it.
- Curing Time: Patience is key when it comes to achieving a strong bond. Allow the adhesive to cure and harden according to the manufacturer’s instructions. This may take several hours or longer, depending on the specific adhesive used.
Factors to Consider When Gluing Sand to Wood
Gluing sand to wood can create a captivating and one-of-a-kind texture that adds depth and character to any piece. However, before you dive into this creative endeavor, there are several factors you need to consider to ensure a successful bond between the sand and wood.
First and foremost, the type of wood you choose is crucial in the adhesion process. Some woods, like oak or maple, have a smooth and dense surface that allows for better adhesion. In contrast, woods with high levels of natural oils or resins can hinder the adhesive from bonding effectively. So, it’s essential to select the right type of wood for your project.
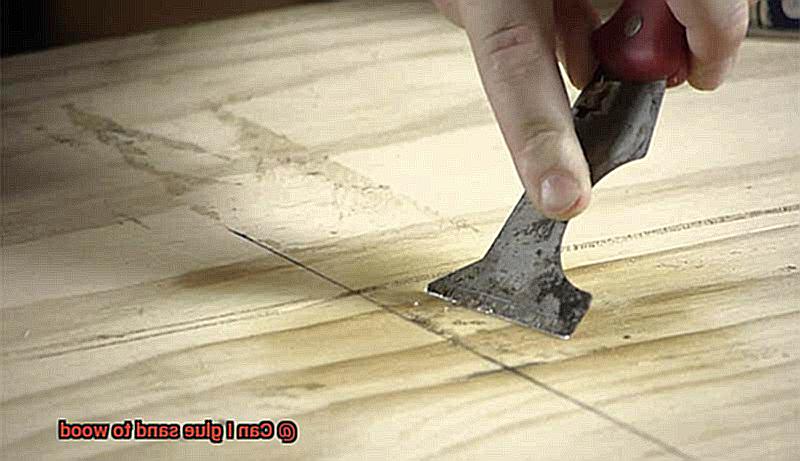
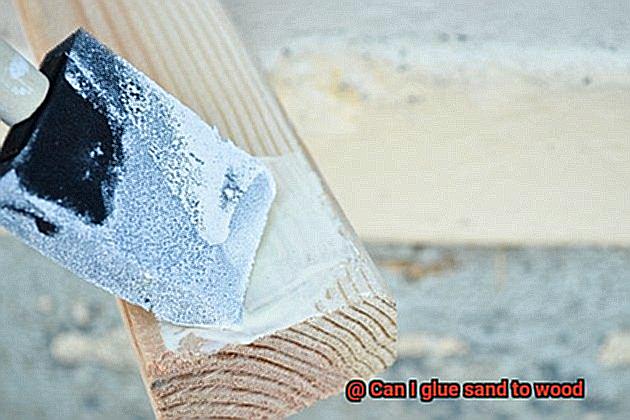
Surface preparation is also key when gluing sand to wood. You need to create a rough texture on the wood surface by sanding it. This step provides more area for the adhesive to grip onto, ensuring a stronger bond. Additionally, remove any existing finishes, such as paint or varnish, as they can interfere with the bonding process.
Choosing the right adhesive is crucial for a strong bond. Epoxy resin-based adhesives or polyurethane adhesives are often recommended for gluing sand to wood. These types offer excellent bonding strength and durability, especially when dealing with porous materials like sand and wood.
Once you’ve selected the adhesive, follow the manufacturer’s instructions regarding mixing ratio and application. Proper mixing and application are vital for a successful bond. Apply the adhesive evenly on the prepared wood surface using a brush or spatula, ensuring complete coverage.
Allow sufficient drying time for the adhesive before proceeding. Drying time can vary based on the adhesive type and environmental conditions. It’s important to follow the manufacturer’s recommendations to achieve optimal bonding.
To enhance longevity and durability, applying a sealant or topcoat is recommended. A clear polyurethane or varnish creates a protective layer that seals the sand in place, preventing it from loosening or getting damaged over time.
Lastly, regular maintenance and care are crucial for preserving the appearance and integrity of the glued sand on wood. Avoid exposing the glued surface to excessive moisture, direct sunlight, or harsh chemicals that could weaken the bond. Clean the surface gently using a soft brush or cloth to prevent abrasive damage.
By considering these factors and following proper techniques, you can achieve a successful bond between sand and wood. However, it’s important to note that gluing sand to wood may not be as strong as other methods, such as embedding the sand within a resin or epoxy layer.
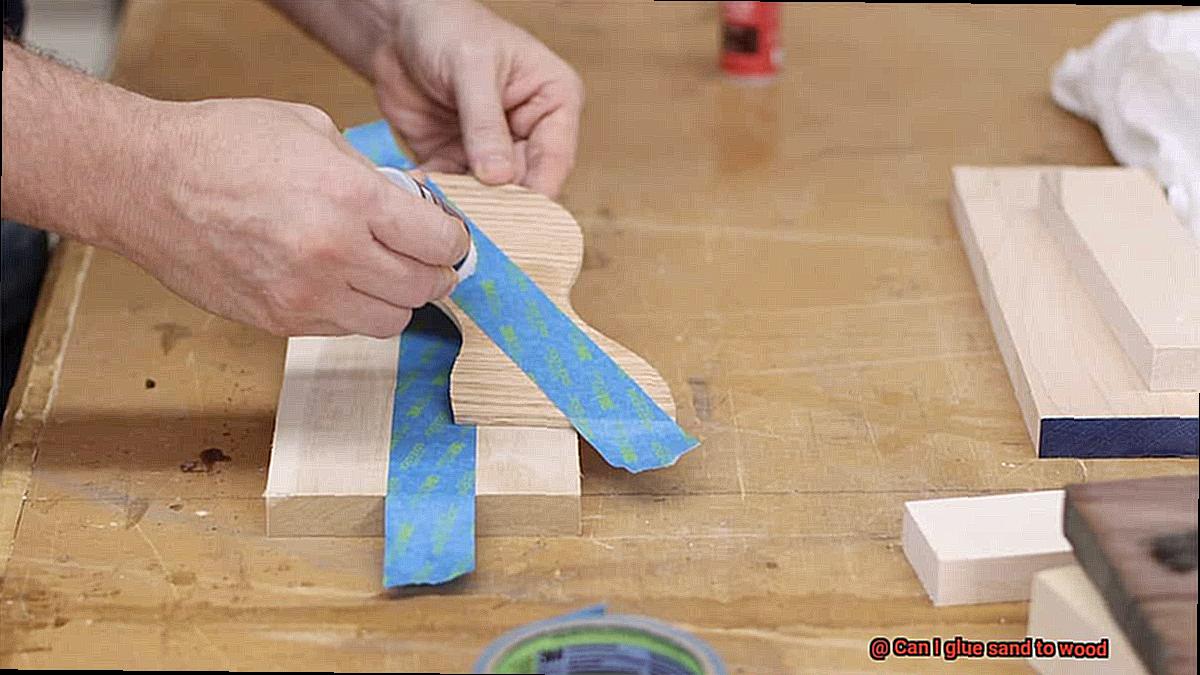
It’s always recommended to test the adhesive and technique on a small, inconspicuous area before undertaking a larger project.
Using Epoxy Resin to Glue Sand to Wood
Using epoxy resin to glue sand to wood is a popular technique for adding a touch of nature to woodworking projects. This method provides a strong and durable bond between the sand and wood surface, ensuring that the sand stays in place even with regular use.
To begin, it is important to prepare the surfaces before applying the epoxy resin. Make sure that both the wood and sand surfaces are clean, dry, and free of any dust or debris. Wiping them with a damp cloth and allowing them to air dry should suffice.
Next, mix the epoxy resin and hardener together in equal parts according to the manufacturer’s instructions. This ensures proper curing and bonding of the resin. Be sure to follow the instructions carefully to achieve optimal results.
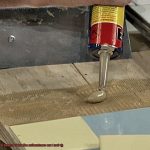
Once the epoxy resin is prepared, apply an even layer of the mixture onto the wood surface. You can use a brush or a spatula for this step. It is important to ensure that the resin is spread evenly to provide a solid foundation for the sand.
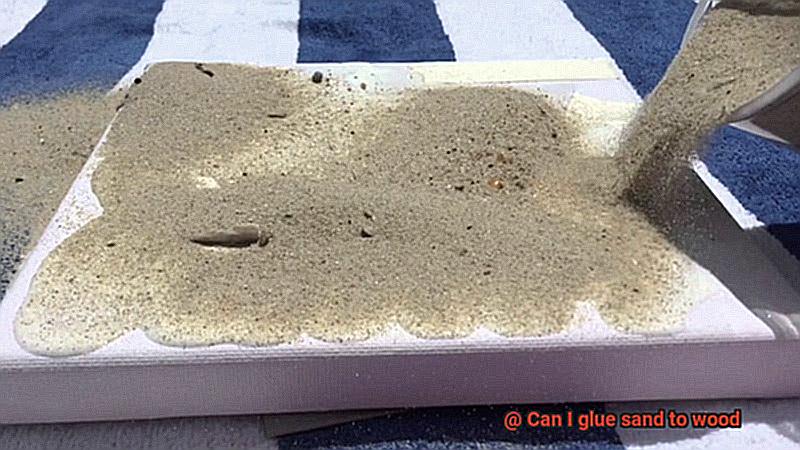
Before the epoxy resin starts to cure, sprinkle the sand evenly over the wet resin. Cover the entire area with sand for a uniform appearance. Gently press down on the sand to ensure it adheres well to the resin and wood surface, but be careful not to apply excessive pressure as it may cause the sand to sink or displace unevenly.
Allow the epoxy resin to cure as per the manufacturer’s instructions. This usually involves leaving it undisturbed for around 24 hours or more. It is important to exercise patience during this time to ensure that the bond between the sand and wood sets properly.
Once the epoxy resin has fully cured, any excess sand can be removed by gently brushing or blowing away loose particles. Avoid using excessive force as it may damage the bond between the sand and wood.
For added protection and a glossy finish, consider applying a clear topcoat or sealant over the sand. This will help prevent any loosening or wear of the sand over time, ensuring that your project remains intact for years to come.
It is worth noting that epoxy resin may have limitations when it comes to gluing large amounts of sand to wood. The weight and movement of the sand may cause stress on the bond, leading to potential failure over time. Therefore, it is recommended to use epoxy resin for smaller sand applications or decorative purposes rather than heavy-duty uses.
Applying the Sand onto the Wet Adhesive
In this comprehensive guide, we will take you through the intricate process of applying sand onto wet adhesive, allowing you to create a breathtaking and durable textured finish. By following these straightforward steps, you will master the art of seamlessly bonding sand with wood, leaving onlookers in awe of your craftsmanship.
Step 1: Surface Preparation – Setting the Stage for Success
Before embarking on the gluing process, ensure that the wood surface is pristine – devoid of dirt, moisture, and debris. A gentle sanding will add texture to the surface, facilitating better adhesion.
Step 2: Adhesive Application – The Foundation of Bonding
Using a brush or spreader, evenly apply a layer of wet adhesive over the desired area. Timing is crucial. Remember that the adhesive must remain wet and tacky for optimal sand adhesion.
Step 3: Sand Sprinkling – Unleashing the Magic
Immediately after applying the adhesive, delicately sprinkle or pour sand onto the moist surface. Working in small sections prevents premature drying of the adhesive, allowing ample time for sand application.
Step 4: Press and Dry – Weaving Bonds
With deftness and precision, press down gently on the sand using your hands or a tool. This ensures a strong bond between the sand and adhesive. Allow the mixture to dry completely as per the manufacturer’s instructions, ensuring a secure foundation.
Step 5: Finishing Touches – Perfecting Nature’s Union
Thoroughly inspect the surface for any loose sand particles and lightly brush off any excess using a soft brush or cloth. To fortify durability and longevity, consider applying a clear varnish or sealant compatible with both wood and sand.
Allowing the Epoxy Mixture to Cure and Harden
One of the critical aspects of this process is allowing the epoxy mixture to cure and harden properly. So, let’s dive in and explore the importance of following manufacturer’s instructions, providing a stable environment, and ensuring adequate ventilation during the curing process.
Firstly, it is imperative to follow the manufacturer’s instructions to a tee. Each epoxy adhesive has its own unique properties and curing time. Carefully read and adhere to the instructions provided by the manufacturer. These instructions typically include the recommended curing time, proper mixing ratios, and any specific conditions required for optimal bonding. By following these guidelines, you are setting yourself up for success.
Secondly, create a stable environment for the curing process. Once you have applied the epoxy mixture to bond the sand to wood, it is crucial to keep the glued object in a stable position where it will not be disturbed. Avoid any movement or pressure applied to the glued area as it can compromise the strength and integrity of the bond. Find a secure spot for your project and resist the temptation to check on it constantly – patience is key.
Lastly, ensure adequate ventilation during the curing process. While epoxy adhesives are fantastic for bonding various materials, they can release fumes during the curing process. These fumes can be harmful if inhaled in large quantities. To protect yourself, it is important to work in a well-ventilated area or use a respirator mask when handling epoxy.
By following these three crucial steps, you can ensure that your epoxy mixture cures and hardens properly, resulting in a strong bond between the sand and wood surfaces. However, don’t forget that other factors such as surface preparation and the type of materials used can also impact the strength of the bond.
Utilizing Construction Adhesives for Bonding Sand to Wood
Are you seeking a reliable and long-lasting solution for bonding sand to wood? Look no further. In this comprehensive guide, we will explore the world of construction adhesives and discover how they can help you achieve a strong bond between sand and wood surfaces. So, get your tools ready as we dive into this exciting journey.
Choosing the Right Construction Adhesive
When it comes to selecting the right construction adhesive for bonding sand to wood, it is crucial to choose one specifically designed for porous surfaces like wood and sand. These adhesives possess strong bonding properties that can withstand the test of time.
Preparation is Key
Before applying the adhesive, ensure that both the wood and sand surfaces are clean and free from debris or dust. Wipe the surfaces with a clean cloth or use a vacuum cleaner to achieve optimal adhesion between the two materials.
Applying the Adhesive
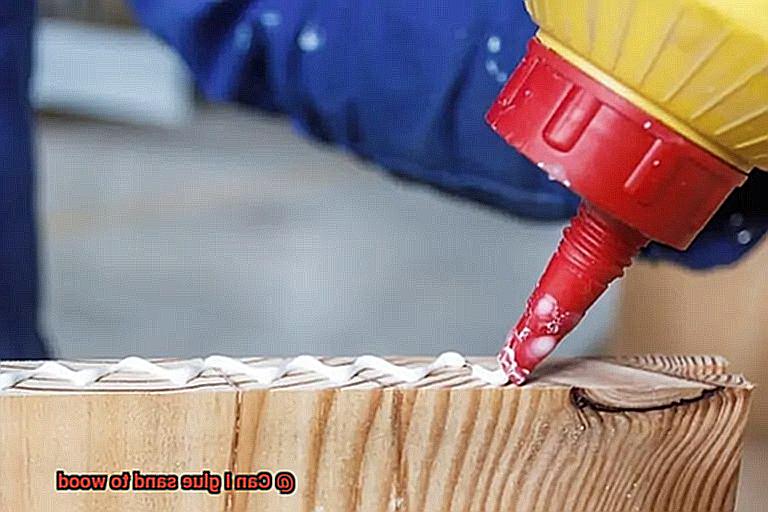
Evenly spread the adhesive on the wood surface using a notched trowel or a brush. It is essential to create a thin layer of adhesive, as excessive buildup can hinder the bonding process. Keep it thin and even for best results.
Sprinkling the Sand
Now comes the exciting part. Sprinkle the sand onto the adhesive-covered surface, ensuring an even distribution that covers the entire adhesive area. This step creates a uniform bond and prevents weak spots.
Pressing for Success
To secure the sand to the wood surface, gently press it into the adhesive using a flat board or a roller. This step solidifies the bond and guarantees durability over time.
Allowing Drying Time
After applying the sand, it is crucial to allow the adhesive to dry completely according to the manufacturer’s instructions. This step is vital for achieving optimal bonding strength. Once dry, you can handle your project confidently.
Consider Environmental Factors
Although construction adhesives provide a strong bond between sand and wood, it is important to note that they may not be suitable for all applications. Factors such as temperature, humidity, and exposure to water or other environmental conditions can affect the longevity of the bond. Regular maintenance and periodic inspections are recommended to ensure the bond remains intact.
Pressing the Sand onto the Adhesive
Adding sand to wood can create a visually stunning textured effect that adds depth and character to your creations. But how do you achieve a secure bond between sand and wood? In this article, we’ll guide you through the process of pressing sand onto adhesive, ensuring a strong connection that will stand the test of time.
Choosing the Right Adhesive:
The first step in successfully gluing sand to wood is selecting the perfect adhesive. For exceptional bonding properties, epoxy resin or construction adhesive are your go-to choices. These adhesives offer unparalleled strength and durability, ensuring that the sand remains firmly attached to the wood.
Preparing the Wood Surface:
Before applying the adhesive, proper preparation of the wood surface is crucial. Begin by meticulously cleaning the wood, banishing any dirt, dust, or debris that could hinder adhesion. Additionally, lightly sanding the surface creates a rougher texture, providing better grip for the adhesive.
Applying the Adhesive:
Once the wood is prepped, it’s time to apply the adhesive. Grab a putty knife or a similar tool and generously spread the adhesive evenly across your desired area. Work swiftly but efficiently, as some adhesives have limited working time before drying.
Pressing Sand onto Adhesive:
With the adhesive applied, it’s time to bring on the sand. Take a handful of sand and gently press it onto the glued area. Use your fingers or a small tool like a trowel to ensure even distribution and firm pressing of the sand into the adhesive. Remember, a gentle touch is key to prevent any unwanted shifting or dislodging.
Enhancing Adhesion:
For an added boost in strength and durability, consider applying a second layer of adhesive over the initial layer of sand. This extra step helps lock in the sand particles, reinforcing the bond and guaranteeing a longer-lasting connection.
Curing and Finishing Touches:
Allow the adhesive to cure according to the manufacturer’s instructions. This usually involves a specific drying period without any disturbance or excessive moisture exposure. Once fully cured, gently brush off any loose sand particles that may not have adhered properly. The result? A beautifully textured surface that will leave onlookers in awe.
Curing Times for Construction Adhesives
In this post, we will delve into the significance of understanding and adhering to recommended curing times for construction adhesives, ensuring a strong and reliable bond between these two materials.
What is Curing Time?
Curing time refers to the duration required for an adhesive to fully dry and reach its maximum strength. During this period, chemical reactions take place within the adhesive, transforming it from a liquid state to a solid state. This transformation results in a durable bond between sand and wood.
Factors Affecting Curing Time:
- Adhesive Type: Different construction adhesives have varying curing times. For instance, polyurethane adhesives, renowned for their exceptional bonding strength, typically require 24-48 hours for complete curing. On the other hand, epoxy adhesives, celebrated for their durability, may take anywhere from a few hours to several days to cure, depending on the specific product and conditions.
- Temperature: Temperature influences the curing process. Higher temperatures accelerate curing, while lower temperatures slow it down. It is crucial to consider the recommended temperature range provided by the adhesive manufacturer to ensure optimal curing.
- Humidity: Higher humidity levels can extend the curing time of construction adhesives. Therefore, it is essential to ensure appropriate environmental conditions during the curing process.
Importance of Proper Curing:
- Strength and Durability: Allowing construction adhesives sufficient time to cure guarantees a robust and long-lasting bond. Rushing or disturbing the bond before it has fully cured can weaken its strength and compromise its durability.
- Optimal Performance: Construction adhesives used for bonding sand to wood often face various stresses such as vibrations, impacts, or moisture exposure. Proper curing ensures the bond can withstand these challenges and maintain its integrity over time.
- Continual Strengthening: Some adhesives continue to cure and strengthen beyond their initial curing period. Granting extra curing time can enhance the bond’s strength and overall performance.

Gkjte0w78zY” >
Short sentences with vivid language:
- Gluing sand to wood? Absolutely possible.
- You might be surprised, but sand and wood can actually stick together.
- Want to add some sandy texture to your wooden project? Glue it on.
Professional and engaging tone:
- If you’ve ever wondered whether it’s feasible to attach sand onto wood, wonder no more. The answer is a resounding yes.
- Contrary to popular belief, combining sand and wood isn’t just a pipe dream – it’s a reality waiting for you to explore.
- Are you ready for a unique twist on woodworking? Get ready to discover how gluing sand onto wood can elevate your projects to new heights.