Are you tired of your craft projects losing their luster over time? Fear not, fellow DIYers. Today, we’re delving into the world of Mod Podge and sealers.
Mod Podge is a crafting powerhouse that can act as a glue, sealer, and finish. It’s beloved by many due to its versatility and ability to achieve various finishes. However, many beginners wonder if they should use a sealer over Mod Podge. Well, the answer is yes.
By adding a sealer over Mod Podge, you can increase the durability of your project while protecting it from moisture and fading. But it’s crucial to choose the right sealer that complements your Mod Podge finish. There are two common types of sealers: water-based and oil-based. Depending on your project, you can select a glossy, matte or satin sealer to achieve a polished look. Keep in mind that certain sealers work better on specific surfaces such as wood or paper versus fabrics or ceramics.
In this post, we’ll take an in-depth look at Mod Podge and sealers while providing you with a comprehensive guide on which sealer to use and when to use it over Mod Podge. So come along with us as we uncover the secrets to making your craft projects shine bright like a star.
Can You Put a Sealer Over Mod Podge?
Contents
- 1 Can You Put a Sealer Over Mod Podge?
- 2 Essential Things to Consider When Adding a Sealer Over Mod Podge
- 3 Allow the Mod Podge to Dry Completely Before Applying the Sealer
- 4 Choosing the Right Type of Sealer for Your Project
- 5 Do a Test First Before Applying the Sealer All Over Your Project
- 6 Tips for Achieving a Beautiful and Long-Lasting Finish
- 7 Common Mistakes to Avoid When Using Mod Podge and Sealers
- 8 Conclusion
Mod Podge is the go-to crafting glue for a variety of projects, from decoupage to furniture restoration. But once your project is complete, you may wonder if you can take it to the next level by adding a sealer over Mod Podge. The good news is that it’s not only possible but recommended by many professional crafters to enhance the durability and longevity of your project.
Before adding a sealer, it’s crucial to allow the Mod Podge to dry completely, which can take anywhere from a few hours to overnight depending on the thickness of your application and humidity levels in your area. Once dry, you can sand away any bumps or imperfections with fine-grit sandpaper.
Choosing the right type of sealer for your project is also essential. If you’re working with paper or fabric, a water-based sealer like a spray-on acrylic sealer is recommended. For wood or other porous surfaces, an oil-based sealer like polyurethane may be more appropriate. Consider the type of surface you’re working with before selecting a sealer.
It’s crucial to do a test first before applying the sealer all over your project. Applying a small amount of sealer in an inconspicuous area and letting it dry will help you determine whether or not it changes the color or finish of your project.
When applying the sealer, follow the manufacturer’s instructions carefully. Apply thin, even coats, and let each coat dry completely before applying the next. Applying several thin coats rather than one thick coat can help prevent drips and bubbles.
Essential Things to Consider When Adding a Sealer Over Mod Podge
Before you dive in, there are some essential things to consider when adding a sealer over Mod Podge.
Firstly, it’s important to think about the type of sealer you want to use. There are several options available, such as spray, brush-on or epoxy sealers. Each type has its own set of advantages and disadvantages, so it’s crucial to choose the right one for your project.
Secondly, compatibility is key. Not all sealers work well with Mod Podge. So, it’s imperative to do your research and select a sealer specifically designed to work with Mod Podge. This will guarantee proper adhesion and protection.
Additionally, the type of surface you’re working on is also an important factor to consider. Some surfaces may require additional preparation before applying the sealer, such as sanding or priming. This will ensure that the sealer adheres properly and provides a smooth and even finish.
Lastly, it’s essential to consider the environment in which your project will be displayed or used. If it will be exposed to sunlight or moisture, you may need a sealer that provides UV protection or is waterproof. This will help maintain its appearance over time and ensure that your project lasts as long as possible.
To sum up, here are some essential things to consider when adding a sealer over Mod Podge:
- Choose the right type of sealer for your project
- Ensure compatibility with Mod Podge
- Prepare the surface properly before applying the sealer
- Consider the environment in which your project will be displayed or used
Allow the Mod Podge to Dry Completely Before Applying the Sealer
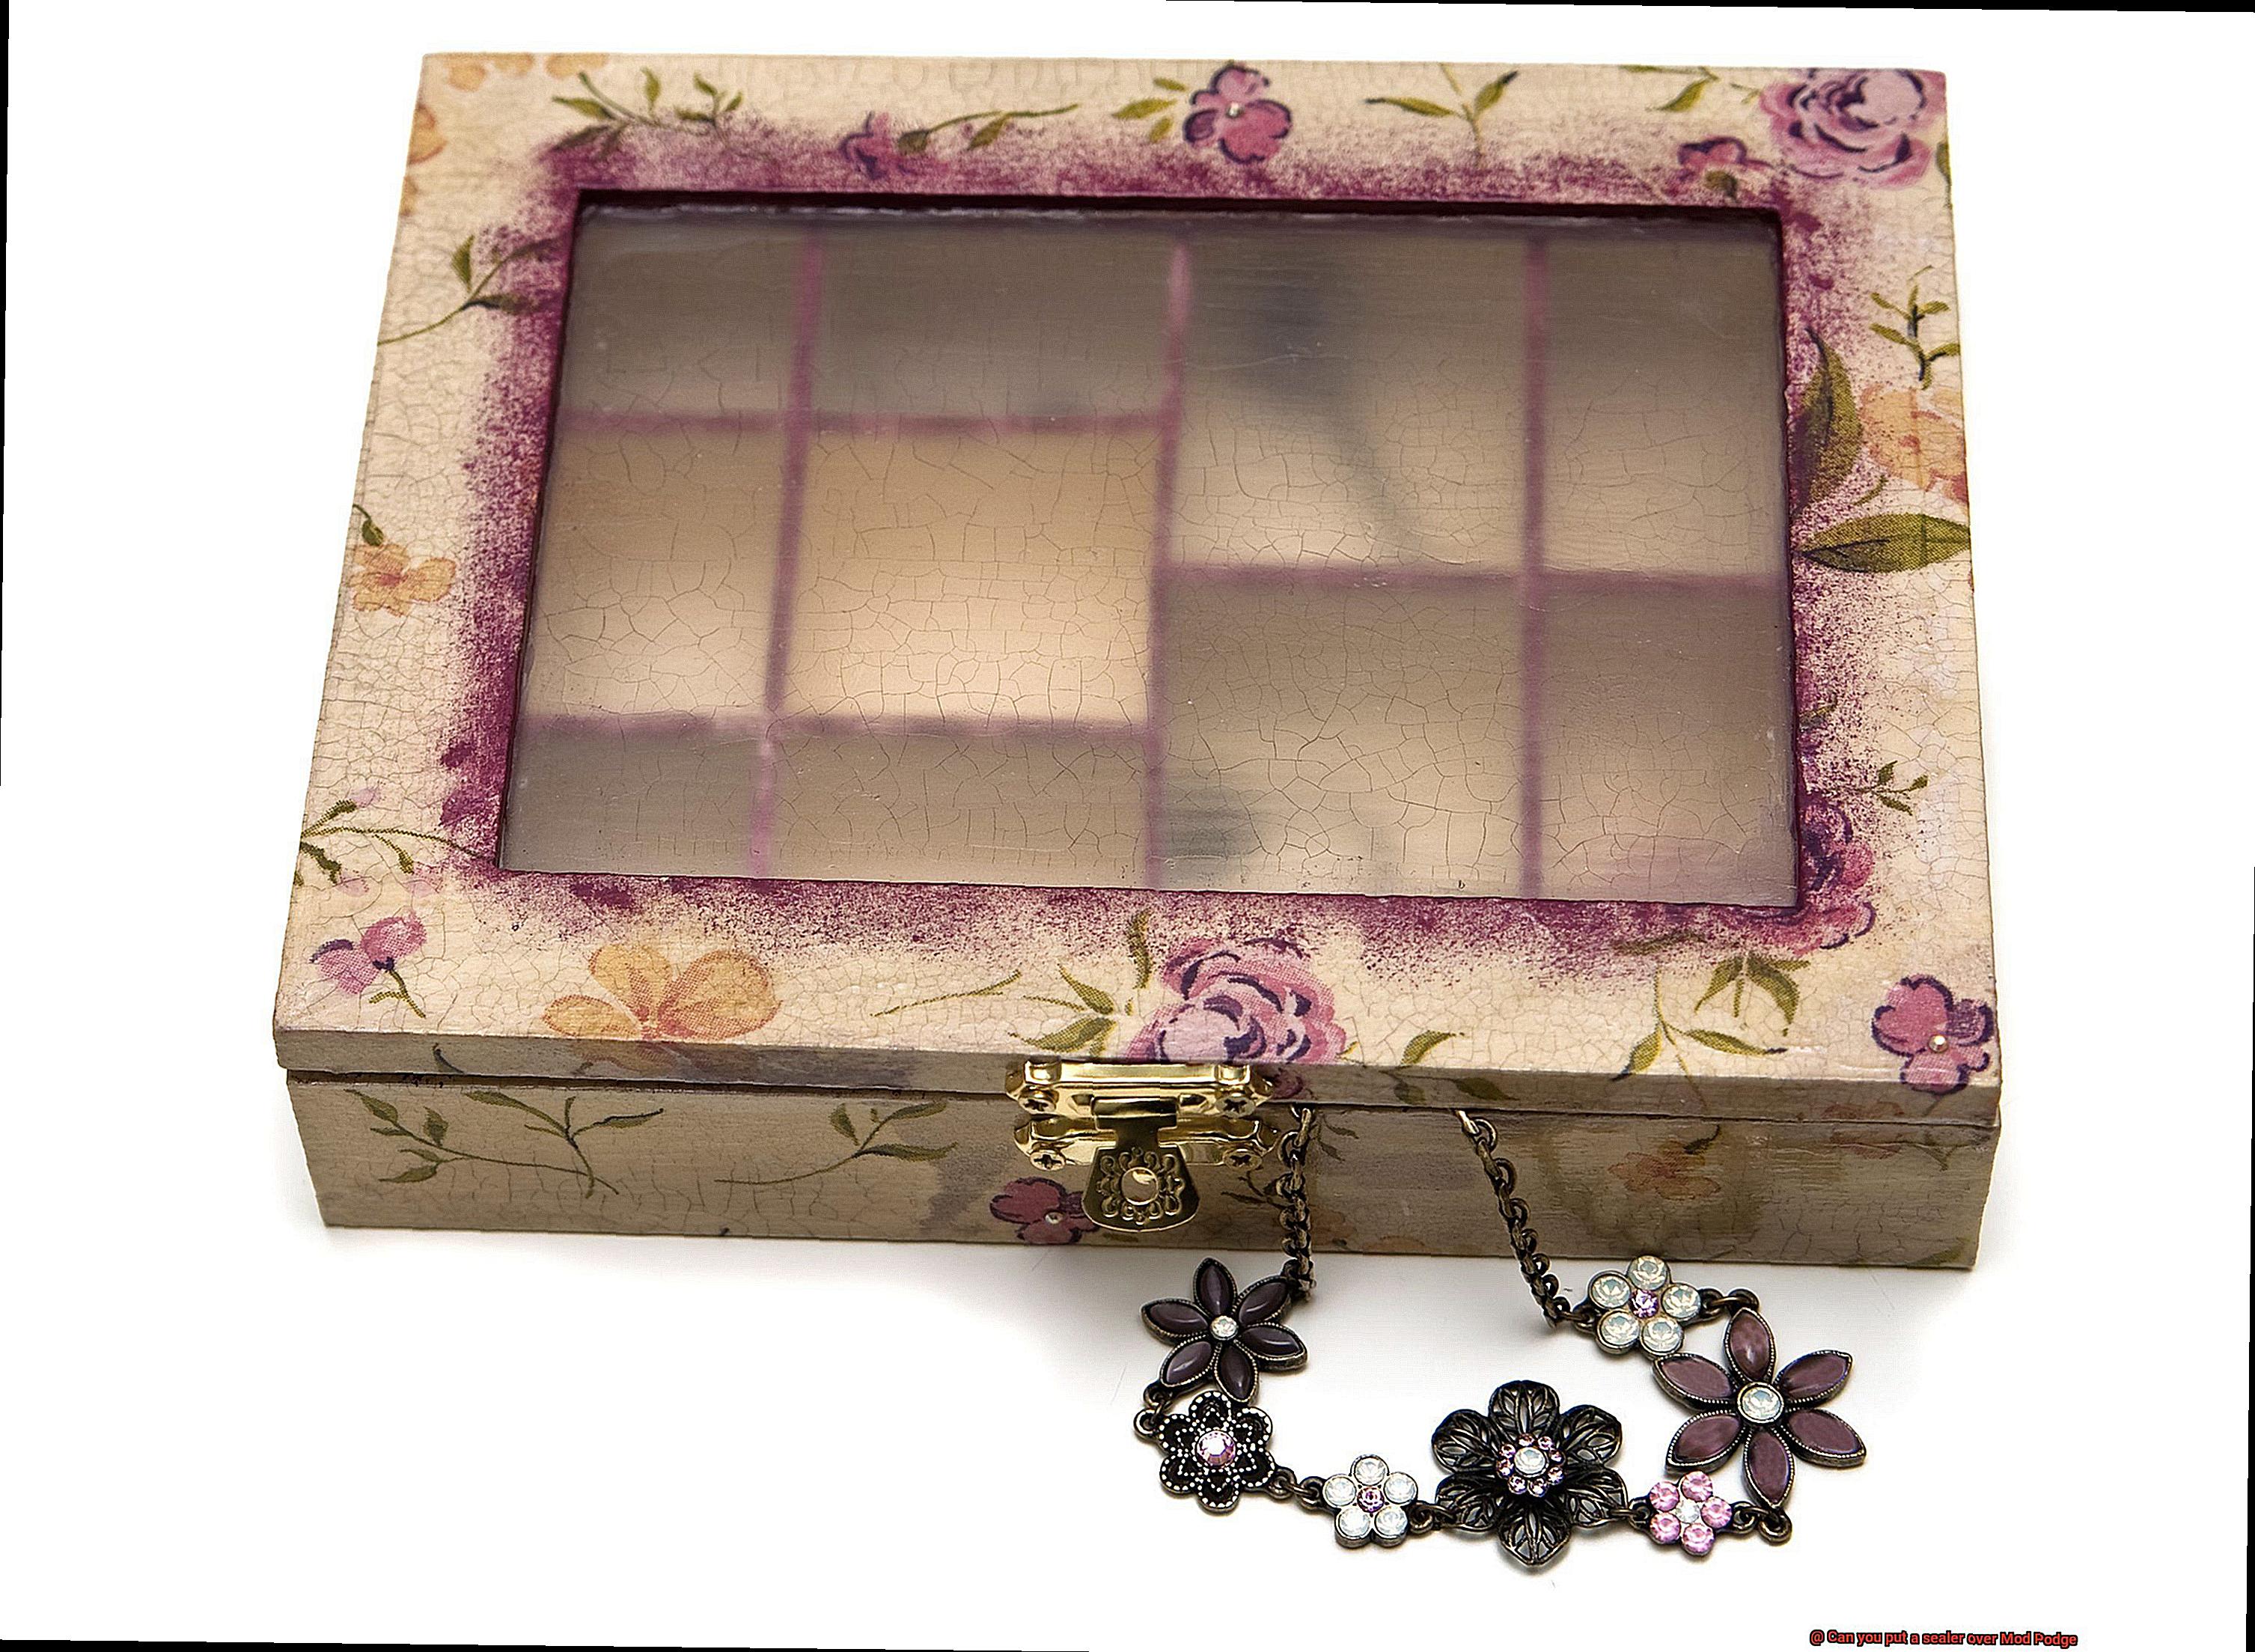
Then, you might be curious about adding a sealer over it to enhance its durability. However, there’s an essential caveat – you must allow the Mod Podge to dry completely before applying the sealer.
But why is this so crucial, you ask? The answer lies in the fact that if the Mod Podge isn’t entirely dry, the sealer may trap moisture and cause the Mod Podge to become cloudy or peel off. Furthermore, it may cause the sealer to bubble or crack. So, it’s imperative to wait at least 24 hours before adding a sealer over Mod Podge.
But wait, there’s more. Did you know that different types of Mod Podge have different drying times? For instance, Mod Podge Matte and Glossy may take up to four weeks to fully cure and become water-resistant. So if you’re using these types of Mod Podge, it’s best to wait for at least four weeks before applying any type of sealer.
To sum it up, if you want your DIY projects to last longer and be more durable, adding a sealer over Mod Podge is a great idea. But don’t forget to let the Mod Podge dry completely before doing so. Waiting for at least 24 hours is recommended, but if you’re using Matte or Glossy Mod Podge, waiting for four weeks is necessary. By following these simple guidelines, you’ll be able to create stunning DIY projects that will stand the test of time.
In conclusion, here are some important points to remember:
Choosing the Right Type of Sealer for Your Project
Now, to ensure its longevity, it’s time to seal the deal with the right type of sealer.
But, how do you choose the perfect sealer for your Mod Podge masterpiece? Here are some factors to consider:
Type of Mod Podge
The type of Mod Podge you used will determine the type of sealer you should use. If you used a matte or satin finish Mod Podge, opt for a sealer that has a similar finish. This helps to maintain the same look and feel. However, if you used a glossy Mod Podge, try using a glossy sealer to enhance the shine.
Material of Your Project
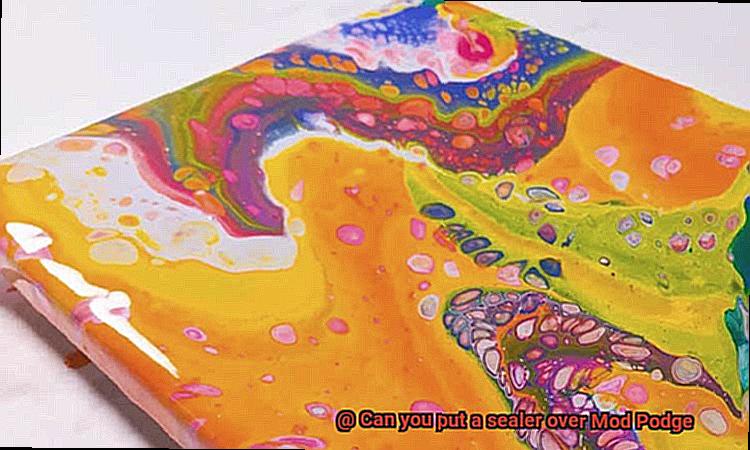
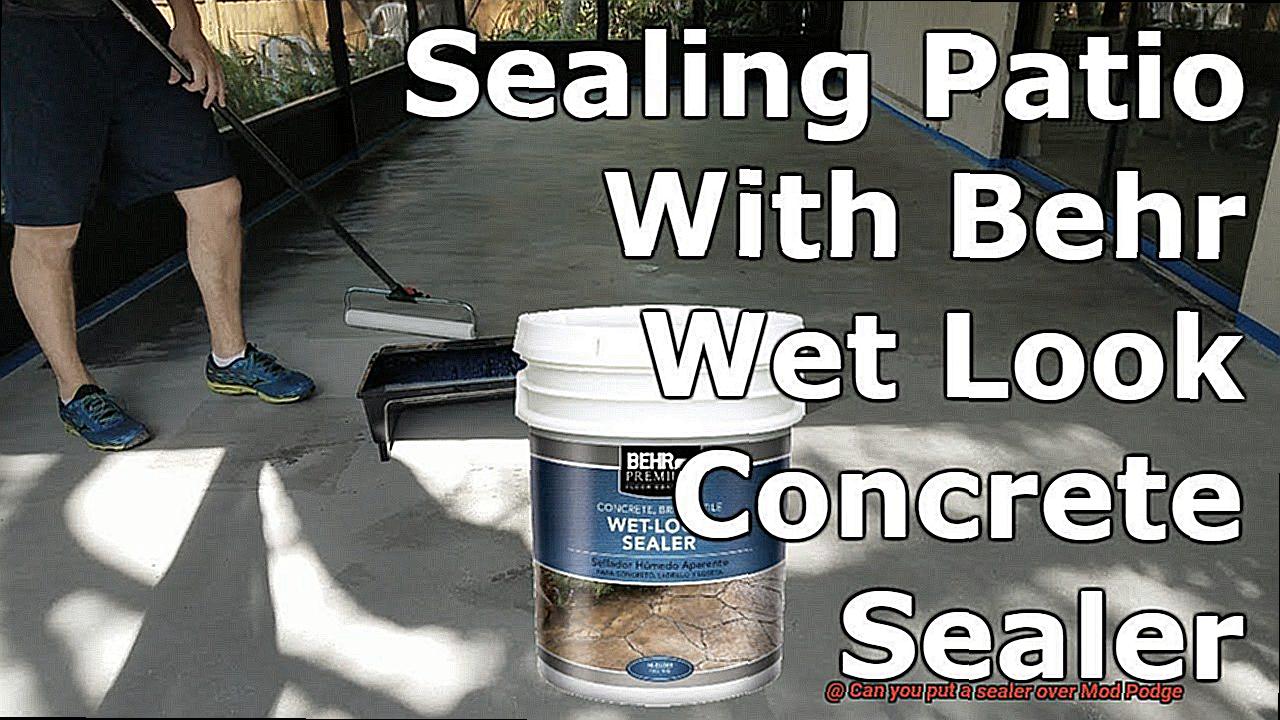
Consider the material you’re working with when selecting a sealer. For paper-based or porous surfaces, a water-based sealer like Mod Podge Hard Coat or Outdoor is recommended. These sealers provide durable protection against moisture and wear and tear. On the other hand, for non-porous surfaces such as glass or plastic, an oil-based sealer like polyurethane is more appropriate.
Ensure the Mod Podge is Completely Dry
Before applying any sealer over Mod Podge, ensure it’s completely dry. This prevents bubbling or wrinkling that can occur when applying a wet sealer over a still-drying Mod Podge surface. Waiting at least 24 hours is recommended, but if you used Matte or Glossy Mod Podge, wait for four weeks before applying any sealer.
Follow Manufacturer’s Instructions
To achieve professional-looking results, it’s essential to follow the manufacturer’s instructions when applying the sealer. Don’t skip any steps or take shortcuts – this ensures your project lasts for years to come.
Do a Test First Before Applying the Sealer All Over Your Project
You’ve already invested a lot of time and effort into creating a beautiful project with Mod Podge, and now it’s time to add a sealing layer. However, before you dive in, it’s crucial to understand why it matters to do a test first before applying the sealer all over your project.
The first reason for doing a test is to ensure that the sealer won’t react negatively with the Mod Podge. Applying a new product without testing it first can cause bubbling, cracking, or discoloration. This catastrophe could ruin your project entirely, so it’s best to avoid it.
To prevent this disaster from happening, apply Mod Podge to a small section of your project and let it dry completely. After that, apply a tiny amount of the sealer and let it dry as well. Finally, check for any reactions like bubbling or discoloration.
If there are no reactions, then congratulations. You can proceed with applying the sealer all over your project. However, if there are negative reactions, then you need to find an alternative sealer that is compatible with Mod Podge.
It’s also essential to keep in mind that different types of sealers may react differently with Mod Podge. For example, some sealers may work great with Mod Podge Matte but not with Mod Podge Glossy. Therefore, it’s crucial to test each sealer before applying it all over your project.
Tips for Achieving a Beautiful and Long-Lasting Finish
Achieving a beautiful and long-lasting finish with Mod Podge requires attention to detail and careful application. Here are some tips and tricks to help you achieve the best results.
Allow Mod Podge to Dry Completely
Before adding any sealer to your Mod Podge project, it’s crucial to let it dry completely. Rushing this step can result in a tacky and uneven finish. Take the time to ensure that each layer of Mod Podge has fully dried before moving on to the next step.
Choose the Right Type of Sealer
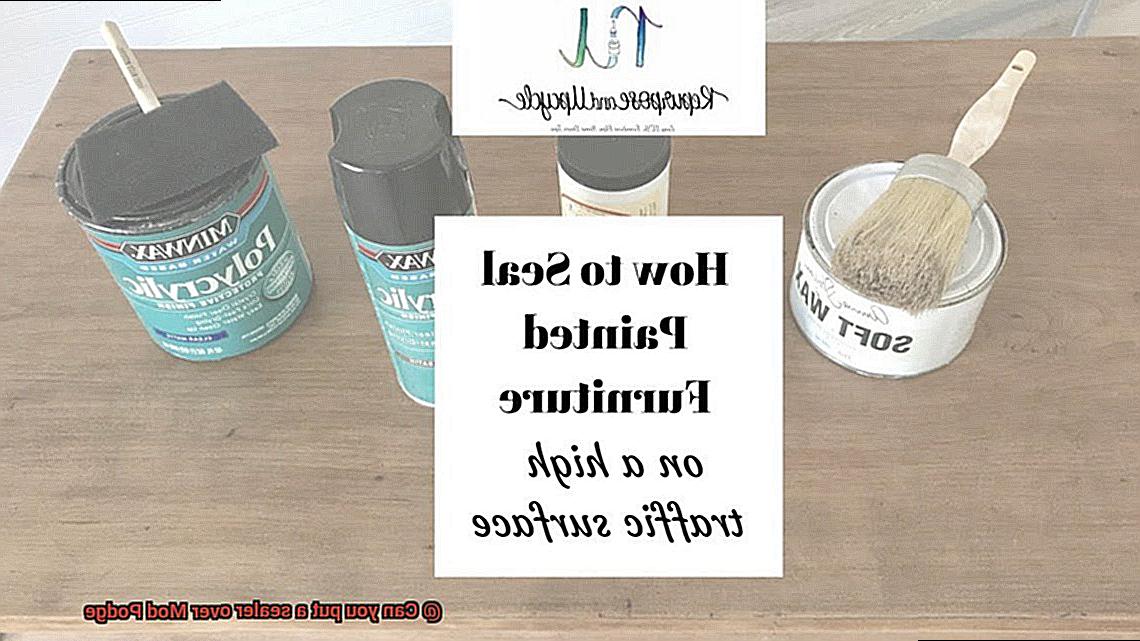
Choosing a compatible sealer is just as important as selecting the right type of Mod Podge for your project. Consider the type of project you are working on and the level of durability it requires when choosing a sealer. It’s also important to choose a high-quality sealer that won’t react poorly with the Mod Podge formula you used.
Apply Multiple Thin Coats
When applying both Mod Podge and sealer, it’s better to use multiple thin coats rather than one thick coat. This will help prevent drips and uneven coverage, resulting in a smoother and more even finish. Multiple thin coats also improve the durability of your project over time.
Store Your Project Properly
After completing your Mod Podge project, store it in a cool, dry place away from direct sunlight. This will help preserve its finish over time. Exposure to moisture and sunlight can cause the finish to become discolored or even peel off.
Handle Your Project with Care
While Mod Podge provides some level of protection against wear and tear, it’s still important to handle your finished project with care. Avoid excessive handling or exposure to moisture or heat. By taking care of your project and handling it gently, you can help ensure that your Mod Podge finish stays beautiful and long-lasting for years to come.
Common Mistakes to Avoid When Using Mod Podge and Sealers
There are some common mistakes that can occur during the process. Don’t worry, though; as an expert in this field, I’m here to guide you through the common mistakes to avoid when using Mod Podge and sealers.
First and foremost, applying too much Mod Podge is a mistake that can ruin your project’s finish. Remember, less is more. Applying a thin and even layer of Mod Podge is crucial to achieving a perfect finish. If you apply too much, it can become cloudy or streaky when it dries, taking longer to dry completely and leading to frustration.
Another mistake is not allowing enough drying time between layers. Patience is key. Mod Podge should always be allowed to dry entirely before adding another layer or sealer. If you don’t follow this rule, the Mod Podge may become tacky or sticky, spoiling your project’s finish.
Furthermore, choosing the wrong type of sealer can also cause issues. Not all sealers are compatible with Mod Podge and can cause bubbles or cracks, ruining your project. So, always make sure to select a sealer that is specifically designed for use with Mod Podge.
Lastly, not cleaning your surface properly before applying Mod Podge or a sealer can cause problems. Any dirt or residue on the surface can prevent the Mod Podge or sealer from adhering correctly, leading to an uneven finish or peeling. Before starting your project, make sure to clean the surface thoroughly to avoid any unwanted outcomes.
KrZtrkZgR_w” >
Conclusion
In conclusion, the addition of a sealer to Mod Podge can significantly enhance the durability and longevity of your DIY projects. However, it’s crucial to select the right sealer and apply it correctly. To ensure compatibility between Mod Podge and the sealer, experts recommend performing a test before applying it all over your project.
Allowing Mod Podge to dry thoroughly is also vital before adding any sealer. Different types of Mod Podge have varying drying times, so be sure to check this before proceeding. Additionally, applying too much Mod Podge or not allowing enough drying time between layers can lead to issues such as uneven finishes or peeling.
Choosing the right type of sealer for your specific project is equally important. The material you’re working with and the level of protection required will influence your decision. Moreover, not cleaning your surface properly can result in an unsatisfactory finish.
By following these tips and avoiding common mistakes, you can achieve a stunning and long-lasting finish with Mod Podge and sealers. Remember always to handle your finished project with care and store it in a cool, dry place away from direct sunlight.


