Are you a woodworking enthusiast, wondering if tongue and groove joints can be glued? Well, let me tell you, the answer is a resounding YES. Gluing tongue and groove joints is not only possible but also highly beneficial. Whether you’re a DIY fanatic or a seasoned carpenter, using tongue and groove glue can take your projects to the next level.
When you add adhesive to tongue and groove joints, you’re not just enhancing their strength – you’re creating an unbreakable bond. This means that even under extreme stress or pressure, those boards won’t budge an inch. No more worrying about your hard work falling apart when put to the test.
But that’s not all. Gluing tongue and groove joints also helps eliminate those pesky gaps that can form between boards over time. If you’ve ever worked with hardwoods, you know how they like to expand and contract with changes in humidity. By applying adhesive, you create a tight seal that keeps moisture out and prevents warping or buckling. Talk about a game-changer.
In professional settings where precision is everything, gluing tongue and groove joints is standard practice. The added strength provided by the adhesive ensures that your final product can handle heavy loads without breaking a sweat. So whether you’re building furniture or tackling a massive construction project, rest assured that glued tongue and groove joints have got your back.
Of course, as with any technique, there are some potential downsides to consider. Glued tongue and groove joints can be more challenging to disassemble or repair because that adhesive forms a mighty bond. You might need specialized tools or solvents to break it apart – so make sure you’re prepared for that possibility.
And let’s not forget about the dreaded excess glue problem. If you don’t apply it correctly, that sticky stuff can squeeze out of the joint and leave an unsightly mess on the surface of your boards. Cleaning up this gunky residue can be a real pain in the neck and take up valuable time. So, be sure to use just the right amount of glue and wipe away any excess before it becomes a sticky situation.
In the end, whether or not you choose to glue your tongue and groove joints depends on your specific project and its requirements. Just remember, if you do decide to go for it, follow best practices and use a high-quality adhesive designed explicitly for woodworking applications. By doing so, you’ll enjoy all the benefits that tongue and groove glue has to offer – ensuring your creations will
What is Tongue and Groove?
Contents
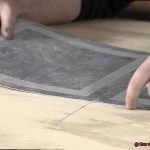
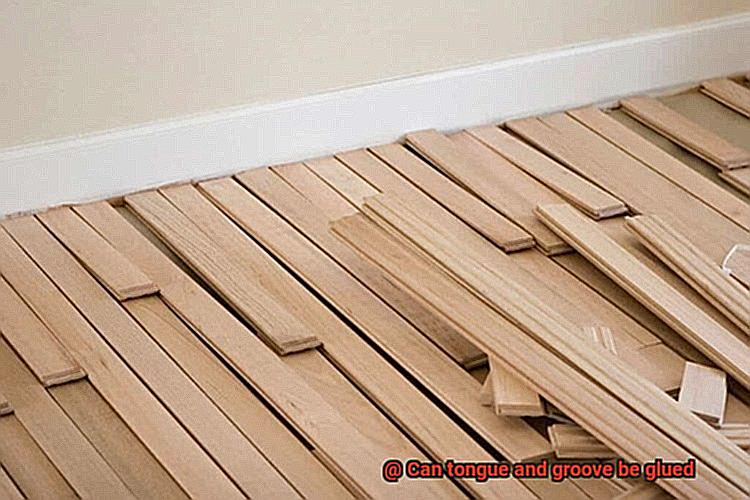
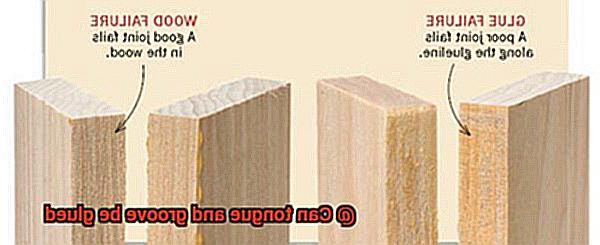
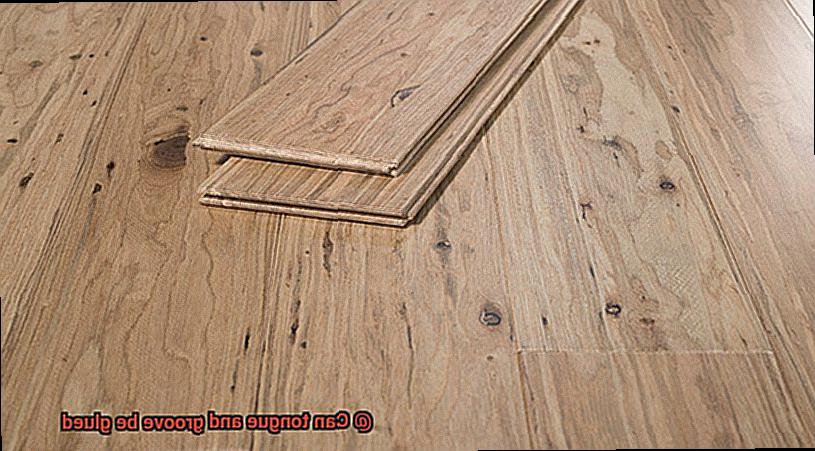
Tongue and groove is a popular and versatile building technique used to join wood boards together. It consists of a protruding tongue on one side of the board that fits into a corresponding groove on the other side, creating a strong and seamless connection. This method is commonly used in construction and woodworking projects, such as flooring, paneling, and cabinetry, due to its durability, stability, and aesthetic appeal.
The tongue and groove joint has been utilized for centuries and is renowned for its reliability. By interlocking the boards, this joint prevents shifting or separation, making it ideal for applications where strength and longevity are essential. Additionally, it minimizes gaps between the boards, resulting in a smooth and flawless finish.
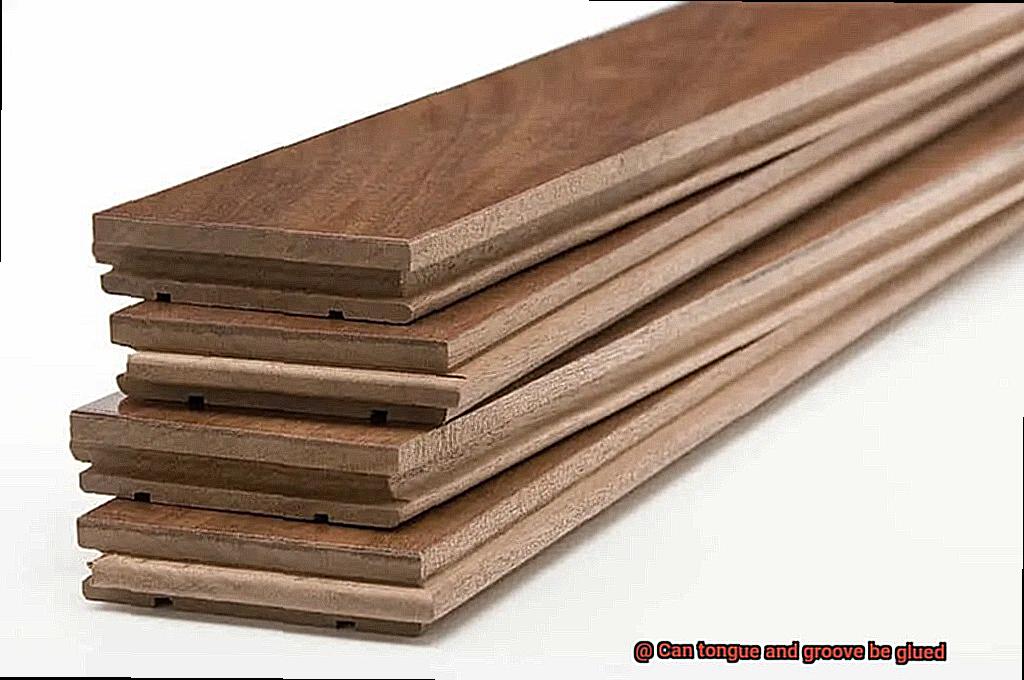
Creating a tongue and groove joint involves precision machining to ensure a tight fit. The tongue, usually a small ridge or projection, extends along the edge of one board, while the groove, a corresponding channel or slot, is carved into the edge of the adjoining board. When fitted together, the tongue snugly fits into the groove, forming a secure bond that holds the boards firmly in place.
There are various types of tongue and groove joints available. Some profiles have V-shaped grooves for enhanced aesthetics, while others feature square or rounded edges. These variations allow for different installation methods and can create unique visual effects.
Although most commonly used with wood, tongue and groove joints can also be employed with other materials like engineered wood, laminate, or even metal. This versatility expands the possibilities for utilizing this building technique in a wide range of projects.
Benefits of Gluing Tongue and Groove Joints
When it comes to joining wood boards together, tongue and groove joints are a popular choice for their strength, stability, and seamless appearance. But did you know that gluing these joints can provide even more benefits? Let’s explore the advantages of using glue in tongue and groove joints.
First and foremost, gluing tongue and groove joints adds an extra layer of strength and stability to the joint. The glue acts as a bonding agent, effectively holding the individual pieces of wood together. This prevents the joint from becoming loose or separating over time, ensuring a durable and long-lasting installation.
In addition to strength, gluing tongue and groove joints helps minimize movement and shifting of the wood. By gluing the joints, the pieces are more likely to stay in place and maintain their alignment, reducing the risk of gaps or warping. This results in a flawless finish that stands the test of time.
Furthermore, gluing tongue and groove joints creates a seamless appearance. When properly glued, the joint is virtually invisible, resulting in a smooth, continuous surface. Whether you’re installing flooring or cabinetry, this enhances the overall aesthetic appeal of the woodwork.
Moreover, gluing tongue and groove joints can improve soundproofing qualities. The glue fills any tiny gaps between the pieces of wood, reducing the transmission of sound vibrations. This is particularly beneficial for flooring applications where minimizing noise transfer between rooms is desired.
Glued tongue and groove joints also offer better resistance to moisture and humidity. The glue acts as a barrier, preventing water or moisture from seeping into the joint and causing damage. This is especially important for outdoor or high-moisture environments where wood may be more susceptible to rotting or swelling.
Lastly, gluing tongue and groove joints makes repairs or replacements easier in the future. When individual pieces need to be replaced, having glued joints allows for a more straightforward process. The glue can be softened or dissolved, making it easier to remove and replace damaged sections without affecting the surrounding woodwork.
Assessing the Need for Glue
When it comes to tongue and groove joints, the decision to use glue or not can have a significant impact on the strength and durability of your woodworking project. Let’s explore the factors that should be considered when assessing the need for glue.
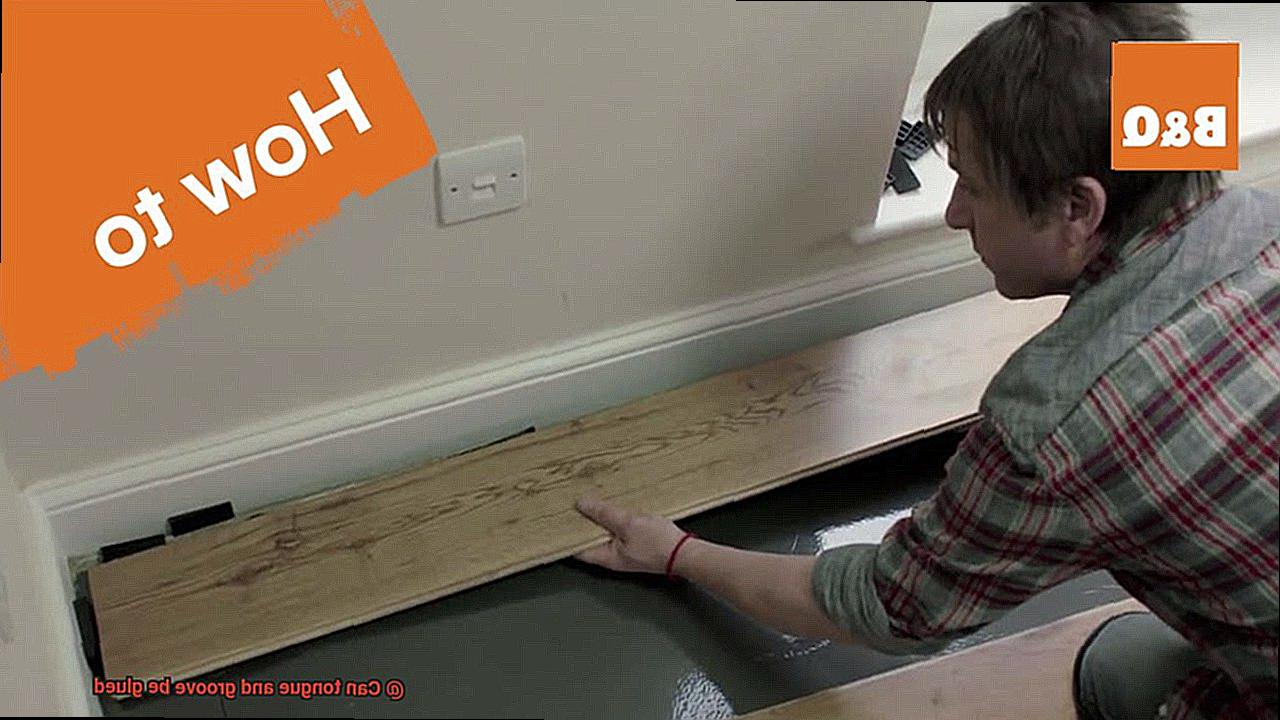
- Type of Wood: Different types of wood exhibit varying levels of natural adhesion. Hardwoods like oak or maple typically have tight-fitting joints that may not require glue. However, softwoods like pine or cedar may benefit from the added strength and stability that glue provides. For example, constructing a pine flooring that will receive heavy foot traffic can benefit from using glue to prevent potential gaps or looseness over time.
- Purpose of the Joint: Understanding the intended use of the joint is crucial in determining whether glue is necessary. If the joint is purely decorative and won’t be subjected to stress or movement, such as in a picture frame, glue may not be needed. On the other hand, if the joint will be load-bearing or undergo regular stress, such as in a table leg or cabinet door, applying adhesive can provide extra reinforcement and prevent weaknesses or failures.
- Environmental Conditions: The environmental conditions your woodwork will be exposed to can also influence the need for glue. Wood naturally expands and contracts with changes in humidity and temperature. If your project will be in an area with fluctuating humidity levels or extreme temperatures, using glue can help minimize the effects of wood movement and keep the joints tight and secure. For instance, installing tongue and groove paneling in a bathroom where moisture is present would benefit from using a waterproof adhesive to protect against moisture damage.
- Application Techniques: The way you apply the glue can also affect its necessity. Applying a thin, even layer of glue to both the tongue and groove before joining them together ensures maximum adhesion. Proper clamping and allowing adequate drying time are crucial steps in ensuring a strong bond. Remember, using too much glue can result in excess squeeze-out and create a messy finish, while using too little may not provide enough adhesion for a durable joint. Finding the right balance is key.
Selecting the Right Adhesive
The secret lies in selecting the right adhesive. Just like a secret ingredient that enhances the taste of a dish, the right adhesive can make your woodworking project stand out.
In this blog post, we will explore the key considerations when choosing an adhesive for gluing tongue and groove joints.
Material Matters:
Different materials require different adhesives. For wood tongue and groove boards, wood glue or polyurethane-based adhesives are the go-to choices. These adhesives have excellent bonding properties specifically designed for woodworking applications.
Weatherproofing:
Consider the conditions your joint will be exposed to. If moisture or high humidity is a concern, opt for moisture-resistant or waterproof adhesives like marine-grade epoxy or polyurethane adhesives. These will ensure that your joint remains strong even in challenging environments.
Application Method:

Pay attention to the application method specified by the manufacturer. Some adhesives require clamping or pressure for optimal bonding, while others may not. Following the instructions ensures a strong bond that will last.
Time is of the Essence:
Consider the drying time of the adhesive. Fast-drying adhesives offer convenience, but longer drying times may be necessary for stronger bonds. Strike a balance between convenience and durability when selecting your adhesive.
Trustworthy Brands:
Choose adhesives from reputable brands with a proven track record in providing reliable and long-lasting bonds. Reading product reviews and seeking recommendations can help you make an informed decision.
Surface Preparation:
Proper surface preparation is essential for a successful bond. Clean and sand the surfaces to be bonded before applying the adhesive. Ensure an even application in the appropriate amount and allow sufficient curing time before subjecting the joint to stress or load.
Preparing the Joints for Gluing
When it comes to tongue and groove joints, proper preparation is essential to ensure a seamless connection. In this comprehensive guide, we will walk you through the critical steps needed to prepare these joints for gluing, empowering you to create professional-quality pieces that stand the test of time.
Step 1: Cleanliness is Key
Before diving into the gluing process, take a moment to appreciate the significance of cleanliness. Clear away any debris or particles that could interfere with adhesion. A quick wipe down with a clean cloth or a thorough vacuuming can work wonders. Investing a little extra effort in this step will go a long way in ensuring a strong bond.
Step 2: Snug Fit for Solid Results
Achieving a sturdy joint requires a snug fit between the tongue and groove. Any gaps or loose connections can compromise the strength of your bond. Don’t rush this step; take your time to trim or adjust the joints using a chisel or router until they fit together perfectly. Precision is the key to creating joints that are tight and precise.
Step 3: Smooth It Out
To create an optimal surface for gluing, gently sand the joint surfaces. This step eliminates any rough edges or imperfections that could hinder the bonding process. The act of sanding also creates a slightly roughened surface, enhancing the adhesive’s grip and promoting a stronger bond.
Step 4: Condition for Success
When working with porous or moisture-absorbent woods, wood conditioners or primers become your secret weapons. Applying a thin layer of conditioner or primer seals the wood and prevents excessive glue absorption, leading to stronger bonds. Skipping this step would be like neglecting armor for your joints; don’t let your projects go unprotected.
Step 5: Choosing the Right Adhesive
Now that your joints are clean, snug, sanded, and conditioned, it’s time to choose the glue that will bring it all together. For tongue and groove applications, consider using wood glue, polyvinyl acetate (PVA) glue, or epoxy. Each adhesive has its own unique properties, so read the manufacturer’s instructions carefully to ensure you’re using the right one for your project.
Step 6: Apply with Precision
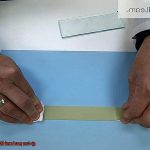
In the world of gluing, less is more. Apply a thin, even layer of glue to one of the joint surfaces using a brush or small roller. Be sure to cover the entire area that will come into contact with the adjoining piece. Avoid applying excess glue, as it can lead to messy joints and weakened bonds. Precision in application ensures a clean and strong bond.
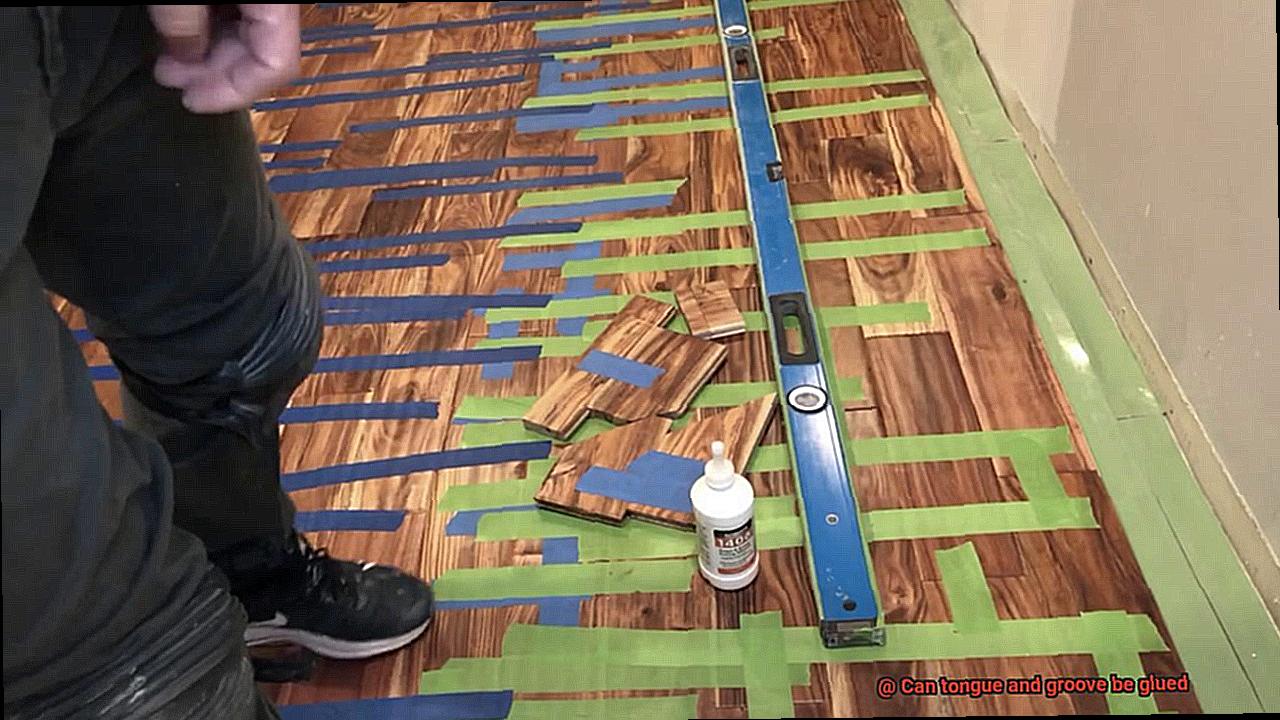
Applying the Glue Properly
Today, we explore the intricacies of applying glue properly to tongue and groove joints. Whether you’re a seasoned craftsman or just starting out, mastering this technique is essential for creating professional-quality woodwork. So, let’s roll up our sleeves and dive into the art of glue application.
Choosing the Right Glue:
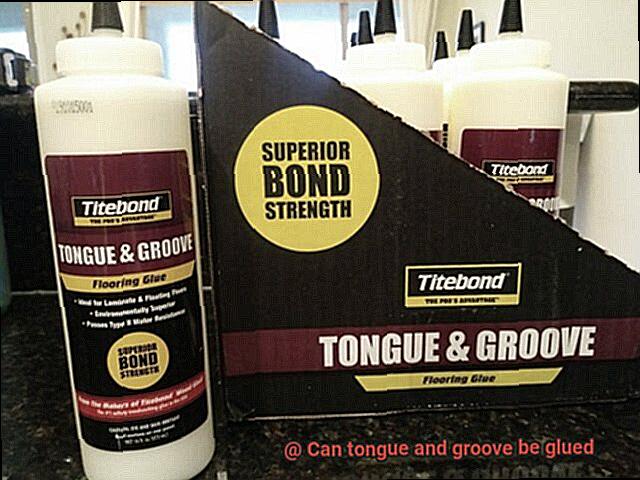
Begin by selecting a high-quality wood adhesive specifically designed for tongue and groove joints. This ensures the strength and durability needed to withstand the test of time.
Preparing the Surfaces:
Cleanliness is key. Before applying any glue, meticulously clean the surfaces to remove dirt, dust, or debris that could jeopardize the bond. A pristine surface sets the stage for a solid connection.
Applying the Glue:
Now comes the exciting part – applying the glue. Aim for a thin and even layer on both the tongue and groove sections of the joint. Excessive glue creates a messy situation and compromises bond quality.
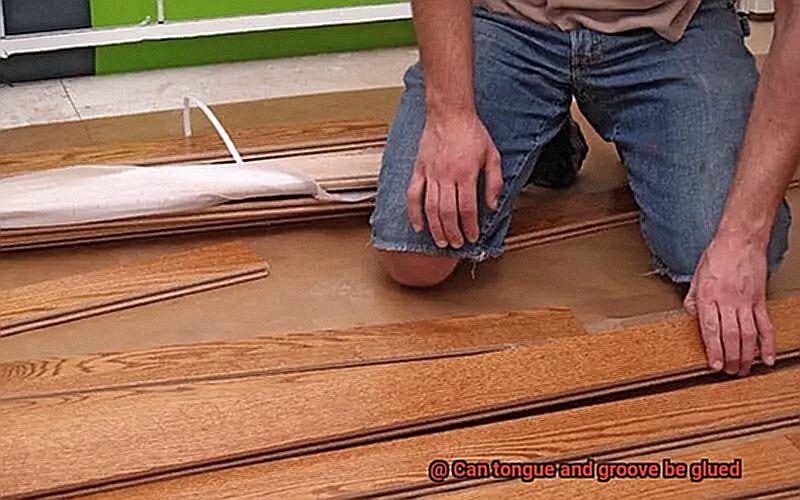
Joining the Pieces:
Fit the pieces together like a jigsaw puzzle. Ensure that the tongue snugly fits into the groove, applying gentle pressure to establish proper contact between surfaces. This step is critical for a tight bond.
Securing and Drying:
To maintain alignment during drying, use clamps or suitable methods to secure the joint. This prevents movement that could compromise your hard work. Patience is key as you follow manufacturer instructions for drying time.
Inspecting and Repeating if Necessary:
Once dry, inspect your joint for any gaps or loose areas. If needed, apply additional glue and repeat the clamping process to rectify imperfections. Attention to detail ensures a flawless end result.
Removing Excess Glue:
Congratulations on your successful joint. Before wrapping up, remove excess glue with a chisel or scraper, taking care not to mar the wood surface. Diligence rewards you with a clean, professional finish.
Ensuring a Strong Bond
In the world of woodworking, achieving a strong bond is paramount when working with tongue and groove joints. These joints are the backbone of sturdy woodwork structures, making them a popular choice for various projects.
In this blog post, we will delve into the steps necessary to ensure a robust bond when gluing tongue and groove joints. From meticulous surface preparation to selecting the right adhesive and employing proper assembly techniques, we will leave no stone unturned.
Step 1: Prepare the Surfaces:

Before diving into the gluing process, it is crucial to prepare the tongue and groove surfaces meticulously. Ensure that they are pristine, devoid of any pesky dust, dirt, or debris. Consider giving them a gentle sanding to create a slightly rough texture that enhances the adhesive’s bonding capability.
Step 2: Choose the Right Adhesive:
The key to achieving a formidable bond lies in selecting the appropriate adhesive. Wood glue or polyvinyl acetate (PVA) glue reign supreme in the realm of tongue and groove joints. Their ability to penetrate wood fibers effectively makes them the go-to choices. Opt for a high-quality adhesive that caters to your specific project needs.
Step 3: Apply Glue Evenly:
Bestow an even and ample amount of glue on both the tongue and groove surfaces. Skimping on glue may result in feeble bonds, while oversupplying can lead to unsightly messes. Employ a brush or roller to distribute the glue evenly, ensuring complete coverage on both surfaces.
Step 4: Assemble with Care:
Fit the tongue snugly into the groove, ensuring a tight embrace. Secure the joint with gentle pressure or reliable clamps while the glue sets. This step is quintessential in forging an unyielding bond.
Step 5: Clean Excess Glue:
Immediately after assembly, eradicate any surplus glue with a damp cloth. Dried glue on the surface of the wood can be an arduous conquest, tarnishing the joint’s visual appeal.
Step 6: Allow Sufficient Drying Time:
Adhere to the manufacturer’s instructions regarding drying and curing time. Hurrying this process might compromise the bond’s strength. Embrace patience, as it is the key to achieving a lasting outcome.
Considerations for Not Gluing
When it comes to installing tongue and groove boards, the decision of whether to glue them together or not requires careful consideration. While gluing may seem like a logical choice, it is important to explore the long-term implications.
In this article, we will delve into the considerations for not gluing tongue and groove boards, including the benefits of allowing for expansion and contraction, maintaining accessibility for repair or replacement, preserving natural aesthetics, ensuring flexibility in installation, and facilitating ease of disassembly.
Expansion and Contraction:
Wood is a living material that responds to changes in humidity and temperature. By not gluing tongue and groove boards together, you allow them the freedom to naturally expand and contract. This accommodation for movement prevents warping, buckling, or splitting of the wood over time. Embracing the innate behavior of wood ensures a more durable and long-lasting installation.
Accessibility for Repair or Replacement:
Accidents happen, whether it’s a spill that damages a single board or wear and tear in heavily trafficked areas. Not gluing tongue and groove boards allows for easy access to individual boards for repair or replacement.
This means you can quickly fix any issues without causing extensive damage to surrounding boards or undertaking a major renovation project. The ability to address problems efficiently prolongs the lifespan of your installation.
Natural Aesthetics:
One of the main attractions of tongue and groove boards is their unique patterns created by interlocking edges. Gluing them together can compromise these natural aesthetics by leaving visible glue lines between the boards.
By abstaining from gluing, you can preserve the beauty of the wood and enhance the overall visual appeal of your finished surface. The absence of visible glue lines creates a seamless and authentic appearance.
Flexibility in Installation:
Installing tongue and groove boards requires precision to achieve a seamless fit. Not gluing them together provides flexibility during the installation process, allowing for adjustments and fine-tuning.
This flexibility is especially beneficial when dealing with irregularities in subfloors or walls, ensuring a level and aligned surface. The ability to make necessary adjustments ensures a flawless and professional outcome.
Ease of Disassembly:
Whether you’re moving or renovating, the ability to disassemble your tongue and groove flooring or paneling without causing excessive damage is invaluable. By not gluing the boards together, you can easily remove and reuse them in a new location or repurpose them for other projects. This saves time, effort, and money in the long run. The ease of disassembly allows for future adaptability and reduces waste.
le7IWg14Rao” >
Conclusion
Yes, tongue and groove can be glued together.
This method of joining wood panels or flooring is often used to create a strong and seamless connection. By applying an adhesive to the grooves and tongues, you can ensure a secure bond that will withstand the test of time.
Whether you’re working on a DIY project or a professional installation, using glue with tongue and groove is a reliable technique that guarantees stability and durability.