Imagine this: you’re going about your day, minding your own business, when disaster strikes. Your trusty pair of glasses suddenly falls apart, leaving you in a state of panic. Is it time to say goodbye to your favorite eyewear companion? Not so fast. Before you rush out to buy a new pair, there might just be a glimmer of hope.
In this blog post, we’re diving deep into the intriguing question of whether you can glue your glasses back together. We’ll explore different types of glue that could work their magic on those broken frames. But hold on tight – before you grab that glue bottle, there are some things you need to know.
While regluing glasses may sound like an easy fix, there are a few factors to consider. Different glues have different success rates with various materials commonly used in eyewear frames. And let’s not forget about the potential risks and limitations involved in taking matters into your own hands.
Join us as we unravel the mysteries of eyewear repair and guide you through the dos and don’ts of gluing your glasses back together. So gather up those broken frames, summon your DIY spirit, and let’s find out if your beloved spectacles can be saved.
Cleaning the Area Before Gluing
Contents
Gluing glasses together can be a temporary solution, but it requires careful preparation for a strong and durable bond. In this guide, we will explore the importance of cleaning and preparing the area before gluing glasses, providing compelling evidence for why this step is so crucial.
Cleaning the Area:
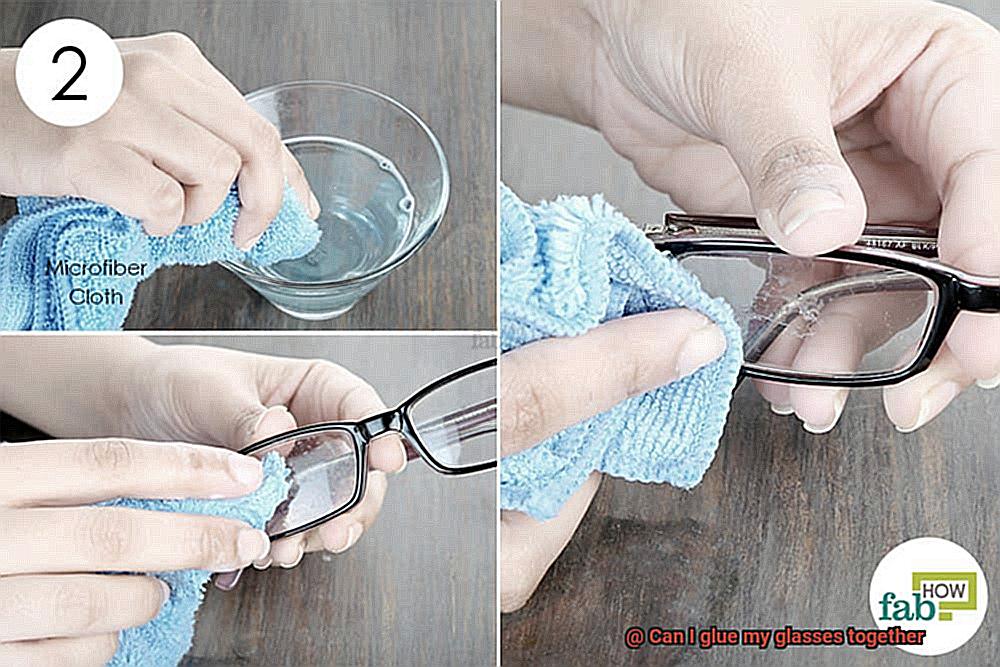
Before applying any adhesive, it is paramount to clean the surfaces that need to be glued together. This step ensures the removal of dirt, oils, and residues, allowing the adhesive to bond effectively. Start by gently rubbing the surfaces of the glasses together with a mild soap or detergent and warm water. Thoroughly rinse them with clean water to eliminate any soap residue, then pat them dry with a soft, lint-free cloth or let them air dry completely.
Roughening the Surfaces:
To further enhance bonding strength, it is recommended to slightly roughen the surfaces. This can be achieved using sandpaper or a fine-grit abrasive pad. By gently rubbing the surfaces in a circular motion, a rough texture is created that provides more surface area for the adhesive to grip onto. After roughening, ensure another round of cleaning to remove any debris created during this process.
Handling with Care:
During the gluing process, it is important to handle the glasses with clean hands or wear gloves. This prevents transferring oils or contaminants onto the surfaces, compromising the adhesive’s effectiveness. By keeping the area clean and free from additional dirt or oils, you ensure a strong and durable bond.
Choosing the Right Adhesive:
When gluing glasses together, specific adhesives work best. Cyanoacrylate adhesive, commonly known as super glue, is a popular choice due to its fast drying time and strong bonding properties. Another option is epoxy resin, which requires mixing two components together and provides a longer curing time. It is crucial to choose an adhesive suitable for glasses and follow the manufacturer’s instructions for application.
Types of Adhesives Suitable for Gluing Glasses
Accidents happen, and one common mishap that can leave you feeling helpless is when your glasses break. Gluing glasses together may seem like a tempting quick fix to get you through the day, but it’s important to understand that this is only a temporary solution. In this article, we’ll explore the different types of adhesives suitable for gluing glasses and delve into their advantages and disadvantages.
Super Glue (Cyanoacrylate adhesive):
Super glue, also known as cyanoacrylate adhesive, is a popular choice for gluing glasses due to its fast-drying properties. In emergency situations, it forms a strong bond quickly, allowing you to get back to using your glasses in no time.
However, super glue can be brittle and may not withstand excessive stress or impact. This means that while it may hold your glasses together temporarily, it may not provide a long-lasting solution. Additionally, if not applied carefully, it can leave a visible residue on the glass surface, compromising the aesthetics of your eyewear.
Epoxy Resin:
Epoxy resin is another adhesive option for gluing glasses that offers a more durable and long-lasting bond compared to super glue. It consists of two components – resin and hardener – that need to be mixed together before application. Epoxy resin creates a strong bond that can withstand everyday wear and tear, making it suitable for repairing broken or cracked frames.
It is also resistant to water and chemicals, ensuring the longevity of the repair. However, epoxy resin requires careful mixing and has a longer curing time compared to super glue. This means that you’ll need to exercise patience when using epoxy resin as an adhesive for your glasses.
UV-Curing Adhesives:
UV-curing adhesives are commonly used in industrial applications but can also be used for repairing glasses. These adhesives require exposure to ultraviolet light to cure and form a strong bond. What sets them apart is their ability to provide a clear and transparent connection, making them ideal for situations where aesthetics are important.
However, UV-curing adhesives may not be readily available for consumer use and may require specialized equipment for curing. This means that they may not be the most accessible option for gluing glasses together, especially in emergency situations.
Specialized Glass Adhesives:
For those looking for a reliable and specialized solution, there are adhesives specifically formulated for bonding glass surfaces. These specialized glass adhesives offer excellent clarity and strength, making them ideal for repairing glasses.
They are often resistant to moisture, temperature changes, and chemicals, ensuring a reliable bond that can withstand the test of time. However, it’s important to note that specialized glass adhesives may be more expensive compared to other adhesive options.
Caution When Using Adhesives on Coated Lenses
The allure of a quick fix for broken or loose glasses parts can be tempting, but when it comes to applying adhesives to coated lenses, caution is paramount. Coated lenses, found in top-notch eyeglasses and sunglasses, serve a multitude of purposes like glare reduction, scratch protection, and UV shielding.
Here, we delve into the reasons why caution is necessary when using adhesives on coated lenses and offer invaluable tips to safeguard your eyewear investment.
The Perils of Potential Damage:
Adhesives often contain chemicals that can wreak havoc on lens coatings, leading to irreversible damage. To determine if it’s safe to use adhesives directly on coated lenses, consult the manufacturer’s instructions or seek advice from an eyewear professional.
Heed Manufacturer Recommendations:
Certain manufacturers may recommend specific adhesives compatible with their lens coatings. If such guidance exists, follow it diligently for safe repairs. However, if no recommendations are provided, it’s advised to steer clear of applying adhesives directly on coated lenses.
Focus on Non-Lens Repairs:
Instead of running the risk of damaging the lenses, prioritize repairing the frame or other non-lens components using appropriate adhesives or seek assistance from an optician or eyeglass repair specialist.
Temporary Lens Removal:
Should a repair near the lenses necessitate adhesive use, consider temporarily removing the lenses before applying it. Bear in mind, though, that lens removal requires delicate handling to prevent scratches or breakage.
Meticulous Lens Cleaning:
Before reinserting the lenses into the repaired frame, ensure they are thoroughly cleaned to eradicate any adhesive residue. Employ a gentle solvent or lens cleaner recommended by the manufacturer. Avoid using rubbing alcohol or acetone as they can exacerbate damage to the lens coatings.
Accidental Adhesive Encounter:
In instances of inadvertent contact between adhesive and coated lenses, swift action is crucial. Swiftly remove the adhesive using a gentle solvent or lens cleaner recommended by the manufacturer. If complete removal proves challenging, it’s advisable to have the glasses assessed by a professional, who may recommend lens replacement if necessary.
Applying the Adhesive
We’ve all experienced the heartbreaking moment when our favorite pair of glasses breaks. But don’t despair. With a little DIY knowledge and the right adhesive, you can fix them yourself and save some money. In this guide, we’ll walk you through the process of applying adhesive to repair your glasses, covering everything from choosing the right adhesive to final touches. Let’s dive in.
Types of Adhesive:
When it comes to repairing glasses, there are two popular options: cyanoacrylate-based super glue and epoxy resin. Super glue is perfect for small repairs as it dries quickly, while epoxy resin offers stronger bonding for larger breaks. Consider your specific needs and follow the manufacturer’s recommendations to choose the right adhesive for the job.
Preparation:
Before applying the adhesive, it’s crucial to prepare the surfaces properly. Clean the areas that need to be glued using a mild soap and water solution, ensuring they are dry and free of any dirt or oil. If there is existing adhesive residue, remove it with acetone or a specialized adhesive remover. Smooth and dry surfaces provide better adhesion, resulting in a stronger repair.
Application Process:
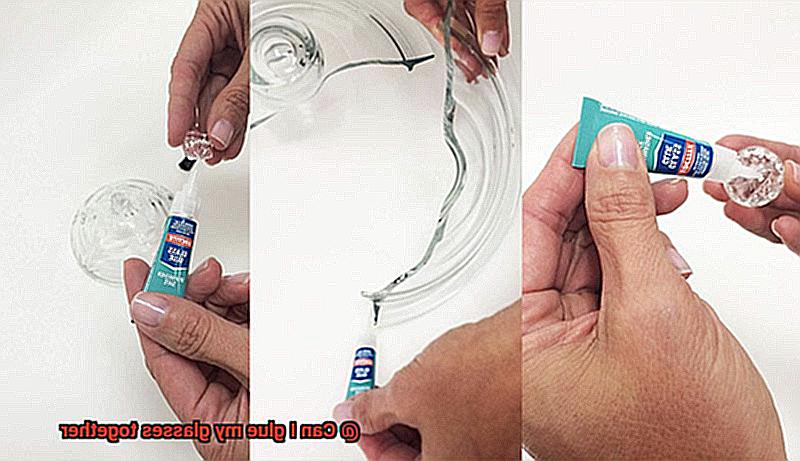
Now it’s time to apply the adhesive. Use a toothpick or a small brush to spread a small amount of glue evenly on the broken area or along the crack. Take your time and be precise to avoid using excessive glue that may seep onto other parts of the glasses. Remember, a little goes a long way.
Clamping or Holding:
To hold the pieces together while the adhesive sets, use clips, rubber bands, or tape. Ensure they are secure but not overly tight, as excessive pressure can cause further damage or misalignment. Follow any specific instructions provided by the adhesive manufacturer for optimal results.
Drying Time:
Different adhesives have varying drying times, so be patient and allow the adhesive to fully cure. Generally, wait at least 24 hours before using or wearing your repaired glasses again. Check the manufacturer’s recommendations for precise drying times to ensure a successful repair.
Final Touches:
Once the adhesive has dried, you can refine the repair for a seamless finish. Gently sand down any excess glue using fine-grit sandpaper, being careful not to damage the surrounding areas. If there are still visible cracks, apply a thin layer of clear nail polish to fill them in and let it dry.
Inspecting the Repaired Area
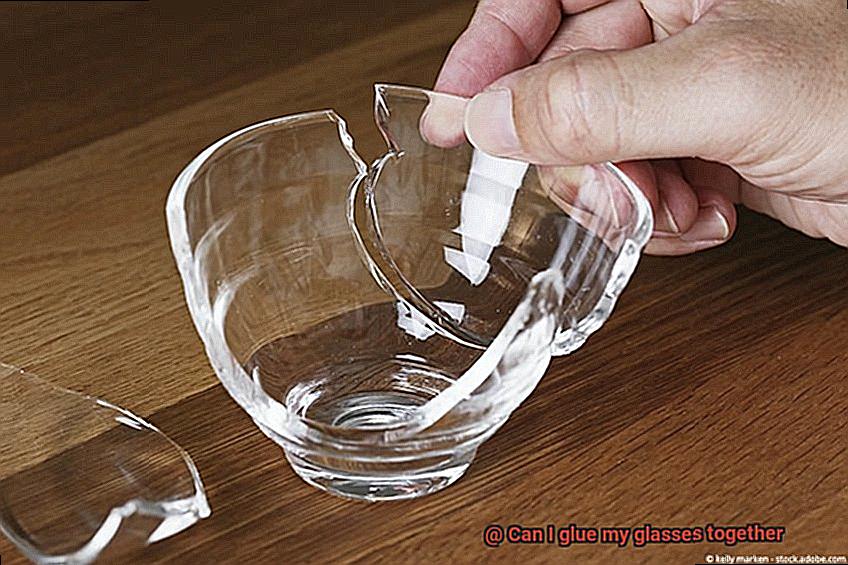
When it comes to fixing your broken glasses, a thorough inspection of the repaired area is absolutely essential. This step can mean the difference between a successful repair job and a disappointing outcome. So, before you reach for that trusty tube of glue, let’s delve into the important aspects of inspecting the repaired area.
Examine the Damage:
Take a close look at the broken parts and identify any missing or damaged pieces that may need replacing. This could include broken hinges, cracked frames, or shattered lenses. Assess the extent of the damage to determine if glue alone will suffice or if additional components are necessary.
Ensure Proper Alignment:
Before applying any glue, make sure the broken pieces fit together perfectly. Precise alignment is crucial to avoid weak spots that can lead to future breakages. Take your time with this step to ensure a strong bond.
Cleanliness Matters:
Nobody wants a dirty repair job, right? To create an optimal surface for gluing, remove any dirt, debris, or residue from the areas that need to be bonded. Use a soft cloth or cotton swab with a mild cleaning solution to gently clean the surfaces.
Address Small Imperfections:
Don’t overlook small cracks or chips in the frames or lenses. These imperfections can compromise the overall strength of your repair job. Consider filling them in with an appropriate filler material before applying glue to ensure a stronger bond.
Choose the Right Glue:
Not all adhesives are created equal, so do your research and select a glue specifically designed for bonding glasses. Cyanoacrylate adhesive, commonly known as super glue, is often recommended due to its strength and compatibility with different materials.
Test the Bond:
Once you’ve completed the repair, give your glasses a gentle flex or wiggle to test the bond. This will help you determine if the glue has done its job and if your glasses are ready for regular use and movement. If you notice any weakness or instability, consider reinforcing the repair.
Considerations for Professional Repairs
We’ve all experienced that heart-stopping moment when our cherished eyeglasses break. The temptation to grab a tube of glue and attempt a quick fix is strong, but before you do, let’s delve into some crucial considerations. In this article, we will explore the benefits of professional repairs versus DIY fixes for your glasses. So sit tight and let’s dive deeper.
Assessing the Damage:
First and foremost, take a careful look at the damage. If your frames are merely loose or a small part has broken off, gluing may be an option. However, severe damage to the frame or cracked and shattered lenses require professional repairs. Gluing in these cases may not provide a secure fix and could potentially worsen the situation.

Materials Matter:
Pay attention to the material your glasses are made from. Different materials necessitate specific adhesives for effective bonding. For instance, metal frames demand adhesives specifically designed for metals. Using the wrong glue can result in weak bonds or even damage to the frames themselves. Choose wisely.
Durability and Expertise:
Let’s talk about long-term durability. While gluing might offer a temporary fix, it may not match the strength and reliability of professional repairs. Repair technicians possess specialized tools and materials that guarantee a more secure and enduring fix. Their expertise allows them to properly assess the damage and apply appropriate repair techniques.
Warranty Woes:
Consider any warranties that cover your glasses. Attempting DIY repairs may void these warranties, leaving you responsible for professional repair costs out of pocket. So before you reach for that glue, double-check if your eyewear is still covered.
Prioritize Safety:
Last but certainly not least, prioritize your safety. Handling delicate eyewear components can be tricky, and mishandling or using improper techniques may lead to further damage or injury. Professional repair technicians are trained to handle these delicate parts, minimizing the risk of accidents or mistakes.
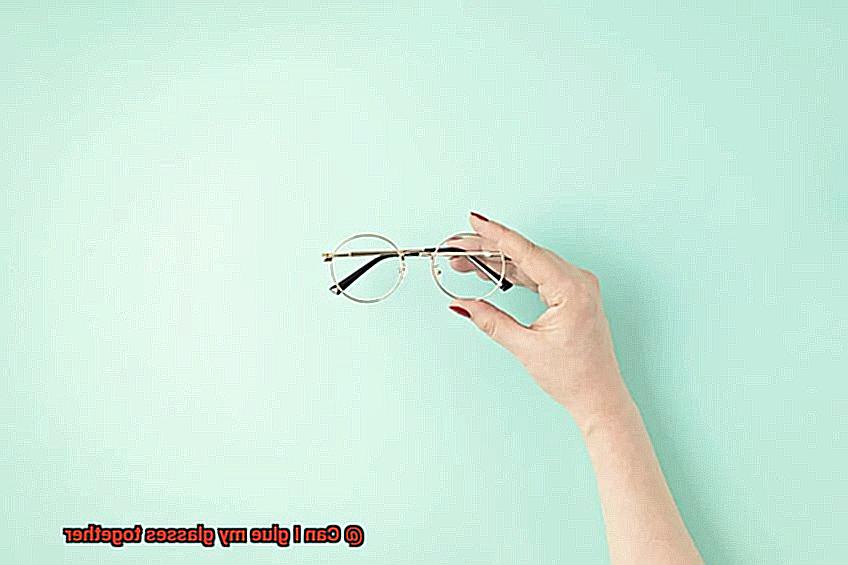
When to Replace Your Glasses
Glasses are not only a tool for better vision, but also a fashion accessory. It’s important to feel confident and comfortable in the frames you choose. But how do you know when it’s time to replace your glasses? Here are some key considerations to keep in mind:
- Changes in Vision: If you find yourself squinting or straining to see clearly even with your glasses on, it may be an indication that your prescription has changed. Your current glasses may no longer be providing the correct level of correction. Don’t compromise on your vision; get a new pair that will help you see clearly.
- Uncomfortable Fit: Constantly adjusting your glasses or feeling discomfort on your face could be a sign that the frames have become worn out or the fit is no longer suitable. It’s important to have frames that not only look good but also feel good. Don’t let discomfort hinder your daily activities; invest in a pair of glasses that fit you perfectly.
- Scratched Lenses: Scratches on the lenses can affect your vision and make it difficult to see clearly. While minor scratches can sometimes be buffed out, deep scratches may require replacement lenses. Don’t settle for compromised vision; get new lenses that will provide you with crystal-clear clarity.
- Decreased Clarity and Increased Glare: Over time, the coating on your lenses can wear off, leading to decreased clarity and increased glare. If you notice that your glasses don’t seem as effective at reducing glare as they once did, it may be time for a new pair. Don’t let glare hinder your outdoor activities; upgrade to lenses that will give you optimal clarity.
- Age and Eye Changes: As we get older, our eyesight naturally changes, and our prescription may need to be adjusted accordingly. Regular eye exams are important to ensure that your glasses are still meeting your vision needs. Don’t settle for outdated prescriptions; get your eyes checked regularly and update your glasses as needed.
- Style Update: Sometimes, you just want a change in style. If you’ve had your current pair of glasses for several years and you’re ready for a fresh look, it’s perfectly acceptable to replace them even if there are no major issues with their functionality. Glasses are not only a tool for better vision, but also a fashion statement. Embrace your style and treat yourself to a new pair that reflects your personality.
d81VnEunObs” >
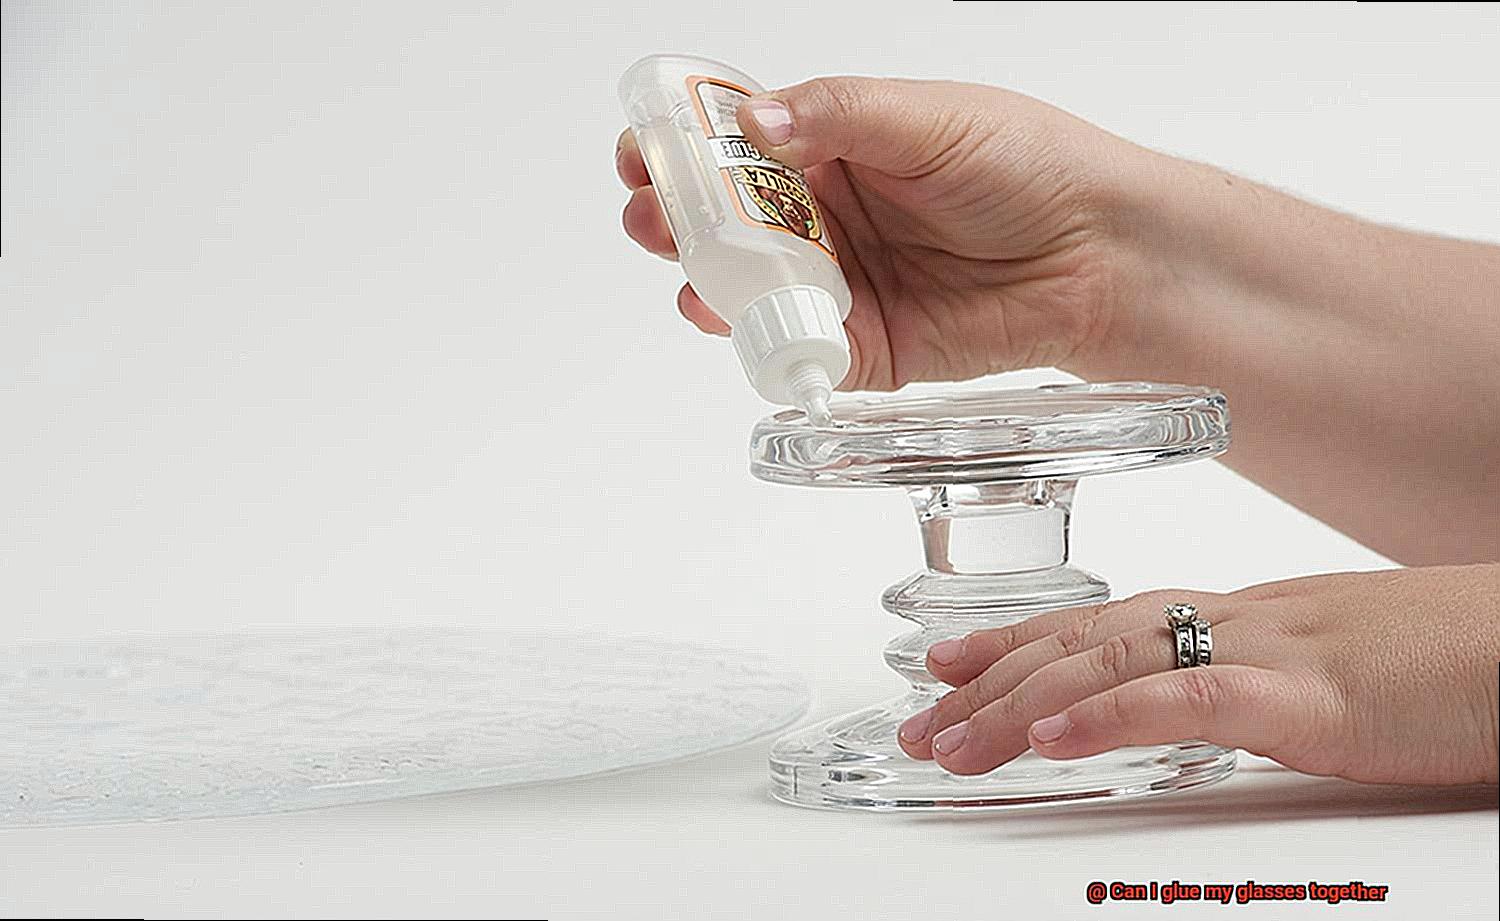
Also Read: Can I use Gorilla Glue on glasses?
Conclusion
Yes, it is possible to glue your glasses together.
By using a strong adhesive, you can mend any broken parts and restore functionality to your eyewear. However, it is important to exercise caution when attempting this DIY fix.
Additionally, keep in mind that gluing your glasses together is a temporary solution and may not hold up well over time.