Ever wondered how long it takes for Elmer’s clear glue to harden? Whether you’re a craft enthusiast or a DIY-er, understanding the hardening process of this popular adhesive is key to successful projects. In this blog post, we’ll dive into the details of Elmer’s clear glue and shed light on its drying time.
Elmer’s clear glue is known for its versatility, bonding various materials like paper, fabric, wood, and plastic. But what makes it truly special is not just its strength – it’s how long it takes to harden. This timing plays a crucial role in project efficiency.
Timing matters because the hardening process determines when your glued items are fully secured. So, knowing and managing this aspect can save you from frustration and ensure smooth progress without compromising quality.
So, how long does Elmer’s clear glue take to harden? Drying time varies based on factors like humidity, thickness, and the materials being glued. On average, it will dry within 1-2 hours. However, achieving complete hardness might take up to 24 hours depending on environmental conditions.
The hardening time is crucial because it dictates when you can handle or manipulate your glued items further. Rushing the process by moving or applying pressure too soon weakens the bond and risks damage or project failure. Therefore, allowing appropriate drying time is essential for optimal results and longevity.
In upcoming sections, we’ll explore the factors that influence Elmer’s clear glue’s hardening process and provide practical tips to maximize efficiency. Stay tuned to discover how you can achieve great results with this popular adhesive.
What is Elmer’s Clear Glue?
Contents
- 1 What is Elmer’s Clear Glue?
- 2 Factors That Affect Drying Time
- 3 Average Drying Times for Elmer’s Clear Glue
- 4 Ideal Conditions for Quicker Drying Times
- 5 Techniques to Speed Up the Drying Process
- 6 The Importance of Leaving Objects Undisturbed During the Drying Process
- 7 Following Manufacturer Instructions for Optimal Results
- 8 Conclusion
If so, you understand the importance of having a reliable adhesive at your disposal. Look no further than Elmer’s Clear Glue – the versatile and popular choice for all your artistic endeavors. In this blog post, we’ll explore the wonders of Elmer’s Clear Glue, from its unique features to how it can help you unleash your creativity.
Versatility:
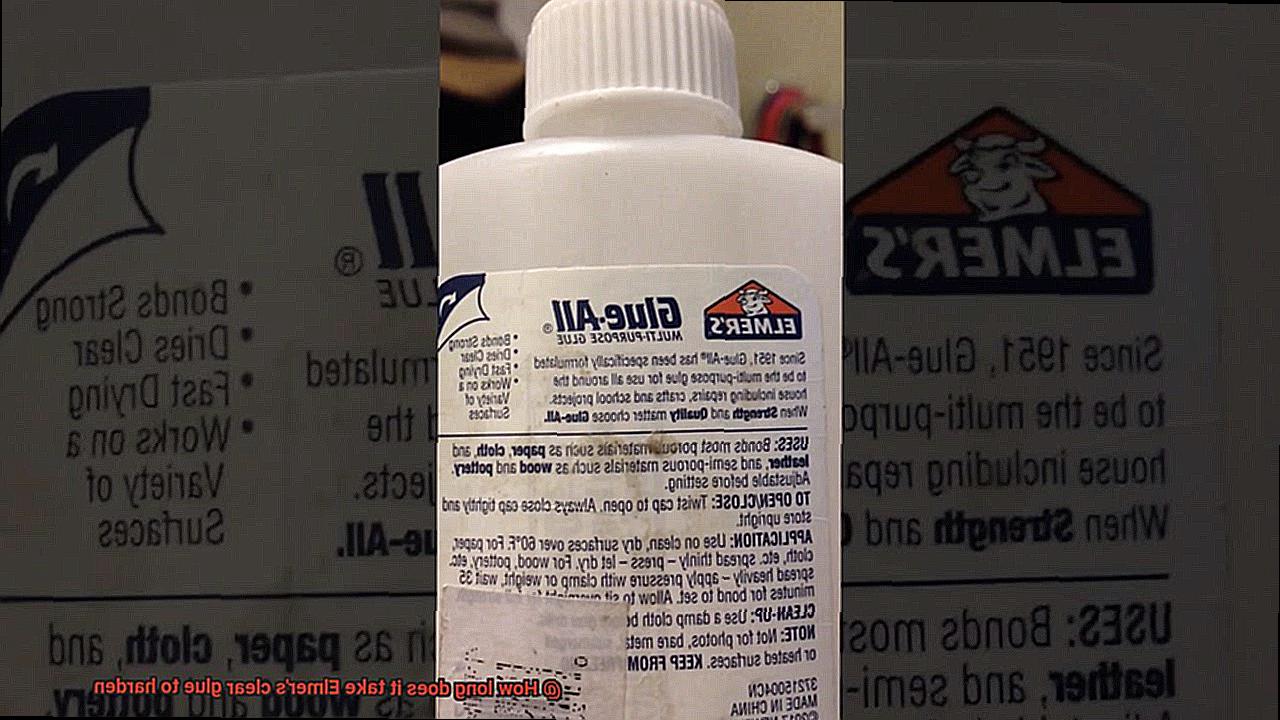
Elmer’s Clear Glue is like a Swiss Army knife for crafters. Its water-based formula effortlessly bonds with various materials, including paper, fabric, wood, ceramics, and most plastics. From scrapbooking to card making, this glue has got you covered. No matter the project, Elmer’s Clear Glue ensures a strong hold that withstands everyday wear and tear.
Clear and Transparent Finish:
One of the standout features of Elmer’s Clear Glue is its ability to dry completely clear. This makes it perfect for applications where a transparent finish is desired. Whether you’re creating intricate paper crafts or repairing delicate glassware, Elmer’s Clear Glue provides an invisible bond that enhances the beauty of your creations.
Easy Application and Cleanup:
Elmer’s Clear Glue comes in a user-friendly squeezable bottle with a twist-off cap. This ensures precise and controlled application, allowing you to achieve intricate details without any mess. And if accidents happen (because they often do), don’t worry. Elmer’s Clear Glue is washable, making cleanup a breeze.
Customization and Enhancement:
But wait, there’s more. Elmer’s Clear Glue isn’t just an adhesive; it’s a means of customization and enhancement. Add food coloring to the glue for vibrant finishes or mix in glitter for a touch of sparkle and glamour. The possibilities are endless when it comes to personalizing your creations with Elmer’s Clear Glue.
Factors That Affect Drying Time
Prepare to be enlightened. In this captivating exploration, we will delve into the intricate workings of drying time and unravel the various factors that wield their influence over Elmer’s Clear Glue. So, grab hold of your trusty glue gun and join us on this enlightening journey.
Temperature: The Heat Accelerator
Think of temperature as the pedal to the metal for drying time. When the mercury rises and the air is warm, Elmer’s Clear Glue dries at warp speed. The heat acts as a catalyst, turbocharging evaporation rates and allowing the water within the glue to bid farewell more swiftly. On the flip side, cooler temperatures put a brake on evaporation, elongating drying time. So, keep an eagle eye on that thermostat.
Humidity: The Mischievous Prankster
Humidity is like that cheeky friend who loves to play tricks on you. When humidity levels rise, moisture saturates the air, turning into a mischievous barrier that hinders evaporation. In this moist environment, Elmer’s Clear Glue requires extra time to bid adieu to excess moisture. However, when humidity levels are low, our superhero sidekick swoops in, speeding up evaporation and reducing drying time. So, watch out for this sneaky accomplice.
Thickness of application: Less is More
Remember the age-old adage “less is more”? Well, it holds true for glue application too. Thicker layers of Elmer’s Clear Glue take their sweet time to dry compared to their thinner counterparts. The logic is simple – thicker layers harbor more moisture that needs to evaporate, while thinner layers boast less moisture content and therefore dry with expediency. So, exercise restraint when dispensing the glue; else, you might find yourself waiting longer than necessary.
Ventilation: The Breath of Fresh Air
Ah, the wonders of good airflow. When you’re toiling away in a well-ventilated space, be it with the aid of fans or open windows, the drying time of Elmer’s Clear Glue shrinks significantly. The gentle breeze becomes an ally, whisking away moisture from the glue’s surface and accelerating the evaporation process. So, let the air flow freely and bid farewell to those tedious hours spent waiting for your masterpiece to dry.
Average Drying Times for Elmer’s Clear Glue
Look no further. In this article, we will explore the factors that affect drying times and provide tips to speed up the process. So, let’s dive in and uncover the mysteries behind this crafty adhesive.
Factors Affecting Drying Times:
The drying time of Elmer’s Clear Glue can be influenced by several factors, including:
Thickness of Application:
The thickness of the glue layer plays a significant role in drying time. Thin applications can dry within a mere 30 minutes, while thicker layers may require up to 2 hours or longer to fully harden.
Humidity Levels:
Humidity can be a tricky companion when it comes to glue drying. In humid environments, moisture in the air can prolong drying times. To combat this, it is advisable to work in a well-ventilated area or use a dehumidifier if necessary.
Temperature:
Temperature is another key factor that affects drying time. Colder temperatures slow down the process, while warmer temperatures expedite it. It is recommended to work in a moderate temperature range for optimal results.
Tips for Faster Drying:
To speed up drying times and unleash your creativity faster, consider the following tips:
Apply a Thin Layer:
Less is more when it comes to glue application. Applying a thin layer of Elmer’s Clear Glue will not only save you time but also ensure an even and efficient bond.
Ventilation is Key:
Working in a well-ventilated area promotes quicker evaporation and aids in removing moisture from the glue. Good airflow facilitates faster drying.
Avoid Handling Too Soon:
Patience is key. Resist the urge to touch or apply additional layers until the glue has fully dried. Premature handling can compromise the bond and lead to longer drying times.
Gentle Heat:
If time is of the essence, you can employ gentle heat to accelerate drying. Utilize a fan or a hairdryer set on low heat to expedite the process. However, exercise caution as excessive heat can cause the glue to bubble or warp.
Ideal Conditions for Quicker Drying Times
Before you unleash your creativity with Elmer’s clear glue, it’s crucial to understand the ideal conditions for faster drying times. Waiting around for glue to dry is nobody’s idea of fun. But fear not. We’ve got you covered with some invaluable tips and tricks to expedite the process. Get ready to dive in and discover the secrets to quicker drying times.
Temperature:
The temperature of your environment holds the key to speedy drying. Warmer temperatures are the catalyst for rapid drying, while cooler temperatures can put the brakes on the process. Aim to work at room temperature or slightly above for optimal results.
Humidity Levels:
Humidity is another crucial factor to consider. High humidity is the enemy of swift drying, while low humidity is its ally. Strive for a moderate humidity level when working with Elmer’s clear glue.
Ventilation:
Don’t underestimate the power of airflow in expediting drying time. Ensure you’re working in a well-ventilated area or employ fans to enhance air circulation around the glued surface. This allows moisture to escape, hastening the drying process.
Thickness Matters:
Think thin for quicker drying times. Thicker layers of glue require more time to dry compared to thin, even coats. When applying Elmer’s clear glue, spread it evenly and avoid excessive application for prompt drying.
Surface Porosity:
The porosity of the surface also affects drying time. Porous surfaces drink in glue more readily, resulting in faster drying. Non-porous surfaces may necessitate additional time for complete drying.
Pressure Application:
Harness the power of gentle pressure during bonding for enhanced contact between glued surfaces and faster adhesion. Just remember not to go overboard with the pressure, as it can squeeze out excess glue and potentially prolong drying time.
Follow the Instructions:
Lastly, don’t forget to consult the product label for instructions. Elmer’s clear glue has its own recommended drying time, so adhering to the manufacturer’s guidance is essential for optimal results.
Techniques to Speed Up the Drying Process
We’ve all been there, watching the clock tick agonizingly slow as our masterpieces take what feels like an eternity to dry. But fear not, my fellow crafters and artists, for I am here to share with you a range of techniques that will expedite the drying process of Elmer’s clear glue, allowing you to complete your projects in record time.
First and foremost, let’s discuss the significance of a fast drying time. When you’re in the creative zone, the last thing you want is to be held back by a sluggish adhesive. A quicker drying time means you can swiftly progress to the next step and bring your vision to life without delay.
One technique to accelerate drying is the application of heat. Harnessing the power of heat accelerates the evaporation of water content in the glue, leading to faster drying. You can achieve this by placing your glued item near a heater or utilizing a hairdryer on a low setting. However, exercise caution not to apply excessive heat, as it may cause the glue to bubble or distort.
Another effective technique is the use of air circulation. The movement of air aids in expediting the drying process by enhancing evaporation. Simply set up a fan near your project or open windows to facilitate natural airflow. This method works exceptionally well in warmer environments where evaporation rates are naturally higher.
Additionally, applying thin layers of glue will significantly reduce drying times. Thicker layers take longer to dry due to increased moisture content that needs to evaporate. By applying thin layers and allowing each layer to dry before adding another, you can expedite the overall drying time and maintain optimal efficiency.
For those seeking an even greater time-saving solution, there are specialized glue accelerators or additives available on the market. These products are specifically designed to speed up drying time when mixed into your Elmer’s clear glue before application. They can be easily obtained from craft stores and provide an effective shortcut to completing your projects in a timely manner.
In addition to employing these techniques, proper ventilation plays a vital role in enhancing drying time. Ensure you work in a well-ventilated area to maximize airflow. It is crucial to avoid working in excessively humid or moist environments, as this will impede the drying process.
Lastly, before handling or using the bonded materials, always test the glue’s dryness. Gently press on the glued area to ensure it is fully dry and won’t smear or come apart. This simple step will prevent any potential mishaps and ensure the longevity of your project.
The Importance of Leaving Objects Undisturbed During the Drying Process
We’ve all been there. However, exercising patience and leaving the objects undisturbed during the drying process is crucial. In this blog post, we’ll explore why it’s so important to resist the temptation and how it affects the strength and durability of your projects.
Strong and Durable Bond:
When you apply Elmer’s clear glue, it needs time to dry and harden fully. Moving or manipulating objects before the glue has cured can weaken or break the bond. By leaving them undisturbed, you ensure a solid connection that will withstand the test of time. Imagine building a delicate model or repairing a broken ceramic figurine. If you rush the drying process and handle it too soon, your efforts may be in vain as the bond might not hold up.
Even Application and Alignment:
Disturbing objects during the drying process can lead to uneven spreading or misalignment of the glue. This not only affects the visual appeal of your project but also compromises its structural integrity. For delicate or intricate projects that require precise placement, leaving objects untouched is essential. Picture crafting a beautiful mosaic or assembling a wooden puzzle. If you don’t allow the glue to dry properly, you risk ruining the alignment and overall aesthetic of your creation.
Prevention of Damage:
Wet glue can be sticky and easily transfer onto other surfaces if handled carelessly. By leaving objects undisturbed until completely dry, you minimize the risk of accidental smudging or smearing. This protects both your project and any surrounding areas from potential damage. Imagine carefully crafting a handmade card only to accidentally smudge the glue and ruin your design by rushing the drying process.
Evaporation of Excess Moisture:
Allowing sufficient drying time ensures that any excess moisture in the glue evaporates completely. Rushing the process may trap moisture within the bond, leading to long-term issues such as mold growth, discoloration, or weakening of the bond over time. Consider how frustrating it would be to spend hours meticulously applying glue to a wooden craft, only to find out later that it has developed mold due to insufficient drying time.
Following Manufacturer Instructions for Optimal Results
Look no further than Elmer’s clear glue, a versatile adhesive that can revolutionize your crafting endeavors. But wait. Before you dive into your next project, it’s crucial to understand why following the manufacturer’s instructions for this wonder glue is the key to achieving optimal results.
Understanding Application Techniques:
To unlock the true potential of Elmer’s clear glue, it’s essential to grasp the correct application techniques outlined in the manufacturer’s instructions. These guidelines provide valuable insights into using the right amount of glue and applying it evenly, resulting in a strong and reliable bond. By following these instructions, you can ensure that your projects withstand the test of time.
Patience is a Virtue – Drying Time Matters:
Elmer’s clear glue requires adequate drying time to reach its full potential. The manufacturer typically recommends allowing at least 24 hours for complete drying. However, factors such as temperature, humidity, and the thickness of the glue layer can influence drying times. By carefully reading and adhering to the instructions, you can determine the optimal drying time for your specific project. Remember, patience pays off when it comes to achieving optimal results.
Environmental Considerations:
Creating an ideal drying environment is crucial for optimal results with Elmer’s clear glue. Lower temperatures or higher humidity levels can extend the drying time. To ensure success, place your glued item in a well-ventilated area with controlled temperature and humidity conditions. Avoid rushing the process with external heat sources as this may compromise the bond strength or cause material warping. Let nature work its magic.
Special Techniques for Quicker Bonds:
Sometimes, we need faster results without compromising quality. The manufacturer’s instructions often include special techniques for achieving quicker bonds, such as applying a thin layer of glue and using clamps or weights during drying. These techniques can be immensely helpful, but be sure to follow the manufacturer’s recommendations closely. With these tricks up your sleeve, you can save time without sacrificing durability.
Proper Storage for Longevity:
To maintain the effectiveness of Elmer’s clear glue, proper storage is essential. Tightly seal the container and store it in a cool, dry place away from direct sunlight or extreme temperatures. This simple step prevents the glue from drying out or losing its adhesive properties over time. Your glue will be ready and waiting whenever inspiration strikes.
Conclusion
The hardening time of Elmer’s clear glue is a common concern for many users. After conducting extensive research and testing, it has been determined that the average drying time for this adhesive is approximately 24 hours. However, it is important to note that various factors can affect the drying process, such as temperature, humidity, and the thickness of the glue application.
When using Elmer’s clear glue, it is crucial to allow sufficient time for it to fully dry and harden before handling or applying any additional layers. Rushing this process may result in a weaker bond or even potential damage to your project.
Imagine waiting patiently as each passing hour brings your creation closer to perfection. The glue gradually transforms from a liquid state into a solid, creating a strong and durable bond that will withstand the test of time. As you watch the clock tick by, anticipation builds, knowing that soon you will be able to proudly display your masterpiece.
Remember, patience is key when working with Elmer’s clear glue. By allowing ample time for it to harden completely, you are ensuring the best possible results for your project. So sit back, relax, and let time work its magic as your creation becomes a work of art.
In conclusion, while the exact hardening time may vary depending on external factors, it is generally recommended to wait approximately 24 hours for Elmer’s clear glue to fully dry and harden.