Welcome to our blog post, where we’re about to spill the beans on the drying time of Elmer’s All Purpose Glue Stick.
Ever found yourself anxiously twiddling your thumbs, waiting for that glue to dry during a craft project? Or desperately wondering how long you have to keep that freshly glued masterpiece from falling apart?
Well, my friend, you’ve stumbled upon the right place. Elmer’s All Purpose Glue Stick is like a superhero in the adhesive world, and understanding its drying time is crucial for nailing those picture-perfect results.
Buckle up and get ready for a wild ride as we uncover the secrets behind this sticky situation and equip you with all the info you need for your next creative escapade.
What is Elmer’s All-Purpose Glue Stick?
Contents
- 1 What is Elmer’s All-Purpose Glue Stick?
- 2 Factors That Affect the Drying Time of Elmer’s Glue Stick
- 3 The Estimated Drying Time of Elmer’s Glue Stick
- 4 How to Speed Up the Drying Process of Elmer’s Glue Stick
- 5 Considerations When Working with Different Materials
- 6 Additional Methods for Reinforcement and Curing Time
- 7 Conclusion
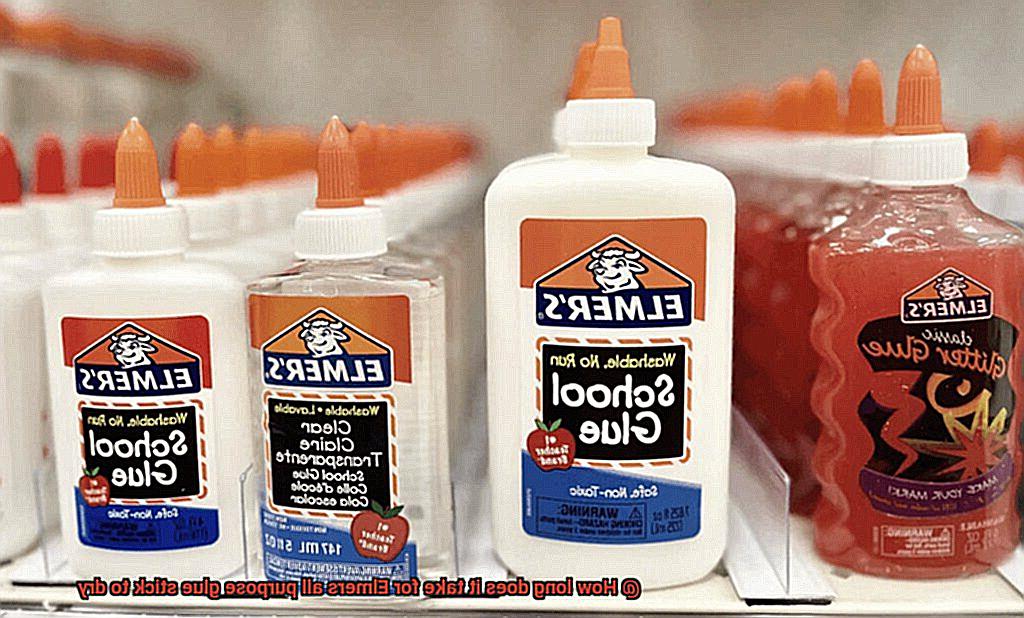
Elmer’s All-Purpose Glue Stick is a versatile adhesive that has become a favorite among crafters, students, and office workers. This solid stick of glue is easy to use and offers quick drying time, eliminating the need for unnecessary waiting.
The glue stick is made with a non-toxic formula, ensuring its safety for both children and adults. It can be twisted up from the tube and applied smoothly on various materials, including paper, cardboard, fabric, and some plastics. This versatility makes it a convenient choice for a wide range of projects.
One of the major advantages of Elmer’s All-Purpose Glue Stick is its quick-drying formula. Unlike liquid glues that can take a considerable amount of time to dry, this glue stick dries within minutes of application. This saves valuable time and allows projects to proceed without delay.
To optimize the drying process, it is recommended to let the glued items sit undisturbed for at least 2 hours after application. This extra time allows for proper curing and ensures a strong bond. Factors such as the thickness of the glue application, humidity levels, and the type of material being glued can influence the drying time.
Elmer’s All-Purpose Glue Stick also offers mess-free application. Since the glue is in solid form, there is no risk of spillage or dripping. It goes on smoothly and dries clear, providing a clean and neat finish.
In addition to its convenience, Elmer’s All-Purpose Glue Stick is washable. If you accidentally get the glue on your hands or clothing, you can simply wash it off with soap and water.
Factors That Affect the Drying Time of Elmer’s Glue Stick
In this blog post, we’ll explore the science behind glue drying and how temperature, humidity, thickness of application, porosity of the surface, air circulation, and the type of Elmer’s glue stick can affect drying time.
Temperature:
Higher temperatures accelerate water evaporation in the glue, leading to faster drying. Lower temperatures slow down evaporation and prolong drying time.
Humidity:
High humidity levels impede glue drying as moisture-laden air hinders evaporation. Low humidity speeds up drying by providing a drier environment.
Thickness of Application:
Thin, even coats of Elmer’s glue stick dry faster compared to thicker layers that have more moisture to evaporate.
Porosity of the Surface:
Porous surfaces like paper or fabric absorb moisture from the glue, slowing down drying. Non-porous surfaces like plastic or glass allow for faster drying.
Air Circulation:
Proper air circulation expedites drying by carrying away evaporated moisture. Poor ventilation can prolong drying as stagnant air hinders evaporation.
Type of Elmer’s Glue Stick:
Different formulations have varying drying times. Choose the appropriate glue stick for your specific application to optimize drying time.
The Estimated Drying Time of Elmer’s Glue Stick
Impatiently waiting for glue to dry on a craft project is a common frustration. Understanding the factors that affect the drying time of Elmer’s glue stick can save time and prevent frustration. In this blog post, we will explore the secrets behind Elmer’s glue stick drying time. From the thickness of application to the environmental conditions, we will uncover the key factors that influence how long it takes for Elmer’s glue stick to dry.
Factor 1: Thickness of Glue Application
The thickness of the glue layer applied is a crucial factor in drying time. A thin layer of glue will dry faster than a thick one. Applying an appropriate amount of glue for your project is important. Remember, less is often more when it comes to glue.
Factor 2: Surface Porosity
The type of surface you’re gluing also plays a role in drying time. Some surfaces absorb glue quickly, causing it to dry faster, while others may repel the glue, resulting in a longer drying time. To avoid mishaps, test a small area of the surface before applying glue to the entire project.
Factor 3: Environmental Conditions
Environmental conditions significantly impact drying time. Glue dries faster in warm and dry conditions compared to cold and humid ones. So, if you’re working in a chilly or humid space, be prepared for a longer wait. Pro tip: use a hairdryer on low heat to gently blow air onto the glued area to speed up drying.
Factor 4: Specific Formulation
Different variations of Elmer’s glue stick may have slightly different drying times. Always check the product label or consult the manufacturer’s website for specific instructions or recommendations.
How to Speed Up the Drying Process of Elmer’s Glue Stick
Elmer’s glue stick is a fantastic adhesive that we often turn to for crafts and school projects. However, waiting for it to dry can sometimes feel like an eternity. Fortunately, there are some tips and tricks you can employ to speed up the drying process and get your project completed in no time.
Increase Airflow for Rapid Evaporation:
Did you know that airflow plays a critical role in accelerating the drying time of Elmer’s glue stick? By using a fan or a hairdryer set on low heat or cool setting, you can enhance the evaporation process. Direct the airflow towards the glued area and watch as the magic unfolds. Just remember to maintain a safe distance and avoid high heat, as it could potentially melt or deform the glue.
Opt for Thin Layers:
When applying Elmer’s glue stick, consider using thin layers instead of thick ones. Thick layers take longer to dry because they contain more moisture that needs to evaporate. So, if you’re in a hurry for your glue to dry, go easy on the squeeze and apply thin, even coats.
Harness the Power of a Blow Dryer:
If you need your glue to dry quickly, grab a blow dryer and set it on low heat or cool setting. Hold it a few inches away from the glued area and let the warm breeze work its wonders. Just exercise caution not to get too close or use high heat, as this could potentially damage the glue.
Create a Warm and Dry Environment:
Creating an environment that is warm and dry can also expedite the drying process of Elmer’s glue stick. Find a cozy spot away from direct sunlight (as this may make the glue brittle) and allow it to sit there until it reaches dryness. You can even place it near an open window or utilize a portable fan to enhance airflow.
Patience is Essential:
While these techniques can certainly help expedite the drying time of Elmer’s glue stick, it’s important to remember that patience is still key. Give your glue enough time to fully dry before handling or moving the glued object. Rushing the process may result in weaker adhesion or potential damage.
Considerations When Working with Different Materials
Understanding how different materials interact with adhesives is essential for achieving outstanding results. In this guide, we will explore the key considerations when working with various materials, ensuring that you have the knowledge and expertise to tackle any project with confidence.
Porous Materials:
Let’s start with the absorbers – porous materials like paper, cardboard, and fabric. These materials eagerly drink up adhesive, making them ideal candidates for quick and efficient bonding. When using Elmer’s all-purpose glue stick on porous surfaces, expect a drying time of just a few minutes. Remember to factor in temperature and humidity, as they can influence the overall drying process.
Non-Porous Materials:
Now, let’s shift our focus to non-porous materials such as metal, glass, and plastic. Unlike their absorbent counterparts, these materials require a bit more patience. Depending on factors like glue thickness and environmental conditions, it may take several hours or even overnight for the glue to fully set on non-porous surfaces. Take your time and allow for adequate drying to ensure a strong bond.
Temperature and Humidity:
The dynamic duo of temperature and humidity – they can make or break your adhesive journey. Higher temperatures act as catalysts, accelerating the drying process and delivering quicker results. Conversely, lower temperatures can slow things down, demanding a bit more patience from crafters like you. Similarly, low humidity environments are ideal for speedy drying, while high humidity can be a bit of a mood dampener. Consider these factors when preparing your workspace to optimize drying times.
Thickness of Glue Application:
Remember this rule of thumb: less is more. Applying a thin layer of Elmer’s all-purpose glue stick not only ensures faster drying but also prevents unsightly glue bulges that may compromise the overall aesthetic. Resist the temptation to go heavy-handed and opt for an even, thin layer of adhesive goodness. Your projects will thank you.
Adhesive Bonding Strength:
Elmer’s all-purpose glue stick is a true superhero when it comes to adhesive bonding strength. However, its full potential may not be realized immediately after drying. Allow the glue to cure and strengthen over time before subjecting your glued materials to stress or pressure. Patience is key in achieving the strongest possible bond.
Armed with these essential considerations, you are now poised to conquer any project with ease. Whether you’re working with porous or non-porous materials, factoring in temperature and humidity, applying the right thickness of adhesive, or allowing ample curing time, your results will be nothing short of remarkable.
Additional Methods for Reinforcement and Curing Time
Look no further than Elmer’s all-purpose glue stick. This versatile adhesive is a staple in any crafter’s toolbox, but did you know that there are additional methods you can use to reinforce your projects and improve the curing time? Let’s dive in and explore these techniques.
First up, we have clamping. Working with materials that need extra support, like wood or heavy objects? Clamps are a game-changer. Apply even pressure and keep those pieces in place while the glue dries. Voila. You’ll achieve a stronger bond and prevent any shifting or movement.
But what if clamps aren’t an option? Don’t worry – tape to the rescue. Applying tape over the glued area acts as additional support, especially on vertical surfaces or areas where clamps won’t do the trick. It holds everything together until the glue has fully cured, preventing any separation or movement along the way.
Now, let’s talk about curing time. The magic number for Elmer’s all-purpose glue stick is 24 hours. Yes, patience is key. Allow your glue to dry for a full day before subjecting it to stress or strain for maximum strength. But keep in mind that curing time can be influenced by temperature and humidity. Extreme conditions may require adjusting your expectations accordingly.
If waiting isn’t your strong suit, consider using a drying aid or accelerator. These products speed up the drying process, allowing for quicker handling of glued items. Just check compatibility with Elmer’s all-purpose glue stick before diving in.
Remember, always perform a test on a small area first. Assess bonding strength and drying time on specific materials and conditions for a successful outcome.
DhNsncpt_Cc” >
Conclusion
In conclusion, Elmer’s All Purpose Glue Stick is the go-to adhesive for crafters, students, and office workers alike. Its quick drying time sets it apart from the competition, allowing you to complete projects efficiently and effectively.
The speed at which this solid stick of glue dries depends on several factors. The thickness of the application, humidity levels, temperature, surface porosity, air circulation, and even the specific type of Elmer’s glue stick can all influence drying time. To ensure a strong bond, it is recommended to let glued items sit undisturbed for at least 2 hours after application.
If you’re looking to expedite the drying process, there are a few tricks you can try. Increasing airflow with a fan or low-heat hairdryer can help speed things up. Applying thin coats of glue also dries faster than thick ones, so keep that in mind when working on your project. And don’t forget to create a warm and dry environment to encourage quicker drying.
When working with different materials, be mindful of their absorbency. Porous materials like paper and fabric will dry faster than non-porous materials such as metal or plastic. Adjust your expectations accordingly to avoid any surprises.
For added support while the glue dries, consider using clamps or tape to reinforce your projects. Just remember to allow for proper curing time of 24 hours before subjecting glued items to stress or strain.

