Ready for a fresh new look in your space? Time to say goodbye to that old vinyl plank flooring. But before you can dive into your renovation dreams, there’s one pesky obstacle in your way – removing the glued vinyl planks.
Don’t worry, we’ve got your back. In this blog post, we’ll walk you through the process step by step, so you can tackle this task like a pro.
Whether you’re replacing the flooring or giving your whole space a makeover, get ready to roll up your sleeves and bid farewell to that stubborn adhesive. We’ll explore some clever tricks and techniques to safely and effectively remove glued vinyl plank flooring. So let’s get started.
Gather the Necessary Tools and Materials
Contents
- 1 Gather the Necessary Tools and Materials
- 2 Heat the Vinyl Planks
- 3 Use a Putty Knife or Scraper to Lift the Edges of the Vinyl Planks
- 4 Apply an Adhesive Remover to Remove Residue
- 5 Try More Aggressive Adhesive Removers or Scraping Tools for Stubborn Areas
- 6 Thoroughly Clean the Subfloor
- 7 Exercise Caution and Wear Protective Gloves Throughout the Process
- 8 Conclusion
To ensure a smooth and efficient process, it’s crucial to gather the right tools and materials. This blog post will guide you through the necessary items you’ll need and their purposes, empowering you to confidently tackle this project.
Safety Gear:
Prioritize your safety by donning the appropriate protective gear. Shield your eyes with safety goggles, protect your hands with gloves, and safeguard your respiratory system with a dust mask. These essentials will keep you safe from potential hazards like dust and sharp objects.
Utility Knife:
A sharp utility knife is your trusty companion throughout this endeavor. Its precision allows you to cut through the vinyl planks with ease, enabling you to remove them in manageable sections. This approach simplifies the process and reduces the risk of damage.
Pry Bar or Chisel:
To lift and remove the cut vinyl planks, equip yourself with a sturdy pry bar or chisel. These versatile tools come to your aid by prying up the edges of the planks and loosening them from the adhesive. With their help, you can smoothly extract each plank.
Heat Gun or Hair Dryer:
The secret to effortless removal lies in applying heat to soften the adhesive. A heat gun or hair dryer becomes your ally in this task, as they generate warmth that makes it simpler to lift and remove the planks without causing any damage to the subfloor.
Floor Scraper:
Post-vinyl removal, you’ll likely encounter adhesive residue clinging stubbornly to the subfloor. Fear not. Equip yourself with a floor scraper featuring a sharp blade—a powerful weapon against lingering glue. Effortlessly scrape away any remaining adhesive and prepare the subfloor for its next transformation.
Adhesive Remover:
In some cases, the adhesive residue proves to be a stubborn foe. For such battles, arm yourself with an adhesive remover specially formulated for vinyl flooring. This potent solution dissolves and eliminates any remaining glue, leaving your subfloor clean and ready for its new cover.
Plastic Bags or Trash Bags:
As you triumphantly remove the vinyl planks, it’s essential to dispose of them properly. Keep a stash of plastic bags or trash bags at hand, ensuring a neat and tidy removal process. These bags will contain the removed flooring, making it easier to transport and discard responsibly.
Cleaning Supplies:
Once all the planks and adhesive are vanquished, it’s time to restore your subfloor’s pristine condition. Equip yourself with cleaning supplies like a mop, bucket, and appropriate floor cleaner. Thoroughly cleanse the subfloor, eradicating any remnants of the previous flooring and preparing it for its future purpose.
Heat the Vinyl Planks
Fear not. We are here to arm you with the knowledge and techniques needed to heat those vinyl planks and emerge victorious in your war against adhesive. So grab your utility knife and don your heat-resistant gloves, because it’s time to dive into the fascinating world of heating vinyl planks.
Method 1: Conquer with the Heat Gun
The heat gun is a mighty tool that will soften the adhesive, making the removal of those vinyl planks much easier. Set the heat gun to a low setting to avoid damaging the planks, and keep it moving in a sweeping motion. Aim it at a 45-degree angle towards the edges of the planks, focusing on one section at a time. As the adhesive starts to soften, use a putty knife or scraper to gently lift and pry up the planks.
Method 2: Harness the Power of the Hairdryer
If you find yourself lacking a heat gun, fear not. A hairdryer can still generate enough heat to soften that stubborn glue. Crank up the heat setting on your hairdryer and hold it about 6 inches away from the vinyl planks.
Move it back and forth across the surface, focusing on one section at a time. As the adhesive warms up, use a putty knife or scraper to lift and remove the planks with ease.
Method 3: The Boiling Water Blitz
No heat gun or hairdryer? Don’t despair. Hot water can come to your rescue. Boil a pot of water and carefully pour it onto small sections of the vinyl planks. Allow the hot water to sit for a few minutes, giving it time to soften the adhesive. Then, use a putty knife or scraper to lift and remove the planks effortlessly.
Safety First: Protect Yourself and Your Space
Before charging into battle, remember to prioritize safety. Ensure proper ventilation to avoid inhaling fumes from heating adhesives. Wear heat-resistant gloves to shield your hands from the scorching surfaces and refrain from touching the heated areas directly. Stay safe and keep your wits about you.
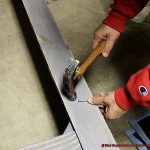
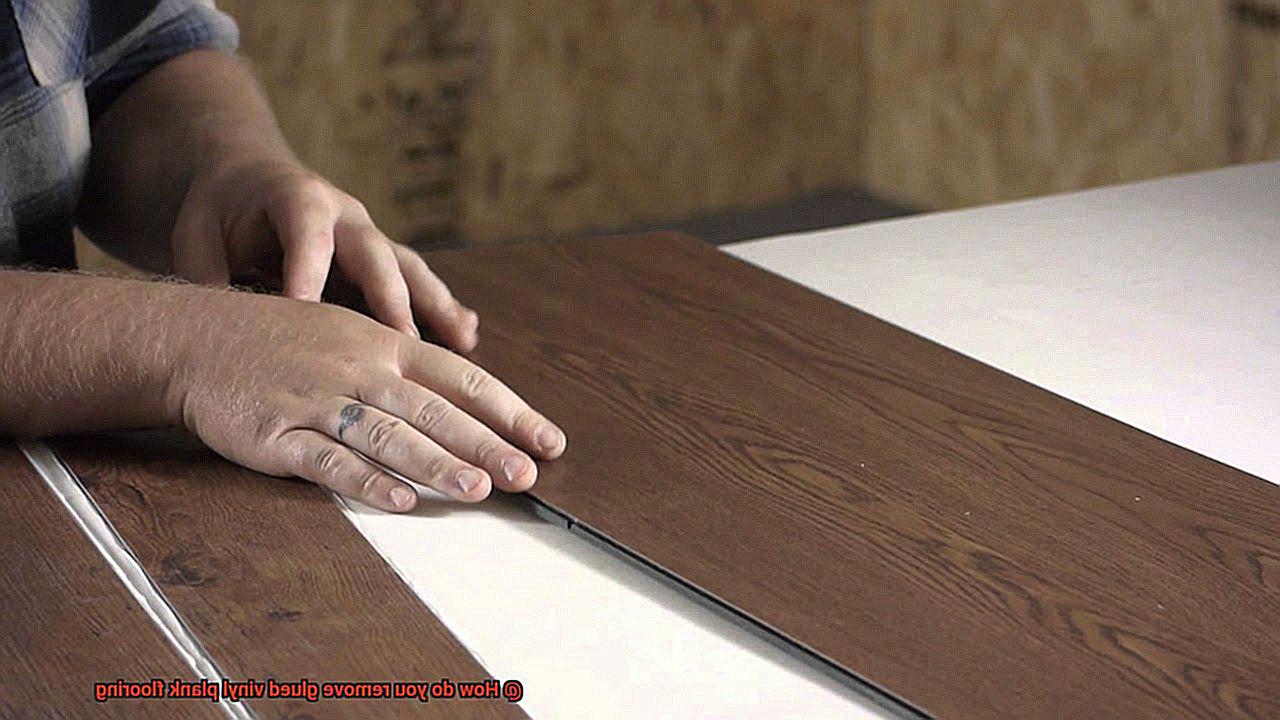
Use a Putty Knife or Scraper to Lift the Edges of the Vinyl Planks
I’m here to arm you with the knowledge and techniques needed to safely and successfully lift those stubborn planks using a trusty putty knife or scraper.
Why is a putty knife or scraper the weapon of choice for this battle? Let me enlighten you. These tools have sharp edges that easily slide underneath the vinyl planks, making it easier to lift them up. They are also sturdy enough to handle the required pressure without breaking the planks. So, grab your putty knife or scraper and let’s get started.
Start by locating a corner or an edge of the vinyl plank flooring. This will be your starting point. Insert the putty knife or scraper underneath the edge, applying firm but gentle pressure. Slowly work your way along the edge, gradually lifting it up. Be mindful not to damage the subfloor or neighboring planks during this process.
As you lift the edges of the vinyl planks, expect resistance from the adhesive. Don’t panic. Apply more pressure with the putty knife or scraper to loosen the bond between the vinyl and subfloor. Take your time and be patient as you work your way around the room.
Once one edge of a vinyl plank is lifted, move on to the adjacent side. Repeat the same process of inserting the putty knife or scraper underneath and lifting up the edge. Continuously using this method will gradually free more and more of the vinyl plank flooring from its adhesive grip.
Here’s a pro tip to ensure no damage is done: work in small sections. Dividing the room into smaller sections helps manage the workload effectively and prevent accidental damage to the subfloor or neighboring planks. Strategy is key.
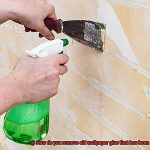
Apply an Adhesive Remover to Remove Residue
Fear not, my friend. In this comprehensive guide, I will equip you with the knowledge and techniques to conquer that stubborn residue with the powerful aid of adhesive removers. So, let’s dive in and bid farewell to those unsightly remnants.
Prioritize Safety:
Before embarking on your residue removal mission, ensure that the room is well-ventilated. Protect yourself from potential fumes or splashes by wearing gloves and goggles. Safety first, always.
Choose the Perfect Adhesive Remover:
Not all adhesive removers are created equal. Selecting a product suitable for your specific flooring material is crucial. With various options available in the market, take the time to find the perfect match for your needs.
Application Techniques:
Begin by applying a small amount of adhesive remover directly onto the stubborn residue. Allow it a few minutes to work its magic, penetrating and softening the adhesive. For particularly tenacious residue, repeat this step or leave the remover on for an extended period.
Gently Scrape:
Once the adhesive has softened, skillfully scrape away the residue using a scraper or putty knife. Employ finesse to avoid any damage to the underlying floor or surface as you work your magic.
Clean Up Thoroughly:
After successfully removing the residue, it’s essential to clean the area with a mild detergent and warm water. This step ensures that any remaining adhesive remover residue is eliminated, leaving your surface sparkling clean.
Additional Tips:
- Always follow the manufacturer’s instructions and recommendations when using adhesive removers.
- Seek guidance from professionals or consult with your flooring product manufacturer if you’re unsure about which adhesive remover to use or how to safely remove the residue.
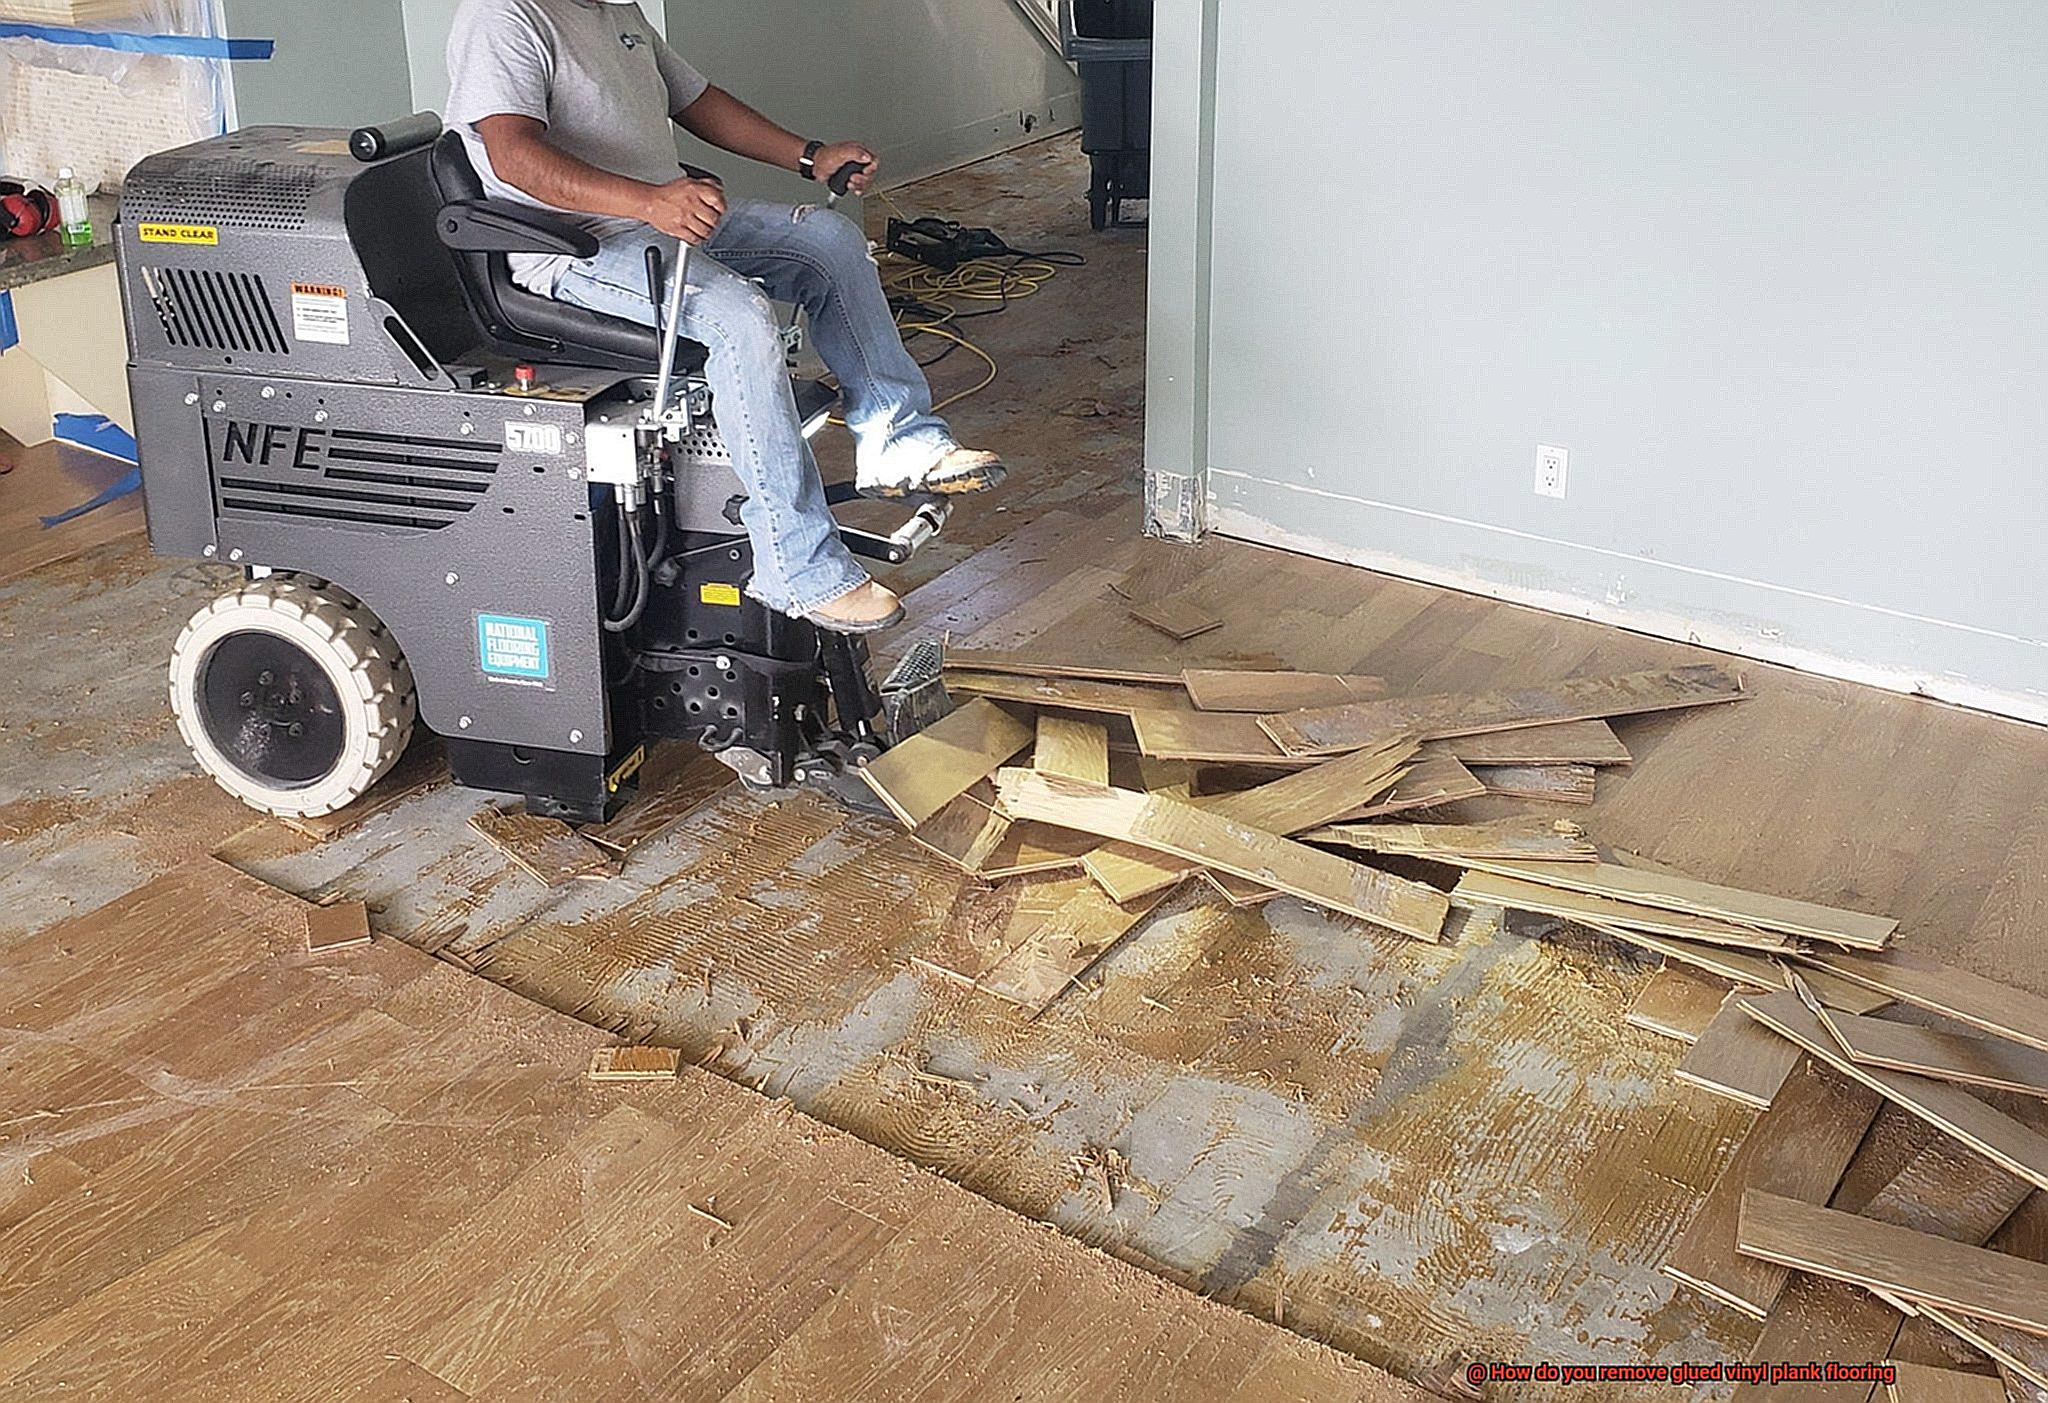
Try More Aggressive Adhesive Removers or Scraping Tools for Stubborn Areas
I’m here to share some valuable insights on how to tackle those pesky areas with more aggressive adhesive removers or scraping tools.
Removing glued vinyl plank flooring can be a challenging task, especially when you encounter areas where the adhesive seems to have superpowers. But fret not, because there are solutions available to help you overcome this sticky situation.
One option is to use a commercial adhesive remover specifically designed for vinyl flooring. These removers are formulated to break down and dissolve the adhesive, making it easier to scrape away. Just make sure to choose a remover that is safe for use on vinyl and follow the manufacturer’s instructions carefully. Safety first, folks.
Now, if you’re feeling a bit more adventurous and want to take matters into your own hands, you can try using scraping tools that are specifically designed for removing flooring adhesives. These tools often have sharp edges or blades that can effectively scrape away the stubborn adhesive without damaging the underlying floor surface. But remember, caution is key here. Be gentle and avoid applying excessive force that could cause damage.
Before diving into battle with those stubborn areas, it’s important to prepare the area properly. Ensure proper ventilation in the room to avoid inhaling any fumes from the adhesive remover. And don’t forget to gear up with gloves and safety goggles for added protection.
Once you’ve prepped the area, it’s time to unleash the power of the adhesive remover. Apply it directly onto the stubborn area as instructed by the manufacturer. Give it some time to work its magic and loosen the adhesive. Depending on the product and severity of the adhesive, this may take a few minutes to an hour.
Once the adhesive has loosened its grip, it’s time to bring out your trusty scraping tool. Hold it at a slight angle and apply gentle pressure as you gradually work your way across the area. Remember, slow and steady wins the race here. Take your time and be patient.
If the stubborn adhesive refuses to budge, don’t lose hope. Repeat the process with additional applications of adhesive remover and scraping until all traces of adhesive have been eradicated. And once victory is yours, give the area a thorough cleaning with a mild detergent and water to ensure no residue remains.
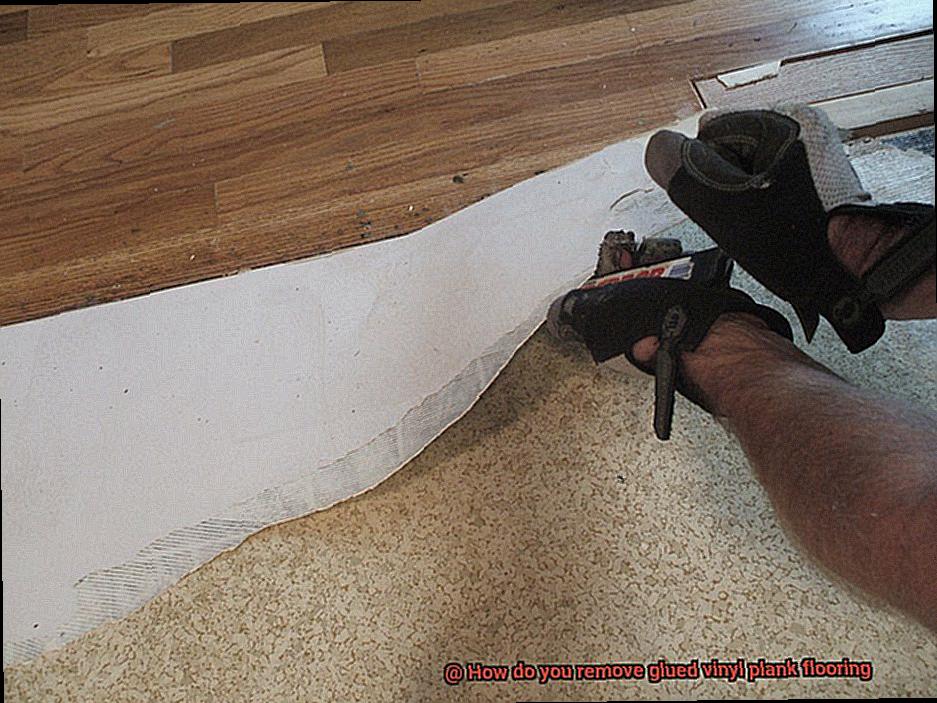
Thoroughly Clean the Subfloor
Well, before you dive into the task, don’t forget about a crucial step that often gets overlooked – thoroughly cleaning the subfloor. Trust me, taking the time to clean the subfloor properly will make the entire removal process a breeze.
So, let’s explore how to get that subfloor sparkling clean.
- Remove loose debris: Start by grabbing your broom or vacuum cleaner and eliminate any dirt, dust, or pesky particles that have found their way onto your subfloor. We want that surface to be as smooth and obstacle-free as possible.
- Inspect for adhesive residue: Next, carefully examine the subfloor for any leftover adhesive residue or sticky substances from the previous flooring installation. These residues can cause headaches during the removal of glued vinyl planks, so it’s crucial to get rid of them. You can either use a commercially available adhesive remover or create your own homemade solution.
- Commercial adhesive remover: If you choose the commercial route, make sure to follow the manufacturer’s instructions precisely. Safety first, my friends.
- DIY solution: For a DIY approach, mix equal parts warm water and white vinegar in a bucket. Dip a clean cloth or sponge into the solution and gently scrub away the adhesive residue. The acidity of vinegar works wonders in breaking down and dissolving the glue.
- Tackle stubborn residue: If you encounter stubborn adhesive residues that refuse to budge, it’s time to bring out the big guns – a scraper or putty knife. However, be cautious. We don’t want any accidental damage or scratches on our precious subfloor. Take it slow and be gentle.
- Rinse with clean water: Once all visible adhesive residue is removed, give that subfloor a good rinse with clean water to eliminate any remaining cleaning solution or vinegar. You can use a mop or damp cloth for this task. Just make sure to wipe away any excess moisture.
- Allow for proper drying: Here’s a crucial step – let the subfloor dry completely before moving on to removing the glued vinyl plank flooring. Moisture trapped beneath the new flooring can lead to mold growth or even cause damage over time. So, be patient and let it dry naturally.
Remember, different types of adhesives may require specific cleaning methods or products. Always refer to the manufacturer’s recommendations for your specific type of vinyl flooring.
By thoroughly cleaning the subfloor, you’re creating a clean and smooth surface for the installation of your new flooring. Not only will it look great, but it will also ensure the longevity and performance of your new vinyl planks.
Exercise Caution and Wear Protective Gloves Throughout the Process
Exercising caution and wearing protective gloves throughout any process is of utmost importance. Whether you’re removing glued vinyl plank flooring or engaging in any other DIY project, taking these precautions can prevent injuries, protect your health, and ensure a smoother process.
First and foremost, let’s address the issue at hand – the glue. The adhesives and solvents found in the glue used for vinyl plank flooring removal can be potent and potentially harmful to your skin. This is why wearing protective gloves is crucial. These gloves act as a shield, creating a barrier between your hands and the hazardous chemicals. Opt for thick, durable gloves made of rubber or latex, as they provide better protection against both chemicals and sharp objects you may encounter during the removal process.
But it doesn’t stop there. Proper fit is key. Ill-fitting gloves can hinder your dexterity, making it harder to handle tools and perform tasks accurately. This can increase the likelihood of accidents occurring. Always inspect your gloves for tears or damages before using them. If you notice any issues, toss them aside and grab a fresh pair to ensure optimal protection.
Remember, wearing gloves alone is not a foolproof safety measure. It should be combined with other precautions such as goggles to shield your eyes from potential splatters or debris, a dust mask to protect your respiratory system from harmful particles, and proper footwear to prevent injuries from falling objects or sharp materials.
ruYcOPdbvuk” >
Also Read: Can you use pvc glue on vinyl flooring?
Conclusion
In conclusion, removing glued vinyl plank flooring may appear daunting at first glance. However, armed with the right tools, techniques, and precautions, you can conquer this task efficiently and safely. Gather your arsenal of supplies: safety gear, a trusty utility knife, a sturdy pry bar or chisel, a heat gun or hair dryer to unleash some serious heat power, a reliable floor scraper, adhesive remover that’s specifically designed for vinyl flooring, plastic bags or trash bags for disposal purposes, and cleaning supplies to leave your subfloor spotless.
Now it’s time to bring on the heat. Applying intense heat from a heat gun or hairdryer will soften the adhesive’s grip on the vinyl planks. As the adhesive loosens its hold, use a nimble putty knife or scraper to gradually lift and free the planks from their sticky prison.
For those pesky stubborn areas where the adhesive refuses to budge, don’t fret. You have backup options. Reach for more aggressive adhesive removers or scraping tools specially formulated for vinyl flooring. Just make sure you read and follow the manufacturer’s instructions meticulously.
Once all the planks have been liberated from their gluey clutches, show your subfloor some love by thoroughly cleaning it. Rid it of any loose debris and residual adhesive remnants. Remember: drying the subfloor completely is paramount before installing new flooring.
Throughout this entire endeavor, never underestimate the importance of caution and protection. Safeguard yourself by wearing sturdy protective gloves that shield your hands from potentially harmful chemicals lurking in adhesives. Donning goggles, a dust mask, and proper footwear provides an extra layer of defense against potential hazards.
With these steps firmly etched in your mind and an unwavering determination in your heart, bid farewell to that old glued vinyl plank flooring.