Welcome to our blog post on a rather unconventional yet practical topic – sealing cuts with superglue.
You know, that sticky stuff you use for fixing things? Well, turns out it can work wonders when it comes to patching up minor cuts and wounds.
No need to panic if you’re far from a doctor – superglue can be your trusty sidekick in those moments of need. In this post, we’ll explore the science behind using superglue as a wound adhesive, talk about its safety, and give you simple step-by-step instructions on how to properly apply it.
So whether you’re an adventure junkie or just curious about cool first aid hacks, keep reading to uncover the fascinating world of sealing cuts with superglue.
What is Superglue?
Contents
- 1 What is Superglue?
- 2 Preparing the Cut for Sealing with Superglue
- 3 Applying Superglue to the Cut
- 4 Pressing the Edges of the Cut Together
- 5 Allowing the Glue to Dry and Set
- 6 Benefits of Sealing a Cut with Superglue
- 7 Limitations of Sealing a Cut with Superglue
- 8 Proper Wound Care After Sealing a Cut with Superglue
- 9 Conclusion
In the world of adhesives, one product reigns supreme for its incredible strength and lightning-fast bonding abilities – Superglue. Known as cyanoacrylate adhesive, this remarkable glue has become an everyday hero, capable of repairing broken objects and sealing small cuts. Join us on an adventure into the captivating world of Superglue as we explore its composition, diverse applications, and essential safety precautions.
Composition and Bonding Power:
At the heart of Superglue lies cyanoacrylate, a liquid monomer that undergoes a magical transformation upon encountering moisture. This chemical reaction sets off a chain of events, resulting in robust bonds with exceptional tensile strength, capable of withstanding even the most challenging shear forces.
Applications and Uses:
- Repairing broken objects: From shattered ceramics to cracked phone screens, Superglue is the go-to adhesive for fixing various materials like glass, wood, plastic, and metal.
- Crafting and DIY projects: Whether you’re fashioning exquisite jewelry or assembling intricate model kits, Superglue offers a secure and long-lasting bond to bring your creations to life.
- Sealing cuts: In certain cases where the cut is small and clean, Superglue can step in as a reliable solution. It forms a protective barrier over the wound, thwarting infection while promoting quicker healing.
- Bonding fabrics: When sewing or stitching isn’t an immediate option, Superglue can temporarily bond fabrics together until they receive proper attention.
Safety Precautions:
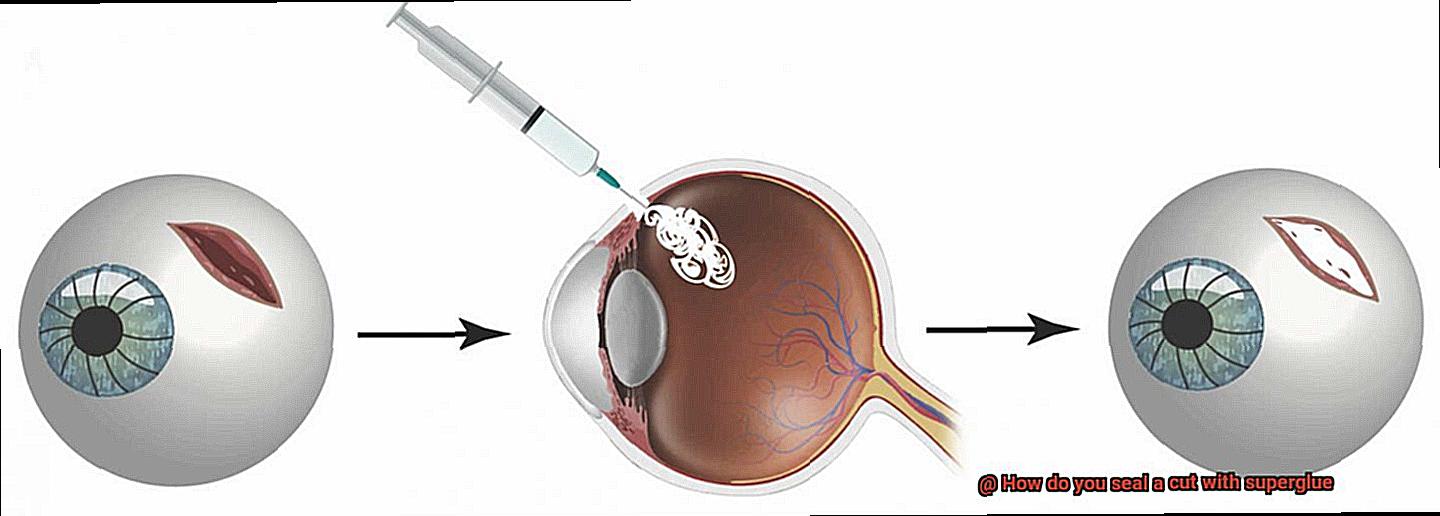
While Superglue is generally safe for external use on minor cuts and abrasions, it’s crucial to exercise caution and avoid ingestion or application to open wounds near sensitive areas like the eyes or mouth. Always ensure thorough wound cleansing before applying Superglue to prevent the entrapment of bacteria or foreign particles.
Preparing the Cut for Sealing with Superglue
Before delving into this fascinating topic, it is vital to understand the crucial role of properly preparing the cut for effective sealing with superglue.
Step 1: Thoroughly Cleanse the Cut
Begin by washing the cut with mild soap and warm water, ensuring a thorough removal of any dirt or debris that may have infiltrated the wound. Gently pat the area dry using a clean cloth or sterile gauze pad.
Step 2: Trim Loose or Jagged Skin
If the cut is deep or exhibits jagged edges, employ sterile scissors or tweezers to trim any loose or uneven skin. This step guarantees a clean and even surface, optimizing adhesion for the superglue and promoting superior sealing.
Step 3: Ensure Complete Drying of the Area
Moisture can hinder the bonding process of superglue. Therefore, it is crucial to ensure that the skin surrounding the cut is completely dry before proceeding. Utilize a clean cloth or allow the area to air dry naturally.
Step 4: Optional Disinfectant Application
For enhanced disinfection prior to sealing with superglue, consider applying an antiseptic solution or hydrogen peroxide. It is essential to exercise caution and avoid excessive wetness as these solutions can potentially damage healthy cells and delay healing. Dab the wound gently with a clean cotton swab dipped in antiseptic solution.
Step 5: Consider Antibiotic Ointment (Optional)
In certain cases, applying a thin layer of antibiotic ointment on the cut before sealing it with superglue can provide supplementary protection against infection. However, it is crucial to use this ointment sparingly to prevent interference with the adhesive properties of the glue.
Step 6: Remove Foreign Objects
Ensure that the wound is free from any foreign objects or substances before sealing it with superglue. This includes carefully removing any splinters or debris that may have become lodged in the cut during the initial injury.
Applying Superglue to the Cut
This method is suitable for clean, small, and not-too-deep cuts, so let’s dive in and learn how to glue it up.
Step 1: Cleanse and Prepare
First things first, we must ensure the cut is squeaky clean. Thoroughly wash the wound with mild soap and water, eliminating any dirt or debris that may be lurking. For an extra layer of protection, consider using an antiseptic solution to disinfect the area. Safety first, my friends.
Step 2: Choose Your Weapon
With our wound clean and dry, it’s time to apply the superglue. To minimize the risk of introducing additional bacteria, grab a sterile applicator such as a disposable stick or an unused toothpick. Remember, we want to seal the cut, not invite more trouble.
Step 3: Glide with Precision
Now comes the delicate step. Gently and carefully apply a thin layer of superglue directly onto the cut. With graceful precision, glide the applicator along the entire length of the wound, ensuring complete coverage without any drips on your surrounding healthy skin.
Step 4: Let It Dry
Watch as superglue works its magic, drying in a flash to create a protective barrier over the wound. This remarkable barrier helps prevent infection and promotes faster healing. But hold on. Remember that superglue should only be used for minor cuts. If you have a deep or gaping wound, seek professional medical attention.
Step 5: Handle with Care
Congratulations. You have successfully glued up your minor cut. Now it’s time to play nurse and take care of your newly sealed wound. Keep the area clean and dry, avoiding excessive movement or stretching that may cause the adhesive to crack or peel off prematurely.
Step 6: Seek Professional Help, if Needed
Remember, superglue is a temporary solution. It can buy you some time until you seek proper medical attention. If you notice any signs of infection like increased pain, redness, swelling, or discharge, don’t hesitate to reach out to a healthcare professional.
And there you have it, my fellow glue enthusiasts. A comprehensive guide on safely applying superglue to minor cuts. Now go forth, be cautious with those sharp objects, and always remember to glue responsibly.
Pressing the Edges of the Cut Together
Today, we delve into the pivotal step of pressing the edges together, unlocking the true potential of this remarkable technique. Prepare to be captivated by the artistry of adhesive application.
To achieve optimal results when sealing a cut with superglue, pressing the edges together is akin to adding the final brushstrokes to a masterpiece. By ensuring a secure bond between the skin, this technique not only promotes faster healing but also minimizes scarring. But how does one master this art? Let’s break it down together.
First and foremost, cleanliness reigns supreme. Before even contemplating the application of our magical glue, meticulously clean the cut with mild soap and water. Gently pat it dry using a clean towel or sterile gauze, leaving no room for contaminants to hinder the healing process.
Now comes the delicate dance of alignment and conquest. With utmost care, bring those cut edges together, utilizing gentle pressure to align them as closely as possible. Employ clean tweezers or gloved fingers to hold them in place while preparing to apply the superglue.
Remember, less is more in this delicate dance. We are not constructing skyscrapers here. Apply a thin layer of superglue along the length of the wound—just enough to seal the deal without smothering it. Slowly and meticulously press those edges together, allowing the adhesive’s enchanting properties to take effect.
But let us not get carried away in our enthusiasm. Avoid excessive pressure that could create a sticky mess or impede proper healing. Our aim is a firm bond, not a squashed finger.
Take a moment to bask in your adhesive artistry—hold that cut in place for approximately one minute, allowing the superglue to set. Embrace a Zen-like focus as you keep the area as still as possible, ensuring the adhesive’s magical properties work their wonders.
Now, let us cast our discerning gaze upon our creation. Are there any gaps or openings that remain between the edges? If so, apply a touch more superglue to those areas and repeat the pressing process. Our goal is to seal every inch of that wound tightly, fending off infection and achieving optimal healing.
Remember, my fellow glue aficionados, superglue is solely suitable for small cuts that do not necessitate medical attention. If you find yourself faced with a deep, severe, or infected wound, it is imperative to seek professional help.
Allowing the Glue to Dry and Set
Today, we embark on a journey into the world of superglue and its remarkable ability to seal cuts. While we are all familiar with its prowess in fixing broken items, did you know that it can also be a lifesaver for minor cuts? Join me as we explore the significance of allowing the glue to dry and set properly for a successful seal and efficient healing.
The Power of Patience:
Once you’ve meticulously applied superglue to the cut, it’s time to exercise patience and witness the magic unfold. Allowing the glue to dry and set properly ensures a robust bond between the skin edges, creating an effective seal. Remember, good things come to those who wait.
Cracking the Drying Time Code:
The age-old question lingers: “How long until it’s dry?” Well, my friends, drying time is influenced by various factors such as brand and cut size. In general, expect to wait approximately 30 seconds to a few minutes for the glue to completely dry. Consider it a fleeting moment to catch your breath before continuing your day.
Hands Off.
During the drying process, refrain from touching or disturbing the glued area. Any movement or contact could jeopardize the seal by shifting or removing the glue entirely. So resist the temptation to touch that freshly glued cut—your patience will be richly rewarded.
Stillness is Bliss:
To ensure an undisturbed drying experience, keep the cut as still as possible. Avoid activities that involve excessive movement and consider immobilizing the area with a bandage or medical tape. Yes, I grant you permission to indulge in some relaxation time.
Clean and Dry Wins the Race:
While waiting for the glue to dry, maintaining a clean and dry environment around the cut is of utmost importance. Moisture or dirt can interfere with bonding, potentially leading to an ineffective seal. Gently pat the area dry with a clean cloth or sterile gauze to eliminate excess moisture and maintain pristine conditions.
The Heat is On:
Did you know that superglue generates heat as it cures? Some individuals may experience a mild burning sensation or temporary discomfort during this process. Fear not, for it dissipates once the glue has fully dried. Your masterpiece is almost complete.
Sealed with Protection:
Once the glue has dried and set, it forms a resilient barrier over the cut, shielding it from further bleeding or exposure to bacteria. It’s akin to a tiny superhero cape for your wound, promoting faster healing and minimizing scarring. Now that’s worth celebrating.
Final Thoughts:
Remember, superglue works wonders for small, clean cuts with straight edges. However, if you encounter deep or jagged cuts or are uncertain about the severity of the injury, it’s best to seek professional medical attention. While we cherish the versatility of superglue, it cannot substitute proper care.
Benefits of Sealing a Cut with Superglue
Imagine you’re out in the wilderness, enjoying a hike, when suddenly you trip and cut yourself. It’s not a deep wound, but it’s enough to cause concern. In such situations, having superglue on hand can be a game-changer. This article explores the benefits of using superglue to seal cuts and why it is becoming a popular alternative to traditional wound closure methods.
Quick and Convenient:
Superglue is a superhero when it comes to speed and convenience. Unlike stitches or staples, which require a trip to the doctor’s office or emergency room, superglue can be applied at home in a matter of seconds. This makes it incredibly useful in situations where immediate medical attention may not be readily available.
Cost-Effective:
Medical treatments can be expensive, but superglue offers a cost-effective solution. A small tube of superglue is affordable and can be used for multiple cuts, making it an economical option for minor injuries.
Reduced Scarring:
Nobody wants unsightly scars. Using superglue to seal a cut can help minimize scarring. By creating a protective barrier that prevents dirt and bacteria from entering the wound, superglue promotes faster healing and reduces the risk of infection, resulting in less noticeable scars.
Water-Resistant:
Superglue forms a strong bond that is resistant to water and moisture. This is particularly beneficial for individuals engaging in water-related activities or having jobs that involve frequent handwashing. Unlike traditional bandages or dressings that can become dislodged by water, superglue provides a reliable and long-lasting seal.
Comfortable Application:
Getting stitches or staples can be uncomfortable and anxiety-inducing for some people. Superglue offers a less invasive alternative that can be applied with minimal pain or discomfort. Additionally, it naturally sloughs off as the wound heals, eliminating the need for a follow-up visit to the doctor.
Versatile Use:
Superglue isn’t only for sealing cuts on the skin; it can also be used for paper cuts or small tears in fabrics. Its versatility makes it a handy tool to have in first aid kits or emergency situations.
Limitations of Sealing a Cut with Superglue
Imagine this scenario: you’re deep in the wilderness, far away from civilization, when you accidentally slice open your finger. Panic sets in as you realize you don’t have any first aid supplies. But wait. You recall hearing about the miraculous powers of superglue for sealing cuts. Is it really as foolproof as it seems? Let’s explore the limitations of using superglue as a medical adhesive.
Not Suitable for All Types of Cuts:
Superglue works best for small, clean, and superficial cuts. However, deep or jagged wounds require professional medical attention and should not be sealed with superglue alone. It’s crucial to know when to seek proper care.
No Substitute for Wound Care:
While superglue can seal a cut and minimize bleeding, it lacks antiseptic properties and cannot prevent infection. Thoroughly cleaning the wound before applying superglue and following proper wound care practices are still essential steps.
Skin Irritation and Allergic Reactions:
Superglue may cause skin irritation or allergic reactions in some individuals. To avoid adverse reactions like redness, swelling, or itching, it’s imperative to test a small amount on the skin. When in doubt, consult a medical professional.
Lack of Flexibility:
Once dry, superglue becomes rigid, which can be uncomfortable and hinder healing in areas that require flexibility, such as joints or areas prone to movement.
Sensitive Areas:
Superglue should never be used near the eyes, mouth, or other sensitive areas of the body. Seeking professional advice for proper treatment in these cases is paramount.
Difficulty Bonding to Wet Surfaces:
If the cut is bleeding heavily or has excessive moisture, effectively bonding superglue to the wound may be challenging. It’s crucial to control the bleeding first and wait for the wound to dry before attempting to seal it with superglue.
Temporary Solution:
Superglue is not a long-term solution for wound closure. It should be used as a temporary measure until proper medical attention can be sought. Removing the superglue once the wound has healed is crucial.
Not for Burns, Deep Puncture Wounds, or Infections:
Specialized medical treatment is necessary for burns, deep puncture wounds, or infected wounds. Superglue is not suitable for self-treatment in these cases.
Lack of Sterility:
Superglue is not a sterile adhesive, and improper application can introduce bacteria or foreign particles into the wound. Thoroughly cleaning the wound and ensuring a clean and sterile environment during application are essential.
Proper Wound Care After Sealing a Cut with Superglue
Proper wound care after sealing a cut with superglue is crucial to ensure a speedy and infection-free healing process. Let’s dive into the steps you need to follow for effective care.
Step 1: Cleaning
Start by gently washing the area around the sealed cut with mild soap and water. Remove any dirt or debris without scrubbing too vigorously, as we want to preserve that perfect seal created by the superglue.
Step 2: Drying
After cleaning, pat the wound dry using a clean towel or sterile gauze. Avoid materials like cotton balls that may leave behind fibers, as we want the wound to be completely clean and dry.
Step 3: Applying Ointment
To prevent infection, apply an antibiotic ointment or cream to the sealed cut. Use a clean fingertip or sterile cotton swab to apply a small amount directly to the wound. Follow the instructions on the packaging for proper application and frequency of use.
Step 4: Covering Up
Protect the sealed cut from further contamination by covering it with a sterile adhesive bandage or dressing. This not only keeps out dirt and germs but also promotes faster healing. Change the bandage daily or as instructed by a healthcare professional.
Step 5: Monitoring for Infection
Keep a vigilant eye on the sealed cut for signs of infection, such as increased pain, swelling, redness, warmth, or discharge. If you notice any of these signs or if the wound does not improve within a few days, seek medical attention promptly.
Step 6: Hands Off.
Resist the urge to pick at or scratch the sealed cut. Doing so can disrupt the healing process and increase the risk of infection. Keep the area clean, dry, and avoid activities that strain or pressure the wound until it has fully healed.
NGEYRpJTR5Q” >
Also Read: How to Fix a Hole in an Air Mattress With Super Glue
Conclusion
Sealing a cut with superglue is both simple and effective. Start by thoroughly cleaning the wound using soap and water, ensuring all dirt and debris are removed to prevent infection. Gently pat dry with a clean towel.
Now comes the crucial part – applying just enough superglue directly onto the cut itself. Remember, less is more in this case. Press the edges of the wound together firmly and maintain pressure for approximately one minute while allowing the glue to set.
The beauty of superglue lies in its ability to create an impenetrable shield against harmful bacteria while promoting speedy healing through its adhesive properties. By keeping those pesky edges securely fastened, you’re giving your body a helping hand in the recovery process.
However, it’s important to note that superglue should only be used for minor cuts that are clean and free of infection. For deeper or dirtier wounds, it’s always best to seek professional medical attention.
In conclusion, sealing a cut with superglue can serve as a temporary solution until proper medical care is obtained. But remember, exercise caution and only resort to this method when appropriate.