Whether you’re a DIY newbie or a ceramics pro, we’ve got your back. In this post, we’ll explore the tricks and tools you need to achieve a super-strong bond between your ceramic pieces.
We’ll cover everything from choosing the perfect adhesive to prepping those surfaces for an amazing fit. Plus, we’ll tackle the pesky challenges that often arise when gluing ceramics and share some insider tips for making sure your bond stands the test of time.
So, let’s jump right in and uncover the secrets to effortlessly repairing or creating stunning ceramic masterpieces.
Types of Glue for Ceramics
Contents
When it comes to bonding two pieces of ceramic together, choosing the right glue is crucial. Ceramics are delicate, and not all glues are suitable for creating a strong and long-lasting bond. Let’s explore some types of glue commonly used for ceramics:
Epoxy Resin
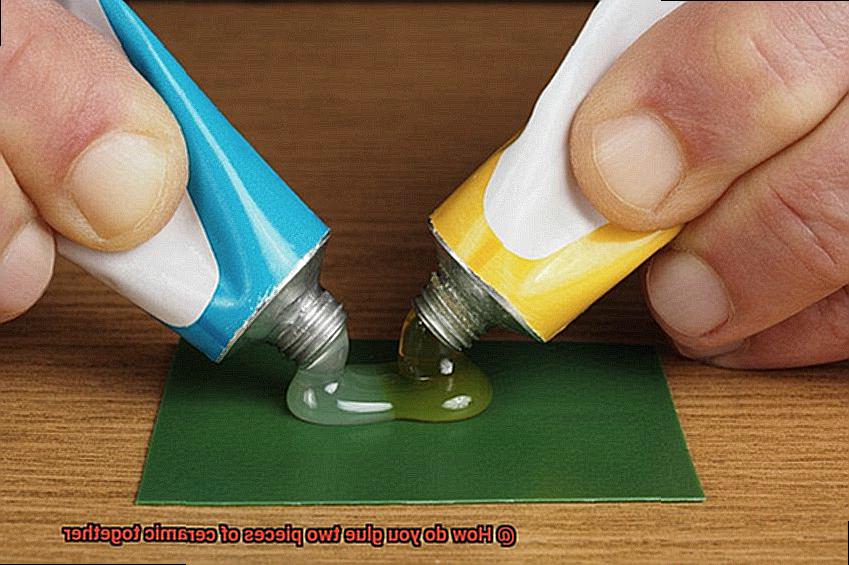
Epoxy resin is a popular choice for bonding ceramics because of its strength and durability. It consists of two components – a resin and a hardener – that need to be mixed together before application.
Once applied, epoxy resin forms a strong bond that can withstand high temperatures and is resistant to water and chemicals. It’s perfect for repairing broken ceramic items or joining different parts together to create something new.
Epoxy resin offers versatility in terms of its viscosity, allowing for precise application. It can be thick or thin, depending on the specific requirements of the project. Additionally, epoxy resin dries clear, ensuring an aesthetically pleasing finish.
Super Glue (Cyanoacrylate)
Super glue, also known as cyanoacrylate adhesive, is another commonly used glue for ceramics. It forms an instant bond when applied to the surfaces and dries quickly. Super glue works well on small ceramic pieces or for fixing minor cracks or chips.
However, it may not be as strong as epoxy resin and may not hold up well under extreme temperatures or heavy stress.
Super glue is ideal for quick repairs or when time is of the essence. Its fast-drying nature allows for immediate use after application. However, it’s important to use super glue sparingly as excess glue can leave behind unsightly residue.
Ceramic Cement
Ceramic cement is specially formulated for bonding ceramics. It creates a strong bond between ceramic surfaces and is often used in pottery and ceramics projects where a permanent bond is required. Ceramic cement is heat resistant, so it can withstand the firing process if the ceramics need to be fired in a kiln.
Ceramic cement offers excellent workability, allowing for precise application. It has a thick consistency, which ensures minimal dripping or running during the bonding process. Ceramic cement is also ideal for filling gaps or uneven surfaces due to its ability to fill voids effectively.
Silicone Adhesive
Silicone adhesive is a flexible and versatile glue that can be used for bonding ceramics. It creates a waterproof seal and can withstand varying temperatures without losing its adhesive properties. Silicone adhesive is ideal for attaching ceramic tiles or repairing ceramic objects that are exposed to moisture or temperature changes.
Silicone adhesive offers excellent resistance to water, making it ideal for applications where moisture exposure is common. Its flexible nature allows for slight movement without compromising the bond. Furthermore, silicone adhesive is available in various colors, allowing for seamless blending with the ceramic surface.
Two-Part Adhesives
Two-part adhesives, such as polyurethane or acrylic adhesives, are also suitable for bonding ceramics.
Preparing the Surfaces for Gluing
When it comes to gluing two pieces together, whether it’s ceramics or any other material, the key to success lies in the preparation of the surfaces. In this comprehensive guide, we will take you through the essential steps required to properly prepare surfaces for gluing. So, get ready to dive into the world of adhesive perfection.
Step 1: Cleanliness is the Foundation of a Strong Bond.
Before embarking on your gluing journey, it is crucial to ensure that the surfaces are squeaky clean. Dust, dirt, or grease can diminish the adhesive’s performance and weaken the bond. To combat this, arm yourself with a mild detergent or soap, warm water, and a gentle scrubbing brush. With these tools in hand, delicately cleanse the surfaces, banishing any impurities that stand between you and a strong bond. Remember, harsh chemicals or abrasive cleaners are strictly off-limits as they can cause damage.
Step 2: Dry ‘Em Out – Moisture is the Enemy.
In the battle against adhesive failure, moisture is your archenemy. To win this battle, dryness is key. After cleaning, grab a clean cloth or towel and gently pat away any excess water. Next, allow the surfaces to air dry completely. Patience is indeed a virtue when it comes to achieving a flawless bond.
Step 3: Roughen Up – Embrace the Texture.
Smooth or glazed surfaces might not provide enough grip for adhesives to work their magic. Fear not. Grab your trusty sandpaper or abrasive pad and embark on a journey of roughening greatness. With bold strokes, create a textured surface on the areas you plan to glue. This texture will provide an anchor for the adhesive and solidify the bond.
Step 4: Banish Debris – The Final Touch.
After the roughening adventure, it’s essential to eliminate any dust or debris that may have been generated. A soft brush or a burst of compressed air will come to your rescue. Sweep away every last particle, leaving behind a pristine surface ready for gluing. Remember, cleanliness is the secret ingredient to success.
Step 5: Primer Power – The Ultimate Bond Enhancer.
For those seeking to elevate their bond to new heights, consider the power of a primer or bonding agent specific to your material. These extraordinary products can further enhance the adhesion between the surfaces and the adhesive. Just ensure that you carefully follow the manufacturer’s instructions for application. With primer power on your side, your bond will be unstoppable.
Applying the Adhesive
We have compiled the ultimate guide to applying adhesive to two pieces of ceramic with casual professionalism and engaging expertise. Let’s dive in.
Step 1: Choose the Right Adhesive
In the realm of gluing ceramic, selecting the perfect adhesive is paramount. Consider options such as epoxy, cyanoacrylate (super glue), and silicone. Each adhesive type possesses its own unique strengths and weaknesses, allowing you to tailor your choice to your specific needs.
Step 2: Prepare the Ceramic Surfaces
Before diving into the gluing process, ensure that your ceramic surfaces are squeaky clean. Dirt, dust, or grease can hinder the adhesive’s efficacy. Give them a thorough scrub with mild detergent and water, rinse them diligently, and allow them to air dry completely.
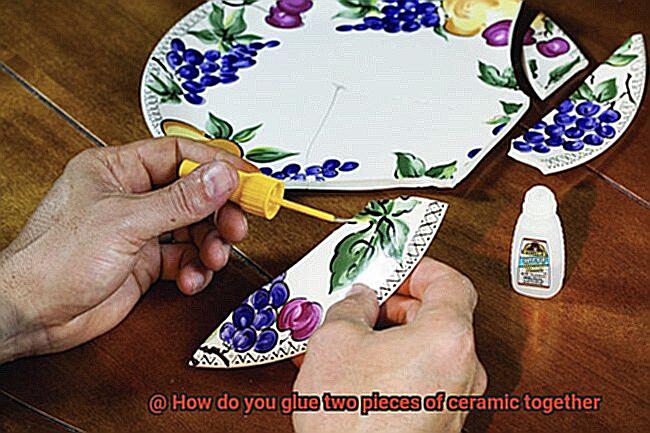
Step 3: Apply the Adhesive
Now comes the moment of truth – it’s time to apply the adhesive. Remember, less is more. Apply a small amount of adhesive to one piece of ceramic, ensuring you don’t go overboard and risk unsightly squeeze-out when pressed together. Follow the manufacturer’s instructions for precise application techniques.
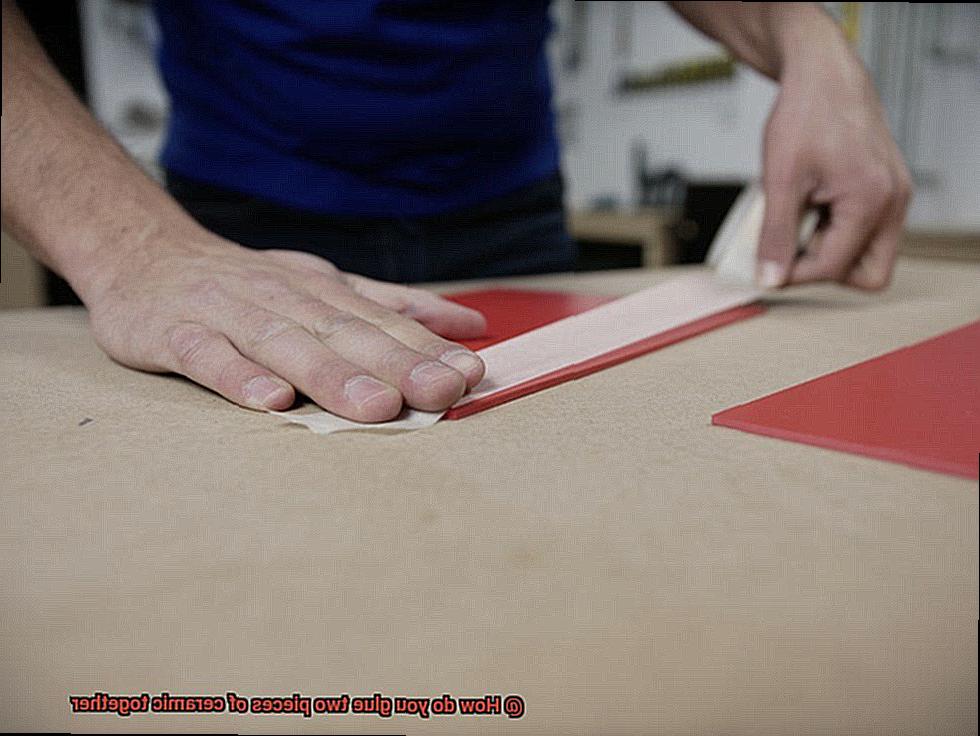
Step 4: Align and Press Firmly
With clean and dry surfaces, carefully align the two ceramic pieces. Then, press them together firmly, exerting just the right amount of pressure to create a strong bond. Maintain this steady pressure for a few minutes, allowing the adhesive to work its magic. Depending on the adhesive chosen, clamping or additional support during the drying process may be necessary – consult those trusty instructions.
Step 5: Check Bond Strength
Patience is key – allow the adhesive to dry completely before subjecting it to a strength test. Give the glued ceramic pieces a gentle tug to ensure they are securely attached. Any sign of weakness or movement calls for reapplication of the adhesive and a repeat of the bonding process.
Additional Tips and Alternatives:
- Follow specific instructions: Different adhesives may have additional steps or precautions. To guarantee success, always refer to the manufacturer’s instructions for proper usage.
- Explore adhesive tapes: For a mess-free and time-saving alternative, consider using adhesive tapes or strips specifically designed for ceramics. Simply apply the tape to the surfaces and press them together firmly.
- Consider limitations: While adhesives can bond ceramics, it’s important to note they may not provide a permanent solution. Avoid using glued ceramics in high-stress or high-temperature environments.
Curing Time and Safety Precautions
Unlocking the secrets of successful ceramic bonding requires a deep understanding of key factors such as curing time and safety precautions. In this comprehensive guide, we will delve into the significance of these factors and equip you with invaluable insights to achieve flawless bonds. Whether you are a DIY enthusiast or a seasoned craftsman, this information is essential for anyone working with ceramics and adhesives.
Curing Time:
- Unveiling the Essence of Curing Time: Curing time refers to the duration required for the adhesive to reach its full potential, creating an unbreakable bond between ceramic pieces.
- The Manufacturer’s Gospel: Different adhesives boast varying curing times, making it crucial to religiously follow the manufacturer’s instructions for optimal results.
- Patience as a Virtue: Allowing ample curing time ensures an unyielding bond, preventing premature failure and disappointment.
- Handle with Care: Exerting stress or loading on the glued ceramic pieces before the adhesive has fully cured can shatter your dreams of a secure bond.
Safety Precautions:
- Breathing Easy: Some adhesives release noxious fumes during the curing process, making proper ventilation a non-negotiable prerequisite to safeguard against inhaling hazardous substances.
- Skin Guardians: Shielding your hands with protective gloves shields them from potentially irritating adhesives, ensuring your skin remains unscathed.
- Illuminating Safety Data Sheets: Immerse yourself in the manufacturer’s safety data sheets to acquaint yourself with any specific hazards or precautions associated with the adhesive product at hand.
- Respiratory Resilience: Certain adhesives may necessitate respiratory protection, especially when working in confined spaces or dealing with volatile components.
Common Mistakes:
- Impatience Unleashed: Rushing the curing process can lead to brittle bonds or catastrophic failure if stress is applied prematurely, leaving you with shattered hopes.
- A Breath of Stale Air: Operating in poorly ventilated areas heightens exposure to toxic fumes, jeopardizing your well-being and leaving you gasping for fresh air.
- Neglecting Your Armor: Failing to don gloves or appropriate respiratory protection when required opens the gateway to skin irritation and respiratory distress, painting a grim picture for your safety.
- Ignoring the Oracle: Disregarding the manufacturer’s instructions can yield subpar bonding results and pave the way for potential safety hazards.
Considerations for Different Shapes and Sizes of Ceramic Pieces
In our previous section, we delved into the world of curing time and safety precautions for ceramic bonding. Now, let’s explore the considerations for gluing different shapes and sizes of ceramic pieces together. From surface area to weight balance, we’ll equip you with the knowledge to create unbreakable bonds that will elevate your ceramic creations to new heights.
Surface Area: A Strong Foundation
The larger the surface area, the stronger the bond. Ensure maximum contact between the pieces by applying adhesive precisely or using a larger applicator. This will guarantee a secure hold and durability.
Weight and Balance: Match Made in Adhesive Heaven
Consider the weight and balance of your ceramic pieces. For large and heavy pieces, opt for a stronger adhesive that can withstand the weight. Lighter pieces may require a less strong adhesive to maintain balance without compromising on strength.
Shape Matters: Curved and Irregular Pieces
Curved or irregularly shaped pieces pose a challenge for seamless bonding. Choose an adhesive with flexibility or apply pressure during curing to achieve a tight fit. This will ensure your pieces stay together flawlessly.
Texture and Finish: The Adhesion Equation
Different surfaces require different adhesives. Smooth surfaces may need a specific type of adhesive, while rough or textured surfaces might benefit from surface preparation with sandpaper or a primer before applying the adhesive.
Delicate Pieces: Handle with Care
Fragile ceramic pieces demand delicate handling during the gluing process. Avoid excessive pressure or strong adhesives that may cause damage or breakage. Opt for an adhesive that strikes the perfect balance between strength and flexibility, providing a secure bond without risking further harm.
Professional Restoration Options
Professional Restoration Options: Seamlessly Gluing Two Pieces of Ceramic Together
Welcome back, ceramic enthusiasts. Today, we embark on a journey into the captivating realm of professional restoration options for seamlessly gluing two pieces of ceramic together. Whether you possess a cherished family heirloom or a beloved pottery masterpiece, restoration experts possess the knowledge and expertise to flawlessly repair broken ceramic pieces.
So, how do these magicians perform their art? Let’s dissect the process step by step:
- Assessing the Damage: Restoration experts commence their work by meticulously evaluating the extent of the damage and devising the optimal approach for repairing the ceramic piece. This may encompass cleansing the surfaces, eliminating old adhesive, or implementing any necessary adjustments.
- Selecting the Perfect Adhesive: The adhesive employed is contingent upon various factors such as the type of ceramic, the severity of the damage, and the intended purpose of the restored piece. Epoxy resins reign supreme in professional restoration due to their unwavering strength and limitless versatility. They form a formidable bond with ceramics, guaranteeing a long-lasting hold.
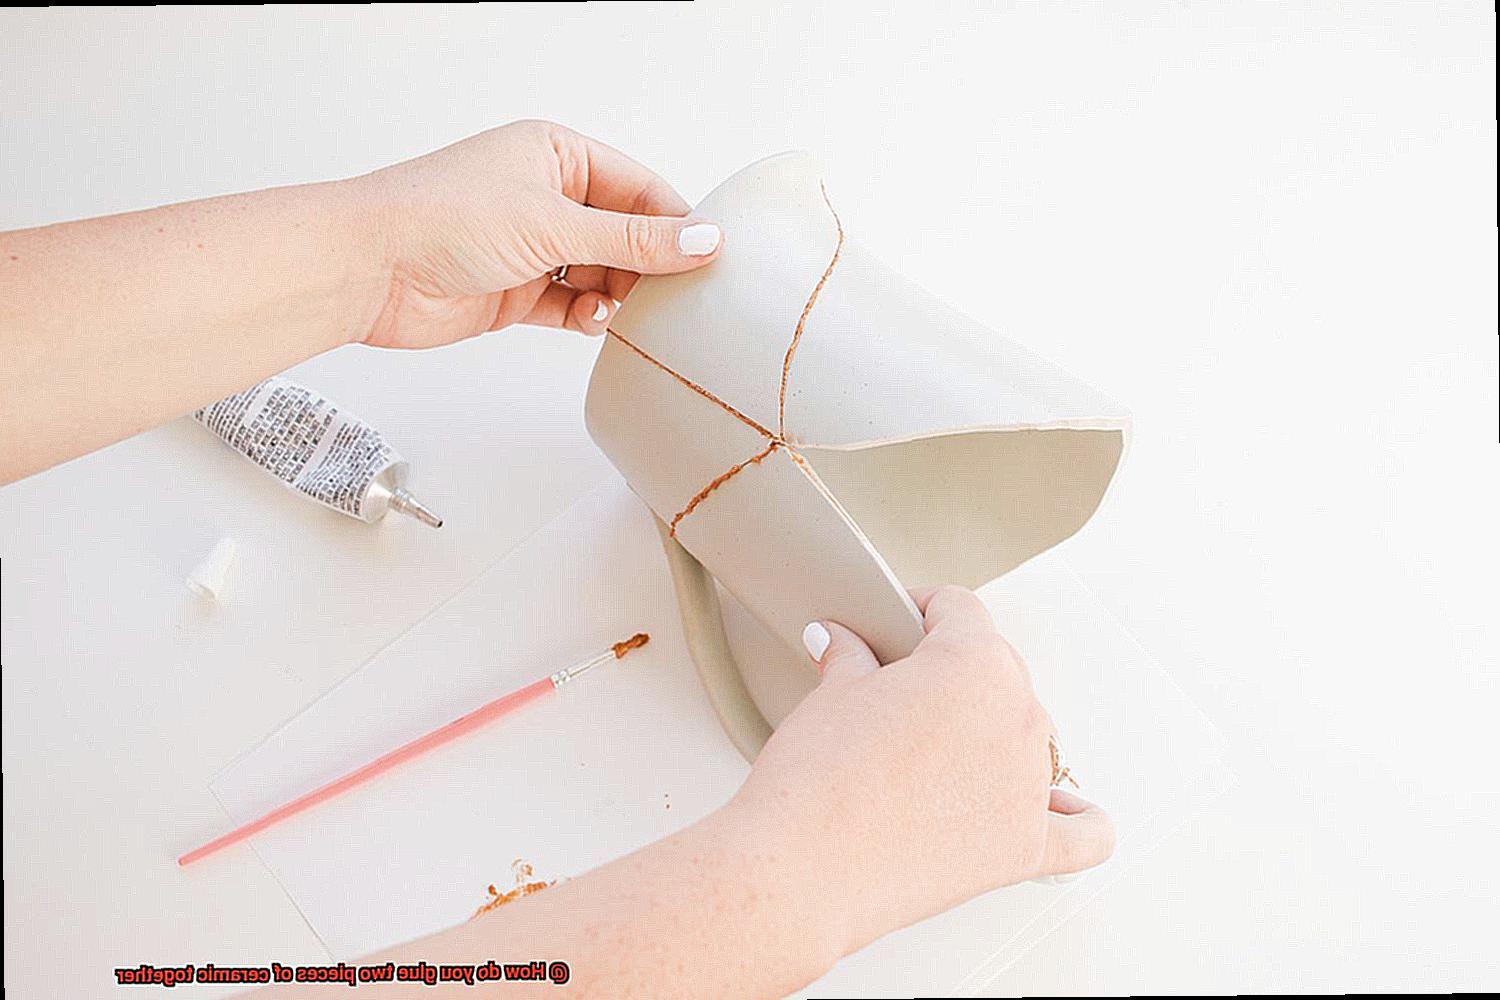
- Artful Application of Adhesive: With utmost precision and care, restoration experts artfully apply the adhesive to both surfaces, ensuring an even coverage that leaves no room for error. Excess adhesive is scrupulously avoided to preserve the flawless appearance of the restored piece. This meticulousness is pivotal in creating a robust and enduring bond.
- Impeccable Alignment and Bonding: Once the adhesive is applied, the broken fragments are meticulously aligned and delicately pressed together. This harmonious fusion allows the adhesive to bond seamlessly. Clamps or other tools may be utilized to maintain alignment until the adhesive sets.
- Finishing Flourishes: After the bonding process, any residual adhesive is meticulously removed, and the repaired ceramic piece undergoes a meticulous polishing or finishing treatment to restore its original splendor. This unwavering commitment to detail ensures that your restored piece retains both its structural integrity and aesthetic magnificence.
It is crucial to note that not all ceramic pieces can be effectively repaired using professional restoration methods. Severely damaged or shattered pieces may necessitate more extensive repairs or even replacement. Restoration experts serve as invaluable guides, offering insights into whether a specific ceramic piece can be successfully restored or if alternative options should be explored.
So, the next time your treasured ceramic piece shatters, consider turning to the realm of professional restoration options. While it may entail a higher cost than DIY methods, it guarantees an unparalleled result of exceptional quality that will endure the test of time.
J4QK8rBLgJQ” >
Conclusion
In conclusion, gluing two pieces of ceramic together requires careful consideration and proper preparation. The adhesive you choose is crucial, and options like epoxy resin, super glue, ceramic cement, silicone adhesive, and two-part adhesives offer different strengths and durability to suit your project’s needs.
To ensure a strong bond, surface preparation is key. Cleanliness is essential, so give the surfaces a thorough wash with mild detergent or soap and water. Don’t forget to remove any excess moisture and roughen up smooth surfaces using sandpaper or an abrasive pad for better grip. And of course, clear away any debris to create a pristine surface.
When it comes time to apply the adhesive, be sure to select the right type for your project’s requirements. Apply a small amount to one piece of ceramic, align the pieces carefully, and press them together firmly. Follow the manufacturer’s instructions for curing time and additional support if necessary.
Different shapes and sizes of ceramic pieces require specific considerations. Maximize surface area contact for improved bonding, choose adhesives based on weight and balance, address curved or irregular shapes with flexible adhesives or pressure during curing, consider texture and finish when selecting adhesives, and handle delicate pieces with utmost care.
For professional restoration options, turn to experts who meticulously assess damage and select appropriate adhesives such as epoxy resin. They employ precision alignment techniques for bonding while removing excess adhesive. Finishing treatments are then applied to restore both structural integrity and aesthetic appeal.
Remember to prioritize safety by ensuring proper ventilation when working with adhesives that release fumes during curing. Always consult manufacturer instructions for specific usage guidelines.
By following these tips and techniques, you can confidently glue two pieces of ceramic together with ease.