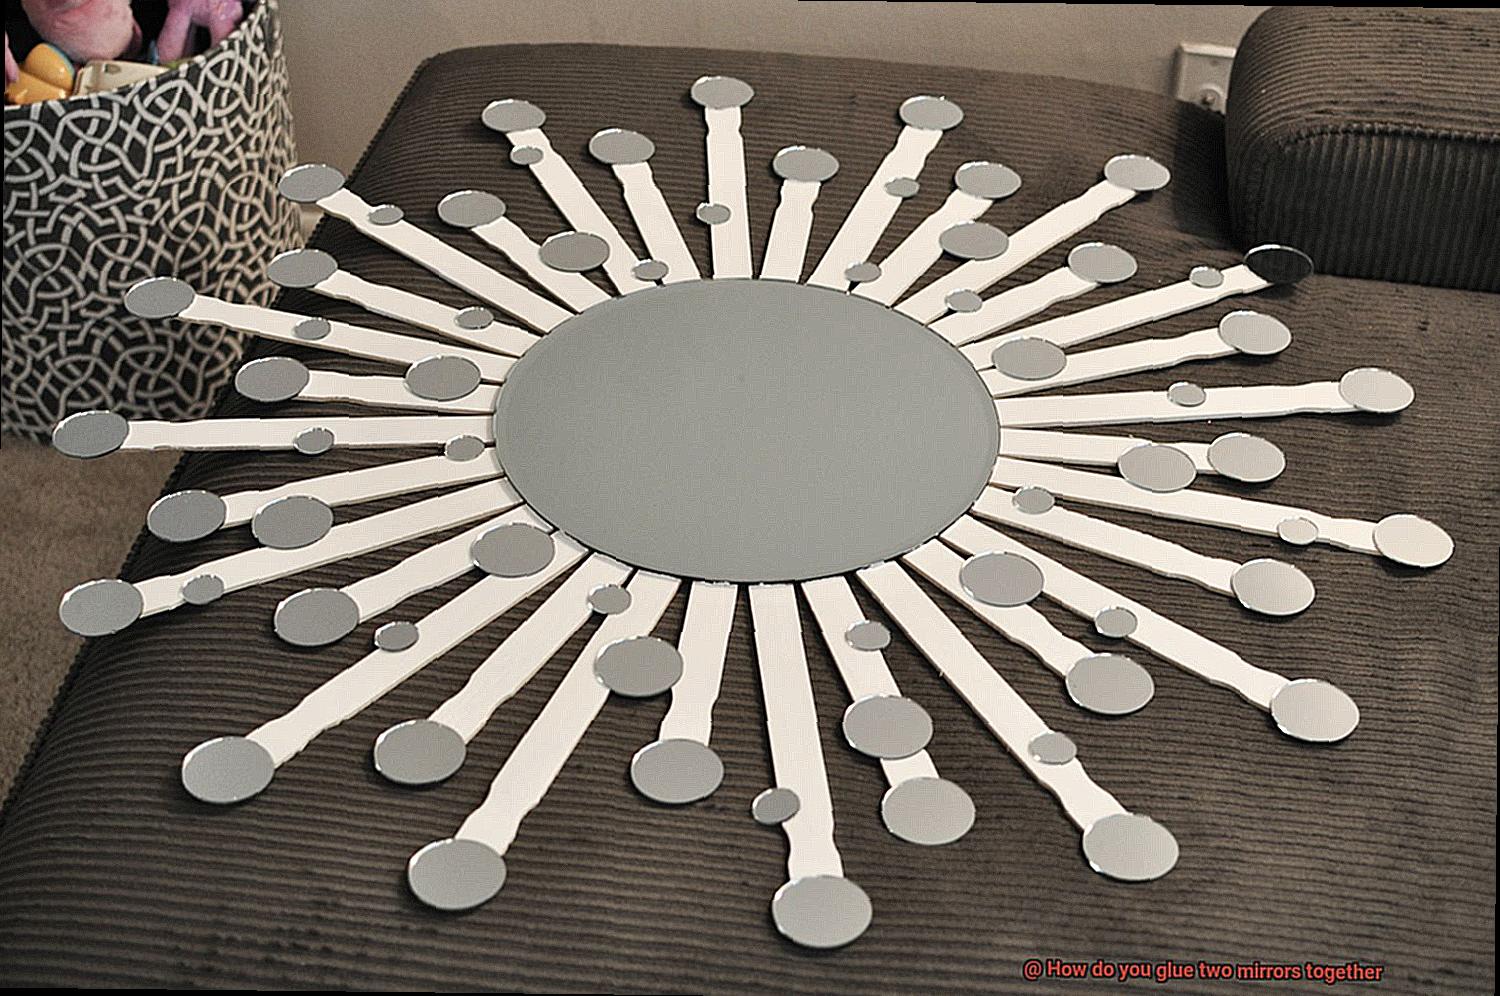
Mirror, mirror on the wall, who’s got the coolest DIY project of them all? If you’re looking to up your interior design game and create something truly eye-catching, gluing two mirrors together might just be your ticket to glam-town.
We’re talking about turning ordinary mirrors into mind-blowing sculptures, dazzling jewelry, or even creating larger-than-life mirrored surfaces for your home sweet home. But hold up.
Before you grab that glue gun and go wild, let’s make sure you know what you’re doing. One wrong move and those beautiful mirrors could shatter into a million pieces.
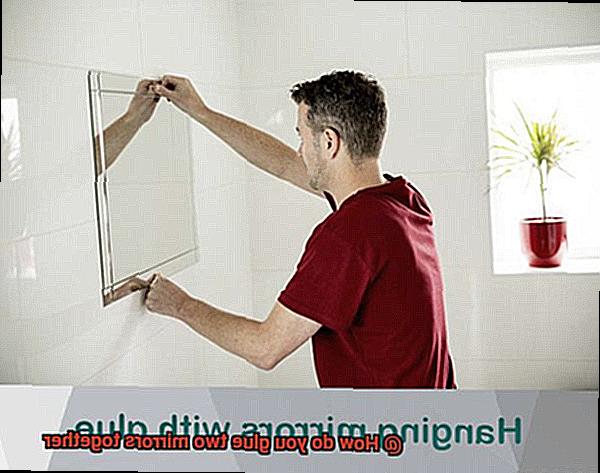
So, put on your safety goggles and get ready for some mirror magic.
Preparing the Mirrors for Glueing
Contents
Gluing two mirrors together can yield stunning decorative pieces or functional elements. However, achieving a strong and durable bond requires meticulous preparation of the mirror surfaces. In this comprehensive guide, we will walk you through each step of the preparation process, ensuring that your mirrors are ready for a seamless and secure bond.
Step 1: Thoroughly Clean the Mirrors
Begin by meticulously cleaning the mirror surfaces using a gentle glass cleaner or a mixture of water and vinegar. Ensure the removal of all dirt, dust, or residue that may compromise the adhesive bond. Utilize a lint-free cloth or paper towel to guarantee a clean surface free from any contaminants.
Step 2: Remove any Protective Coatings
Check if your mirrors have any protective coatings that must be removed before gluing. To dissolve and eliminate these coatings, refer to the manufacturer’s instructions for the appropriate solvent or alcohol-based solution. This step is crucial to enhance adhesion between the mirrors.
Step 3: Enhance the Bonding Surface
To improve adhesion, lightly sand or etch the mirror’s edges or backside using fine-grit sandpaper or an etching solution. This process creates a slightly roughened surface, optimizing the bond strength. Take care not to apply excessive pressure that may damage the mirror’s surface.
Step 4: Consider Applying Primer (optional)
For enhanced bond strength, consider using a primer as recommended by the adhesive manufacturer. Primers facilitate adhesion between the mirror surface and the adhesive, further reinforcing the bond. Follow the manufacturer’s instructions meticulously for proper application and drying time.
Step 5: Protect Edges from Excess Glue
To ensure a clean and neat finish, shield the edges of the mirrors from excess glue spreading onto visible areas. Utilize masking tape or painter’s tape to carefully cover the edges, leaving only the bonding surfaces exposed. This precautionary measure guarantees a pristine final result.
Choosing the Right Adhesive
When it comes to gluing two mirrors together, selecting the perfect adhesive is vital. You don’t want your mirrors to fall apart and shatter your dreams (literally). So, let’s dive into the world of adhesives and uncover the secrets to a successful mirror bonding experience.
Firstly, you need an adhesive with an iron grip that can hold those mirrors together. Look for clear, silicone-based adhesives or epoxy adhesives that dry clear. These options provide a reliable bond that won’t let you down. Transparency is key here; nobody wants visible residue ruining the beauty of their mirrors.
Next, let’s talk about durability. You want those mirrors to stay put for years to come, right? Epoxy adhesives are renowned for their high strength and durability. They can form a bond between different materials, including glass and mirror surfaces. Just make sure to choose an epoxy adhesive that won’t yellow over time, because vintage-looking mirrors are not the goal.
If time is of the essence and waiting around is not an option, consider using UV-curing adhesives. These magical adhesives cure when exposed to ultraviolet light, creating a strong and transparent bond in no time. Perfect for those DIY projects where patience is not your strong suit.
Before applying any adhesive, clean those mirror surfaces like your life depends on it. Dirt, grease, or residue can hinder the adhesive from forming a robust bond. And weak bonds are not what we’re after here. Grab some glass cleaner or rubbing alcohol and get those surfaces squeaky clean.
And one more thing. Always follow the manufacturer’s instructions. Different adhesives have specific application methods and curing times. Don’t be a rebel; read and understand those instructions for the best results. It’ll save you from a sticky situation.
Lastly, test the adhesive on a small, inconspicuous area of the mirrors before committing to the entire surface. This step can save you from unwanted reactions or discoloration. Better safe than sorry, right?
Applying the Adhesive Evenly
For those captivated by the magic of mirrors, the art of applying adhesive evenly is a crucial skill to master. Whether you’re an avid DIY enthusiast or a professional seeking perfection, this guide will equip you with all the tips and tricks needed to ensure your mirrors bond flawlessly.
The first step in achieving an even bond is to prioritize cleanliness. Before applying any adhesive, meticulously clean both mirror surfaces using a trusty glass cleaner and a lint-free cloth. This thorough cleaning will eliminate dirt, dust, and residue that could compromise the bond. A pristine surface guarantees a stronger and more durable connection between your mirrored dreams.
With cleanliness checked off, let’s explore adhesive options. Epoxy, silicone, and mirror mastic are three commonly used adhesives. Each possesses unique properties, so it’s imperative to carefully read the manufacturer’s instructions to choose the right one for your project. Avoid any sticky situations by understanding the quirks of each adhesive.
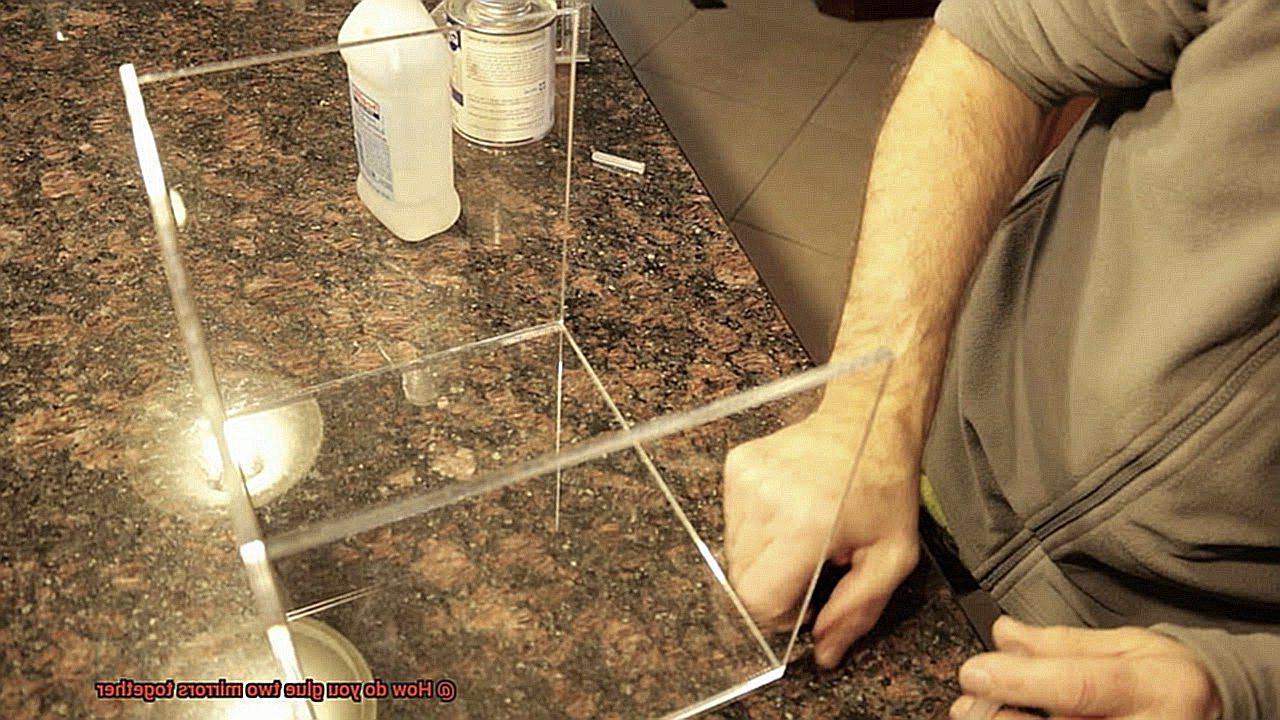
Now, it’s time to get down to business. Using a small brush or applicator, apply a thin, even layer of adhesive onto one mirror surface. Be meticulous and ensure complete coverage over the entire joining area of the two mirrors. No gaps should be left unattended.
Once the adhesive is applied, delicately align the second mirror on top. Precision is key at this stage. Gently press the mirrors together, ensuring full contact between the adhesive and both surfaces. To distribute pressure evenly, place weights or heavy objects on top. We want to avoid any air bubbles that could mar our masterpiece.
Resist the urge to squeeze too hard; we’re not making orange juice. Excessive pressure can cause the adhesive to seep out between the mirrors. If this occurs, promptly wipe away any excess before it dries.
Now, exercise patience, for the waiting game begins. Allow the adhesive ample time to cure, adhering to the manufacturer’s instructions. During this crucial period, refrain from disturbing or moving the mirrors. We aspire for a bond that can defy the test of time.
Once the adhesive has fully cured, inspect your handiwork. Any imperfections or gaps can be rectified with a razor blade or glass cutter. And remember, handle your glued mirrors with care to preserve the integrity of the bond.
In conclusion, by following these steps and applying adhesive evenly, you’ll soon be gluing mirrors like a seasoned professional. So, let your creativity shine through as you embark on your mirror masterpieces.
Aligning and Joining the Mirrors
In this guide, we’ll walk you through the steps of aligning and joining two mirrors together seamlessly, using the power of glue. Get ready to take your DIY skills to the next level and create stunning mirror designs. So grab your glass cleaner and let’s dive in.
Step 1: Clean the Mirrors
To start, ensure a flawless bond by cleaning the surfaces that will be glued together. Wipe away any dirt, dust, or pesky fingerprints using a glass cleaner and a lint-free cloth. Remember, cleanliness is key.
Step 2: Apply Mirror Adhesive
Now it’s time to bring out the secret weapon – mirror adhesive. This specialized glue is designed for creating a strong and durable bond between mirrors. Using a small brush or applicator, apply a thin layer of mirror adhesive to one of the mirrors. Follow the manufacturer’s instructions for proper application.
Step 3: Align and Press
Carefully place the second mirror on top of the adhesive, ensuring that the edges align perfectly. Give it a gentle press to guarantee a firm bond. Imagine them sticking together like best friends.
Step 4: Secure in Place
Prevent any shifting or movement during the drying process by using clamps or weights to hold the mirrors in place. This ensures peace of mind as you wait for the adhesive to cure.
Step 5: Patience is Key
Now comes the hardest part – waiting for the adhesive to cure. Follow the manufacturer’s instructions for curing time, which typically ranges from several hours to overnight. Use this time wisely and plan your next mirror masterpiece.
Step 6: Inspect and Fill Gaps if Needed
After the adhesive has fully cured, inspect the joint between the two mirrors. If you spot any gaps or inconsistencies, don’t fret. Simply fill them in with a small amount of mirror adhesive or clear silicone caulk, and voila – problem solved.
Step 7: Clean Up
Time to put the finishing touches on your mirror project. Use a razor blade or scraper tool to clean off any excess adhesive or caulk from the surface of the mirrors. Be careful not to scratch the mirror while doing this.
Allowing Curing Time
Today, we embark on a journey through the realm of glue, exploring the paramount importance of allowing ample curing time when bonding two mirrors together. So gather your glass cleaner and prepare for an enlightening experience.
Curing time is the ultimate game-changer when it comes to mirror bonding. It refers to the duration necessary for the adhesive to fully set and reach its zenith of strength. Believe me, haste is not your ally in this process. Let me elucidate why:
- Not all glues are created equal: Different adhesives boast varying curing times. Some may demand hours or even days to achieve complete cure. Ensure you select the appropriate adhesive for the task at hand and diligently adhere to the manufacturer’s guidelines.
- Keep calm and still those mirrors: During curing, it is vital to keep those mirrors as motionless as can be. Even minuscule vibrations can disrupt the curing trajectory and undermine the bond. So, hands off, dear friends.
- Temperature and humidity – nature’s accomplices: Similar to our moods on rainy days, temperature and humidity exert influence over curing time. Higher temperatures expedite matters, whereas lower temperatures decelerate them. Humidity can also extend the process.
- Support is the crux: Lend a helping hand to those mirrors by providing ample support during curing time. Clamps, tape, or other ingenious contraptions will work wonders. Keep them secure until the adhesive reaches its pinnacle of strength.
- Patience reaps rewards: Do not rush this delicate affair. Allow those fused mirrors to repose undisturbed for a minimum of 24 hours (or in accordance with the adhesive manufacturer’s instructions). Trust me, patience will yield a bond that is resolute.
Remember, after curing time has elapsed, inspect your handiwork for any signs of fragility or failure. Swiftly address any concerns and do not overlook the finishing touches – removing excess adhesive and applying a protective sealant when necessary.
Cleaning Up Excess Adhesive
Cleaning up excess adhesive when gluing two mirrors together doesn’t have to be a daunting task. There are several methods you can try to achieve a flawless finish and create something beautiful with glue.
First on our list is the trusty razor blade or scraper. With careful precision, gently scrape off the excess adhesive without scratching the mirror’s surface. Take your time, use light pressure, and let the blade do the work for you.
If you prefer a more specialized approach, consider using a solvent or adhesive remover specifically designed for the type of adhesive you used. Apply the solvent to a clean cloth and gently rub the excess adhesive until it begins to dissolve. But don’t forget to test the solvent on a small, inconspicuous area of the mirror first to ensure it won’t damage the surface.
Another option in your cleaning arsenal is rubbing alcohol or acetone. These substances can effectively remove certain types of adhesives. Apply a small amount to a cloth and gently rub the adhesive until it loosens and comes off. Again, it’s crucial to test these substances on a small area before applying them to larger sections of the mirror.
As you embark on your cleaning journey, remember to work in a well-ventilated area and follow safety precautions recommended by the adhesive and solvent manufacturers. Ensuring proper ventilation will keep you breathing easy during the process.

Reinforcing the Bond (Optional)
Reinforcing the bond between two mirrors not only adds stability but also increases their longevity. In this article, we will explore various methods to reinforce the bond, including mirror mastic, adhesive tape, silicone caulking, construction adhesive, and mirror clips.
Mirror Mastic and Adhesive Tape:
Mirror mastic, a strong and durable adhesive, creates a lasting bond between mirrors and surfaces. Apply a small amount onto one mirror’s back and spread evenly with a putty knife. Gently press the second mirror on top and let it dry as per instructions.
Alternatively, mirror adhesive tape offers a quick and mess-free solution. Cut into strips or squares, apply one side to a mirror’s back, remove the protective backing, and align the second mirror onto the tape.
Silicone Caulking and Construction Adhesive:
For additional security, consider using silicone caulking or construction adhesive along mirror edges. They reinforce the bond and prevent movement over time. Apply evenly along edges, ensuring excess doesn’t squeeze out.
Mirror Clips or Brackets:
Metal or plastic mirror clips/brackets provide a sturdy connection, reducing separation risk. Attach them evenly along the edges for balanced weight distribution.
Safety Precautions to Consider When Glueing Mirrors
When it comes to gluing mirrors together, safety should always be a top priority. Working with glass and adhesives can pose certain risks if proper precautions are not taken. Here are some important safety measures to consider when gluing mirrors together:
- Eye protection: Protect your precious peepers. Safety goggles or glasses are a must when working with glass and adhesives. We don’t want any unexpected shards flying into your eyes and ruining your DIY mojo.
- Hand protection: Glove up. Your hands are delicate and deserve some love. Wearing gloves will shield your hands from any potential cuts or injuries that may occur during the gluing process. Plus, they’ll keep your hands clean and adhesive-free.
- Adequate ventilation: Ventilation is key, my friends. When using adhesives, make sure you’re in a well-ventilated area. Some adhesives release fumes that are not exactly pleasant to inhale in large quantities. So crack open a window or turn on a fan to keep that fresh air flowing.
- Read and follow instructions: Now, it’s time to read and follow instructions. Yes, I know, reading can be a bore, but trust me on this one. Each adhesive has its own set of instructions for proper handling and application, as well as safety precautions. Take a few minutes to familiarize yourself with these instructions and avoid any sticky situations.
- Use the right adhesive: Choosing the right adhesive is crucial. Don’t just grab any old glue from your craft drawer. Look for an adhesive specifically designed for bonding glass or mirrors. Different adhesives have different properties, so choosing the right one will ensure a strong and secure bond between your mirrors.
- Clean and dry surfaces: Cleanliness is next to mirrorliness. Before applying the adhesive, give those surfaces a good cleaning. Use a mild glass cleaner and lint-free cloth to remove any dirt, dust, or residue that could hinder the bond between your mirrors.
- Apply adhesive sparingly: Remember, less is more when it comes to adhesive. Applying too much can result in a messy, excess squeeze-out that’s hard to clean. Follow the manufacturer’s instructions on the recommended amount of adhesive to use and keep things tidy.
- Allow proper curing time: Once you’ve glued those mirrors together, be patient and let them cure properly. Rushing this process can compromise the strength and durability of the bond. So resist the urge to move or disturb your project until the adhesive has fully cured, as indicated by the manufacturer.
- Dispose of materials properly: Last but not least, dispose of any leftover adhesive, containers, gloves, or other materials properly. Check your local regulations and guidelines for specific disposal methods, as some adhesives may require special handling due to their chemical composition.
- Also Read: How To Glue Mirror On Wall Without Nails?
Conclusion
In conclusion, gluing two mirrors together can be a thrilling and imaginative DIY project that adds an exquisite touch to your home decor. However, ensuring a robust and enduring bond requires following the proper steps and taking necessary precautions.
The first step is crucial: preparing the mirrors for glueing. Achieving a seamless and secure bond demands meticulous cleaning of the mirror surfaces, removal of any protective coatings, and enhancing the bonding surface with sandpaper or etching solution. Consider applying primer for enhanced adhesion that will leave you in awe.
Selecting the right adhesive is paramount to a successful mirror bonding experience. Look for clear, silicone-based adhesives or epoxy adhesives that dry clear and offer exceptional strength and durability. For those seeking quick bonding, UV-curing adhesives are a worthy option.
Applying the adhesive evenly is essential for achieving flawlessness. Prioritize cleanliness throughout the process, choose the appropriate adhesive for your needs, generously apply it onto one mirror surface, align the mirrors precisely, press them together firmly, and allow ample curing time as per manufacturer’s instructions.
Cleaning up excess adhesive can be done with finesse using a razor blade or scraper, solvent or adhesive remover specific to the adhesive used, or even rubbing alcohol/acetone if needed. Leave no trace behind.
To reinforce the bond between mirrors and ensure their steadfastness, consider employing mirror mastic, adhesive tape, silicone caulking, construction adhesive, or trusty mirror clips/brackets – all reliable options to keep your masterpiece intact.
Safety should always be at the forefront when working with glass and adhesives. Protect your eyes with goggles and don gloves before diving into this creative endeavor. Ensure you’re working in a well-ventilated area as you meticulously follow instructions. Use just enough adhesive to get the job done without going overboard. Allow ample curing time before moving or disturbing your newly bonded mirrors – patience is key. And don’t forget to dispose of materials responsibly once you’re finished.
By adhering to these guidelines and taking the necessary precautions, you’ll be able to glue two mirrors together like a seasoned professional.

