Crafting enthusiasts and artistic pros alike know the struggle of finding a glue that can securely bond paper to paper. Whether you’re working on a mouthwatering scrapbooking project or crafting intricate origami masterpieces, the right adhesive is key to ensuring your creation stands strong against time’s relentless grip. But with a dizzying array of options out there, how do you find the best glue for your specific needs?
In this blog post, we’ll dive into the contenders vying for the title of ultimate paper-to-paper adhesive. We’ll explore their unique strengths and occasional not-so-pleasant weaknesses, covering everything from tried-and-true classics to innovative newcomers. So buckle up and get ready to make an informed choice.
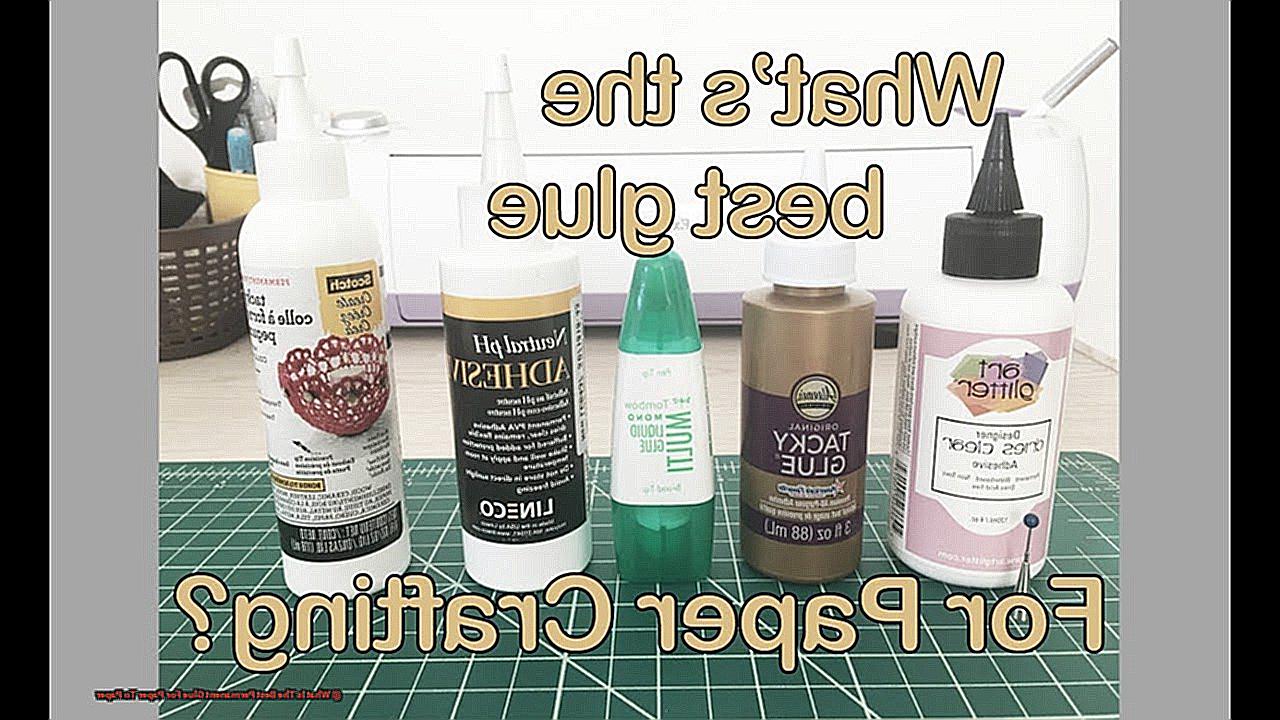
What is the best permanent glue for paper to paper?
Contents
- 1 What is the best permanent glue for paper to paper?
- 2 Advantages and Disadvantages of Liquid Glue
- 3 Benefits and Drawbacks of Glue Sticks
- 4 Pros and Cons of Double-sided Tape
- 5 Advantages and Limitations of Spray Adhesive
- 6 Specialized Glues for Specific Purposes
- 7 Factors to Consider When Choosing the Best Permanent Glue for Paper to Paper
- 8 How to Test Your Glue Before Applying It
- 9 Tips on How to Apply Different Types of Glues
PVA Glue (Polyvinyl Acetate):
PVA glue reigns supreme in the crafting world for good reason. This water-based adhesive dries clear and offers a strong bond that won’t yellow over time. Perfect for most paper projects, PVA glue is a breeze to work with and can handle various absorption levels found in different types of paper.
Advantages: Quick drying, non-toxic, reliable bonding, budget-friendly.
Disadvantages: Slightly vulnerable to moisture, not ideal for projects exposed to extreme heat.
Epoxy Resin:
When it comes to durability, epoxy resin takes center stage. This two-part adhesive creates an almost indestructible bond that can withstand heavy wear and tear. While primarily used in industrial applications, epoxy resin has stolen the hearts of passionate crafters seeking unyielding strength in their paper creations.
Advantages: Exceptional strength, long-lasting bond, resistance to moisture and heat.
Disadvantages: Requires precise mixing ratios, longer curing time, slightly pricier.
Double-Sided Tape:
For those who prefer a mess-free and hassle-free option, double-sided tape comes to the rescue. With adhesive on both sides, this tape is perfect for mounting photos, creating intricate collages, and even attaching lightweight embellishments. Offering convenience and precision, it’s an excellent choice for projects where accuracy is paramount.
Advantages: Easy to use, no drying time, no mess, precise application.
Disadvantages: Limited bonding strength, not suitable for heavy items or dimensional projects.
Choosing the perfect permanent glue for paper-to-paper bonding ultimately depends on your specific project requirements.
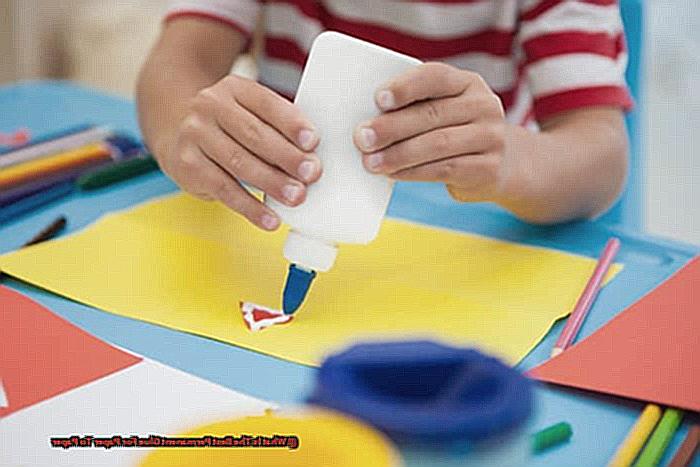
Advantages and Disadvantages of Liquid Glue
When it comes to paper crafts and DIY projects, the right adhesive can make all the difference. Liquid glue is a popular choice due to its versatility and ease of use. In this article, we will explore the advantages and disadvantages of using liquid glue for paper-to-paper applications, helping you make an informed decision for your next project.
Advantages:
Versatility:
Liquid glue is a versatile adhesive that can be used on a variety of materials, including paper, cardboard, fabric, and certain plastics. This makes it an excellent choice for a wide range of crafting endeavors.
Easy Application:
With its nozzle or brush applicator, liquid glue offers precise and controlled application. This is especially beneficial when working with intricate designs or smaller pieces that require accuracy.
Quick Drying:
Compared to other adhesives, liquid glue has relatively quick drying times. This saves valuable time, particularly when assembling multiple pieces or working on time-sensitive projects.
Clear Finish:
Liquid glue often dries clear, resulting in a clean and professional-looking final product. It is ideal for projects involving transparent or light-colored materials where visible residue can be a concern.
Disadvantages:
Potential Messiness:
One drawback of liquid glue is its tendency to be messy if not applied carefully. Excess glue or accidental drips can mar the appearance of your project. Additionally, removing dried excess glue can be challenging.
Longer Drying Time for Thicker Layers:
While thin layers of liquid glue dry quickly, thicker applications or heavier materials may require more drying time. This can be a disadvantage if immediate strength or stability is needed in your project.
Limited Bond Strength:
Liquid glue provides sufficient adhesion for most paper-to-paper applications but may not offer the same strength as other types of adhesives like epoxy or super glue. Consider the required bond strength for your project before opting for liquid glue.
Vulnerability to Moisture:
Liquid glue is not waterproof or moisture-resistant, making it unsuitable for projects that may come into contact with water or high humidity. If moisture resistance is essential, opt for a glue specifically designed for such purposes.
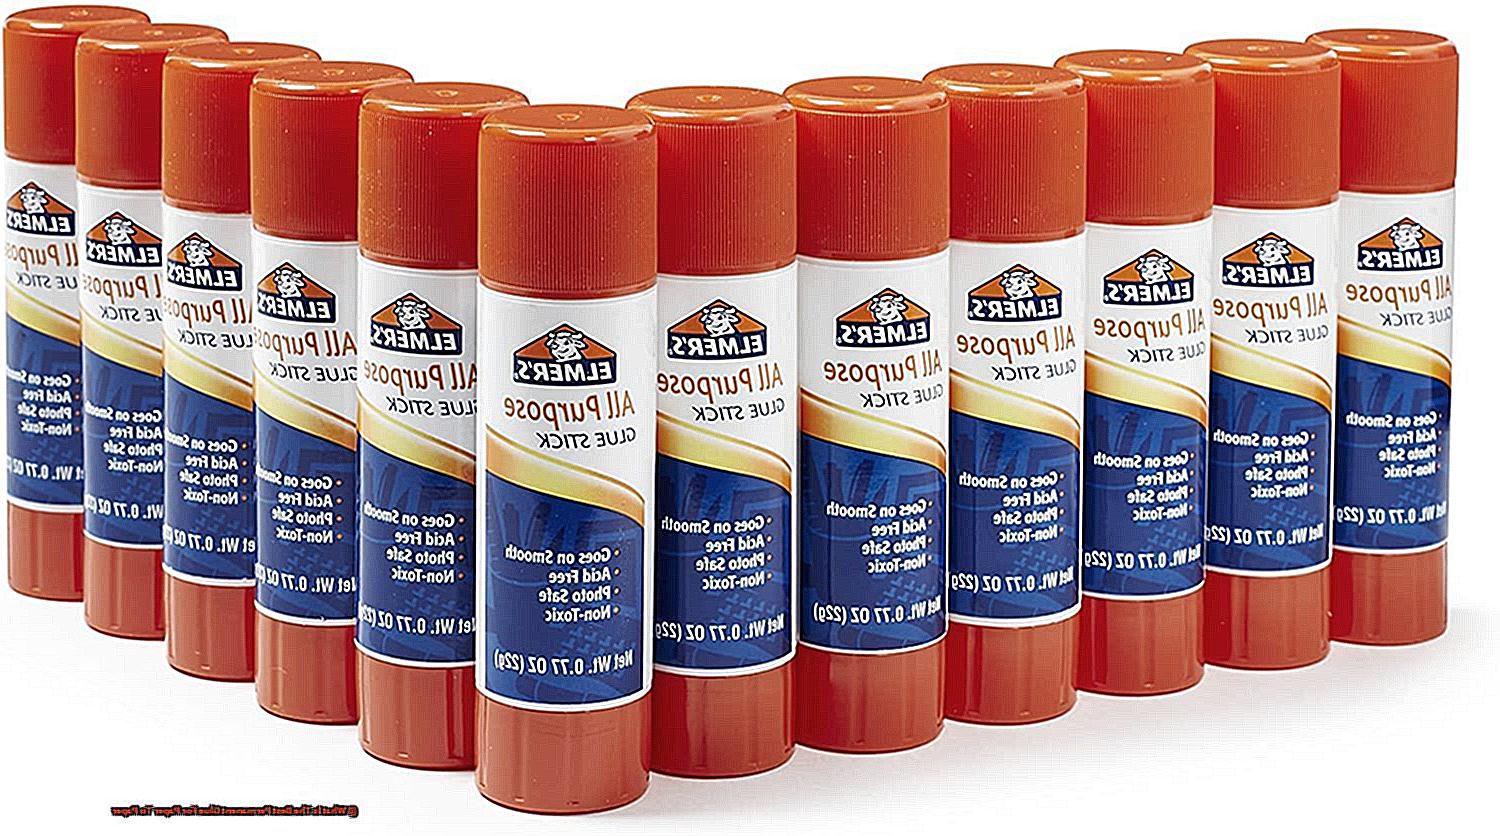
Benefits and Drawbacks of Glue Sticks
Glue sticks, those trusty companions of crafters and school-goers alike, have been a staple in the world of paper crafts for years. But are they truly the best choice for all your paper-to-paper bonding needs? In this article, we’ll delve into the advantages and disadvantages of using glue sticks, examining factors such as ease of use, durability, cost, and environmental impact. So grab your favorite stick of adhesive and let’s dive in.
Benefits:
Easy to use:
Glue sticks are a no-fuss solution for all your paper crafting adventures. Their solid stick form makes them a breeze to hold and apply onto paper surfaces. Even children or those with dexterity issues will find them user-friendly.
Mess-free application:
Say goodbye to sticky fingers and messy workspaces. Glue sticks offer a clean and neat application process, unlike their liquid counterparts. No more worrying about spills or excess adhesive ruining your project or staining your hands.
Quick drying time:
Time is of the essence when it comes to crafting, and glue sticks come to the rescue with their quick drying time. Bond papers efficiently without waiting overnight for results. Get instant gratification.
Portable convenience:
Crafting on the go? No problem. Glue sticks are compact and easily portable. Tuck one into your bag or pocket and be ready to tackle any project that comes your way. Inspiration can strike anytime, anywhere.
Drawbacks:
Limited bonding strength:
Glue sticks excel with lightweight materials like paper but may not provide the same level of bonding strength as liquid glues for heavier or more durable materials. Consider alternative adhesives for thicker paper or other materials like fabric or wood.
Vulnerability to heat:
Beware of the heat. Glue sticks tend to soften or melt when exposed to high temperatures. If your project requires heat resistance, like attaching embellishments to hot drink coasters, explore other adhesive options.
Difficulty in small applications:
Precision work can be a challenge with glue sticks. Their solid form makes it tricky to apply adhesive accurately in small or intricate areas. Opt for liquid glues with fine applicator tips for better precision on detailed projects.
Limited repositioning:
Once glued with a glue stick, it’s not easy to reposition or make adjustments to your bonded papers. Glue sticks provide a more permanent bond, which might not be suitable if you often need to rearrange or reposition your project elements.
Pros and Cons of Double-sided Tape
Double-sided tape has become a popular choice. It’s convenient, durable, and mess-free. But, there are some limitations. In this blog post, we’ll explore the pros and cons of using double-sided tape for paper-to-paper applications.
Advantages of Double-Sided Tape:
- Convenience: Easy to use with no additional tools or equipment required.
- Strong bond: Provides a reliable and secure hold between papers.
- Clean application: Leaves no mess or residue behind.
- Versatility: Can be used on different types of paper and adheres well to various surfaces.
Disadvantages of Double-Sided Tape:
- Limited repositioning: Difficult to remove without damaging the paper once applied.
- Visible lines or gaps: May result in a visible line or gap where the tape is applied.
- Longevity concerns: Adhesive properties may weaken over time, potentially causing the papers to come apart.
- Cost factor: Generally more expensive compared to other adhesive options.
Advantages and Limitations of Spray Adhesive
Spray adhesive, the unsung hero of the crafting world, is here to save the day when it comes to paper-to-paper bonding. Whether you’re scrapbooking, card making, or just need a reliable glue for your artistic endeavors, spray adhesive has got you covered. But before you dive headfirst into the world of spray adhesive, let’s take a closer look at its advantages and limitations.
Let’s start with the good stuff. One of the biggest advantages of spray adhesive is its easy application. With just a simple press of a button, you can achieve a uniform and even distribution of glue across your paper. No more messy globs or uneven spreading – spray adhesive ensures that every inch of your paper gets the perfect amount of adhesive.
And speaking of speed, spray adhesives are known for their quick drying time. Say goodbye to waiting around for glue to set – with spray adhesive, you can keep working on your project without delay. This is especially handy when you’re working on time-sensitive projects or have a lot of papers to adhere together in a short amount of time.
But it’s not just speed that spray adhesive brings to the table – it also boasts a strong bond. Once those papers are stuck together with spray adhesive, they’re not going anywhere. This makes it perfect for long-lasting projects like scrapbooking or card making, where you want your creations to stand the test of time.
And let’s not forget about versatility. Spray adhesives can be used on a wide variety of surfaces, not just paper. Wood, fabric, metal, plastic – you name it, spray adhesive can stick it. This makes it a go-to choice for crafters and DIY enthusiasts alike.
Now, let’s address the limitations. One downside of spray adhesive is the risk of over-application. Too much glue can seep through the paper and create a messy appearance or even damage the paper itself. So it’s important to follow the instructions and apply the adhesive in thin layers to avoid any mishaps.
Another limitation is the strong odor that some spray adhesives have. Working with glue that smells like a chemical factory is not everyone’s cup of tea, so it’s advisable to use spray adhesive in well-ventilated areas or consider wearing a mask to minimize exposure to the fumes.
And while spray adhesives are versatile, they can also cause damage to delicate surfaces or materials with sensitive finishes. So always test the adhesive on a small, inconspicuous area before going all-in.
Lastly, spray adhesives can be a bit tricky when it comes to precision. Controlling the spray can sometimes result in overspray or uneven distribution of glue, which can be problematic for intricate projects or when precise placement is required.
Specialized Glues for Specific Purposes
When it comes to paper-to-paper bonding, there are several options available that provide a permanent and durable hold.
First on the list is the trusty glue stick. This classic option is mess-free and easy to use. Simply apply a layer of adhesive onto the surface, and you’re good to go. Glue sticks are perfect for lightweight papers and offer a strong bond. Plus, they dry clear and allow for repositioning before they set. Who doesn’t love that?
Next up is liquid craft glue. This versatile glue comes in a bottle with a nozzle for precise application. It’s great for heavier or thicker papers and provides a strong bond. Craft glues dry clear and flexible, making them ideal for projects that require some bending or flexibility of the paper.
If you’re in need of something more heavy-duty, bookbinding glue is your go-to. This specialized glue is designed specifically for bookbinding or repairing torn pages. It offers a long-lasting hold and flexibility. Apply it with a brush or spatula, and you’ll be amazed at the results. Bookbinding glue dries clear and creates a bond that can withstand frequent use.
Specialty glues are available for specific purposes too. For preserving important documents or photos, archival glue is a must-have. It’s acid-free and safe to use, making it perfect for scrapbooking or preserving historical documents.
When choosing the right glue for your project, consider factors like drying time, flexibility, clarity, and ease of use. Reading product reviews or seeking recommendations from fellow crafters can also be helpful.
Remember, there’s no one-size-fits-all solution when it comes to glues for paper-to-paper bonding. Glue sticks, liquid craft glues, and bookbinding glues are popular choices that offer reliable results. And let’s not forget about those specialty glues for specific applications.
Factors to Consider When Choosing the Best Permanent Glue for Paper to Paper
When it comes to choosing the best permanent glue for paper to paper, there are several important factors you should consider. These factors will ensure that you select a glue that not only creates a strong bond but also meets your specific project needs.
First and foremost, bond strength is crucial. You want a glue that will securely hold your papers together, withstanding the test of time. Look for glues that specifically mention their bond strength on the packaging or in product descriptions. This will give you an idea of how durable the bond will be. You don’t want your precious papers falling apart after all your hard work.
Drying time is another important consideration. Some glues dry quickly, allowing you to move on with your project without waiting for too long. This is especially handy if you have multiple papers to work on or a tight deadline. On the other hand, some glues may take longer to dry, which can be inconvenient if you’re eager to continue working. Consider your specific needs and choose a glue with a drying time that suits you.
Next, think about the application method. Glues come in various forms, each with their own advantages and disadvantages. Liquid glues are versatile and can be applied evenly with brushes or spreaders. They allow for precise application and are great for larger areas. Glue sticks provide convenient and mess-free application, perfect for quick and easy projects. Glue pens offer precision and control, making them ideal for intricate paper crafts where accuracy is key. Choose the one that best suits your project and personal preference.
If you’re working on projects that require long-term preservation, it’s important to choose a glue that is acid-free and archival quality. Acid-free glues do not contain harmful chemicals that can deteriorate and damage your papers over time. Archival quality glues are specifically designed to withstand the test of time and ensure that your paper documents or crafts remain intact and in good condition. You want your creations to last for generations to come.
Consider the transparency of the glue as well. Depending on your project, you may want a glue that dries clear or one that retains some level of transparency. Clear-drying glues are ideal for applications where you don’t want the adhesive to be visible, such as when attaching delicate paper cutouts or creating layered effects. Glues that dry with a slight tint or color may be more suitable if you’re looking to achieve a specific aesthetic. Choose the option that best enhances the overall look of your project.
Ease of use is another factor to consider. Some glues may have a strong odor, which can be off-putting or cause discomfort during prolonged use. Additionally, check if the glue is easy to dispense and if it allows for repositioning or adjustment before it sets completely. These factors can greatly impact your overall experience and the success of your project. You want a glue that is easy and pleasant to work with, making your crafting experience enjoyable.
How to Test Your Glue Before Applying It
There’s nothing worse than spending hours on a paper project only to have the glue fail and ruin all your hard work. To avoid this disappointment, it’s essential to test your glue before applying it. In this comprehensive guide, we will walk you through the simple steps to ensure that your glue provides a strong bond without damaging your precious papers.
Step 1: Choose a small sample:
To begin, select a small piece of paper that you’ll be using for your project. This way, you won’t waste too much material if the glue doesn’t work as expected. It’s like a mini dress rehearsal before the big show.
Step 2: Apply a thin layer:
Now it’s time to apply the glue. Take a small amount of glue and delicately spread a thin layer onto one side of the paper sample. Remember, less is more. Too much glue can create a sticky mess and weaken the bond. Think of it as spreading butter on toast – a thin, even coat is all you need.
Step 3: Press the surfaces together:
Carefully press another piece of paper onto the glued surface. Align the edges properly and apply even pressure to ensure a strong bond. It’s like bringing two puzzle pieces together – they should fit snugly and seamlessly. Take a moment to admire how perfectly they stick together.
Step 4: Wait for it to dry:
Patience is key in this step. Allow the glued samples to dry completely according to the instructions provided by the glue manufacturer. While waiting, you can plan your next masterpiece or catch up on your favorite TV show. Just resist the temptation to touch or disturb the glued papers.
Step 5: Test adhesion:
Once the glue has dried, it’s time for the moment of truth. Gently try to separate the two pieces of paper. Do they stay together like best friends, or do they part ways with ease? If they remain stuck together, congratulations. You’ve found a glue that can handle the demands of your project. If not, don’t worry – it’s time to go back to the drawing board and find a different glue that’s up to the task.
Step 6: Assess durability:
To truly put your glue to the test, try bending or folding the glued samples. Does the bond hold up without any signs of detachment or damage? If so, you’ve struck gold. Your glue is durable and reliable, ready to tackle any paper project you throw its way.
Tips on How to Apply Different Types of Glues
When it comes to paper-to-paper projects, choosing the right glue and applying it correctly is crucial for a strong and long-lasting bond. In this comprehensive guide, we will explore different types of glues commonly used for paper projects and provide step-by-step instructions on how to apply each type effectively.
Liquid Glue:
Liquid glue is a popular choice for paper-to-paper projects due to its versatility and strength. To apply liquid glue, start by applying a thin, even layer on one surface using the nozzle or a brush. Be careful not to use too much glue, as excessive moisture can cause wrinkling or warping of the paper.
Once the glue is applied, press the two paper surfaces together firmly and hold them in place for a few seconds. This allows the glue to create a secure bond. Finally, allow the glue to dry completely before handling the bonded papers, ensuring a strong and durable connection.
Glue Sticks:
Glue sticks are convenient and mess-free options for paper projects. To use a glue stick, simply rub the stick on one surface, covering it evenly. Then, press the two papers together firmly, ensuring proper alignment. While glue sticks offer ease of use and convenience, they may not provide as strong a bond as liquid glue. Therefore, it is important to consider the weight and durability requirements of your project before opting for a glue stick.
Glue Dots:
Glue dots are pre-cut adhesive circles that offer an easy and quick way to bond paper surfaces together. To apply glue dots, peel off a dot from the sheet and apply it to one paper surface. Then, press the dot-covered surface together with another paper surface. Glue dots are particularly useful for smaller or lightweight papers but may not be suitable for larger or heavier materials that require a stronger bond.
Double-Sided Tape:
Double-sided tape is an excellent option for paper-to-paper projects that require a strong and reliable bond. To apply double-sided tape, start by applying the tape to one paper surface, covering it entirely. Then, press the tape-covered surface onto another paper surface, ensuring accurate alignment. Double-sided tape provides a secure bond but may not be removable or repositionable, so make sure to align the papers correctly before pressing them together.
Tips for Effective Application:
To ensure the best results when applying different types of glues for paper-to-paper projects, keep these tips in mind:
- Use a small amount of glue or glue stick to avoid excess moisture or residue.
- Properly align the papers before pressing them together to create a seamless bond.
- Apply pressure to the bonded papers to ensure a secure connection.