Tired of those last-minute glue runs?
Fed up with lackluster store-bought adhesives? Well, get ready to have your DIY dreams come true.
In this blog post, we’re about to spill the beans on the ultimate crafting secret: the best homemade glue. Whether you’re a craft fanatic, a parent seeking kid-friendly solutions, or just someone who loves saving money while flexing their creativity, this article is your golden ticket.
So grab your mixing bowls, slip on that trusty crafting apron, and prepare for a world of creative possibilities with the most incredible homemade glue you’ve ever laid hands on.
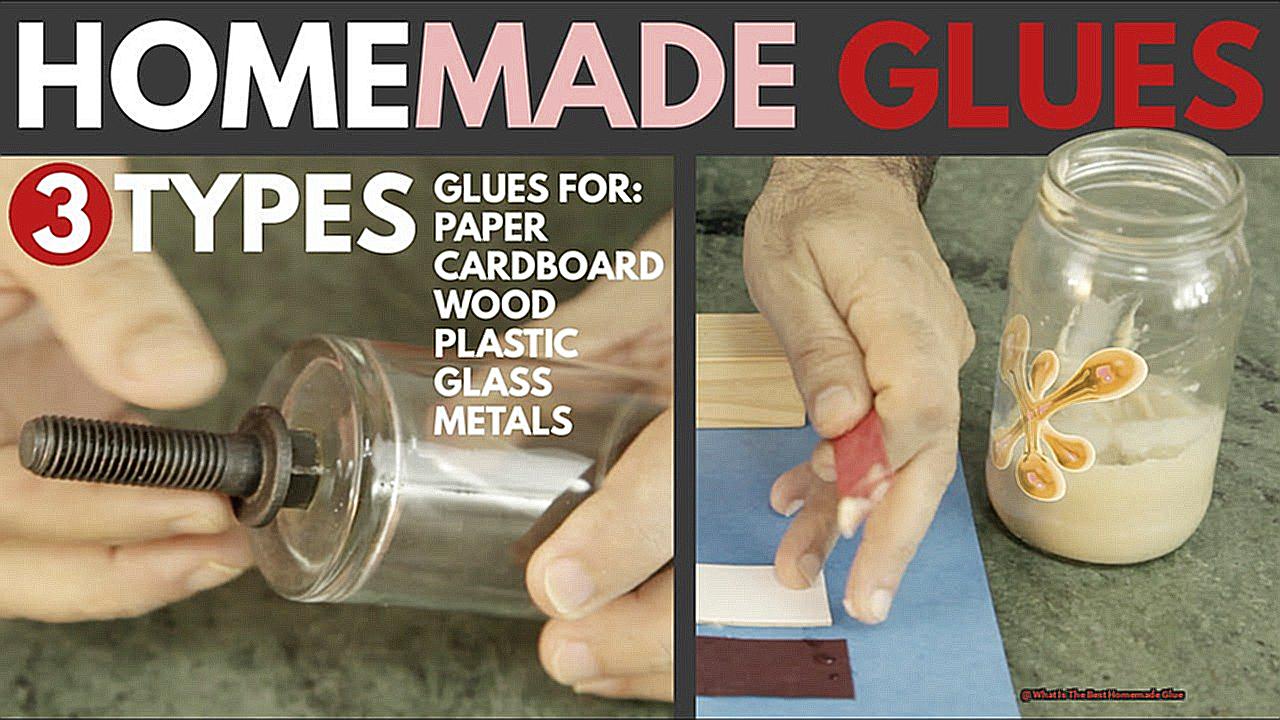
Flour and water paste
Contents
- 1 Flour and water paste
- 2 White vinegar and baking soda mixture
- 3 Gelatin and water mixture
- 4 Other ingredients for homemade glue (milk, cornstarch, egg whites)
- 5 Comparisons to commercially available glues
- 6 Proper application techniques for homemade glue
- 7 ps for testing the glue on a small area before full application
- 8 Experimentation with different recipes
- 9 Safety considerations when working with homemade glues
- 10 Conclusion
Are you tired of spending a fortune on expensive glue for your craft projects? Look no further than the incredible versatility and cost-effectiveness of flour and water paste. This humble homemade adhesive has been used for centuries and is sure to become your go-to option for all your creative endeavors.
One of the greatest advantages of using flour and water paste is its safety. Unlike commercial glues that are loaded with harmful chemicals, this DIY glue is made from edible ingredients, making it completely non-toxic. Parents and teachers can breathe a sigh of relief knowing that their little ones can explore their creativity without being exposed to any harmful substances. So go ahead, let their imagination soar.
But the benefits don’t stop at safety. Flour and water paste is incredibly versatile, making it suitable for a wide range of craft projects. Whether you’re working on a paper mache sculpture, creating a stunning collage, or fixing a broken item, this homemade glue can bond various materials such as paper, cardboard, fabric, and even wood. With flour and water paste by your side, there’s no limit to what you can create.
And let’s not forget about the ease of preparation. Making flour and water paste is as easy as 1-2-Simply mix equal parts of flour and water in a bowl until you achieve a smooth and consistent paste. Adjust the consistency by adding more flour or water as needed. The glue should be thick enough to hold its shape yet spreadable for easy application. In just a few minutes, you’ll have your very own homemade adhesive ready to go.
Now, it’s important to keep in mind that flour and water paste does have some limitations. Due to the absence of preservatives, it has a limited shelf life. To ensure its effectiveness, it’s best to make only the amount needed for your project and discard any leftovers. Additionally, the glue tends to dry out quickly, so be sure to cover the container when not in use or add a small amount of water to maintain its consistency.
White vinegar and baking soda mixture
Sick of wasting your hard-earned cash on store-bought glue that never seems to stick? Well, get ready to have your mind blown by a simple, cost-effective, and safe alternative that you can whip up in your very own kitchen: the magical white vinegar and baking soda mixture.
Now, I know what you’re thinking. Vinegar and baking soda? Isn’t that just for cleaning? Well, hold onto your glue guns because this homemade adhesive is about to revolutionize your crafting game.
Let’s start with the benefits. First off, these two ingredients are likely already sitting in your pantry, just waiting to be transformed into an incredible glue. That means no more panicked dashes to the store when inspiration strikes.
Creating the glue is as easy as mixing equal parts white vinegar and baking soda until you achieve a smooth, creamy paste. And don’t worry if it starts to bubble and fizz—it’s just the magic happening right before your eyes. This homemade glue is perfect for lightweight crafts or quick fixes around the house, making it ideal for children’s art projects or those moments when you need a temporary solution.
But let’s keep it real for a moment; this homemade glue does have its limitations. It may not work as well on smooth surfaces or materials that are prone to moisture. And while it excels at temporary bonding, it might not be as strong or long-lasting as commercial glues when it comes to heavy-duty projects.
But fear not. Whether you’re concerned about harsh chemicals in commercial glues or simply want an eco-friendly option, this homemade glue has got your back. It’s non-toxic, safe to use, and cleans up easily with just water—no need for complicated solvents or messy cleanup procedures.
Just remember, this adhesive is best suited for lightweight crafts or temporary fixes. If you’re seeking a glue that can withstand the test of time or tackle heavy-duty projects, you may want to explore other options.
So, my fellow crafters, grab your vinegar and baking soda, whip up a batch of this homemade glue, and let your imagination soar. Whether you’re creating paper masterpieces or fixing broken dreams, this budget-friendly concoction is here to turn your DIY dreams into reality.
Remember, while it may not be as durable as commercial glues or suitable for all materials, the white vinegar and baking soda mixture is a game-changer for lightweight projects and temporary fixes. So go ahead and stick it to the expensive glue industry with this versatile and pocket-friendly adhesive.
Gelatin and water mixture
Look no further. In this blog post, we will dive into the captivating world of gelatin and water mixture glue. Not only is it an affordable alternative, but it’s also safe for children to use, making it perfect for all your crafty endeavors. Let’s embark on this exciting journey together.
The Recipe:
Crafting your very own gelatin and water mixture glue is a breeze. All you need is gelatin powder and warm water. The recommended ratio is one part gelatin to two parts water, but don’t be afraid to experiment and adjust the measurements to suit your needs.
Preparation:
Prepare the glue by dissolving the gelatin powder in warm water. Be cautious not to overheat the mixture, as it can compromise the adhesive properties. Once the gelatin has completely dissolved, voila. Your homemade glue is ready to go.
Application:
When applying the gelatin and water mixture glue, time is of the essence as it solidifies rapidly. Use a brush or small spatula to generously spread the glue onto the surfaces you wish to bond together. Before applying the glue, ensure that both surfaces are impeccably clean and free from any pesky dust or debris.
Bonding Magic:
Once applied, press the surfaces firmly together and hold them in place for a few minutes. This allows the glue to set properly and work its bonding magic. For optimal results, leave the glued items undisturbed for at least 24 hours to ensure a strong and secure bond.
Versatile Applications:
The wonders of gelatin and water mixture glue extend far beyond imagination. It has the power to bond an array of materials such as paper, cardboard, fabric, and even wood. Its versatility makes it ideal for lightweight crafts like collage making, card decoration, or scrapbooking. However, bear in mind that this glue may not be suitable for heavy-duty applications or outdoor use, as it can be sensitive to moisture.
Advantages and Considerations:
One of the greatest advantages of gelatin and water mixture glue is its non-toxic nature, ensuring a worry-free crafting experience for children. Additionally, it’s a cost-effective option that won’t break the bank like commercial glues do. However, it’s important to note that the strength and durability of this homemade glue may not match those of store-bought alternatives. Factors such as humidity, temperature, and the specific materials being bonded can influence its performance.
Other ingredients for homemade glue (milk, cornstarch, egg whites)
Today, we are going to explore the magical world of homemade glue. Get ready to dive into the adhesive wonders of milk, cornstarch, and egg whites.
Milk Glue:
Milk, the beloved beverage, can also be transformed into a sticky adhesive. The secret lies in casein, a protein found in milk that gives it a glue-like consistency. By heating milk and adding vinegar or lemon juice to curdle it, we can separate the casein from the liquid whey. Straining and drying the resulting curds allows us to dissolve them in water, creating a sticky milk glue.
- Pros: Milk glue is a simple DIY option that works well on porous materials like paper and wood.
- Cons: It may not be suitable for projects exposed to moisture as it can lose its adhesive properties when rehydrated.
Cornstarch Glue:
You might have cornstarch hiding in your pantry, but did you know it can also be used to make glue? Mixing cornstarch with water and heating it creates a thick paste that dries into a solid adhesive.
- Pros: Cornstarch glue is incredibly versatile and easy to use, making it perfect for crafts and paper projects.
- Cons: It may not be as durable as commercial adhesives when subjected to extreme conditions.
Egg White Glue:
Egg whites are not just for whipping up fluffy omelets; they can also serve as an excellent binding agent for homemade glue. Beating egg whites until they form stiff peaks creates a whipped mixture that can be applied to surfaces and left to dry, forming a strong bond.
- Pros: Egg white glue is ideal for delicate materials like paper and fabric, providing a robust and reliable adhesive.
- Cons: Individuals with allergies or dietary restrictions may need to avoid using egg white glue.
Comparisons to commercially available glues
Brace yourself for an epic showdown as we delve into the intricacies of homemade glue versus commercially available glues. Prepare to uncover the secrets behind their effectiveness, cost, availability, and ease of use. If you’re itching to find the ultimate adhesive solution, this is the journey you’ve been waiting for.
Effectiveness:
In the battle for effectiveness, commercially available glues have built a formidable reputation. School glue, super glue, wood glue, fabric glue, and epoxy are all masters in their respective domains. They boast unparalleled bonding strength and unwavering durability, leaving homemade glues trailing behind. Nevertheless, do not dismiss homemade glues entirely; they do have their moments of glory in specific crafts or temporary fixes.
Cost:
Ah, the allure of cost-effectiveness. Homemade glue has a secret weapon in its arsenal – affordability. With everyday ingredients like milk, cornstarch, or egg whites readily available in most homes, crafting your own glue can save you a pretty penny in the long run. On the other hand, commercially available glues come in a range of price points depending on brand and type. While some may be pocket-friendly, others can be hefty investments.
Availability:
When it comes to availability, commercially available glues hold the advantage. They reign supreme in almost every store imaginable, from supermarkets to craft shops. With various sizes and formulations to cater to different needs, they are always ready to lend a sticky hand. Homemade glue, however, may require a bit of preparation and a quest for specific ingredients.
Ease of Use:
Convenience and simplicity are the hallmarks of commercial glues. Designed with precision applicators or convenient spray nozzles, they offer effortless application without any mess or waste. Homemade glues, on the other hand, demand more effort and experimentation to achieve the desired consistency and application method.
Proper application techniques for homemade glue
Prepare to be captivated by the mesmerizing world of glue. In this blog post, we will unveil the secrets to achieving a strong and durable bond with homemade glue. From surface preparation to clamping techniques, we’ve got you covered. So, brace yourself for an adventure into the realm of proper application techniques for homemade glue.
Surface Preparation: The Foundation of Success
Before embarking on your adhesive journey, it is crucial to lay a solid foundation. Prepare the surfaces to be bonded by ensuring they are clean, dry, and devoid of any dirt or grease. Picture a clean canvas waiting to be transformed into a masterpiece. Use a mild detergent or rubbing alcohol to banish any contaminants that could jeopardize the bonding process.
Application Method: Unleash Your Artistry
Just as a painter selects the perfect brush, your choice of application method plays a pivotal role in achieving adhesive excellence. For liquid glues, embrace your inner artist and wield a small brush or sponge applicator to gracefully spread an even layer over the surface. If you’re dealing with thicker glues, like those made from flour or cornstarch, channel your craftsmanship through a spatula or putty knife, allowing you to sculpt your bond with precision.
Quantity Control: Striking the Perfect Balance
The secret lies in finding equilibrium – not too little, not too much. Apply an appropriate amount of homemade glue to achieve optimal adhesion. Remember, too little may result in a flimsy connection, while excessive squeeze-out can create a sticky mess. Start with moderation and adjust as needed until you strike the perfect balance.
Clamping or Pressure: Locking in the Magic
To ensure your bond transcends time and space, homemade glue often requires the embrace of clamping or pressure. This is particularly vital when dealing with uneven surfaces or thicker glues. Embrace the power of clamps, weights, or other pressure-applying tools as they lovingly hold your pieces together until the glue dries completely – a symphony of strength and stability.
Drying Time: Patience, the Virtue of Bonding
In the realm of homemade glue, drying time is sacred. Each adhesive possesses its own rhythm, dictated by its unique composition. Follow the recommended drying time provided with your chosen recipe. During this period, avoid disrupting the tranquil dance of molecules as they form a connection that defies gravity and time. Let patience be your guide, allowing for proper curing and maximum bond strength.
Clean-up: A Finishing Touch
As you step back and admire your masterpiece, don’t forget the final touch – clean up any excess glue. For wet glue, a gentle bath in warm soapy water will do the trick. If the glue has dried, unleash your creativity once more and employ scraping or sanding techniques to restore perfection.
ps for testing the glue on a small area before full application
Today, we unveil the secret to achieving a strong bond – the importance of testing the glue on a small area before committing to full application. So buckle up your apron and prepare to embark on a glueing adventure like no other.
Step 1: Assessing Adhesive Properties
Different glues possess unique strengths and capabilities. To ensure your chosen adhesive is suitable for your project, apply a small amount to a test area. Observe its bonding prowess and assess whether it provides the desired level of adhesion. This step guarantees that your glue will withstand the pressures of your artistic endeavors.
Step 2: Spotting Potential Issues
By testing on a small area, you can identify potential issues before they wreak havoc on your masterpiece. Some glues may cause discoloration or damage certain materials upon application. By conducting a test, you can catch these problems early on and make any necessary adjustments or opt for a different type of glue altogether.
Step 3: Compatibility Check
Just as artists must carefully choose their medium for their canvas, we too must select the perfect glue for our materials. Apply a small test amount of adhesive to both surfaces that will be bonded together. This test allows you to determine whether the glue bonds effectively with your specific materials. Remember, compatibility is key.
Step 4: Perform the Test
Select a small, inconspicuous area on both surfaces and delicately apply a thin layer of glue. Press the two surfaces together firmly and allow the adhesive to dry or cure according to the manufacturer’s instructions. This step is crucial in ensuring that your adhesive concoction works its magic.
Step 5: Inspection Time.
Once the recommended drying time has elapsed, it’s time to inspect your bond. Examine for any signs of weak adhesion or improper bonding. Keep a vigilant eye out for discoloration, warping, or any other damage that may have occurred during the test. A keen eye will guarantee a strong bond.
Experimentation with different recipes
In the vast realm of DIY projects and artistic endeavors, finding the perfect glue is the key to unlocking your creative potential. But with a plethora of homemade glue recipes available, how do you know which one will truly stick around? Fear not, for today we embark on an exhilarating journey of experimentation to discover the ultimate homemade glue recipe for your specific applications.
The Flour and Water Combo:
Our first stop on this thrilling adhesive adventure takes us to the classic flour and water mixture. Simplicity meets effectiveness in this time-honored recipe that has been a staple in arts and crafts projects for generations. But does it live up to the hype? By experimenting with different ratios of flour and water, we can unveil the ideal consistency, drying time, and bonding strength. Remember to meticulously document your observations along this exciting quest.
Ancient Wisdom: Milk and Vinegar:
Next, let us delve into the ancient secrets of homemade glue with the milk and vinegar recipe. This protein-based adhesive has stood the test of time, but how adept is it at bonding different materials? Test its prowess on paper, fabric, and wood, and scrutinize its long-term durability. Don’t forget to explore any additional ingredients or additives that may augment its adhesive properties.
Modern Marvels: Gelatin and Cornstarch:
Now, brace yourself for a rendezvous with the wonders of modern homemade glue recipes. Enter gelatin and cornstarch – ingredients that promise unparalleled bonding strength and versatility. Engage in experiments that involve different surfaces, meticulously assessing their resistance to moisture or heat while evaluating ease of application. Prepare to revolutionize your crafting game with these groundbreaking recipes.
Secret Ingredients for Success:
As we embark upon this riveting exploration of various recipes, let’s not forget the potential power hidden within additional ingredients or additives. Borax, for instance, can fortify a flour and water mixture, while glycerin can bestow flexibility upon a milk and vinegar-based glue. Unveil the magic that lies within these hidden gems and elevate your homemade glue to unprecedented levels of excellence.
Safety considerations when working with homemade glues
But before you dive headfirst into your crafting adventures, it’s essential to prioritize your safety. In this captivating article, we will explore the key safety considerations when working with homemade glues, ensuring that your artistic endeavors are not only mesmerizing but hazard-free as well.
Inhalation Hazards:
Let’s begin by addressing the air we breathe. Homemade glues often contain powerful ingredients that emit fumes, which can be detrimental if inhaled excessively. Safeguard your respiratory system by working in a well-ventilated area or donning a mask/respirator. With every breath, you can embrace your artistic genius without compromising your health.
Skin Irritation:
Nobody wants their creativity stifled by skin irritation or allergic reactions. Some homemade glue recipes include acids or alkalis that can burn or irritate the skin. Shield your hands from any unpleasant encounters with these ingredients by wearing gloves. With protected hands, you can craft away fearlessly, knowing that your skin is safe from harm.
Eye Protection:
Our eyes are delicate gems that deserve extra care. Accidental splashes or droplets of glue can lead to eye injuries, whether it’s homemade or store-bought adhesive. Preserve the beauty of your sight by adorning safety glasses or goggles – a small investment that guarantees unobstructed vision and keeps your eyes sparkling with joy.
Flammability:
Fire hazards are never to be taken lightly. Homemade glues often feature flammable substances like alcohol or acetone. Keep these materials away from open flames or sparks, and transform your workspace into a fire-safe haven. Remember, safety should always dance alongside your creativity.
Chemical Reactions:
When concocting homemade glues, certain ingredient combinations can result in unexpected chemical reactions. These reactions may generate heat or release toxic gases, posing significant safety risks. Stick to precise instructions and avoid mixing incompatible substances. Let your imagination soar without any explosive surprises.
Storage and Disposal:
Proper storage and disposal are the pillars of responsible crafting. Safeguard your homemade glues by sealing them securely in containers, out of reach from children and pets. Prevent spills, leaks, or accidental ingestion, and be a guardian of your crafting sanctuary. When it’s time to bid farewell to unused glue, embrace environmentally-friendly practices by following local regulations for hazardous waste disposal. Craft responsibly, leaving no trace but a masterpiece.
Allergies and Sensitivities:
Just as every artist has their unique style, our bodies have unique sensitivities. Some individuals may experience allergies or sensitivities to ingredients commonly used in homemade glues, such as latex or specific resins.
Honor your body’s uniqueness by being aware of your personal allergies or sensitivities and choosing glue recipes accordingly. Craft with confidence, knowing that your creation will bring joy without any unwelcome surprises.
Conclusion
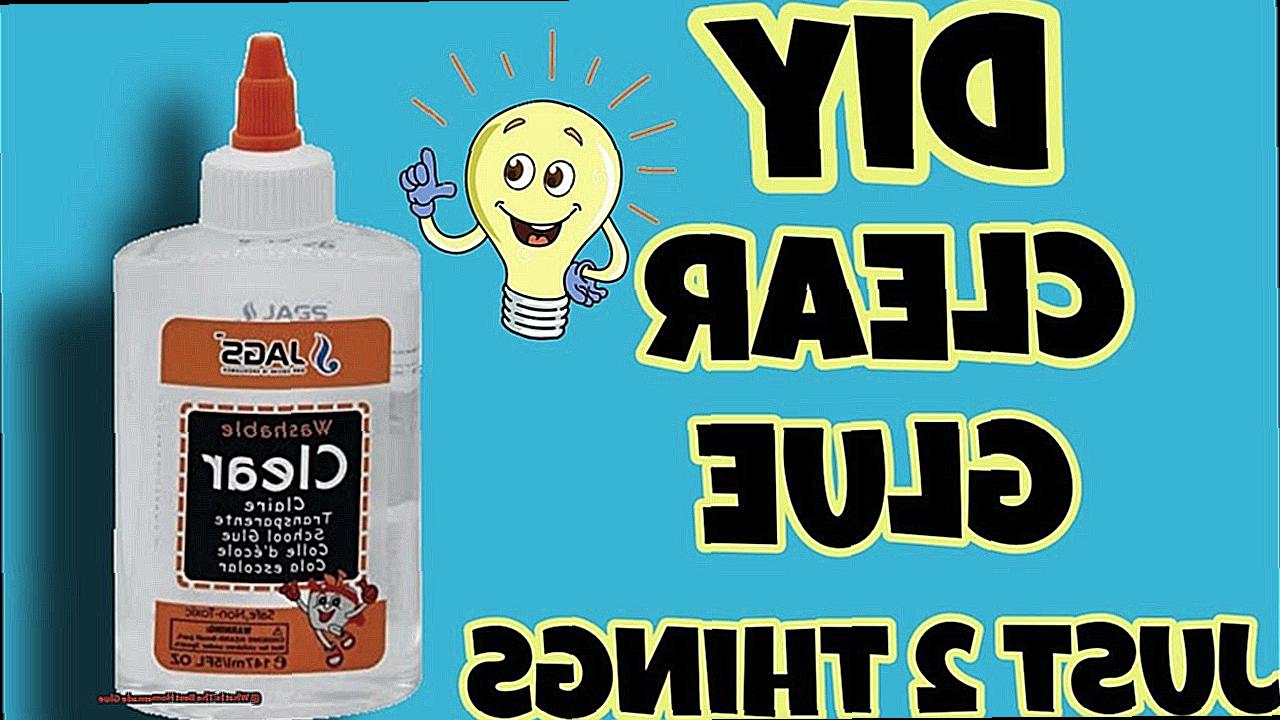
The quest for the best homemade glue is not an easy one. There are countless recipes and methods out there, each claiming to be superior to the rest. But after extensive research and experimentation, it is clear that one glue reigns supreme: the combination of flour and water.
Yes, you read that right – a simple mixture of flour and water can create a powerful adhesive that rivals store-bought options. This DIY glue is not only effective but also eco-friendly and cost-efficient.
To make this magical concoction, all you need is equal parts flour and water. Mix them together until you achieve a smooth consistency, free of any lumps or clumps. The result should be a thick paste-like substance that can be easily spread onto surfaces.
What makes this homemade glue so remarkable is its versatility. It can bond various materials such as paper, cardboard, fabric, wood, and even some plastics. Whether you’re working on arts and crafts projects or repairing household items, this glue will come to your rescue.
Furthermore, the flour and water mixture dries clear, leaving no unsightly residue behind. This means you won’t have to worry about your projects looking messy or unprofessional. Plus, it’s non-toxic and safe to use around children and pets.
In terms of longevity, this homemade glue holds up surprisingly well. While it may not withstand extreme conditions or heavy-duty applications like industrial adhesives do, it remains reliable for everyday tasks.
So why spend money on expensive glues when you can whip up your own batch at home? With just two common ingredients from your pantry, you’ll have a reliable adhesive ready whenever you need it.
In conclusion, when it comes to homemade glues, the combination of flour and water takes the crown. Its simplicity, effectiveness, affordability, and eco-friendliness make it the best choice for all your adhesive needs.