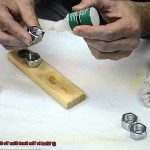
Well, you’re gonna need the perfect glue to make that bond stick like glue. Whether you’re fixing up a beloved leather jacket, whipping up custom accessories, or diving headfirst into a full-scale leathercraft project, choosing the right adhesive is key.
And let me tell you, there’s one glue that reigns supreme in the world of leather bonding. This stuff is a powerhouse – loved by pros and DIY enthusiasts alike.
So say goodbye to shoddy patches and failed repairs – keep reading to uncover the best glue for leather and unleash your creativity on those leathery wonders.
Types of Glue for Leather
Contents
- 1 Types of Glue for Leather
- 2 Factors to Consider When Choosing Glue
- 3 Preparing the Leather Surface for Bonding
- 4 Alternatives to Glue for Leather Bonding
- 5 Testing the Glue on a Small Area of the Leather First
- 6 Advantages and Disadvantages of Different Types of Glue for Leather Bonding
- 6.1 Contact Cement – Mighty Strength with a Few Considerations:
- 6.2 Epoxy Resin – Power and Durability Combined:
- 6.3 Leather Glue – Crafted for Leather Bonding:
- 6.4 Disadvantages: While leather glue offers good bonding strength, it may not be as durable as other glues for heavy-duty applications. Consider the intended use of your bonded leather to ensure optimal results.
- 6.5 Advantages: Super glue, also known as cyanoacrylate adhesive, is perfect for quick repairs and small leather projects. It forms an instant bond in seconds, saving you time and effort. Super glue is resistant to moisture and most chemicals.
- 7 Tips and Tricks for Working with Glues on Leather Projects
- 8 Conclusion
Leather is a versatile and durable material that can be used for a wide range of projects, from repairing shoes to crafting stylish accessories. However, finding the right glue to bond leather can be a sticky situation. With so many options available, it’s important to understand the different types of glue and their unique characteristics. In this guide, we’ll explore the top types of glue for leather and provide you with some key considerations to keep in mind when choosing the perfect adhesive.
Contact Cement
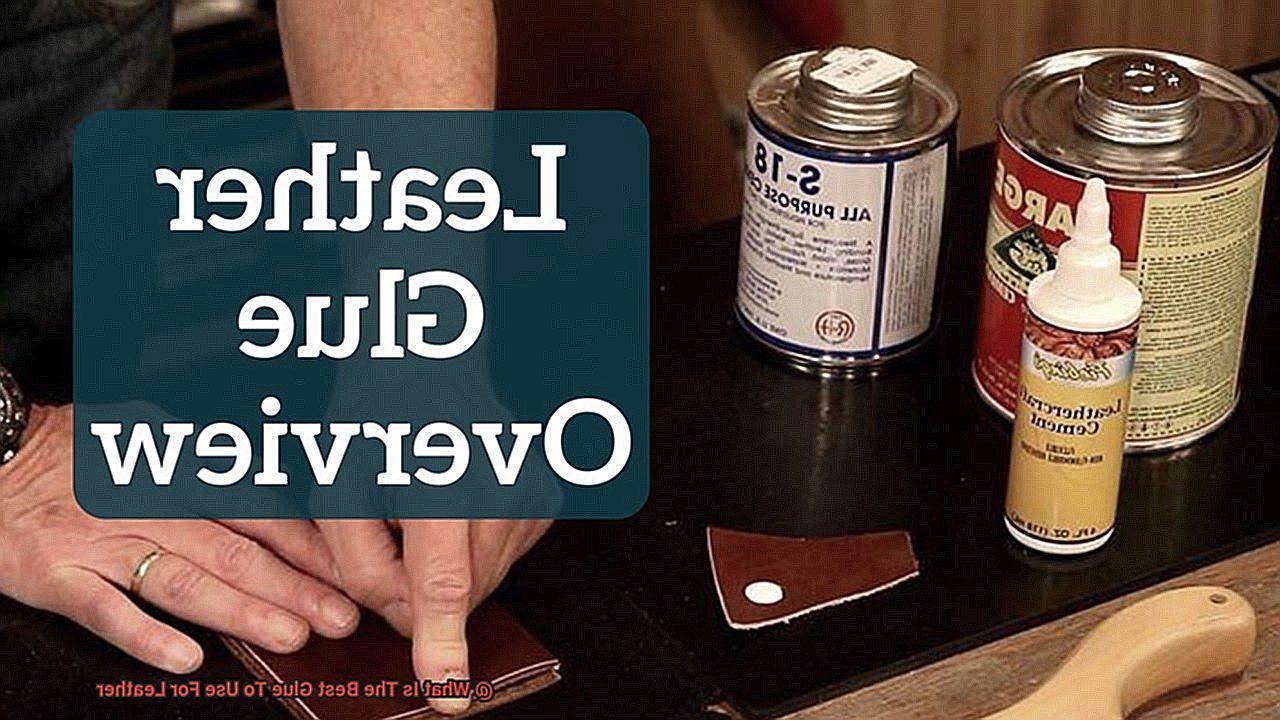
Contact cement is a superhero for bonding leather, with its immediate and permanent adhesive properties. Unlike other glues, it doesn’t require drying time – when you press the surfaces together, it forms an instant bond. No more waiting around for glue to dry and slowing down your creative flow.
Its durability is another superpower. Leather items often face tough conditions like heat and moisture, but contact cement can handle it all. It’s resistant to these environmental factors, ensuring that your leather pieces stay securely bonded no matter what adventures they go on.
To apply contact cement properly, start with clean surfaces – both the leather and the item it will be bonded to should be free from dirt or oil. A wipe-down with mild detergent or rubbing alcohol does the trick.
Next, apply a thin layer of contact cement to both surfaces using a brush or roller. Don’t overdo it though – too much glue can cause lumps or uneven bonding. Wait for a few minutes until the adhesive becomes tacky, then carefully align and firmly press the surfaces together. Apply even pressure across the entire bonded area with a clamp or your hands.
Remember to work in a well-ventilated area or wear a mask as contact cement can emit strong fumes during application. And precision is key – once this glue dries, it’s not going anywhere.
Epoxy
Look no further than epoxy glue, the superhero of glues. This remarkable adhesive offers a range of advantages that make it the ideal choice for bonding leather in a way that can withstand even the toughest conditions. So, buckle up and prepare to dive into the fascinating world of epoxy glue.
Unbreakable Strength:
Prepare to be amazed by the sheer strength of epoxy glue. The chemical reaction between its resin and hardener components creates an adhesive that can handle heavy loads without breaking a sweat. Whether you’re repairing shoes or working on a leather crafting project, trust in epoxy to create a permanent and long-lasting bond that will never let you down.
Waterproof and Heatproof:
Leather items often face encounters with moisture and heat, but fear not. Epoxy glue acts as an impenetrable shield against these elements. Once cured, it forms an indestructible barrier, keeping water at bay and protecting your precious leather from damage. No more worries about rain-soaked shoes or ruined bags. What’s more, epoxy can withstand scorching temperatures without losing its adhesive properties, making it perfect for leather items exposed to heat, such as belts or watch straps.
Flexibility and Elasticity:
Leather is a natural material that expands and contracts with changes in temperature and humidity. Luckily, our hero epoxy is up to the challenge. Its excellent flexibility and elasticity ensure that the bond remains intact even under these dynamic conditions. Say goodbye to cracks and peeling glue ruining your leather masterpieces. With epoxy, your bonded leather items will remain flawless no matter what.
Application Tips:
To achieve optimal results with epoxy glue, remember to use it sparingly on leather surfaces. Apply a thin layer onto one surface and firmly press the two surfaces together. Swiftly wipe away any excess glue to avoid unsightly residue or staining on your beloved leather items. With these simple tips, you’re on your way to achieving seamless, professional-looking bonds.
Specialty Leather Glue
As an expert in the field, I’m here to provide you with all the information you need to choose the right glue for your needs.
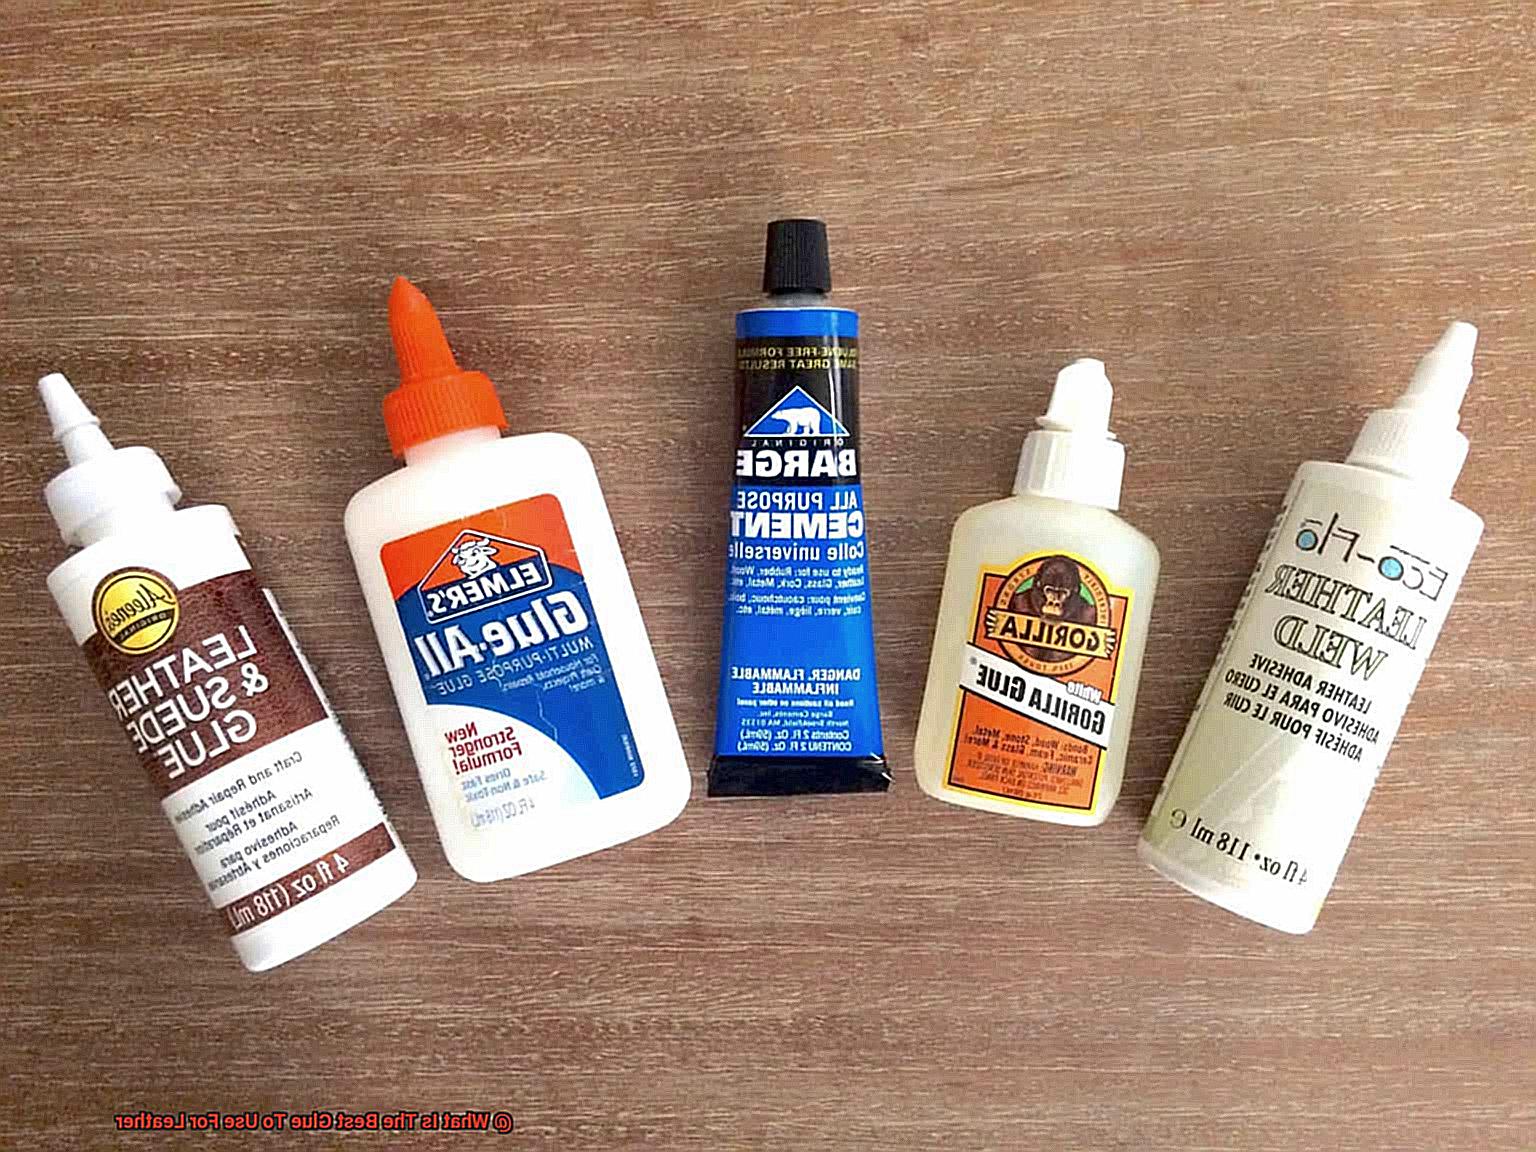
Let’s start with contact cement, a versatile and strong glue that is perfect for bonding different materials, including leather. All you have to do is apply it to both surfaces, let it dry until tacky, and then press them firmly together. Voila. You’ve got an instant bond that can withstand stress. Contact cement is ideal for repairing shoes, handbags, belts, and more.
Next on our list is epoxy adhesive, a superhero glue made up of two components – resin and hardener. When mixed together, this glue creates an incredibly strong and durable bond. It’s perfect for heavy-duty leather projects, such as repairing or bonding thick leather pieces. Epoxy glues can handle high levels of stress and tension like a champ.
If safety and odor are a concern for you, water-based glues are the way to go. These glues are formulated without harmful solvents or toxic chemicals, making them safer to use. They offer good bonding properties and are suitable for lighter weight leather projects like crafting or upholstery work.
When choosing a specialty leather glue, don’t forget to consider drying time, flexibility, and color compatibility. Some glues take longer to dry but offer a stronger bond, while others dry quickly and remain flexible to accommodate the movement of the leather. It’s also essential to choose a glue that matches the color of your leather to ensure a seamless bond.
Remember to always follow the manufacturer’s instructions when using specialty leather glue and conduct a small test on an inconspicuous area before diving into your project. This will ensure compatibility and desired results.
Factors to Consider When Choosing Glue
Choosing the right glue for your leather projects is vital for a successful and long-lasting bond. With so many options available, it’s important to consider several factors before making a decision.
Firstly, consider the type of leather you are working with. Different glues work better on specific types of leather, such as full-grain, top-grain, or suede. The porosity, thickness, and texture of the leather can affect how well the glue adheres. So, choose a glue that is compatible with your specific leather type.
Next, think about the strength of the bond you need. If you’re working on heavy-duty applications like leather belts or shoes, you’ll want a glue that provides a strong bond capable of withstanding stress and frequent use. Look for glues specifically designed for high-stress applications to ensure longevity.
Flexibility is another crucial factor to consider. Leather is a flexible material that bends and moves with use. It’s important to choose a glue that can maintain its bond even under constant flexing and stretching. Flexible adhesives are better suited for leather projects as they can withstand the natural movements of the material without cracking or peeling.
Drying time is also important, especially if you’re working on time-sensitive projects or need to move quickly between different assembly stages. Some glues dry within minutes, while others may require several hours or even days to cure completely. Choose a glue with a drying time that aligns with your project’s requirements to ensure efficiency and effectiveness.
If aesthetics are important to you, consider the color and transparency of the glue. Clear glues that do not leave visible residue are ideal for light-colored or transparent leather projects. On the other hand, colored glues can be used to create contrast or decorative effects.
The application method should also be taken into account. Some glues come in squeeze bottles, while others require the use of brushes or applicators. Choose a glue that allows for convenient and controlled application, ensuring accuracy and minimizing mess.
Safety is always a priority, so consider the toxicity and odor of the glue you choose. Some glues emit strong odors or contain toxic ingredients, which may not be suitable for everyone. Opt for glues that are labeled as low VOC (volatile organic compounds) or have minimal odor to ensure a safe and comfortable working environment.
Lastly, think about the longevity of the bond required for your leather project. Some glues offer temporary or semi-permanent bonds that can be easily undone, while others provide permanent adhesion that is difficult to reverse. Consider how long you want the bond to last and choose a glue accordingly.
Preparing the Leather Surface for Bonding
Choosing the right glue is essential for a successful leather project. However, before even thinking about applying glue, it is crucial to properly prepare the leather surface. This often overlooked step plays a significant role in creating a strong and enduring bond. In this article, we will guide you through the necessary steps to prepare your leather surface for bonding, ensuring that your project stands the test of time.
Step 1: Cleanse Away Impurities
The first step in preparing the leather surface is to cleanse it thoroughly. Dirt, oils, and contaminants can hinder adhesion, so it’s important to remove them. Gently rub the leather with a soft cloth or sponge using mild soap or a leather cleaner. Be meticulous, covering all areas, and then rinse off any residue with clean water. Finally, pat the leather dry with a clean towel.
Step 2: Enhance Adhesion with Sanding
To improve adhesion, lightly sand the leather surface using fine-grit sandpaper. This creates a slightly rougher texture that allows the glue to penetrate better into the material. Remember to use gentle circular motions while sanding, avoiding excessive pressure that could damage the delicate leather.
Step 3: Eliminate Dust and Debris
After sanding, wipe away any dust or debris that may have accumulated on the surface. Use a soft brush or cloth to ensure that the leather is completely clean before proceeding to the next step. A pristine surface is essential for achieving a strong bond.
Step 4: Optional Deglazing for Optimal Bonding
For optimal bonding, consider using a leather deglazer or acetone to remove any remaining oils or finishes on the surface. Apply a small amount onto a clean cloth and gently rub it onto the leather in circular motions. Allow it to dry completely before moving forward. This step ensures that nothing interferes with the adhesive’s ability to bond securely to the leather.
Step 5: Conditioning for Longevity (Optional)
If you’re working with new or untreated leather, consider using a leather conditioner or preservative before bonding. These products help soften and protect the leather, ensuring longevity and durability. Follow the manufacturer’s instructions for application and allow sufficient drying time before applying glue. Conditioning enhances the overall quality of the leather and contributes to a more resilient bond.
Step 6: Temperature Check for Optimal Adhesion
To ensure a successful bond, both the leather surface and the glue should be at the correct temperature. Most glues work best at room temperature, so avoid extreme heat or cold conditions. If necessary, warm up the leather slightly using a hairdryer on low heat or place it near a gentle heat source. Similarly, check the recommended temperature range for the glue and adjust accordingly. Proper temperature control guarantees optimal adhesion and strengthens the bond.
Alternatives to Glue for Leather Bonding
When it comes to bonding leather, traditional glue is not the only option. Many people prefer alternatives that offer long-term durability or simply want to explore different techniques. In this article, we will delve into three popular alternatives to glue for leather bonding: stitching, riveting, and leather lacing. Each method has its own advantages and best applications, allowing you to create strong bonds while adding a touch of creativity to your leather projects.
Stitching: Time-Honored Strength and Flexibility
Stitching is a tried-and-true method that ensures exceptional strength and durability in leather bonding. With a needle and thread, you can sew pieces of leather together, creating a bond that allows flexibility and movement. This technique is perfect for items like bags, shoes, and belts. Benefits of stitching include:
- Strength and durability: Sewn stitches withstand regular wear and tear better than some glues.
- Flexibility: Stitching allows the leather to move naturally without compromising the bond.
- Aesthetics: The classic, handcrafted touch of stitching adds beauty to your leather projects.
Riveting: Robust Bonds and Decorative Enhancements
Riveting involves using metal fasteners called rivets to securely join leather pieces together. This technique is particularly suitable for thick or heavy leather and is commonly seen in accessories such as wallets, bracelets, and dog collars. Key advantages of riveting include:
- Strong bond: Rivets provide excellent holding power, ensuring a long-lasting connection.
- Decorative element: Rivets can enhance the overall design aesthetic of your leather project.
- Versatility: Riveting works well with different types of leather and can handle heavy-duty applications.
Leather Lacing: Adjustable Elegance and Traditional Appeal
Lacing is a versatile method that involves cutting slits or holes in the leather and threading laces or cords through them to hold the pieces together. This technique offers adjustability and is often used in projects like moccasins, corsets, or decorative leatherwork. Key advantages of leather lacing include:
- Adjustability: Lacing allows for easy modifications or adjustments if needed.
- Decorative options: Lacing can add intricate patterns or designs to your leather projects.
- Traditional appeal: Leather lacing is reminiscent of classic leatherworking techniques.
Testing the Glue on a Small Area of the Leather First
Let me assure you, taking the time to test the glue on a small area of leather can save you from potential disasters. In this article, we will explore why it is crucial to perform a glue test before committing to your entire project. So grab your reading glasses and let’s dive in.
Choosing the Test Spot:
When selecting where to perform your glue test, opt for an inconspicuous area of the leather. Look for a hidden section or the underside that won’t be visible once your project is complete. This way, any damage or discoloration resulting from the test will be less noticeable.
Preparing Leather and Glue:
Before applying any glue, ensure both the leather and adhesive are clean and free from dirt, dust, or oils. Give the leather a gentle cleaning with a mild soap and water solution, then allow it to fully dry. This guarantees optimal adhesion between the glue and the leather.
Applying the Glue:
Using a cotton swab or small brush, apply a minimal amount of glue to the chosen test area. Be cautious not to use too much glue as it can spread excessively or seep onto surrounding areas, causing unwanted issues.
Drying Time and Examination:
Follow the manufacturer’s instructions regarding drying time. This will give you an idea of how long it takes for the glue to set and bond properly. Once dry, carefully examine the test area for any signs of discoloration, damage, or uneven bonding. To gauge the strength of the bond, gently tug at the bonded area. The bond should be secure and not easily separated.
Results and Next Steps:
Based on the test results, determine whether the glue is compatible with your leather project. If any issues arise during the test, it is best to try a different type or brand of adhesive that may be more suitable for your specific needs.
Advantages and Disadvantages of Different Types of Glue for Leather Bonding
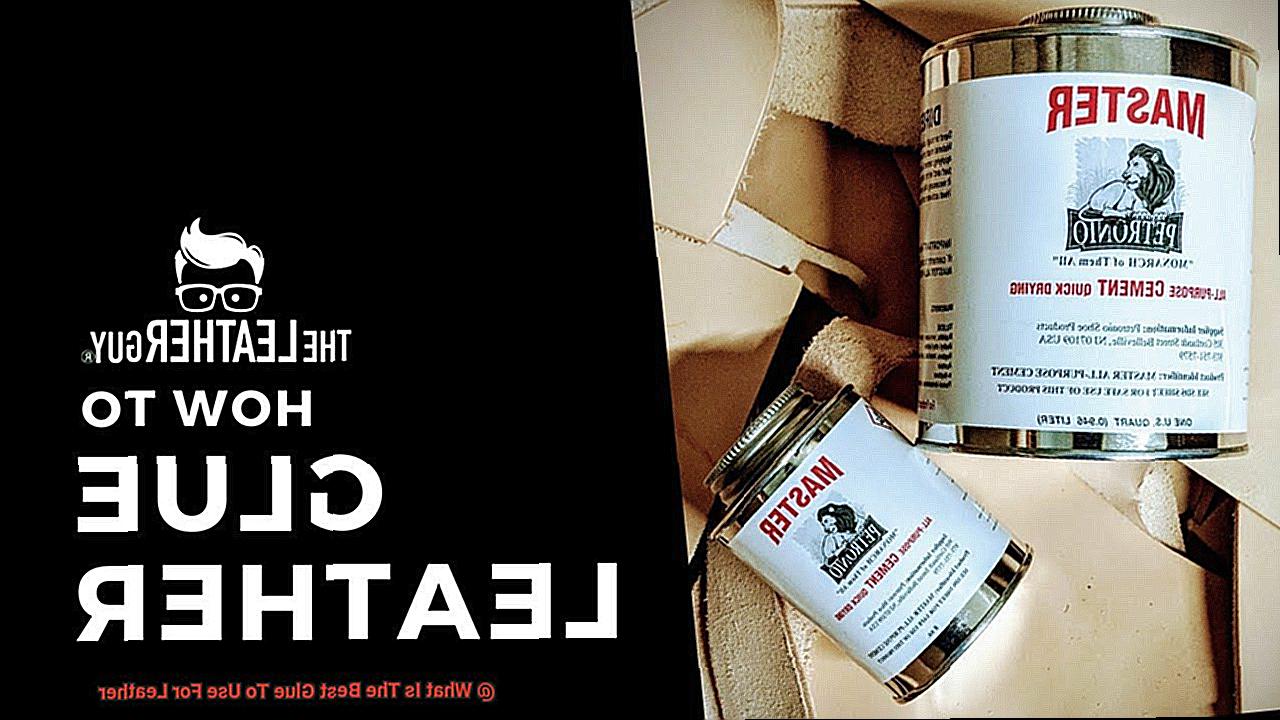
Selecting the right glue for leather bonding is crucial for achieving strong and durable results. Each type of glue offers unique advantages and disadvantages, so it’s important to understand their characteristics before starting your leather crafting projects. In this article, we will explore the pros and cons of popular glues used for leather bonding, including contact cement, epoxy resin, leather glue, super glue, and water-based adhesives.
Contact Cement – Mighty Strength with a Few Considerations:
- Advantages: Contact cement is renowned for its incredible strength and durability. It forms an instant bond, making it perfect for quick assembly. The flexible bond created by contact cement allows leather creations to stretch and move without compromising their integrity.
- Disadvantages: The strong odor of contact cement requires proper ventilation during application. It can be messy if not applied carefully, and once bonded, it cannot be easily undone. Additionally, contact cement may result in stiffness in certain leather projects due to its limited flexibility.
Epoxy Resin – Power and Durability Combined:
- Advantages: Epoxy resin is known for its exceptional strength and durability, making it ideal for heavy-duty leather bonding projects. It can withstand extreme temperatures, moisture, and chemicals while preserving a seamless finish.
- Disadvantages: Epoxy resin requires careful mixing before application, adding extra time and effort to the process. It can become brittle once cured, limiting its suitability for flexible leather items.
Leather Glue – Crafted for Leather Bonding:
- Advantages: Leather glue is specifically designed for bonding leather materials, providing a strong and flexible hold. It dries clear, preserving the natural beauty of your leather projects. With a quick drying time, it allows efficient completion of crafts.
-
Disadvantages: While leather glue offers good bonding strength, it may not be as durable as other glues for heavy-duty applications. Consider the intended use of your bonded leather to ensure optimal results.
Super Glue – Quick Fixes and Small Projects:
-
Advantages: Super glue, also known as cyanoacrylate adhesive, is perfect for quick repairs and small leather projects. It forms an instant bond in seconds, saving you time and effort. Super glue is resistant to moisture and most chemicals.
- Disadvantages: Super glue may not provide the same level of strength and durability as other glues. It can become brittle over time, potentially leading to bond failure. Additionally, it can be challenging to remove if mistakes occur during application.
Tips and Tricks for Working with Glues on Leather Projects
Glue is a vital component when working on leather projects. It not only enhances the durability of your creations but also adds a touch of professionalism to the finished product. However, choosing the right glue and knowing how to use it correctly can make all the difference. In this article, we will explore some valuable tips and tricks for working with glues on leather projects.
Choose the Right Glue:
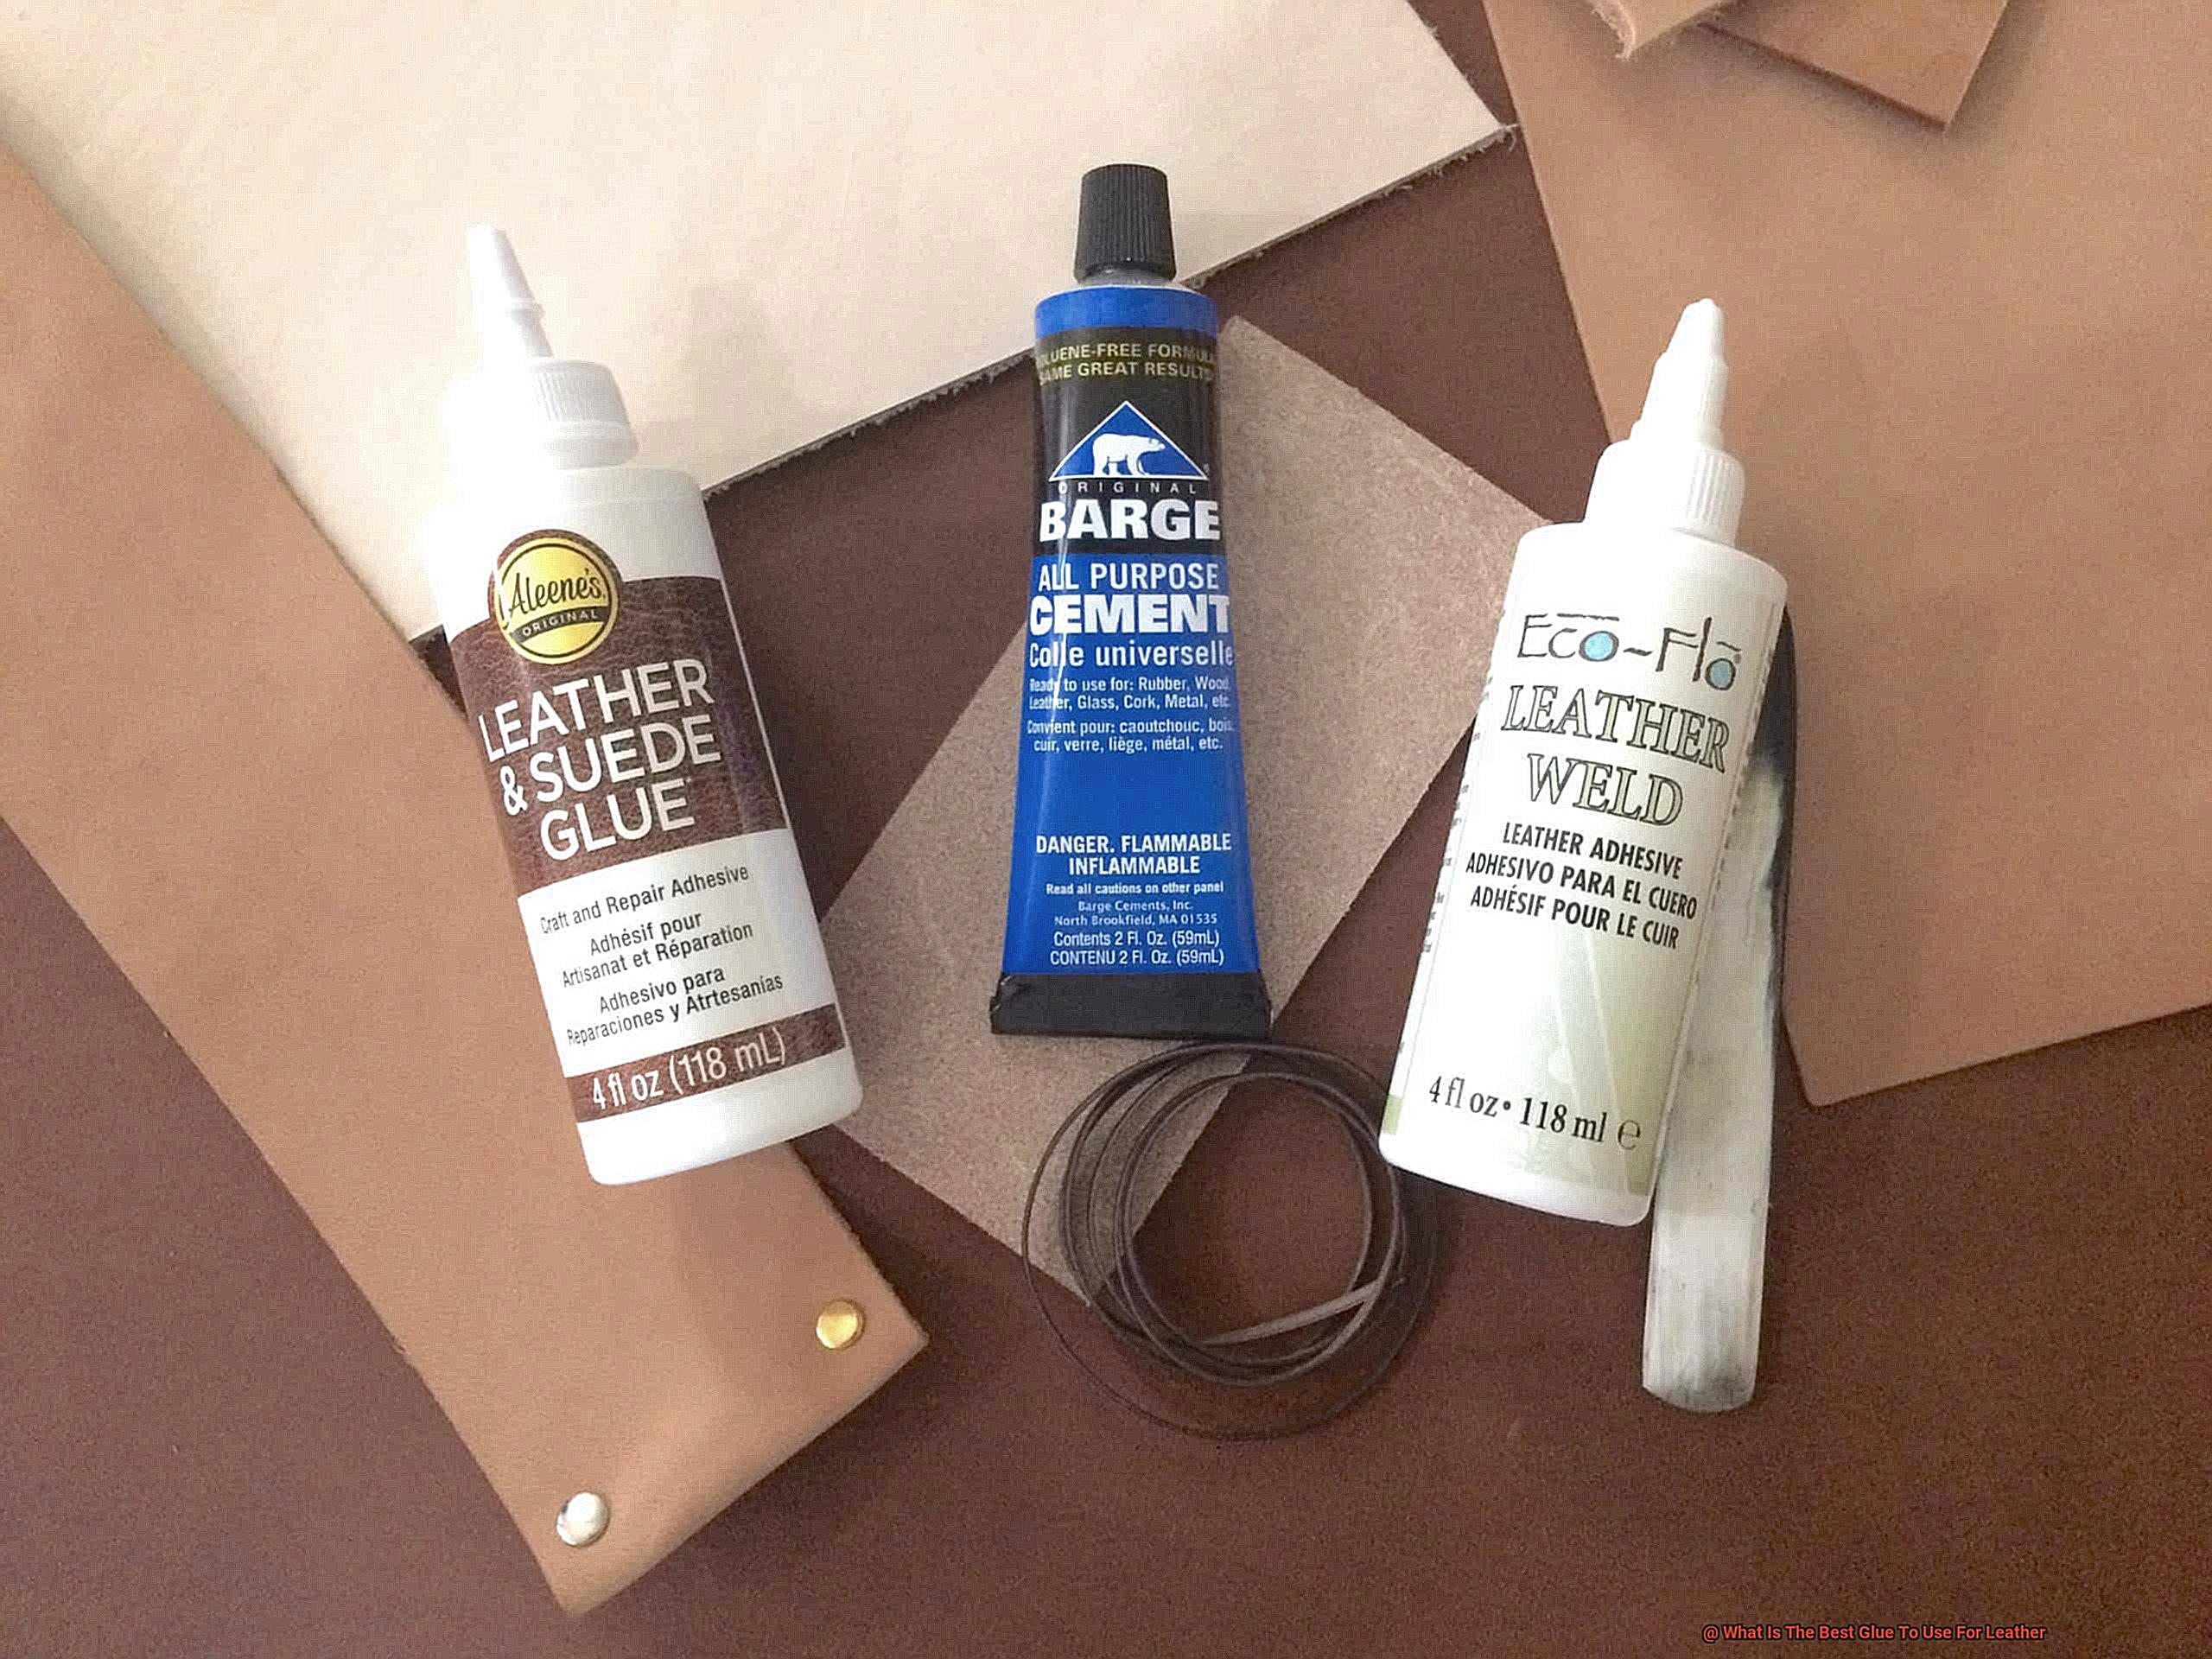
Different types of glues have varying properties, such as flexibility, drying time, and adhesion strength. Contact cement is ideal for a strong and durable bond, whereas leather glue offers flexibility for projects that require movement. Epoxy adhesive provides an incredibly strong bond, perfect for joining leather to other materials. Consider the specific requirements of your project before selecting the appropriate glue.
Prepare the Surface:
Before applying glue, ensure the leather surface is clean and free from dirt or oils. Use a mild soap solution or leather cleaner to remove any contaminants. Roughening the surface slightly with sandpaper improves adhesion. Take care not to damage the leather during this process.
Apply the Glue Evenly:
Applying an even layer of glue is crucial for a neat and strong bond. Avoid using too much glue as it can seep through the leather and leave visible marks. Use a brush or applicator to apply the glue smoothly and evenly across the surface.
Clamp or Hold in Place:
To ensure a strong bond, use clamps, weights, or specialized tools like binder clips or clothespins to hold leather pieces together while the glue dries. Apply even pressure to promote a secure bond.
Clean Up Excess Glue:
Wipe away any excess glue promptly before it dries. Use a damp cloth or cotton swab to carefully remove any visible residue. Cleaning up excess glue ensures a professional finish.
Allow Sufficient Drying Time:
Patience is key when working with glues on leather projects. Follow the manufacturer’s instructions for drying time and allow the glue to fully cure before handling or subjecting the bonded leather to stress or strain.
Conclusion:
Conclusion
When it comes to finding the perfect glue for leather, there are a few top contenders that stand out from the rest. One of the best options is a high-quality adhesive specifically designed for leather, such as contact cement or leather glue. These glues provide a strong and durable bond that can withstand the wear and tear that leather items often endure.
Another great choice is epoxy adhesive, which is known for its exceptional strength and versatility. This type of glue forms a powerful bond between leather surfaces and can be used for both small repairs and larger projects.
If you’re looking for something more flexible, like when working with soft or stretchy leathers, then a flexible fabric glue may be your best bet. This type of adhesive allows the leather to maintain its natural flexibility while still providing a secure bond.
For those seeking an eco-friendly option, water-based adhesives are becoming increasingly popular. These glues are non-toxic and don’t emit harmful fumes, making them safer to use in enclosed spaces.
Ultimately, the best glue to use for leather depends on the specific project at hand. It’s important to consider factors such as the type of leather, the desired level of flexibility, and the overall durability required.
In conclusion, whether you’re repairing a beloved leather jacket or embarking on a creative DIY project involving leather, choosing the right glue is crucial.

