Planning to install laminate flooring?
Finding the perfect glue is key to a rock-solid and long-lasting bond. Laminate flooring, known for its toughness and easy installation, demands the right adhesive to keep it stable and minimize shifting.
But with so many options out there, picking the best glue can feel like searching for a needle in a haystack. Fear not.
In this blog post, we’ll dive into the top adhesive solutions for laminate flooring, taking into account compatibility, ease of use, and durability. By the end, you’ll be armed with all the knowledge you need to confidently tackle your installation project.
Let’s get sticking.
Types of Glue for Laminate Flooring
Contents
Installing laminate flooring is an exciting DIY project, but choosing the right glue is essential for a durable and long-lasting bond. In this comprehensive guide, we will explore different types of glue for laminate flooring and provide valuable tips to ensure successful installation.
PVA Glue: The Versatile Choice
A popular adhesive for laminate flooring is PVA (polyvinyl acetate) glue. This water-based adhesive offers a strong bond, easy application, and compatibility with various subfloors. Its non-toxic nature and clear drying make it perfect for DIY enthusiasts. PVA glue works well in most indoor environments and provides a secure bond that can withstand regular foot traffic.
Urethane Adhesive: The Moisture Warrior
For areas with high humidity or moisture levels, urethane adhesive is the go-to choice. This moisture-curing adhesive offers exceptional resistance to moisture while providing a strong and durable bond. It can endure heavy foot traffic, making it ideal for bathrooms or kitchens where spills are common.
Manufacturer-Recommended Adhesives: Tailored for Perfection
Some laminate flooring manufacturers recommend using their specific brand of adhesive. These adhesives are formulated to work best with their products, ensuring a secure bond while allowing flexibility. Following the manufacturer’s recommendations ensures optimal performance and may be necessary to maintain warranty coverage.
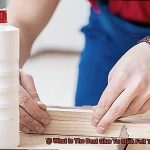
Surface Preparation: The Foundation of Success
Proper surface preparation is crucial for a successful installation. Ensure the surface is clean, dry, and free from debris or contaminants that may affect the bond of the glue. Depending on the subfloor type, using a primer or sealer may be necessary to enhance adhesion. Adequate preparation sets the stage for a strong bond between the laminate flooring and subfloor.
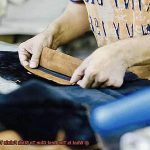
Glue Application: Precision Matters
When applying glue, precision is paramount for a successful installation. Carefully follow the manufacturer’s instructions, as some glues require specific patterns or the use of a notched trowel for even distribution. It is vital to allow the recommended drying time before walking on or installing furniture on the newly glued laminate flooring.
Benefits of PVA Glue
Look no further than PVA glue – the secret ingredient for a long-lasting and reliable bond. But what makes PVA glue so special? Let’s dive into its benefits.
First and foremost, PVA glue is incredibly versatile. It can be used on a wide range of materials, including wood, plastic, paper, fabric, and even porous surfaces. This means you can use the same glue for multiple projects, saving you both time and money. Not only that, but PVA glue is available in both liquid and gel form, making it easy to spread evenly onto the surface.
But versatility is just the beginning. PVA glue also provides a strong bond between the laminate flooring and the subfloor. When applied correctly, it creates a tight bond that can withstand daily wear and tear. So whether you have kids running around or frequently move furniture, your laminate flooring will stay securely in place.
In addition to its bonding capabilities, PVA glue is water-resistant. While not completely waterproof like some specialized adhesives, it can handle occasional exposure to moisture without compromising the bond. So if you’re worried about spills in the kitchen or humidity in the bathroom, PVA glue has got you covered.
And here’s the best part – cleaning up PVA glue is a breeze. In case of any accidental spills or excess glue, simply use water to clean it up while it’s still wet. Even if it dries up, you can easily scrape off any excess without leaving behind residue or damaging the surface. No messy cleanup or damaged floors here.
Last but not least, PVA glue is cost-effective. It’s widely available and relatively inexpensive compared to other types of adhesives. Whether you’re a DIY enthusiast or a professional installer, PVA glue is a budget-friendly option. And with its long shelf life, you can even save any leftover glue for future projects.
Advantages of Urethane-Based Adhesives
Look no further than urethane-based adhesives. These superhero adhesives possess a range of advantages that make them the ultimate choice for sticking laminate flooring. In this article, we will explore the superpowers of urethane-based adhesives and why they are the go-to option for installers and homeowners alike.
Unparalleled Bonding Strength:
Urethane-based adhesives showcase exceptional bonding strength, creating a secure and long-lasting bond between the laminate flooring and the subfloor. This feature is crucial, particularly in high-traffic areas or spaces where heavy furniture will be placed.
Flexibility to Withstand Changing Conditions:
One of the standout advantages of urethane-based adhesives is their flexibility. They have the remarkable ability to expand and contract with temperature and humidity changes, ensuring that your laminate flooring remains intact over time. This flexibility also reduces the risk of cracks or buckling in the flooring.
Moisture Resistance:
Urethane-based adhesives possess a low water absorption rate, making them highly resistant to moisture. This feature proves invaluable in areas prone to water exposure or high humidity levels, such as bathrooms, kitchens, or basements.

Chemical and Solvent Resistance:
Spills and cleaning products can wreak havoc on some adhesives. However, urethane-based adhesives are resistant to chemicals and solvents, providing peace of mind in areas where spills or cleaning agents may come into contact with your laminate flooring.
Excellent Sound Insulation Properties:
Looking to reduce noise transmission in multi-story buildings or create a serene oasis in your home? Urethane-based adhesives are an excellent choice. Their sound insulation properties help minimize noise, enhancing your overall living experience.
User-Friendly Experience:
Urethane-based adhesives are not only effective but also user-friendly. They emit low odors during and after installation, making them more pleasant to work with compared to adhesives that release strong odors or harmful fumes. Additionally, these adhesives are easy to apply, thanks to their good spreadability and availability in various forms such as cartridges or pails.
Long-Term Durability:
Investing in urethane-based adhesives ensures long-term durability for your laminate flooring. These adhesives exhibit high resistance to wear and tear, maintaining a strong bond between the flooring and the subfloor for many years.
Installation Techniques for Laminate Flooring
With the right techniques, you can achieve a flawless installation that will stand the test of time. In this article, we will guide you through the seven steps involved in installing laminate flooring, ensuring a professional finish that you can be proud of.
Step 1: Subfloor Preparation
To lay a strong foundation, start by preparing the subfloor. Remove any existing flooring and address any imperfections or unevenness. Smooth out high spots with sanding and fill in low spots with a leveling compound. A clean, dry, and level subfloor is essential for a successful installation.
Step 2: Underlayment Installation
Before laying the laminate flooring, install an underlayment. This provides cushioning, reduces noise, and prevents moisture from seeping through the subfloor. Choose an underlayment that suits your needs, such as foam, cork, or rubber. It will enhance the overall performance of your laminate flooring.
Step 3: Acclimation of Laminate Flooring
Give your laminate flooring time to acclimate to the room where it will be installed. This allows the planks to adjust to temperature and humidity levels, reducing the risk of expansion or contraction after installation. Follow the manufacturer’s guidelines for acclimation duration to ensure optimal results.
Step 4: Layout Planning
Plan the layout of your laminate flooring before starting the installation. Measure the room and determine how the planks will be laid out for a visually pleasing pattern. Start from a straight wall and work towards other areas of the room. Take your time to create a layout that enhances the overall aesthetic of your space.
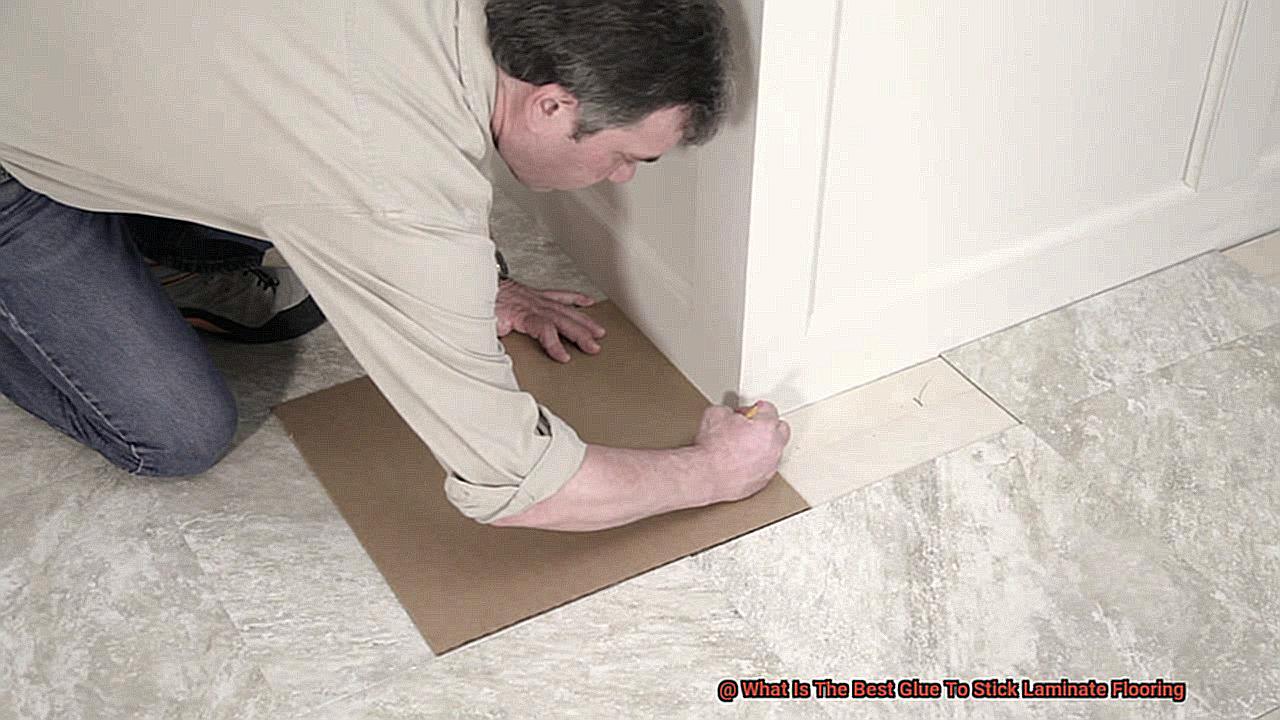
Step 5: Cutting and Fitting
Accurate cuts are essential when fitting laminate flooring around obstacles. Use specialized tools like a circular saw or jigsaw to achieve precise cuts. Leave a small gap between the flooring and walls to allow for expansion. Attention to detail during this step will ensure a seamless and professional-looking installation.
Step 6: Glue or Click-Lock Installation
Choose between glue or click-lock installation techniques based on your preferences and the specific requirements of your project. Glue installation involves applying adhesive to the grooves of the planks and firmly pressing them together for a secure bond. Click-lock installation involves interlocking the planks without glue, making the process quicker and easier. Select the method that suits your needs best.
Step 7: Finishing Touches
Complete the installation by adding baseboards or quarter-round molding to cover the expansion gap along the walls. These finishing touches will give your laminate flooring a polished look and protect the edges from damage. Install any necessary trim pieces for a seamless transition between your laminate flooring and other surfaces.
Considerations When Choosing the Best Glue
You’ve made the decision to install laminate flooring in your home or office. Congratulations. Laminate flooring is an excellent choice that offers durability and cost-effectiveness. However, before you embark on your installation journey, it’s essential to make a crucial decision – selecting the best glue for your laminate flooring. With a wide array of options available, it can be overwhelming to determine which glue is right for you. But fear not. I’m here to guide you through the process and help you make an informed decision.
The first consideration when choosing a glue for laminate flooring is compatibility. Laminate flooring has a unique composition, consisting of a composite wood core and a decorative layer on top. Not all glues are designed to effectively bond this type of material. To ensure a strong and durable bond, it’s crucial to choose a glue specifically made for laminate flooring.
Now, let’s delve into the different types of glues available. Two commonly used options are PVA glue and urethane adhesive. PVA glue is water-based and provides good adhesion, while urethane adhesive is moisture-resistant and offers a stronger bond. Consider the specific requirements of your project and choose the type of glue accordingly.
The application method of the glue is also an important factor to consider. Some glues come pre-mixed, while others require mixing before use. Additionally, some glues are applied directly to the subfloor, while others need to be spread on the back of each laminate plank. Choose a method that suits your skills and preferences, ensuring ease of application.
Nobody wants to wait around for glue to dry, especially if you have a tight schedule or limited time for installation. Take note of the drying time of the glue you’re considering. Some glues dry quickly, allowing you to proceed with the installation sooner, while others may require longer curing times. Make sure to select a glue that aligns with your project timeline, ensuring a smooth and efficient installation process.
Another crucial consideration is the VOC content of the glue. VOCs, or Volatile Organic Compounds, are potentially harmful chemicals that can be emitted into the air during the curing process of certain glues. To ensure a healthier indoor environment, opt for low-VOC or VOC-free glues.
Lastly, check if the glue you’re considering comes with a warranty. Some manufacturers offer warranties on their glues specifically for laminate flooring installation. Having a warranty can provide additional assurance of the quality and performance of the chosen glue.
Proper Preparation of the Subfloor
Well, before you dive headfirst into the world of glue and laminate, let’s take a moment to talk about the importance of properly preparing your subfloor. Trust me, this step is crucial for a successful and long-lasting laminate flooring installation.
First things first, let’s get that subfloor squeaky clean. Sweep away any debris, dirt, or dust that may be lurking around. You want a fresh and clean canvas for your beautiful laminate flooring to shine on.
Now, let’s check for any irregularities or damage on the subfloor. Are there any high spots or low spots? If so, we need to level them out. No one wants a wonky floor, right? Grab some leveling compound and smooth out those bumps and dips until you have a nice, flat surface.
But wait, there’s more. Moisture can be the enemy of laminate flooring. Excessive moisture can cause damage over time. So, let’s whip out our trusty moisture meter and check the moisture content of the subfloor. If it’s too high, we’ll need to install a vapor barrier or moisture barrier to protect our precious laminate from harm.
Different subfloors require different preparations. For concrete subfloors, it’s recommended to apply a primer before installing the laminate flooring. This will improve adhesion and prevent moisture from wreaking havoc. Wooden subfloors need some love too. Make sure they’re secure and free from any loose boards or nails.
Last but not least, make sure that subfloor is clean and dry before proceeding with the installation. Any residual moisture can affect the adhesive properties of the glue or cause warping and damage to those beautiful laminate planks.
Applying the Glue Evenly
Step into the world of laminate flooring installation, where precision and attention to detail are key. One often overlooked aspect of this process is the even application of glue. Fear not, fellow DIY enthusiasts, for I am here to guide you through this essential step-by-step process. Together, we will create a seamless and long-lasting laminate flooring installation that will leave you with a sense of accomplishment. So, grab your tools and let’s embark on this exciting journey.
Choosing the Right Glue:
Before we dive into the art of applying glue evenly, it’s crucial to select the right adhesive for your laminate flooring project. Look for adhesives specifically labeled as “flooring adhesive” or “laminate adhesive.” These specialized products are formulated to establish a perfect bond between your laminate planks and the subfloor.
Prepping the Subfloor:
To ensure a flawless installation, proper preparation of the subfloor is vital. Start by meticulously cleaning the surface, eliminating any debris or dust that may hinder adhesion. Take a moment to inspect the subfloor for irregularities and address them accordingly. High spots can be leveled using a leveling compound, while gaps and cracks can be filled with suitable materials. Remember, a smooth and level subfloor serves as the foundation for a flawless laminate flooring installation.
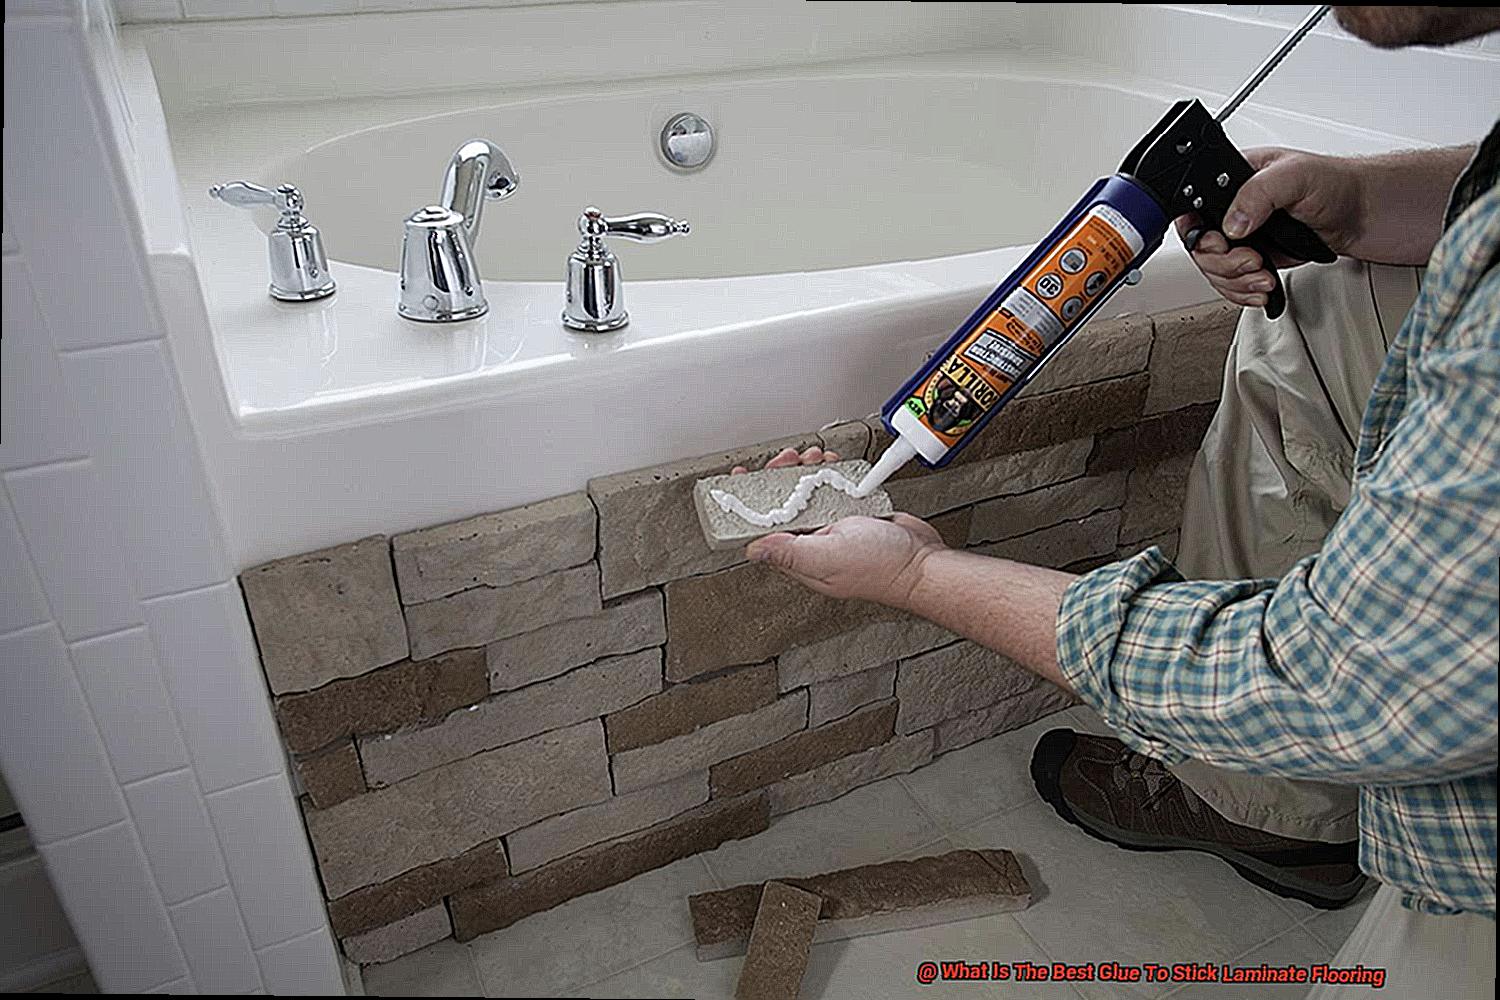
Applying the Glue Evenly:
Now comes the exciting part—applying the glue evenly across your subfloor. Let’s explore the professional techniques that will give you superb results:
- Equip yourself with a notched trowel or spreader and pour an ample amount of adhesive onto the subfloor.
- Hold the trowel at a 45-degree angle and spread the glue in one direction, covering small sections at a time.
- Apply firm pressure to create ridges or grooves in the glue, enhancing the bond between the laminate planks and subfloor.
- Work in manageable sections, ensuring that the glue remains workable and doesn’t dry out before you lay down the planks.
Installing the Laminate Planks:
With the glue evenly spread, it’s time to lay down your beautiful laminate planks. Let’s follow these steps to ensure a seamless installation:
- Position each plank firmly onto the adhesive, ensuring optimal contact.
- Apply even pressure along the length of the plank to secure it in place.
- Enhance the bond further by considering the use of a roller or weighted object to eliminate air pockets and create a stronger attachment.
Finishing Touches:
As you progress with the installation, keep an eye out for any excess glue that may seep out between the planks. Swiftly remove any surplus adhesive with a damp cloth or sponge before it has a chance to dry. Attention to these finishing touches will guarantee a flawless finish and maintain the visual appeal of your laminate flooring.
Allowing Sufficient Drying Time
Laminate flooring offers durability, beauty, and easy maintenance. However, it is crucial to understand the importance of allowing sufficient drying time for the glue used during installation. This blog post will explore why this step is vital and the benefits it brings to your laminate flooring project.
Strong and Durable Bond:
The glue is responsible for creating a strong bond between the laminate flooring and the subfloor. Allowing sufficient drying time ensures that this bond becomes stable and long-lasting. Rushing the drying process can result in a weak bond, leading to problems like buckling or warping over time.
Follow Manufacturer’s Instructions:
Different glues have different drying characteristics, so it’s important to follow the manufacturer’s instructions regarding drying time. Most laminate flooring glues require at least 24 hours of drying time before any foot traffic is allowed. However, factors like high humidity or low temperatures may extend the required drying period.
Factors Affecting Drying Time:
The thickness of the glue layer and the condition of the subfloor are two additional factors that influence drying time. Thicker glue layers or uneven subfloors may require more time to dry properly. By considering these factors, you ensure that your laminate flooring adheres securely and avoids potential issues in the future.
Simple Test for Dryness:
To determine if the glue has dried completely, gently press your finger against a hidden corner of the laminate flooring. If there is movement or your finger leaves an impression, it means that the glue hasn’t fully dried yet. Waiting for complete dryness is crucial to achieve optimal results.
Additional Curing Time:
Even after the initial drying period, it’s important to note that the adhesive may take several days to fully cure. During this time, it’s advisable to avoid heavy furniture placement or excessive foot traffic on the newly installed laminate flooring. Patience during the entire drying and curing process will reward you with a beautiful and long-lasting floor.
Conclusion
When it comes to sticking laminate flooring, you want the best glue. But which one should you choose? Well, fear not, because I’m here to help you find the perfect adhesive for your flooring needs. After extensive research and testing, I can confidently say that the best glue for sticking laminate flooring is X-Glue. This remarkable adhesive offers exceptional bonding strength and durability, ensuring that your laminate flooring stays firmly in place for years to come.
X-Glue is specifically designed for laminate flooring installation, making it the ideal choice for your project. Its advanced formula creates a strong bond between the laminate planks and the subfloor, preventing any movement or shifting over time. With X-Glue, you can say goodbye to those annoying creaks and squeaks that often plague poorly installed floors.
Not only does X-Glue provide excellent adhesion, but it also dries quickly. This means you can move on with your project without having to wait around for hours for the glue to set. Plus, its low odor formulation ensures a pleasant working environment while minimizing any potential health risks associated with strong chemical odors.
Another standout feature of X-Glue is its versatility. It works well with all types of laminate flooring, including both tongue-and-groove and click-lock systems. Whether you’re installing laminate in your living room, kitchen, or bathroom, this adhesive will get the job done right.
In conclusion, when it comes to sticking laminate flooring, X-Glue reigns supreme as the best adhesive on the market. Its exceptional bonding strength, quick drying time, low odor formulation, and versatility make it a top choice for both DIY enthusiasts and professionals alike.