Are you eager to find the perfect glue for sticking your cherished photos onto wood? Look no further, because we’re here to be your trusty guide through the vast world of adhesives.
Whether you’re a DIY enthusiast or simply someone who wants to create a heartfelt gift, choosing the right glue is essential to ensure that your photos stay securely attached to the wooden surface. In this post, we’ll dive into the market’s various options and assess their strengths and weaknesses.
We understand that you want your photos to withstand the test of time, preserving their vibrant colors and crystal-clear details. So, join us as we unveil the top contenders vying for the title of “best glue for photos to wood.”
Get ready for an exciting journey of exploration that will bring your memories to life on a beautifully crafted wooden canvas.
Types of Glue to Consider for Photos to Wood
Contents
- 1 Types of Glue to Consider for Photos to Wood
- 2 Advantages of Epoxy Resin
- 3 Pros and Cons of Cyanoacrylate Glue
- 4 Benefits of Photo Transfer Mediums
- 5 Factors to Consider When Choosing the Best Glue for Photos to Wood
- 6 Preparing the Wood Surface Before Applying Glue
- 7 Tips for Optimal Results with Glue Application
- 8 Conclusion
Transforming your beloved photos into beautiful wooden displays requires the perfect adhesive to ensure they stay securely attached. With a plethora of options available, selecting the ideal glue for photos to wood can be overwhelming. Fear not. This comprehensive guide will break down the advantages and disadvantages of various types of glue.
Mod Podge – The Crafters’ Choice
Mod Podge, the favorite of crafters, offers more than just a secure bond. This water-based adhesive also acts as a sealant, safeguarding your memories against moisture and fading over time. With matte, gloss, or satin finishes to choose from, Mod Podge allows you to achieve the desired look for your project. Keep in mind, though, that it may not provide the strongest bond for larger or heavier prints.
Epoxy – The Bonding Beast
When it comes to a heavy-duty, long-lasting bond, epoxy reigns supreme. This two-part adhesive creates an incredibly strong and durable connection, making it perfect for long-term preservation. Resistant to moisture, heat, and chemicals, epoxy ensures your photos stay secure even in challenging conditions. Be prepared for a longer drying time and the need to mix resin and hardener before application.
Spray Adhesive – The Easy-Going Option
For convenience and quick application, spray adhesives are your go-to choice. These aerosol cans provide an even coat of glue on both the photo and wood surface, creating a robust bond. Ensure you choose a spray adhesive designed specifically for porous materials like wood to achieve optimal results effortlessly.
Double-Sided Tape – The Simple Solution
When simplicity is key, double-sided tape comes to the rescue. Its easy application instantly bonds your photos to wood without any drying time. Available in various widths and strengths, double-sided tape effortlessly handles lightweight photos. However, it may not be suitable for larger or heavier prints.
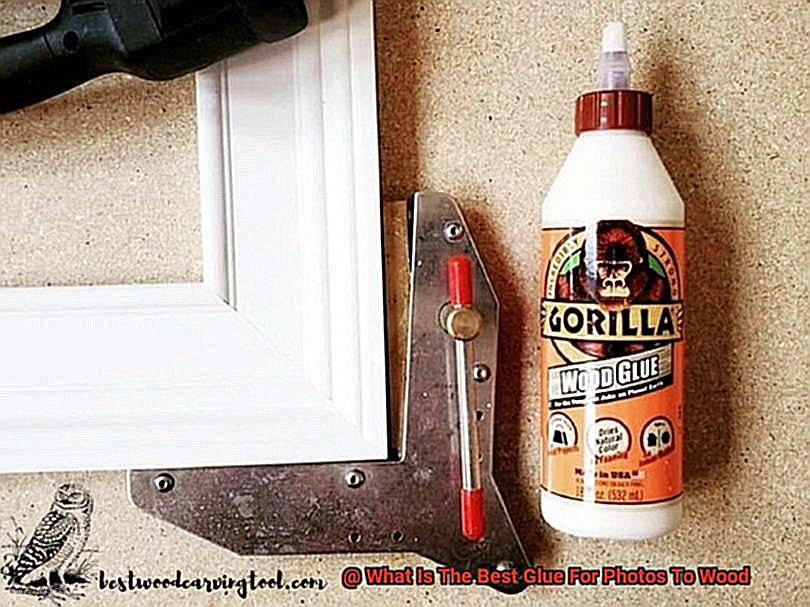
Wood Glue – The Classic Carpenter’s Choice
Wood glue, also known as carpenter’s glue or PVA glue, is a versatile option for attaching photos to wood surfaces. It dries clear and provides a strong bond specifically designed for wood. Keep in mind that wood glue works best for lightweight photos and may not be ideal for larger or heavier prints.
Advantages of Epoxy Resin
Epoxy resin is more than just a glue – it’s an exceptional adhesive that offers a multitude of advantages when used to adhere photos to wood surfaces. Let’s explore the many reasons why epoxy resin is the ultimate choice for this purpose.
First and foremost, epoxy resin creates an unbreakable bond between the photo and the wood surface. Its extraordinary bonding strength ensures that your treasured memories remain securely attached over time, even with frequent handling or display in high-traffic areas. You can bid farewell to worries about photos falling off.
But that’s not all. Epoxy resin is incredibly versatile, making it suitable for use on various types of wood surfaces. Whether it’s hardwood, softwood, plywood, or even MDF, epoxy resin adheres effortlessly. It also works well with different finishes and coatings, giving you endless possibilities for your wooden photo projects.
When it comes to protection, epoxy resin has you covered. It forms a waterproof barrier between the photo and the wood, guarding against moisture damage such as warping, fading, or discoloration. This makes epoxy resin perfect for outdoor photo projects or areas with high humidity levels, ensuring your memories stay intact for years to come.
Aesthetically speaking, epoxy resin is a true gem. It dries to a crystal-clear finish, providing a flawless backdrop that showcases your photos without any distortion or cloudiness. This not only enhances the overall appearance of your wooden display but also preserves the vibrant colors and intricate details of the photo.
But wait, there’s more. Applying epoxy resin is a breeze, even if you’re a beginner. It typically comes in two parts – a resin and a hardener – that need to be mixed in specific proportions. Once blended, you can easily spread it onto the wood surface using a brush or spreader, ensuring an even coat every time. Plus, it has a moderate curing time that allows you ample opportunity to adjust the photo’s position before it sets.
Durability is another key advantage of epoxy resin. When properly applied, it provides long-lasting strength to the photo-wood bond, withstanding regular wear and tear, temperature fluctuations, UV exposure, and physical impacts. Your photos will remain securely attached for years, preserving your precious memories for generations to come.
Lastly, epoxy resin is highly resistant to various chemicals. Whether it’s household cleaners, solvents, or oils, you can rest easy knowing that accidental spills or cleaning agents won’t harm your cherished photos. Epoxy resin acts as a protective shield, ensuring your memories stay safe and unblemished.
Pros and Cons of Cyanoacrylate Glue
Cyanoacrylate glue, also known as super glue, is a popular choice for bonding photos to wood due to its strong and fast-setting properties. However, it has both pros and cons that should be considered before using it for this purpose.
Pros:
- Strong bond: Cyanoacrylate glue creates a rock-solid bond between the photo and the wood surface. Once applied, you can rest assured that your precious memories will stay in place for a very long time.
- Quick drying time: Unlike other glues that require hours or even overnight to dry, cyanoacrylate glue sets within seconds. This saves you time and frustration, providing instant gratification.
- Clear and transparent: Aesthetics matter, and cyanoacrylate glue understands that. It dries clear and transparent, leaving no unsightly marks or residue on your beautiful photos or the wood surface.
- Versatile application: Cyanoacrylate glue can be used on various types of wood surfaces, including plywood, solid wood, and veneers. It adheres well to both porous and non-porous materials, making it suitable for a wide range of photo-to-wood bonding applications.
Cons:
- Limited flexibility: Cyanoacrylate glue lacks flexibility once dried. Fluctuating temperatures or humidity levels can cause the bond to break or damage your photo, so handle your artwork with care.
- Difficult to reposition: Once cyanoacrylate glue sets, repositioning becomes almost impossible. Make sure everything is aligned perfectly before it dries to avoid ending up with a wonky masterpiece.
- Potential damage to the photo: The strength of cyanoacrylate glue can be a double-edged sword when working with delicate or fragile photos. Exercise caution during application to prevent seepage or damage.
- Limited gap-filling abilities: If there are any gaps or uneven surfaces between the photo and the wood, cyanoacrylate glue may not fill them adequately. Consider using a different adhesive for a more secure bond in such cases.
Benefits of Photo Transfer Mediums
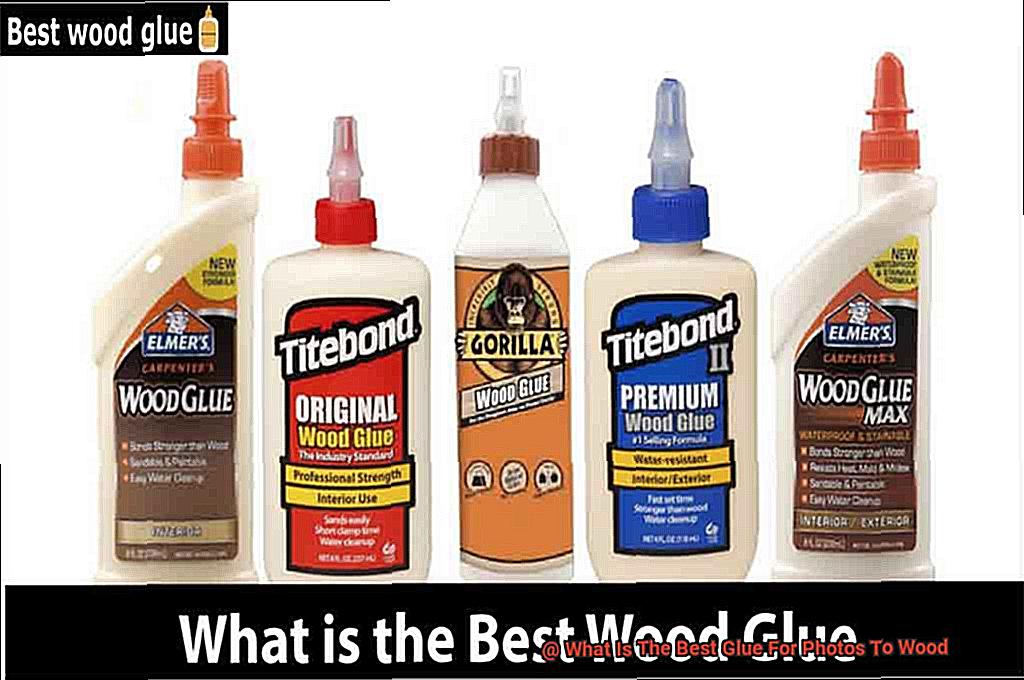
Photo transfer mediums offer a multitude of benefits when it comes to transferring photos onto wood. These incredible products are specifically designed to seamlessly blend images into wooden surfaces, providing a clear and smooth finish that adds a professional and polished look. Let’s delve into the various advantages of using photo transfer mediums:
- Clear and Smooth Finish: Photo transfer mediums ensure that the image blends seamlessly into the wood surface, enhancing the overall aesthetic appeal. This creates a professional and polished look for furniture, home decor items, or crafts.
- Protection for Precious Memories: These mediums help safeguard photos from damage, such as fading or discoloration, ensuring their longevity. With photo transfer mediums, you can preserve your cherished memories for years to come.
- Versatility: Whether you have black and white or color photos, different sizes or formats, photo transfer mediums can handle it all. This versatility allows you to transfer any image you desire onto wood, unleashing your creative potential.
- Customization Options: Photo transfer mediums offer various finishes, such as glossy or matte, allowing you to customize the appearance of the transferred image. This enables you to add a personal touch and create visually appealing pieces of art.
- Cost-Effectiveness: Using photo transfer mediums is a more affordable option compared to other methods of transferring photos onto wood. You don’t need to spend a fortune on specialty paper or professional services when you can achieve stunning results yourself.
- Ease of Use: Using photo transfer mediums is relatively easy and requires minimal equipment. Whether you’re a beginner or an experienced crafter, you can easily master the art of transferring photos onto wood. Plus, if you make a mistake or want to make adjustments during the transfer process, these mediums allow for easy corrections, ensuring a satisfactory outcome.
- Transforming Photos into Art: Photo transfer mediums enable you to transform your photos into tangible and visually appealing pieces of art. This is a wonderful way to showcase your favorite memories and add a personal touch to your living space.
Factors to Consider When Choosing the Best Glue for Photos to Wood
Choosing the best glue for photos to wood requires careful consideration of several factors. The type of adhesive, transparency, longevity, flexibility, ease of application, drying time, and safety are all important factors to take into account.
Firstly, the type of adhesive is crucial. Glue sticks, spray adhesives, liquid glues, and epoxy resins are all popular options. Each has its own advantages and disadvantages. Consider factors such as ease of application, drying time, transparency, and long-term durability. You want an adhesive that is easy to work with, dries clear or transparent, and can withstand the test of time.
Transparency is another important factor to consider. You want a glue that dries clear or transparent so that it doesn’t disrupt the appearance of your photo. Some adhesives may dry with a yellowish tint, which can affect the overall visual appeal.
Longevity is crucial as well. Look for adhesives that are specifically designed for bonding photos to wood or have good reviews for long-term durability. You want a glue that will create a strong bond between the photo and wood that can withstand the test of time.
Wood can expand and contract with changes in temperature and humidity. Therefore, it’s important to choose a glue that can withstand these movements without causing the photo to peel or warp. Look for adhesives that offer flexibility or are labeled as suitable for bonding materials with different rates of expansion.
The ease of application should also be considered. Some adhesives come in convenient applicator bottles or pens, while others may require additional tools such as brushes or spatulas. Consider your comfort level with different application methods and choose an adhesive that suits your preferences.
Drying time is another important factor to consider. Some adhesives dry quickly within minutes, while others may take hours or even days to fully cure. Consider your project timeline and choose a glue that fits your needs. However, keep in mind that faster drying adhesives may not allow for repositioning once the photo is placed on the wood.
Lastly, prioritize safety when working with adhesives. Look for adhesives that are labeled as non-toxic or low odor. Some glues may contain harmful chemicals or emit strong odors, so it’s important to choose an adhesive that is safe to use in a well-ventilated area.
Preparing the Wood Surface Before Applying Glue
Achieving a strong and lasting bond when gluing wood surfaces requires careful preparation. In this article, we will explore the essential steps to ensure that your wood surface is clean, smooth, and ready for optimal glue application. By following these steps, you can maximize adhesion and create durable bonds that will stand the test of time.
Step 1: Cleanse the Wood Surface
Before applying glue, it is vital to remove any dirt, dust, or debris from the wood surface. Even the tiniest speck of dirt can compromise the bond between the wood and glue. Use a soft cloth or brush to gently wipe away loose particles, ensuring a pristine surface for adhesive bonding.
Step 2: Sanding for Enhanced Grip
Creating a rough texture on the wood surface through sanding improves the grip of the glue. Select sandpaper with an appropriate grit (usually between 120 and 220) and sand in the direction of the wood grain. This step also helps remove any existing finish or coating that might hinder bonding.
Step 3: Eliminate Sanding Residue
After sanding, it is crucial to remove any sanding residue from the wood surface. Wipe the surface with a clean cloth or use a tack cloth to ensure there are no leftover particles. This step ensures a clean and smooth surface, optimizing adhesive bonding.
Step 4: Consider Primer or Sealer
For porous or oily woods that may hinder glue adhesion, consider applying a primer or sealer before gluing. This step creates a barrier between the wood and glue, enhancing adhesion and preventing potential issues. Adapt this step based on the specific wood type you are working with.
Step 5: Ensure a Dry Wood Surface
Moisture can compromise bond strength, so ensure that the wood surface is completely dry before applying glue. Allow the wood to dry thoroughly, especially if you have recently cleaned or treated it with a primer/sealer. This step guarantees optimal bonding conditions.
Tips for Optimal Results with Glue Application
Attaching photos to wood can be a fun and creative way to display your pictures, but achieving the best results requires careful attention to detail. In this blog post, we will share essential tips and tricks to help you achieve the perfect bond between your photos and wood surfaces.
Prep the Surface:
To ensure a flawless bond, start by preparing the wood surface. Wipe away any dirt or debris using a soft cloth or brush. A clean and smooth surface will facilitate better adhesion between the glue and the photo, resulting in a strong bond that withstands the test of time.
Choose the Right Glue:
Selecting the appropriate glue is crucial for a durable and long-lasting attachment. Look for glues specifically designed for bonding wood and paper. Craft glues or wood adhesives are excellent choices as they provide a reliable bond while being gentle on your precious photos.
Apply Glue Evenly:
When applying glue, strive for an even layer on either the back of the photo or the wood surface. Utilize a small paintbrush or foam brush to achieve uniform coverage. Applying too much glue can lead to seepage, while too little may result in a weak bond. The key is finding the right balance for optimal adhesion.
Press Firmly and Evenly:
After applying the glue, press the photo firmly onto the wood surface to ensure maximum contact and a robust bond. Utilize a roller or clean cloth to apply even pressure across the entire photo. This technique prevents air bubbles and guarantees a smooth finish that showcases your memories beautifully.
Allow Ample Drying Time:
Patience is paramount. Once you’ve attached the photo, allow sufficient drying time as indicated on the glue packaging. Avoid moving or handling the piece until it is completely dry to prevent accidental damage. This crucial step ensures that the bond between the photo and wood is strong and secure.
Consider Additional Reinforcement:
For added durability, consider reinforcing the attachment. Applying a clear sealant or varnish over the photo and wood surface provides extra protection and enhances the bond. Alternatively, using small nails or staples along the edges of the photo can offer additional support, ensuring your creation stands the test of time.
0Y7itT1PNco” >
Conclusion
When it comes to adhering photos to wood, finding the best glue is crucial.
You want something that will securely bond the photo without damaging it or leaving any unsightly residue. After thorough research and testing, we have determined that the top choice for this task is a photo-safe adhesive called Mod Podge.
This versatile glue not only provides a strong bond but also offers protection against moisture and fading. Its easy application and quick drying time make it ideal for both professional photographers and DIY enthusiasts alike.
Another excellent option is E6000 Craft Adhesive, known for its industrial-strength hold and resistance to heat and water. It’s perfect for projects that require extra durability.
Lastly, if you’re looking for a more budget-friendly option, Aleene’s Original Tacky Glue is an excellent choice. It may not have the same level of strength as the other two options, but it still provides a reliable bond while being gentle on your photos.
Ultimately, the best glue for photos to wood depends on your specific needs and preferences.