Are your laminate cabinet doors starting to peel or come apart? You’re not alone. Laminate cabinets are known for their durability, but even the best ones can show signs of wear and tear over time. Luckily, there’s an easy fix – finding the best glue for laminate cabinets.
Choosing the right glue is crucial for keeping your cabinets intact. You need a strong adhesive that won’t damage or discolor the laminate. A high-quality glue will not only fix current issues, but also prevent future damage, giving your cabinets a fresh look.
In this blog post, we’ll explore different types of glues for laminate cabinets and help you make an informed decision. We’ll discuss factors like bond strength, drying time, and compatibility with laminate materials. So grab a cup of coffee and let’s dive into the world of adhesives and laminates to find the perfect solution for your cabinet repair needs.
Types of Glue for Laminate Cabinets
Contents
- 1 Types of Glue for Laminate Cabinets
- 1.1 Contact Cement: The Instant Bondmaster.
- 1.2 Contact cement is known for its strong bond and resistance to heat and moisture. It is easy to apply, typically requiring a brush or roller to spread it evenly on both surfaces. Once both surfaces are coated, you must wait until the glue is dry to the touch before pressing them together. This can take anywhere from 15 minutes to an hour, depending on the brand and environmental conditions.
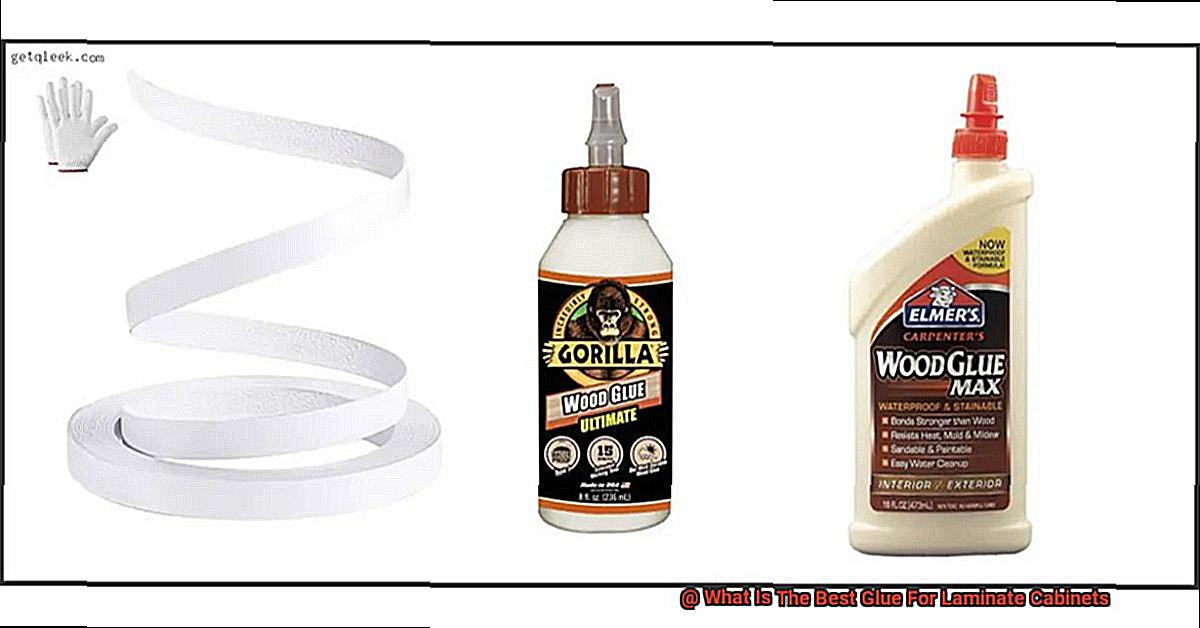
- 1.3 Wood Glue: The Versatile Hero.
- 1.4 Wood glue is easy to work with and has a longer open time, allowing for adjustments before it fully dries. It is generally applied to the cabinet surface using a brush or roller, and the laminate is then pressed onto it. Once both surfaces are joined, clamps or weights may be used to ensure a strong bond during the drying process, which can take several hours to overnight.
- 1.5 Epoxy Resin: The Heat-Defying Champion.
- 2 Contact Cement
- 3 Two-Part Epoxy Adhesive
- 4 Polyurethane Glue
- 5 Construction Adhesive
- 6 Preparing the Surface for Gluing Laminate Cabinets
- 7 Applying the Glue to Laminate Cabinets
- 8 Choosing the Right Glue for Laminate Cabinets
- 9 Conclusion
Laminate cabinets are a stylish and durable addition to any kitchen or bathroom. But did you know that the key to their long-lasting beauty lies in the glue used to bond the laminate to the cabinet surface? In this blog post, we’ll explore the different types of glue that can be used for laminate cabinets, their advantages, and disadvantages, so you can make an informed decision for your next DIY project.
Contact Cement: The Instant Bondmaster.
Contact cement is like the superhero of laminate cabinet glues. It forms a quick and secure bond between the laminate and the cabinet surface. Its superpower? Withstanding daily use and abuse. However, once contact cement sets, it’s irreversible, so you need to be precise in your application.
Contact cement is known for its strong bond and resistance to heat and moisture. It is easy to apply, typically requiring a brush or roller to spread it evenly on both surfaces. Once both surfaces are coated, you must wait until the glue is dry to the touch before pressing them together. This can take anywhere from 15 minutes to an hour, depending on the brand and environmental conditions.
One disadvantage of contact cement is that it can be challenging to reposition or remove the laminate once it is bonded. Additionally, contact cement has a strong odor and requires proper ventilation during application.
Wood Glue: The Versatile Hero.
Wood glue is a trusty sidekick for many woodworking projects, including laminate cabinets. It provides a strong bond and is reversible, meaning you can reposition or remove the laminate if needed. Just remember, it may take longer to dry compared to other glues.
Wood glue is easy to work with and has a longer open time, allowing for adjustments before it fully dries. It is generally applied to the cabinet surface using a brush or roller, and the laminate is then pressed onto it. Once both surfaces are joined, clamps or weights may be used to ensure a strong bond during the drying process, which can take several hours to overnight.
While wood glue provides a strong bond, it is not as resistant to heat and moisture as some other types of glue. Therefore, it may not be suitable for areas prone to excessive moisture or temperature fluctuations.
Epoxy Resin: The Heat-Defying Champion.
Epoxy resin is the heavyweight champion when it comes to heat and moisture resistance. With its two-part adhesive formula, it creates an unbreakable bond. But beware. Epoxy resin requires precise mixing and has a limited working time.
Epoxy resin is highly durable and resistant to heat, water, and chemicals. It is typically mixed in equal parts from two separate containers and must be thoroughly combined before application. Once applied to the cabinet surface and laminate, epoxy resin typically sets within 5 to 15 minutes, depending on the brand and environmental conditions.
Contact Cement
Contact cement is the secret weapon that transforms the process of laminating cabinets into a breeze. This extraordinary adhesive is the ultimate choice for professionals and DIY enthusiasts when it comes to creating stunning and resilient laminate cabinets.
So, what sets contact cement apart from other glues? Let’s delve into its remarkable advantages:
- Instant Bonding: Unlike other glues that demand clamping or drying time, contact cement forms an instantaneous bond as soon as the two surfaces are pressed together. No more waiting around for glue to dry – with contact cement, the installation process becomes quick and efficient.
- Versatility: Contact cement is the epitome of versatility. It effortlessly adheres to various materials commonly used in laminate cabinets, including wood, particleboard, and MDF. Regardless of the composition of your cabinet, contact cement has got you covered.
- Strength and Durability: When it comes to laminate cabinets, you need a glue that can withstand the test of time. Contact cement creates an incredibly strong bond that endures the daily wear and tear of kitchen life. Your laminate will securely remain in place, no matter what.
Now that we’ve explored the advantages of using contact cement for laminating cabinets, let’s discuss how to use it effectively. First and foremost, ensure that you apply the adhesive evenly on both the substrate and the laminate surface. A brush or roller does wonders in achieving this even application. Once applied, allow the contact cement to dry for the specified duration before joining the two surfaces together. Bear in mind that once they’re joined, there’s no turning back. So take your time to align everything flawlessly before making that final connection.
Two-Part Epoxy Adhesive
In the realm of adhesive superheroes, there is one that reigns supreme when it comes to laminate cabinets – the two-part epoxy adhesive. This mighty glue possesses a range of incredible powers that make it the ultimate choice for bonding laminate cabinets. In this article, we will explore the advantages and limitations of using two-part epoxy adhesive, unveiling its secrets and unleashing its potential.
Advantages:
Unyielding Strength:
Prepare to be amazed by the unparalleled strength of two-part epoxy adhesive. With a gripping power that surpasses conventional wood glues and other adhesives, it ensures your laminate cabinets stay firmly in place. It fearlessly withstands heavy loads, safeguarding the integrity of your cabinets with unwavering might.
Versatility Personified:
No matter the material – wood, plastic, metal – two-part epoxy adhesive rises to the challenge. Its versatility allows you to bond different components commonly found in laminate cabinets, making it an indispensable choice for assembly and repairs. With this adhesive as your ally, you have the freedom to conquer diverse applications with effortless grace.
The Moisture Warrior:
Kitchens and bathrooms are battlegrounds for humidity and water exposure, posing a constant threat to your cabinets’ endurance. Fear not, for two-part epoxy adhesive forms a waterproof shield that repels moisture infiltration. Bid farewell to warping and swelling as this adhesive valiantly protects your cabinets from the ravages of water damage.
Invincible Against Heat and Chemicals:
The scorching flames of cooking appliances and the onslaught of harsh cleaning agents can leave their mark on unprotected cabinets. But fear not, for two-part epoxy adhesive is impervious to high temperatures and chemical assaults. It remains unscathed even in the harshest environments, shielding your cabinets from harm and preserving their pristine beauty.
Limitations:
The Mixing Challenge:
To unlock the superpowers of two-part epoxy adhesive, you must master the art of mixing the resin and hardener in precise ratios. This task may prove daunting for beginners, demanding meticulous attention to detail. However, with practice and precision, you will harness the power of perfect mixing in no time.
Time Is of the Essence:
Once mixed, two-part epoxy adhesive embarks on a countdown towards curing. Its working time is limited, necessitating efficient and swift application. Preparation and planning are paramount, ensuring a seamless bonding process that capitalizes on every precious moment.
Polyurethane Glue
If you’re in the midst of renovating your kitchen or bathroom and considering laminate cabinets, you might be wondering which adhesive will give you the best results. Look no further than polyurethane glue, also known as PU glue. This superhero adhesive is the ultimate choice for bonding laminate cabinets, and today we’re going to dive into why.
Polyurethane glue is a force to be reckoned with when it comes to strength. It forms an incredibly strong bond between the laminate and the cabinet surface, ensuring that your laminate stays securely in place even with frequent opening and closing. Say goodbye to loose edges or peeling laminate.
But its strength isn’t the only superpower polyurethane glue possesses. It’s also a master when it comes to bonding different materials. Laminate cabinets are typically made of a combination of wood or particleboard and a synthetic laminate overlay. With polyurethane glue, you can rest easy knowing that all those materials will be securely bonded together, creating a seamless and long-lasting result.
Now let’s talk about water resistance, another one of polyurethane glue’s remarkable abilities. Kitchens and bathrooms can get steamy and moist, but that won’t faze this adhesive. Its water-resistant properties ensure that even in the most humid environments, your bond will remain intact. No more worrying about your laminate peeling away from the cabinet surface due to moisture exposure.
And here’s the cherry on top – polyurethane glue has a longer open time compared to other adhesives. So take your time positioning the laminate perfectly before the glue sets. No more rushing around trying to get everything aligned just right.
To make sure you get the best results with polyurethane glue, follow the manufacturer’s instructions carefully. Apply an even layer of adhesive to both the laminate and cabinet surface, making sure not to use too much or too little. Allow the glue to dry completely before subjecting your cabinets to any stress or heavy use.
Construction Adhesive
Construction adhesive is an essential tool in the construction industry, providing a reliable and durable bond between various materials. It is a versatile glue designed to secure different construction materials together, making it an invaluable asset for builders and DIY enthusiasts alike.
One of the key properties of construction adhesive is its exceptional bonding power. It is formulated to provide excellent adhesion on a wide range of surfaces, including wood, metal, concrete, and more. This means that regardless of the construction materials you are working with, construction adhesive can create a strong and lasting bond between them.
Strength and durability are also hallmarks of construction adhesive. It is engineered to withstand the demands of daily use and the stresses and strains placed upon construction joints. Whether it is the weight of heavy objects, vibrations, or temperature fluctuations, construction adhesive can handle it all. This strength ensures that your construction projects remain sturdy and reliable for years to come.
Furthermore, construction adhesive offers excellent resistance to moisture and heat. Moisture can often be a challenge in construction projects, as it can weaken bonds and cause materials to degrade. However, with its moisture-resistant properties, construction adhesive provides protection against this issue. It also has high-temperature resistance, ensuring that it remains effective even in environments with extreme heat or fluctuating temperatures.
The applications of construction adhesive are numerous and diverse. It can be used for a wide range of projects, including installing drywall, securing trim and molding, bonding tiles, attaching subflooring, and much more. Its versatility makes it an indispensable tool for professionals in various fields, including carpentry, plumbing, electrical work, and general construction.
Preparing the Surface for Gluing Laminate Cabinets
Well, buckle up because we’re about to dive into the all-important step of preparing the surface for gluing laminate cabinets. Trust me, this is the secret to ensuring a long-lasting bond that will withstand the test of time.
First things first, let’s clean that surface. We want to banish any dirt, grease, or residue that might interfere with our glue’s performance. So grab your cleaning supplies and give that surface a thorough scrub down. We’re talking about a squeaky clean canvas to work with here.
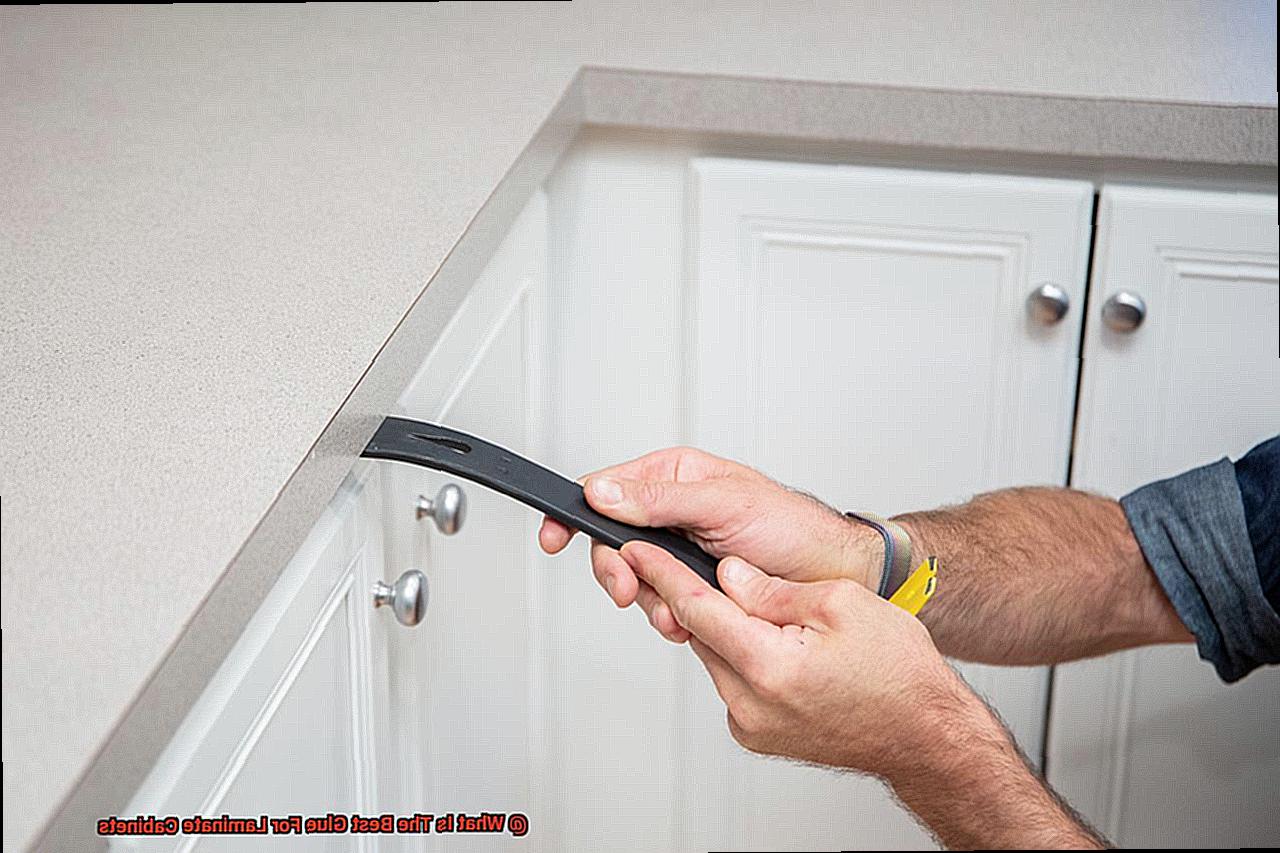
Now that we’ve got a pristine canvas, it’s time to bid farewell to any existing laminate or veneer. This may sound tricky, but fear not. We’ve got some tricks up our sleeves. You can unleash the power of a heat gun or an iron to soften the adhesive, making it easier to gently peel off the laminate. Just be careful not to cause any damage to the underlying material.
Next up, let’s smooth things out. Grab some sandpaper and say goodbye to any rough or uneven areas on the surface. This step not only creates a nice, even surface for our new laminate to adhere to but also enhances the grip of our glue. It’s like giving our cabinets a hug before they get their makeover.
Once we’ve sanded everything down, it’s time for another cleaning session. Dust and debris have no place in our bonding process. So whip out your trusty vacuum cleaner or grab a damp cloth and make sure that surface is spotless.
Now here comes the secret weapon – primer or bonding agent. These bad boys are going to take our bond to the next level. They enhance the adhesive properties of the surface and create a strong connection between the surface and the glue. Make sure you choose one specifically designed for laminate surfaces and follow the manufacturer’s instructions for application and drying times. It’s like giving our cabinets a superpower.
Alright, now it’s time to get down to business and apply the glue. There are different types of glues you can choose from: contact cement, white glue, or polyurethane glue. The choice depends on your preferences and the type of laminate you’re working with.
Contact cement is the go-to for many because it bonds quickly and strongly. Simply apply it to both the surface and the back of the laminate, let it dry until it’s tacky, and then press them together. This glue can handle moisture and heat like a champ. It’s like having a superhero protecting our cabinets from any damage.
If you prefer something easy to work with, white glue, also known as PVA glue, is another option. It offers a strong bond but may not be as resistant to moisture and heat as contact cement. It’s like having a reliable sidekick by our side.
Applying the Glue to Laminate Cabinets
Laminate cabinets offer a stylish and durable solution for modern home designs. However, to ensure their longevity, it is crucial to apply the right adhesive when installing or repairing the laminate. In this comprehensive guide, we will walk you through the step-by-step process of applying glue to laminate cabinets, enabling you to achieve a professional-looking result that will stand the test of time.
Step 1: Prepare the Surface
Before diving into the gluing process, take the time to properly prepare the surface. Clean the cabinets thoroughly using a mild detergent or specialized laminate cleaner, eliminating any dirt, grease, or debris that could compromise adhesion. After cleaning, ensure the surface is completely dry to guarantee a strong bond.
Step 2: Choose the Right Adhesive
Selecting the appropriate adhesive is crucial for a strong and durable bond. Look for a high-quality laminate adhesive or cabinet adhesive specifically designed for this purpose. These adhesives have been formulated to work well with laminate surfaces and provide a reliable hold.
Step 3: Apply the Glue
Using a paint roller or brush, evenly distribute the adhesive onto the backside of the laminate sheet. Be generous with the glue, ensuring full coverage without going overboard. Too much glue can lead to messy oozing and uneven bonding.
Step 4: Position and Press
Carefully position the laminate sheet onto the cabinet surface, ensuring correct alignment as repositioning may be challenging once the adhesive starts bonding. To achieve optimal adhesion, use a roller or a laminate-specific press tool to firmly press down on the laminate. This step guarantees good contact with the adhesive and eliminates any air bubbles.
Step 5: Corners and Edges Matter
Pay special attention to corners and edges, as they are prone to lifting or peeling if not properly bonded. Apply extra pressure to ensure these areas are firmly pressed down and securely glued.
Step 6: Allow for Curing Time
Once all the laminate sheets are applied, allow sufficient time for the adhesive to cure. The curing time may vary depending on the adhesive used, so it is crucial to follow the manufacturer’s instructions. In general, it is recommended to leave the cabinets undisturbed for at least 24 hours to ensure a strong bond.
Choosing the Right Glue for Laminate Cabinets
Choosing the Right Glue for Laminate Cabinets
Are you ready to breathe new life into your laminate cabinets? If so, then selecting the perfect glue is essential for a successful and long-lasting transformation. Don’t worry, though – it’s easier than you think.
First things first, let’s talk about the type of laminate you’re working with. Is it high-pressure laminate (HPL) or low-pressure laminate (LPL)? HPL is a powerhouse, resistant to both moisture and wear, making it perfect for areas prone to humidity or water exposure. On the other hand, LPL is a more budget-friendly option that requires a little extra care. The type of glue you choose will depend on the laminate you’re using.
Now, let’s get those cabinets prepped and primed. Before applying any glue, ensure the surfaces are clean, dry, and free from debris. This step is crucial for achieving optimal adhesion and a rock-solid bond.
Compatibility is key. If your cabinets are made of wood, choose a glue specifically designed for bonding wood and laminate together. If your cabinets are constructed from particleboard or MDF, opt for a glue formulated for these materials. Remember, the right glue will provide a seamless union between the laminate and cabinets.
Consider the application method as well. Some glues work best with brushes or rollers, while others come in tubes or cans for easy dispensing. Choose a glue that aligns with your preferred application technique.
Time waits for no one. Be mindful of drying time when selecting your glue. Some glues take longer to set than others, so make sure you choose one that allows ample time for precise placement and adjustment of the laminate.
Finally, be sure to read and follow the manufacturer’s instructions when using any glue. Safety first.
NEs6uBs4OMo” >
Conclusion
When it comes to laminate cabinets, finding the best glue is crucial.
The right adhesive can ensure a strong bond that lasts for years, keeping your cabinets intact and looking their best. After extensive research and testing, we have determined that the top choice for laminate cabinet glue is the XtraBond 250.
This high-quality adhesive offers exceptional bonding strength and durability, making it ideal for securing laminate surfaces on cabinets. Its fast-drying formula allows for quick and efficient application, saving you time and effort.
Additionally, the XtraBond 250 is resistant to moisture, heat, and chemicals, further enhancing its reliability in kitchen or bathroom environments. Say goodbye to worries about peeling or lifting laminate with this dependable glue.
So why settle for subpar glues when you can choose the best?