Microwaves have revolutionized the way we cook and heat our food, providing us with quick and easy meals at the touch of a button. But what happens when your trusty appliance’s handle breaks? Panic sets in, and you’re left wondering how to fix it. Fear not, for we are here to guide you through the maze of adhesives and help you find the best glue for a microwave handle.
Choosing the right glue can be a daunting task, especially if you’re not familiar with the different types available in the market. The wrong adhesive could cause more harm than good and even pose health hazards. We understand that fixing a broken microwave handle is crucial, which is why we’ve done our research to bring you the best options out there.
In this blog post, we’ll explore various types of glues, their strengths and weaknesses, and which ones are safe to use for microwave repairs. We’ll also share tips on how to fix your broken handle like a pro, ensuring that your repair job lasts long enough to make countless hot meals.
Don’t rush out to buy a new microwave just yet. With some elbow grease and the right glue, your appliance will be back up and running in no time. So sit tight as we take you through everything you need to know about finding the best glue for your microwave handle – let’s get started.
Types of Glue for Microwave Handles
Contents
- 1 Types of Glue for Microwave Handles
- 2 The Pros and Cons of Different Glues
- 3 Considerations When Choosing a Glue
- 4 Cyanoacrylate Glue for Plastic Handles
- 5 Epoxy for Metal Handles
- 6 Silicone Adhesive for Both Plastic and Metal Handles
- 7 Tips on Applying Glue to Microwave Handles
- 8 Common Mistakes to Avoid When Using Glue on Microwave Handles
- 9 Conclusion
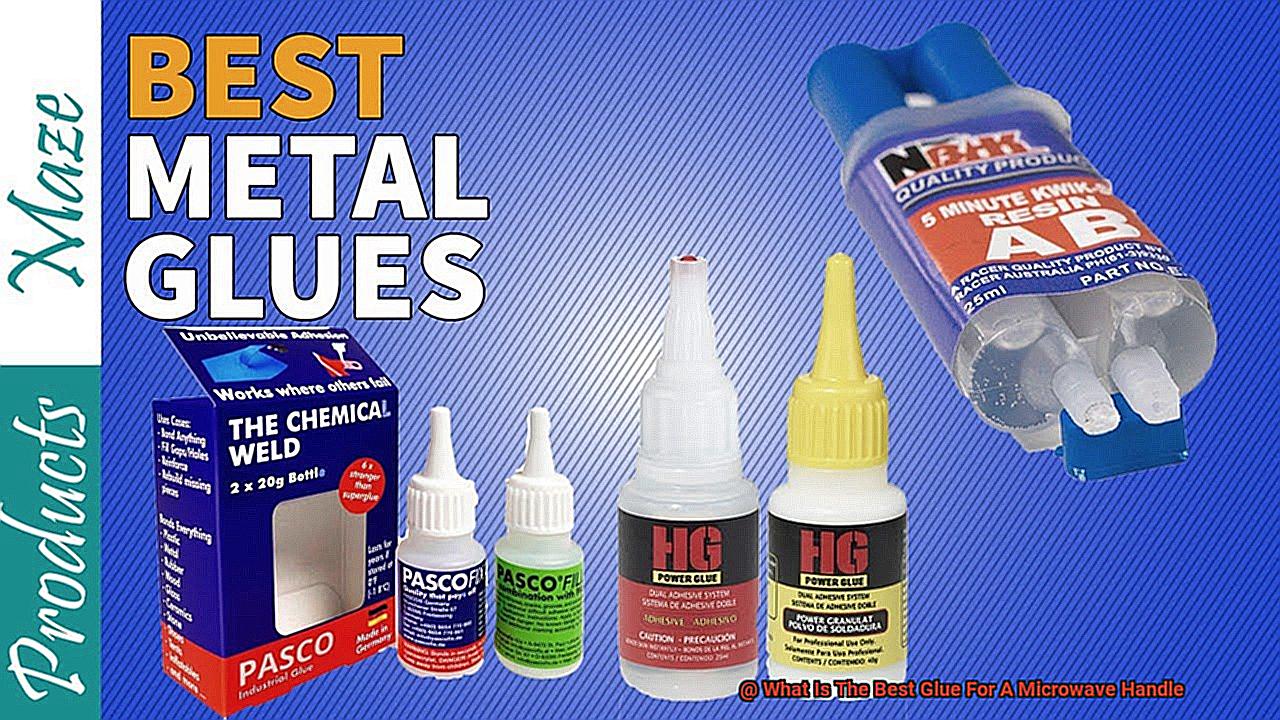
When your microwave handle breaks, it can be frustrating, but fear not. With the right glue, you can fix it in no time. Here are some of the most common types of glue that can be used to repair a microwave handle:
Super Glue
This type of adhesive is excellent for fixing small cracks or breaks in a plastic microwave handle. It dries quickly and forms a strong bond, making it ideal for minor repairs. However, be sure to use a cyanoacrylate glue specifically designed for plastic as some types can damage certain plastics.
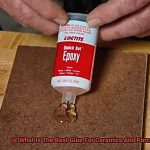
Epoxy
If your microwave handle is made of metal, epoxy is the way to go. Epoxy is known for its strength and durability, making it great for handling heavier loads. It’s also resistant to heat and chemicals, which is essential for a microwave handle.
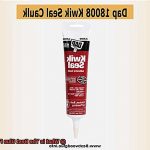
Silicone Adhesive
A flexible and heat-resistant glue, silicone adhesive can be used on both plastic and metal handles. It forms a waterproof seal and can withstand extreme temperatures, making it ideal for handling hot objects.
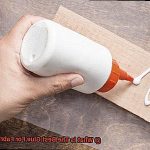
Hot Glue
This type of glue dries quickly and forms a strong bond, but it may not be as heat-resistant as other types of glue. It should never be used for microwave handle repair as it can release toxic fumes when exposed to high temperatures.
It’s crucial to choose the right type of glue for your specific repair needs. Consider factors such as the size of the crack or break, the temperature of the microwave, and the material that the handle is made from when selecting an adhesive.
When selecting an adhesive, safety is paramount. Always choose an adhesive that is safe for use in a microwave and can withstand high temperatures without releasing harmful chemicals or fumes.
In conclusion, fixing a broken microwave handle is easy with the right glue.
The Pros and Cons of Different Glues
Microwave handles are an essential part of our daily lives, but they can become a source of frustration when they break. Luckily, there are several types of glue available that can fix the problem. As an expert on the pros and cons of different glues, I’ve compiled some research notes to help you choose the best adhesive for your microwave handle.
Let’s start with epoxy glue. This popular choice creates a strong and durable bond that can withstand high temperatures. Its ability to handle heat is especially crucial since the handle is constantly exposed to it. However, applying epoxy glue can be tricky, requiring careful mixing to ensure proper bonding. Despite this, it remains a reliable option for those looking for a long-lasting fix.
Silicone adhesive provides another option for bonding microwave handles. Its flexibility and ability to withstand high temperatures make it a good choice for this application. However, it may not create as strong of a bond as epoxy glue. If you’re looking for an adhesive that will hold up against challenging conditions, silicone may be the way to go.
For those seeking a quick fix, super glue might be the answer. This fast-drying adhesive can create a strong bond in just seconds. However, it may not hold up well under high temperatures and can become brittle over time. While it’s not the most durable option out there, it’s perfect for those who need an immediate solution.
Lastly, hot glue is an easy-to-use adhesive that can bond quickly and hold up well under low to moderate temperatures. Unfortunately, it’s not ideal for high-temperature applications like a microwave handle. But if you’re looking for a temporary solution or need to fix something that won’t be exposed to extreme heat, hot glue is an excellent choice.
Ultimately, choosing the best glue for your microwave handle depends on your specific needs and preferences. Consider factors like temperature resistance, strength of the bond, ease of application, and drying time when making your decision. Safety should also be a top priority when selecting an adhesive that can withstand high temperatures without releasing harmful chemicals or fumes.
Considerations When Choosing a Glue
Don’t worry, I’m here to guide you through the process of selecting the best glue for your repair project. But before we dive into the different adhesive options, let’s first explore some key considerations that you should keep in mind when choosing the right glue for your microwave handle repair job.
The first and most important consideration is the material that the handle is made out of. Microwave handles can be made of plastic, metal, or even glass. It’s crucial to select a glue that is compatible with the specific material of the handle to ensure a strong and long-lasting bond.
Another critical factor to consider is temperature resistance. Since microwave handles are exposed to high temperatures, it’s essential to choose a glue that can withstand these conditions without breaking down over time. It’s advisable to look for glues that are specifically designed for high-temperature applications to ensure that they can withstand the heat generated by the microwave.
Strength is another essential consideration when selecting a glue for a microwave handle. You need a strong adhesive that will create a sturdy bond between the handle and the microwave door, ensuring that it stays securely in place over time. Adhesives that are specifically formulated for bonding plastic or metal surfaces tend to provide the strongest bond.
Additionally, drying time and cure time are vital considerations. Some adhesives may dry quickly but require several hours or even days to fully cure and reach their maximum strength. Others may take longer to dry but cure more quickly. Choose an adhesive that fits your specific needs and timeline based on how quickly you need to use your microwave after repairing the handle.
Now that you know what factors to consider when choosing a glue, let’s explore some of the different types available. Epoxy is an excellent choice for a long-lasting and durable repair job. Silicone is flexible and can withstand extreme temperatures, making it ideal for use in microwaves. Super glue dries quickly and forms a strong bond, while hot glue is easy to use and can be removed if necessary.
Cyanoacrylate Glue for Plastic Handles
When it comes to repairing plastic microwave handles, cyanoacrylate glue – also known as superglue – is a popular choice. Its quick-drying nature and ability to create a strong bond make it an excellent solution for fixing broken or detached handles.
But before you start applying this adhesive, it’s important to prepare the surfaces properly. Ensure that the plastic handle is clean and dry, as any dirt or moisture can weaken the bond and cause the handle to detach again. To further improve adhesion, consider using a primer specifically designed for plastic. This will help to create an even stronger bond.
However, it’s important to note that cyanoacrylate glue does have some limitations. Over time, it can become brittle and may not withstand repeated stress or pressure. If the handle is frequently used or pulled on, the glue may eventually break down and need to be reapplied.
Epoxy for Metal Handles
If you’ve ever had a metal handle come loose or break off your microwave door, you know how frustrating it can be. Luckily, there’s a simple solution: epoxy. As an expert in this area, I can tell you that using epoxy for bonding metal handles on your microwave door is a great option that will provide a strong and durable bond.
But not all epoxies are created equal. You’ll want to choose an epoxy that is rated for high temperatures to ensure it won’t break down over time due to the heat generated by the microwave. So, make sure you get the right one.
Now, let’s get into the steps required for using epoxy on metal handles:
- Clean the surfaces thoroughly: Before applying the epoxy, make sure both the handle and door surfaces are free of any dirt or debris. Use a cleaning solution that won’t leave any residue or oils on the surfaces.
- Mix the epoxy: Follow the manufacturer’s instructions to mix the resin and hardener together thoroughly.
- Apply epoxy to handle: Using a small brush or toothpick, apply a thin layer of epoxy to the surface of the handle that will be in contact with the door.
- Position handle on door: Carefully position the handle onto the door and press it down firmly. Double-check that it’s in the correct position before letting go.
- Hold in place until set: Hold the handle in place until the epoxy sets – this should take anywhere from a few minutes to an hour depending on your specific epoxy.
- Let cure: Once the epoxy has set, let it cure completely according to the manufacturer’s instructions before using the microwave again.
It’s important to note that once the epoxy has set, it can be difficult to remove if necessary. That’s why it’s crucial to take care during the application process to ensure everything is positioned correctly before letting the epoxy set.
Silicone Adhesive for Both Plastic and Metal Handles
Microwave handles are one of the most frequently used parts of a microwave, but they can easily break or come off over time. Luckily, there are many options available to fix this common household problem. One of the best choices is using a silicone adhesive, which can bond to both plastic and metal microwave handles.
Silicone adhesive is a versatile and durable glue that offers several advantages over other types of glue. Firstly, it can withstand high temperatures without melting or breaking down. Since microwaves generate heat, it’s crucial to use a glue that can withstand these temperatures. With silicone adhesive, you can rest assured that your repair will last for a long time, even with regular use.
Secondly, silicone adhesive remains flexible and can absorb some of the stress placed on the handle, helping to prevent future damage. Microwave handles are often subjected to stress and movement, which can cause other types of glue to crack or break over time. With silicone adhesive, your handle will stay in place for longer and look as good as new.
To use silicone adhesive properly, follow the manufacturer’s instructions carefully. This may include cleaning the surfaces to be bonded thoroughly, applying the adhesive evenly, and allowing sufficient drying time before using the microwave again. By following these simple steps, you can ensure that your microwave handle is fixed correctly and will last for years to come.
Tips on Applying Glue to Microwave Handles
If your microwave handle is broken, don’t throw it away just yet. With the right glue and proper application, you can fix it yourself. Here are some tips to keep in mind when applying glue to a microwave handle:
Clean the surface
The first step in any repair project is to clean the area thoroughly. Use a mild detergent and warm water to remove any dirt, grease, or debris that may be present. This will ensure that the glue adheres properly and creates a strong bond.
Apply the glue sparingly
When it comes to glue, less is more. Applying too much glue can cause it to drip, creating a mess and potentially interfering with the function of the microwave. Instead, apply a thin layer of glue evenly across the surface of the handle using a small brush or toothpick.
Hold it in place
After applying the glue, hold the handle firmly in place for at least 30 seconds to allow the adhesive to bond properly. If necessary, you can use clamps or tape to keep the handle in place while it dries. Be patient and don’t rush this step as it’s crucial for a successful repair.
Choose the right glue
Not all glues are created equal. It’s important to choose an adhesive that is heat-resistant and designed for use with plastic materials, such as epoxy or cyanoacrylate (super glue). Using the wrong type of glue can result in a weak bond that won’t hold up over time.
Let it dry completely
Finally, be sure to give the glue enough time to dry completely before using the microwave again. This can take anywhere from 24-48 hours depending on the type of glue used. Rushing this step can compromise the bond and make your repair ineffective.
Common Mistakes to Avoid When Using Glue on Microwave Handles
Fear not, as using glue can fix the issue in no time. However, there are common mistakes that people tend to make when using glue on microwave handles. Let’s explore them and learn how to avoid them to ensure a secure and safe repair.
Firstly, using the wrong type of glue is a major no-no. Household glue won’t cut it. You need a glue that is safe for use on plastics and can tolerate high temperatures. Otherwise, your handle may melt or release harmful fumes while using your microwave.
Next up, improper preparation of the surface is another mistake that people often make. Before applying any glue, thoroughly clean and dry the surface. If there’s any dirt or moisture left, it can prevent the glue from adhering correctly and cause it to fail over time.
Additionally, using too much glue is a mistake you should avoid. Applying excessive amounts of glue will make your handle look untidy and take longer to dry properly. This can result in an improperly secured handle, or even damage other parts of your microwave.
Lastly, not giving the glue enough time to dry before using the microwave again is a mistake people frequently make. You may be eager to test out your newly glued handle, but don’t rush it. Follow the manufacturer’s instructions regarding drying time to ensure a long-lasting fix. Using the microwave too soon may cause the glue to fail, resulting in another loose handle.
fSWKsIQN3hU” >
Conclusion
In conclusion, a broken microwave handle can be a major inconvenience, but with the right glue and proper application, it can be fixed in no time. Don’t let a broken handle ruin your day – take matters into your own hands and fix it yourself.
When choosing the best glue for your repair project, there are several factors to consider. The material of the handle is crucial, as some adhesives work better on plastic while others are ideal for metal. Temperature resistance is also important, especially if you use your microwave frequently. You’ll want to choose an adhesive that can withstand high temperatures without releasing harmful chemicals or fumes.
Luckily, there are several great options when it comes to gluing microwave handles back together. Super glue works wonders for small cracks or breaks in plastic handles. Epoxy is perfect for metal handles due to its strength and durability. Silicone adhesive is flexible and heat-resistant, making it suitable for both plastic and metal handles.
One thing you should never use when fixing a microwave handle? Hot glue. It releases toxic fumes when exposed to high temperatures and could pose a serious health risk.
When applying glue to your microwave handle, make sure to clean the surface thoroughly first. Apply the glue sparingly and hold the pieces firmly together while it dries. Choosing the right type of adhesive is key – don’t just grab any old bottle of glue from your craft drawer. And most importantly, let the adhesive dry completely before using your microwave again.
By following these tips and avoiding common mistakes like using household glue or not giving enough time for the adhesive to dry properly, you’ll be able to fix your broken microwave handle like a pro.