Today, we’re diving headfirst into the sticky situation of removing adhesive from painted walls. We’ve all been there, right?
Those stubborn stickers that just won’t budge, or that pesky tape residue that seems determined to stick around forever. And let’s not even get started on the remnants of old wallpapers clinging for dear life.
It’s enough to make any DIY enthusiast or homeowner break into a sweat. But fear not, because we’re here to save the day and help you find the holy grail of adhesive removers for painted walls.
We’ve scoured the market, sifted through countless options, and unearthed some fascinating facts and details that will make this daunting task feel like a walk in the park. So grab your favorite beverage, kick back, and get ready to bid farewell to those sticky nightmares once and for all.
Let’s embark on this adhesive-removing adventure together.
Types of Adhesives Used on Painted Walls
Contents
- 1 Types of Adhesives Used on Painted Walls
- 2 Commercial Adhesive Removers for Painted Walls
- 3 Household Items That Can Remove Adhesive from Painted Walls
- 4 DIY Solutions for Removing Adhesive from Painted Walls
- 5 Important Considerations When Using Commercial or DIY Solutions
- 6 Testing the Adhesive Remover Before Applying It to a Larger Area
- 7 Using Heat to Remove Adhesive from Painted Walls
- 8 Taking Precautions When Removing Adhesives From Painted Walls
- 9 Conclusion
Removing adhesive from painted walls can be a challenging task, especially if you’re unsure of the type of adhesive that was used. In this blog post, we’ll explore the different types of adhesives commonly used to attach items to painted walls and provide effective removal methods for each. Whether you’re dealing with wallpaper adhesive, construction adhesive, double-sided tape, mounting adhesive, or decal or sticker adhesive, we’ve got you covered.
Wallpaper Adhesive: Easy On, Easy Off
Wallpaper adhesive is specifically designed for bonding wallpaper to walls. It is typically water-based and provides a strong bond while still being easy to apply and remove. To remove wallpaper adhesive, start by dampening a sponge or cloth with warm water. Gently rub the adhesive until it dissolves, and voila. Your walls are ready for a fresh look. If the wallpaper adhesive has dried for an extended period or has been applied in excess, you may need to use a commercial wallpaper adhesive remover for complete removal.
Construction Adhesive: The Heavy-Duty Challenge
Construction adhesive is a heavy-duty adhesive used for bonding materials like wood or metal to painted walls. It delivers a strong and durable bond but can be quite challenging to remove. For construction adhesive removal, you’ll need a heavy-duty adhesive remover specifically designed for this purpose. Follow the manufacturer’s instructions carefully to dissolve the adhesive without damaging your paint.
Double-Sided Tape: Stick and Slide
Double-sided tape is a popular choice for hanging lightweight items on painted walls. Most double-sided tapes are removable without leaving behind any residue if they haven’t been left on for too long. However, if you find yourself dealing with sticky residue from double-sided tape, fear not. There are adhesive removers available that are specifically formulated to remove tape residue. Simply apply the remover to the affected area and watch as the stickiness slides away.
Mounting Adhesive: Holding Memories in Place
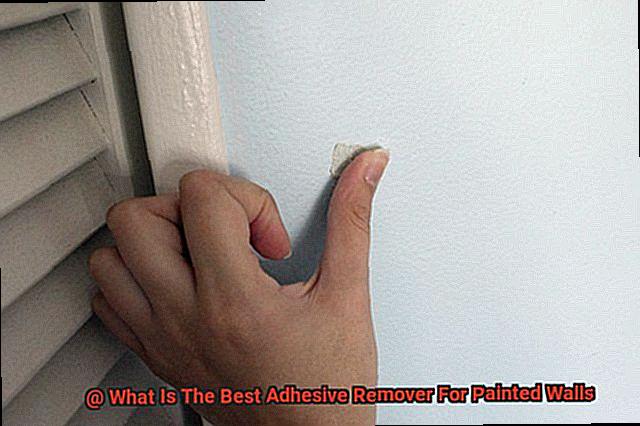
Mounting adhesives, such as sticky dots or foam squares, are commonly used for hanging pictures or artwork on painted walls. Most mounting adhesives are removable without damaging the paint. However, if they have been left on for an extended period or exposed to heat, they may require a bit more effort to remove. Start by dampening a sponge or cloth with warm water and gently rub the adhesive until it dissolves. For stubborn residue, an adhesive remover specifically formulated for mounting adhesives will save the day.
Decal or Sticker Adhesive: Stick and Peel
Decals and stickers add a touch of personality to your walls, but when it’s time for a change, removing them can be a sticky situation. Luckily, most decals and stickers can be removed without damaging the paint using warm water and a sponge or cloth. Simply dampen the adhesive with warm water and gently rub until it loosens. For stubborn decals or stickers, an adhesive remover made specifically for this purpose will make them peel away like magic.
Commercial Adhesive Removers for Painted Walls
The solution lies in the world of commercial adhesive removers. These magical potions are specifically designed to tackle the toughest adhesives, making the removal process a breeze. In this comprehensive guide, we will explore the world of commercial adhesive removers for painted walls, covering the various types available, their pros and cons, and how to choose the perfect one for your project.
Let’s begin our journey by delving into the different types of commercial adhesive removers. First on our list are solvent-based removers. These bad boys contain powerful chemicals that dissolve even the most tenacious adhesives. However, they come with a cautionary tale – they can be harsh on painted walls if not used properly. So, it’s crucial to read those instructions carefully and conduct a small test on an inconspicuous area before going all out.
If you’re seeking a gentler alternative, citrus-based removers are here to save the day. Harnessing the power of natural ingredients like orange oil, these removers break down adhesive residues without causing harm to your beloved painted walls. Plus, they often come with delightful citrus scents that make the process a tad more enjoyable. Just keep in mind that they might take a bit longer to work compared to their solvent-based counterparts.
For those dealing with specific types of adhesives, specialized adhesive removers are the holy grail. These targeted warriors are tailor-made for removing particular adhesives like wallpaper paste or carpet glue. Yes, they may be a bit pricier, but when it comes to achieving optimal results with specific applications, the investment is well worth it.
Now that we’ve explored the different types of commercial adhesive removers, let’s dive into some essential factors to consider when choosing the perfect one for your project:
- Compatibility with your painted walls: Not all removers are created equal, and some may not be suitable for certain types of painted walls. Check the product label or consult with a professional to ensure compatibility.
- Safety precautions: Safety first, my friend. Always prioritize your well-being when working with adhesive removers. Follow the manufacturer’s instructions to the letter, don those protective gloves, and ensure you’re working in a well-ventilated area to avoid any unwanted mishaps.
- Ease of application: Consider the form of the adhesive remover – whether it’s a spray, gel, or liquid – and choose one that suits your preferences and ease of use. After all, you want this process to be as smooth as possible.
- Effectiveness: Don’t leave success to chance. Read reviews, seek recommendations, and ensure that the adhesive remover you choose is known for its effectiveness in removing the specific type of adhesive you’re dealing with. You deserve nothing less than perfection.
Household Items That Can Remove Adhesive from Painted Walls
Well, fret no more. I have some household hacks up my sleeve that will make that sticky mess disappear in no time. No need to rush out to the store and buy expensive adhesive removers – just check your kitchen cabinets and you’ll find everything you need.
First and foremost, we have the magical elixir known as rubbing alcohol. Grab a cloth or sponge, dampen it with rubbing alcohol, and gently rub the adhesive until it surrenders. It might take a bit of elbow grease and a few repetitions, but that pesky residue will eventually give in.
If rubbing alcohol isn’t on hand, don’t panic – vinegar will come to your rescue. Mix equal parts vinegar and water in a spray bottle, spritz it onto the adhesive, and let it work its acidic magic for a few minutes. Then, wipe it away with a clean cloth or sponge. The acidity of vinegar helps break down the adhesive, making it easier to bid farewell to.
Cooking oils like vegetable or coconut oil can also save the day. Take a small amount of oil on a cloth and gently massage it onto the adhesive in circular motions. The oil will dissolve the adhesive, allowing you to wipe it away effortlessly with a clean cloth.
And let’s not forget about baking soda, the superhero of adhesive removal. Create a paste by mixing baking soda and water, slather it onto the adhesive, and let it sit for a few minutes. Then, wipe away the paste along with the adhesive residue. Voila.
If all else fails, warm soapy water is your trusty fallback option. Fill a bucket or basin with warm water, add a few drops of dish soap, dip a sponge or cloth into the soapy water, and gently massage the adhesive until it starts releasing its grip. Rinse the wall with clean water and dry it thoroughly.
Remember, before going all-in on any method, test it on a small, inconspicuous area to ensure it doesn’t damage or discolor the paint. And always use gentle pressure – no need for Hulk-like strength here.
If these household hacks don’t quite cut it, specialized adhesive removers or solvents might be your last resort. Just make sure to follow the manufacturer’s instructions and take necessary precautions when working with chemicals.
DIY Solutions for Removing Adhesive from Painted Walls
Adhesive residue on painted walls can be a frustrating eyesore. Whether it’s leftover tape marks from a previous decoration or sticky residue from a failed DIY project, these marks can be stubborn and difficult to remove. But fear not. With a few simple ingredients you likely already have at home, you can easily tackle this task with effective and cost-efficient DIY solutions.
Warm Water and Dish Soap:
Mixing warm water with a few drops of dish soap creates a gentle yet effective solution for removing adhesive from painted walls. Apply this mixture to the adhesive using a sponge or cloth, allowing it to sit and loosen the adhesive for a few minutes. Gently scrub the area with a soft-bristle brush or sponge until the adhesive is gone. Rinse the wall with clean water and dry it thoroughly.
Vinegar Magic:
White vinegar is a powerful ally in the battle against adhesive residue. Mix equal parts of vinegar and warm water in a spray bottle. Spray the solution onto the adhesive and let it sit for a few minutes to penetrate the sticky residue. Use a damp cloth or sponge to gently scrub the area until the adhesive dissolves. Rinse the wall with clean water and dry it thoroughly.
Rubbing Alcohol Power:
The high alcohol concentration of rubbing alcohol helps break down sticky residue quickly. Apply a small amount of rubbing alcohol to a clean cloth or sponge and gently rub the adhesive until it starts to dissolve. Keep rubbing until all the adhesive is removed. Exercise caution when using rubbing alcohol on painted walls, as it may damage certain paint finishes. Test it on an inconspicuous area first.
Baking Soda Abrasion:
Baking soda’s abrasive properties make it an excellent option for removing stubborn adhesive from painted walls. Create a thick paste by mixing baking soda with water. Apply the paste to the adhesive and let it sit for a few minutes to loosen the sticky residue. Use a soft-bristle brush or sponge to scrub the area in circular motions. Rinse the wall with clean water and dry it thoroughly.
Heat It Up:
In cases of particularly stubborn adhesive, heat can be a game-changer. Use a hairdryer or heat gun to warm up the adhesive, making it easier to remove. Hold the hairdryer or heat gun a few inches away from the adhesive and apply heat until it starts to soften. Once pliable, gently scrape off the adhesive using a plastic scraper or credit card. Remember, moderation is key here; too much heat may damage the paint on the wall.
Important Considerations When Using Commercial or DIY Solutions
When it comes to removing adhesive from painted walls, you have two main options: commercial solutions or do-it-yourself (DIY) methods. Before making a decision, consider the following important factors:
- Type of adhesive: Identify the type of adhesive on your walls to choose the most effective solution. Common types include glue, tape residue, wallpaper adhesive, and sticky labels.
- Paint compatibility: Ensure that the adhesive remover is safe for use on painted surfaces. Look for products specifically formulated for painted walls or labeled as paint-friendly to avoid damage or discoloration.
- Surface protection: Consider the nature of your walls and choose a remover that won’t damage delicate surfaces like wallpaper or textured walls. Some removers can be abrasive and leave behind residue.
- Safety precautions: Follow manufacturer instructions and take necessary safety precautions when using adhesive removers. Wear gloves, use in well-ventilated areas, and protect your eyes and skin. Opt for non-toxic or eco-friendly options if you have children or pets.
- Effectiveness and efficiency: Read reviews or seek recommendations to ensure the chosen product is known for its effectiveness. Some adhesives may require multiple applications or longer soaking times, so consider the level of effort and time required.
- Cost and availability: Commercial adhesive removers vary in cost and availability. Consider your budget and accessibility when choosing a remover. DIY solutions using household ingredients like vinegar or baking soda can be cost-effective alternatives, but research their effectiveness.
Testing the Adhesive Remover Before Applying It to a Larger Area
Before you jump into using a potent adhesive remover on the entire wall, it’s essential to understand the significance of testing it first. In this blog post, we will delve into why testing adhesive remover before applying it to a larger area is crucial for preserving the integrity of your painted walls.
Protecting Your Painted Walls:
Your painted walls are like vibrant canvases that breathe life into your living spaces. Applying an adhesive remover without testing it first can have disastrous consequences such as discoloration, peeling, or even damage to the underlying paint layer. By testing a small patch, you can determine if the adhesive remover is compatible with your specific paint type and avoid potential disasters.
Prevention is Better Than Cure:
Imagine applying an adhesive remover to your entire wall, only to discover that it reacts negatively with your paint, leaving behind unsightly blemishes. Conducting a small test patch in an inconspicuous area allows you to identify any adverse reactions before they become widespread. This proactive approach saves you time, money, and the headache of having to fix a larger area later.
Finding the Perfect Match:
Not all adhesive removers are created equal. Some are formulated for specific adhesive types or paint finishes, while others are more versatile. Testing different adhesive removers enables you to find the perfect match for your specific needs. Consulting professionals or reaching out to the manufacturer of your paint can provide additional guidance and recommendations.
Peace of Mind:
Testing an adhesive remover before applying it to a larger area provides peace of mind. Knowing that you have chosen the right product for your painted walls gives you confidence in tackling the adhesive removal process. It minimizes the risk of unexpected surprises and ensures a smoother and more successful outcome.
Using Heat to Remove Adhesive from Painted Walls
If you’ve ever found yourself grappling with the sticky residue of adhesive on your beautifully painted walls, fret no more. Heat is here to save the day, armed with its secret powers to rid your walls of that stubborn gunk without leaving a trace of damage behind.
But how does heat work its enchantment? Imagine a gentle caress from a warm breeze – that’s the sensation heat brings to adhesive. As it warms up, the adhesive softens and becomes more pliable, making it a breeze to scrape off. Let’s explore the magical process of using heat to conquer adhesive on painted walls.
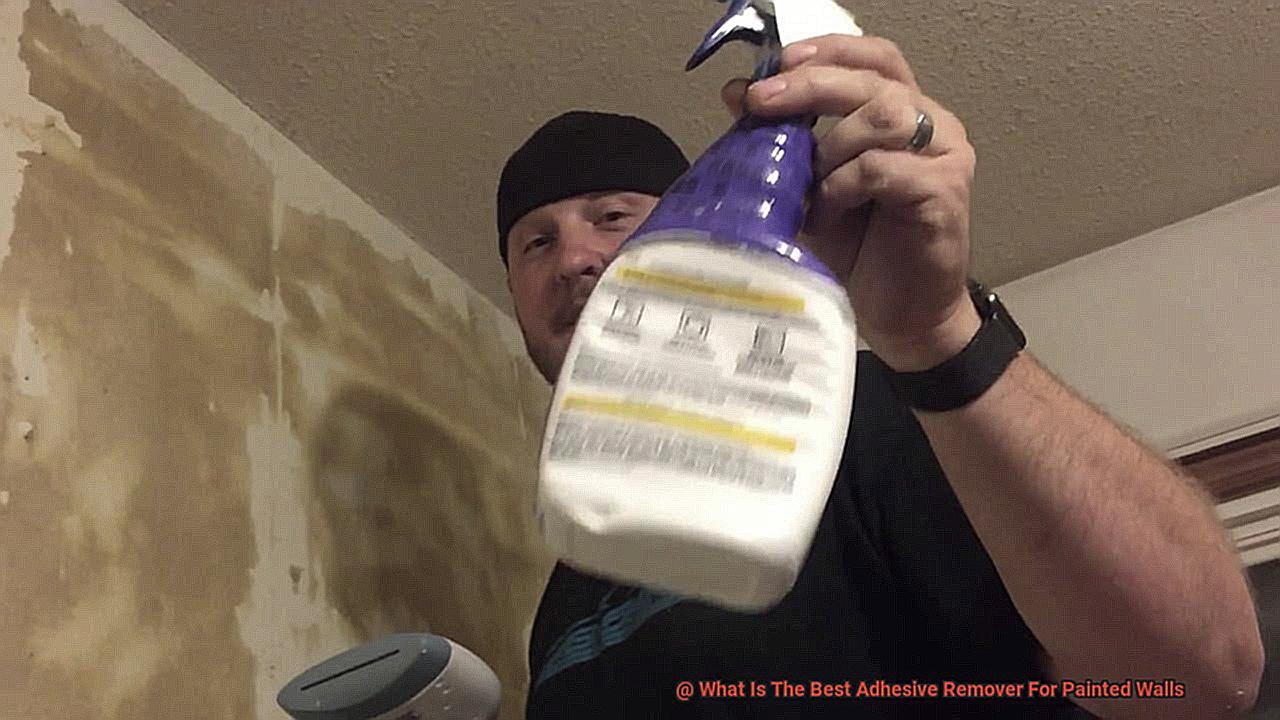
One popular method involves the trusty hairdryer. Picture this: you aim the hairdryer’s toasty breath directly at the adhesive for a few minutes, watching as it surrenders to the heat and begins to soften. Remember, though, to maintain a safe distance between the hairdryer and the wall to prevent any unwanted mishaps or disheartening discoloration.
Once the adhesive is luxuriously soft, arm yourself with a plastic scraper or even an old faithful credit card and gently glide it across the wall. Proceed with caution, my friends, as too much force may mar that exquisite paintwork you poured your heart into.
But hold onto your hats, for we have yet another trick up our sleeves. For those tougher or larger adhesive patches, a heat gun is the knight in shining armor you seek. This magnificent tool unleashes a concentrated stream of heat, capable of subduing even the most tenacious adhesives. However, be vigilant when wielding this power, for if not handled with care, it can unleash scorching temperatures that might damage the paintwork. Begin with a low heat setting and gradually increase if necessary.
After successfully liberating your walls from their adhesive entanglement using heat, you may encounter some sneaky residue clinging to the surface. Fear not, for this is easily vanquished. Prepare a gentle concoction of warm water and mild detergent or enlist the aid of a commercial adhesive remover specially designed for painted surfaces. But remember, my dear comrades, test any cleaning solution on a small, inconspicuous area before proceeding to ensure no unwelcome surprises await.
Taking Precautions When Removing Adhesives From Painted Walls
Removing adhesive from painted walls can be a tricky task. If not done carefully, it can lead to damage or discoloration of the paint. That’s why it’s essential to take proper precautions to ensure a successful adhesive removal process without any harm to your walls.
Before diving into the adhesive removal process, it’s crucial to test a small, inconspicuous area of the wall. This step will help you determine if the adhesive remover you’re using will cause any harm or discoloration to your paint. It’s better to be safe than sorry.
Once you’re ready to proceed, make sure to gear up with some protective gloves and goggles. Adhesive removers can contain strong chemicals that may cause skin irritation or splashes if mishandled. Safety should always be your top priority.
Proper ventilation is also key when working with adhesive removers. Some products release strong fumes that can be harmful if inhaled. Open windows and doors or use fans to ensure adequate airflow and keep the air fresh.
Before applying the adhesive remover, take a moment to remove any loose debris or dirt from the wall surface using a soft cloth or sponge. This simple step will ensure better contact between the adhesive remover and the adhesive itself.
When applying the adhesive remover, remember not to go overboard. Use a brush or sponge to apply it directly onto the adhesive, being careful not to apply excessive amounts that may drip or spread onto unintended areas of the wall.
Now, it’s time for the waiting game. Allow the adhesive remover to sit on the adhesive for the recommended amount of time specified by the manufacturer. Patience is key here, as this will give the product enough time to break down and dissolve the adhesive effectively.
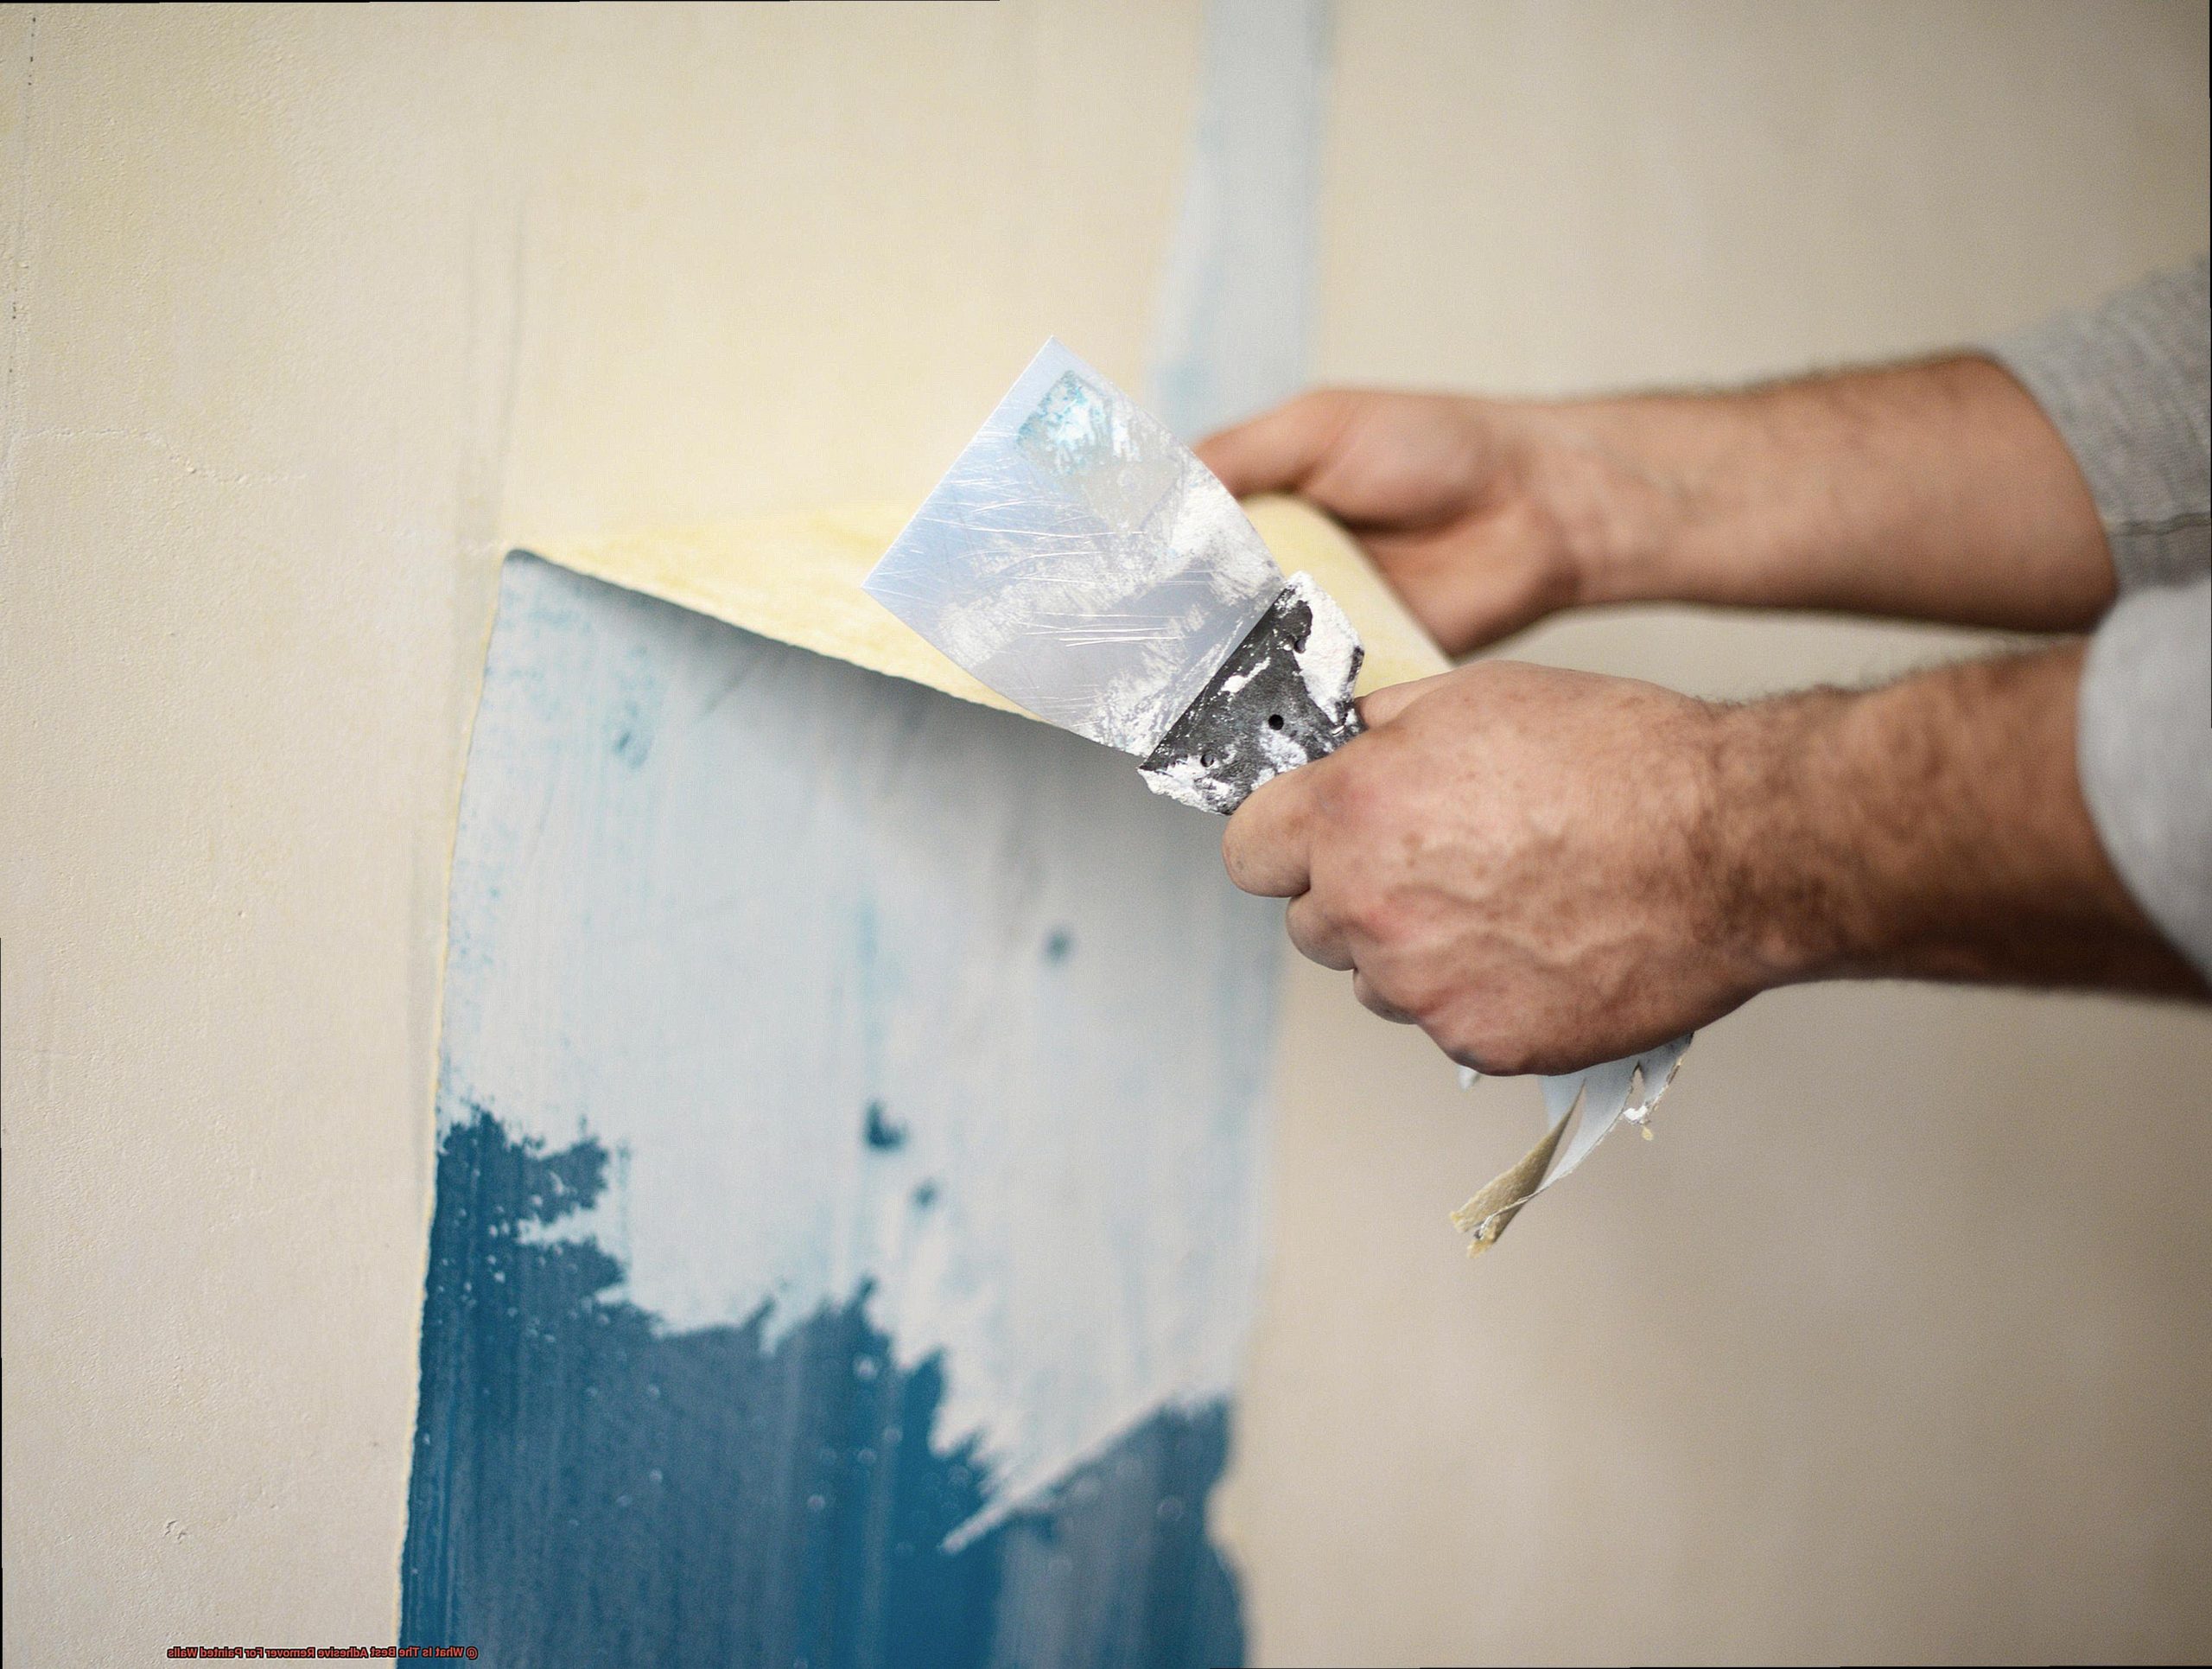
Once the waiting time is up, it’s time to gently remove the softened adhesive from the wall. Use a scraper or putty knife with a smooth edge, being careful not to apply excessive pressure or use sharp tools that could scratch or damage the paint.
If there are any stubborn residue or traces of adhesive left on the wall after scraping, don’t panic. Simply reapply the adhesive remover and repeat the process until all remnants are removed.
After successfully removing all traces of adhesive, it’s important to clean the wall surface with mild soap and water to remove any remaining residue from the adhesive remover. Make sure to dry the wall thoroughly before applying any new paint or decor to ensure a smooth and fresh finish.
9lUdmYuaQlQ” >
Conclusion
When it comes to removing adhesive from painted walls, you want the best product for the job. Look no further than [Product Name], the ultimate adhesive remover. With its powerful formula, it effortlessly tackles stubborn adhesives without damaging your precious paintwork.
Say goodbye to sticky residue and unsightly marks on your walls. [Product Name] effectively dissolves adhesives, allowing you to easily wipe them away. Its gentle yet effective formula ensures that your painted walls remain unharmed throughout the removal process.
Not only does [Product Name] excel at removing adhesives, but it also leaves behind a clean and refreshed surface. No more remnants of sticky gunk ruining the appearance of your beautifully painted walls. With just a few simple steps, you can restore your walls to their former glory.
What sets [Product Name] apart from other adhesive removers is its versatility. It works wonders on various surfaces, including wood, metal, glass, and plastic. Whether you’re dealing with tape residue, stickers, or even stubborn glue, this adhesive remover has got you covered.
Forget about spending hours scrubbing and scraping away at stubborn adhesives. [Product Name] makes the process quick and effortless. Its fast-acting formula allows for efficient removal, saving you time and energy.
Say hello to hassle-free adhesive removal with [Product Name]. Trust in its superior performance and let it work its magic on your painted walls. Don’t settle for anything less than the best when it comes to caring for your home’s surfaces.

