Ever been captivated by the enchanting allure of a plexiglass display case or a mesmerizing sign that seems to defy gravity? Welcome to the world of plexiglass, where style meets safety in an invisible embrace. This extraordinary material, also known as acrylic glass, possesses a set of extraordinary properties that make it a go-to choice for a multitude of applications. But have you ever wondered how this transparent wonder stays firmly in place?
In this blog post, we’ll embark on an adventure into the hidden forces that hold plexiglass with unwavering strength, ensuring its reliability and practicality in countless settings. Join us as we unravel the art of seamless plexiglass installation, exploring the tools, techniques, and ingenious solutions that bring out its true brilliance.
With its unbeatable combination of durability, versatility, and aesthetic appeal, plexiglass is leaving its mark on modern architecture, interior design, commercial displays, and even personal protective equipment. But its success lies not only in its jaw-dropping appearance; it’s also about the methods employed to keep it securely fixed.
Throughout our journey, we’ll unveil the expert techniques used to install plexiglass – from traditional bolts and clips to cutting-edge approaches like adhesives, brackets, and standoff systems. We’ll dive deep into the considerations taken when securing plexiglass in various scenarios: be it outdoor installations braving nature’s elements or heavy-duty barriers standing tall against any challenge. We’ll even explore how this versatile material gracefully conforms to curved surfaces without losing its grip.
So whether you’re an admirer of those eye-catching plexiglass wonders around town or a curious DIY enthusiast with an appetite for unconventional materials – get ready to be spellbound as we uncover the mysteries behind what holds plexiglass in place. Prepare to bring transparency into your world, without compromising on safety, style, or durability.
What is Plexiglass?
Contents
Step into the world of plexiglass, the extraordinary substitute for traditional glass that has redefined transparency and durability. Light as a feather yet incredibly strong, plexiglass has become a go-to material for a multitude of uses.
In this captivating exploration, we will delve into the manufacturing process, uncover its remarkable properties, and reveal the secrets behind holding this transparent wonder in place.
Manufacturing Process:
Plexiglass is crafted from the resilient thermoplastic material known as polymethyl methacrylate (PMMA). Through the mesmerizing process of polymerization, molecules of methyl methacrylate monomer are entwined to form robust chains, ultimately resulting in a solid and transparent material. This method not only imbues plexiglass with strength and rigidity but also allows for effortless molding, shaping, and fabrication.
Properties and Advantages:
- Indestructible Durability: Plexiglass reigns supreme in terms of impact resistance when compared to its fragile glass counterpart. Its ability to endure accidental impacts without shattering makes it a safer choice for countless applications.
- Featherlight Marvel: Shedding the weight of traditional glass, plexiglass is significantly lighter, granting ease in handling and transportation. Its weightlessness also renders it ideal for applications where every ounce counts.
- Crystal Clear Transparency: Boasting exceptional clarity, plexiglass welcomes around 92% of visible light, allowing it to illuminate spaces with brilliance. Be it windows, skylights, or transparent barriers, plexiglass ensures that clarity reigns supreme.
- Limitless Versatility: Plexiglass effortlessly morphs to meet any design requirement, maintaining its strength and transparency throughout the transformation. It can be cut, drilled, machined, and thermoformed with ease to bring creations to life.
- Unyielding Weather Resistance: Unlike traditional glass that succumbs to time and the elements, plexiglass remains steadfast in the face of sunlight and harsh weather. Its enduring clarity and strength make it the perfect choice for outdoor applications.
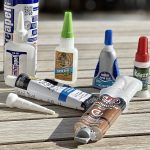
Adhesives for Bonding Plexiglass
Prepare to embark on a captivating journey into the world of plexiglass bonding, where science and artistry collide to create seamless and enduring connections. As an expert in adhesives for bonding plexiglass, I invite you to join me as we unveil the mysteries of this enchanting process. Don your lab coat and brace yourself for a mesmerizing exploration of the wonders that lie within the realm of stickiness.
In the quest for bonding plexiglass, a plethora of adhesives awaits, each with its own unique strengths and weaknesses. Let us embark on a guided tour through this diverse landscape:
- Cyanoacrylate (Super Glue): Like a trusty sidekick, cyanoacrylate is a go-to adhesive for quick and effortless bonding. Its remarkable ability to form a strong bond in the blink of an eye makes it perfect for small projects or short-term fixes. However, tread cautiously, for this adhesive may prove brittle over time and fall short in long-term applications.
- Epoxy Adhesive: Prepare to be amazed by the superhero of adhesives – epoxy adhesive. Renowned for its exceptional strength and durability, it fearlessly withstands extreme temperatures and exhibits admirable resistance to chemicals. Yet, heed this advice: proper mixing and curing time are necessary to unlock its full potential, so patience becomes your greatest ally.
- Acrylic Cement: Behold the magician’s potion designed exclusively for plexiglass bonding – acrylic cement. Through its chemical wizardry, it masterfully melts the surfaces, forging an unbreakable connection. This adhesive reigns supreme in industrial applications, boasting unparalleled clarity when dry.
- UV-Curing Adhesives: Prepare to witness a bond materialize before your very eyes. UV-curing adhesives harness the power of ultraviolet light to swiftly cure and leave no trace behind. Ideal for transparent materials like plexiglass, these adhesives offer both speed and discretion, like a secret agent of the bonding world.
As we delve deeper into this captivating realm, let us not forget the importance of proper surface preparation. Just as a painter primes their canvas, achieving a robust bond necessitates pristine surfaces – clean, dry, and free from any contaminants. Do not shy away from embracing a little roughness, for sanding or roughening techniques can greatly enhance adhesion.
Acrylic Cement
Step right up, my fellow adhesive aficionados, as we embark on a captivating journey into the realm of acrylic cement. Prepare to be mesmerized by its spellbinding ability to fuse plexiglass or acrylic sheets together, creating flawless connections that defy time. So don your lab coat, secure those safety goggles, and let’s unlock the secrets of this enchanting process.
Acrylic cement is no ordinary glue – it’s a specialized adhesive crafted exclusively for joining plexiglass or acrylic sheets. Whether you’re constructing majestic aquariums, crafting awe-inspiring display cases, or delving into exhilarating DIY projects, acrylic cement is your unwavering companion, ensuring seamless bonds that stand the test of time.
But how does it conjure its magic? Imagine this: when the surface of acrylic sheets meets the touch of acrylic cement, a chemical dance begins. The cement melts the acrylic ever so delicately, forging a bond beyond mere stickiness. The result? A joint that seamlessly integrates both pieces, boasting durability as well as visual appeal.
But hold your horses. Remember, acrylic cement is no jack-of-all-trades adhesive. It reserves its powers exclusively for acrylic and plexiglass. So save it for your daring adventures in the world of these magnificent materials.
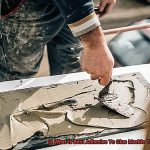
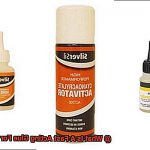
The star of our show is none other than methyl methacrylate (MMA) adhesive – the most commonly used type of acrylic cement. This liquid wonder can effortlessly be applied using a brush or needle applicator, bestowing upon you the gift of precision and ease. Craft perfection awaits at your fingertips.
Before embarking on your bonding voyage, remember this golden rule: cleanliness reigns supreme. Ensure that the surfaces you’re about to unite are pristine – free from dirt, grease, and those pesky dust particles. These unwelcome intruders have no place in our realm of stickiness, as they disrupt the bonding process and weaken the joint – an absolute taboo.
Two-Part Epoxy
Today, we unveil the captivating magic of two-part epoxy, an extraordinary adhesive that ensures flawless connections and unparalleled strength. Prepare to witness the wonders of holding plexiglass in place with ease.
Advantage 1: The Crystal Clear Symphony
In the realm of plexiglass, clarity reigns supreme. Bid farewell to unsightly residue and discoloration, for two-part epoxy is here to preserve the sheer beauty of your creations. With its transparent bond, this adhesive becomes an invisible conductor, allowing your plexiglass masterpiece to shine in all its unadulterated glory.
Advantage 2: The Indomitable Titan
When it comes to strength and durability, two-part epoxy emerges as the unrivaled champion. Once cured, it forms an unyielding bond that laughs in the face of stress and force. Whether you’re mounting plexiglass panels or securing sheets to other materials, this adhesive rises to the challenge and guarantees a long-lasting connection that defies expectations.
Application Process: Simplicity Meets Sorcery
Step 1: The Harmonious Fusion
Like a master alchemist, begin by meticulously mixing the resin and hardener components in the precise ratio specified by the manufacturer. Accuracy is your secret weapon in unlocking optimal bonding performance. Embrace your inner scientist and let the potion take shape.
Step 2: The Artful Dance
With your components perfectly blended, it’s time to let your inner artist shine. Armed with a brush or applicator with a fine tip, elegantly spread the epoxy along the edges or contact areas of your plexiglass canvas. Picture yourself delicately painting strokes of adhesive, as if crafting a masterpiece that will withstand the ages.
Step 3: The Symphony of Fusion
Now, let the symphony begin. Press the surfaces together with unwavering resolve, ensuring a firm and even distribution of adhesive. Employ clamps or weights, acting as loyal guardians, to hold your plexiglass in place while the epoxy’s enchantment unfolds. This is the moment where dreams become reality.
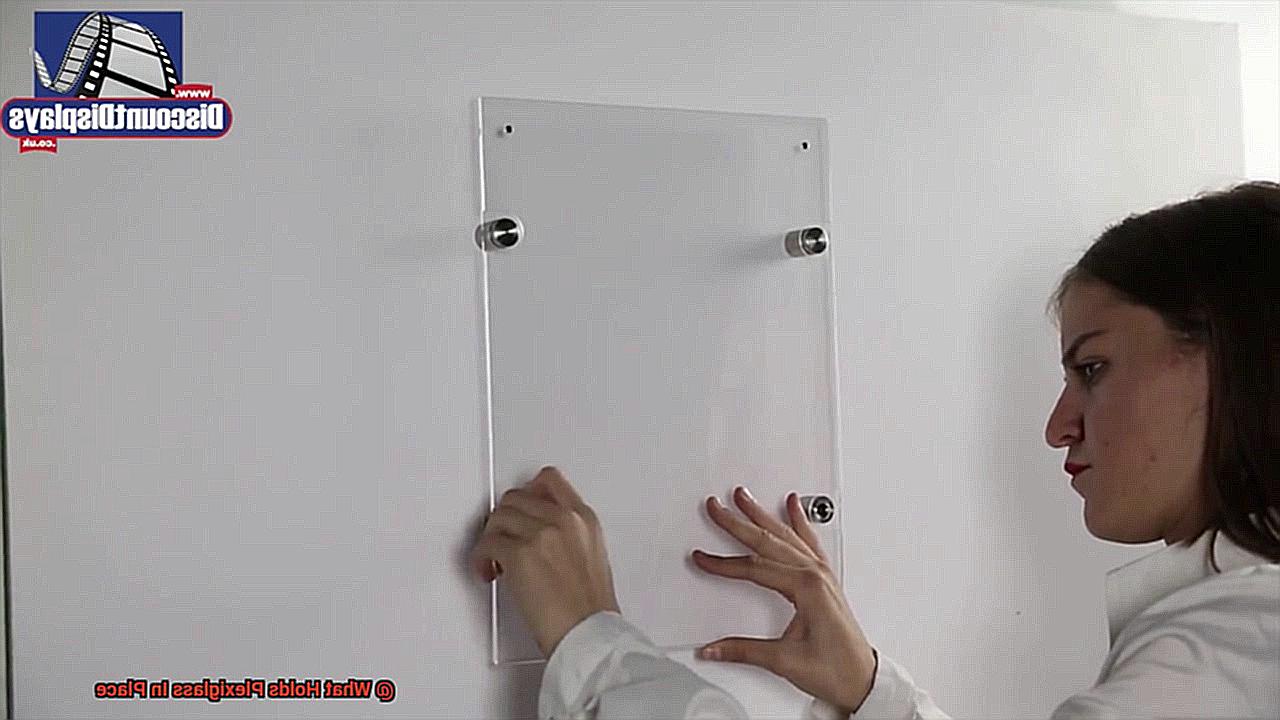
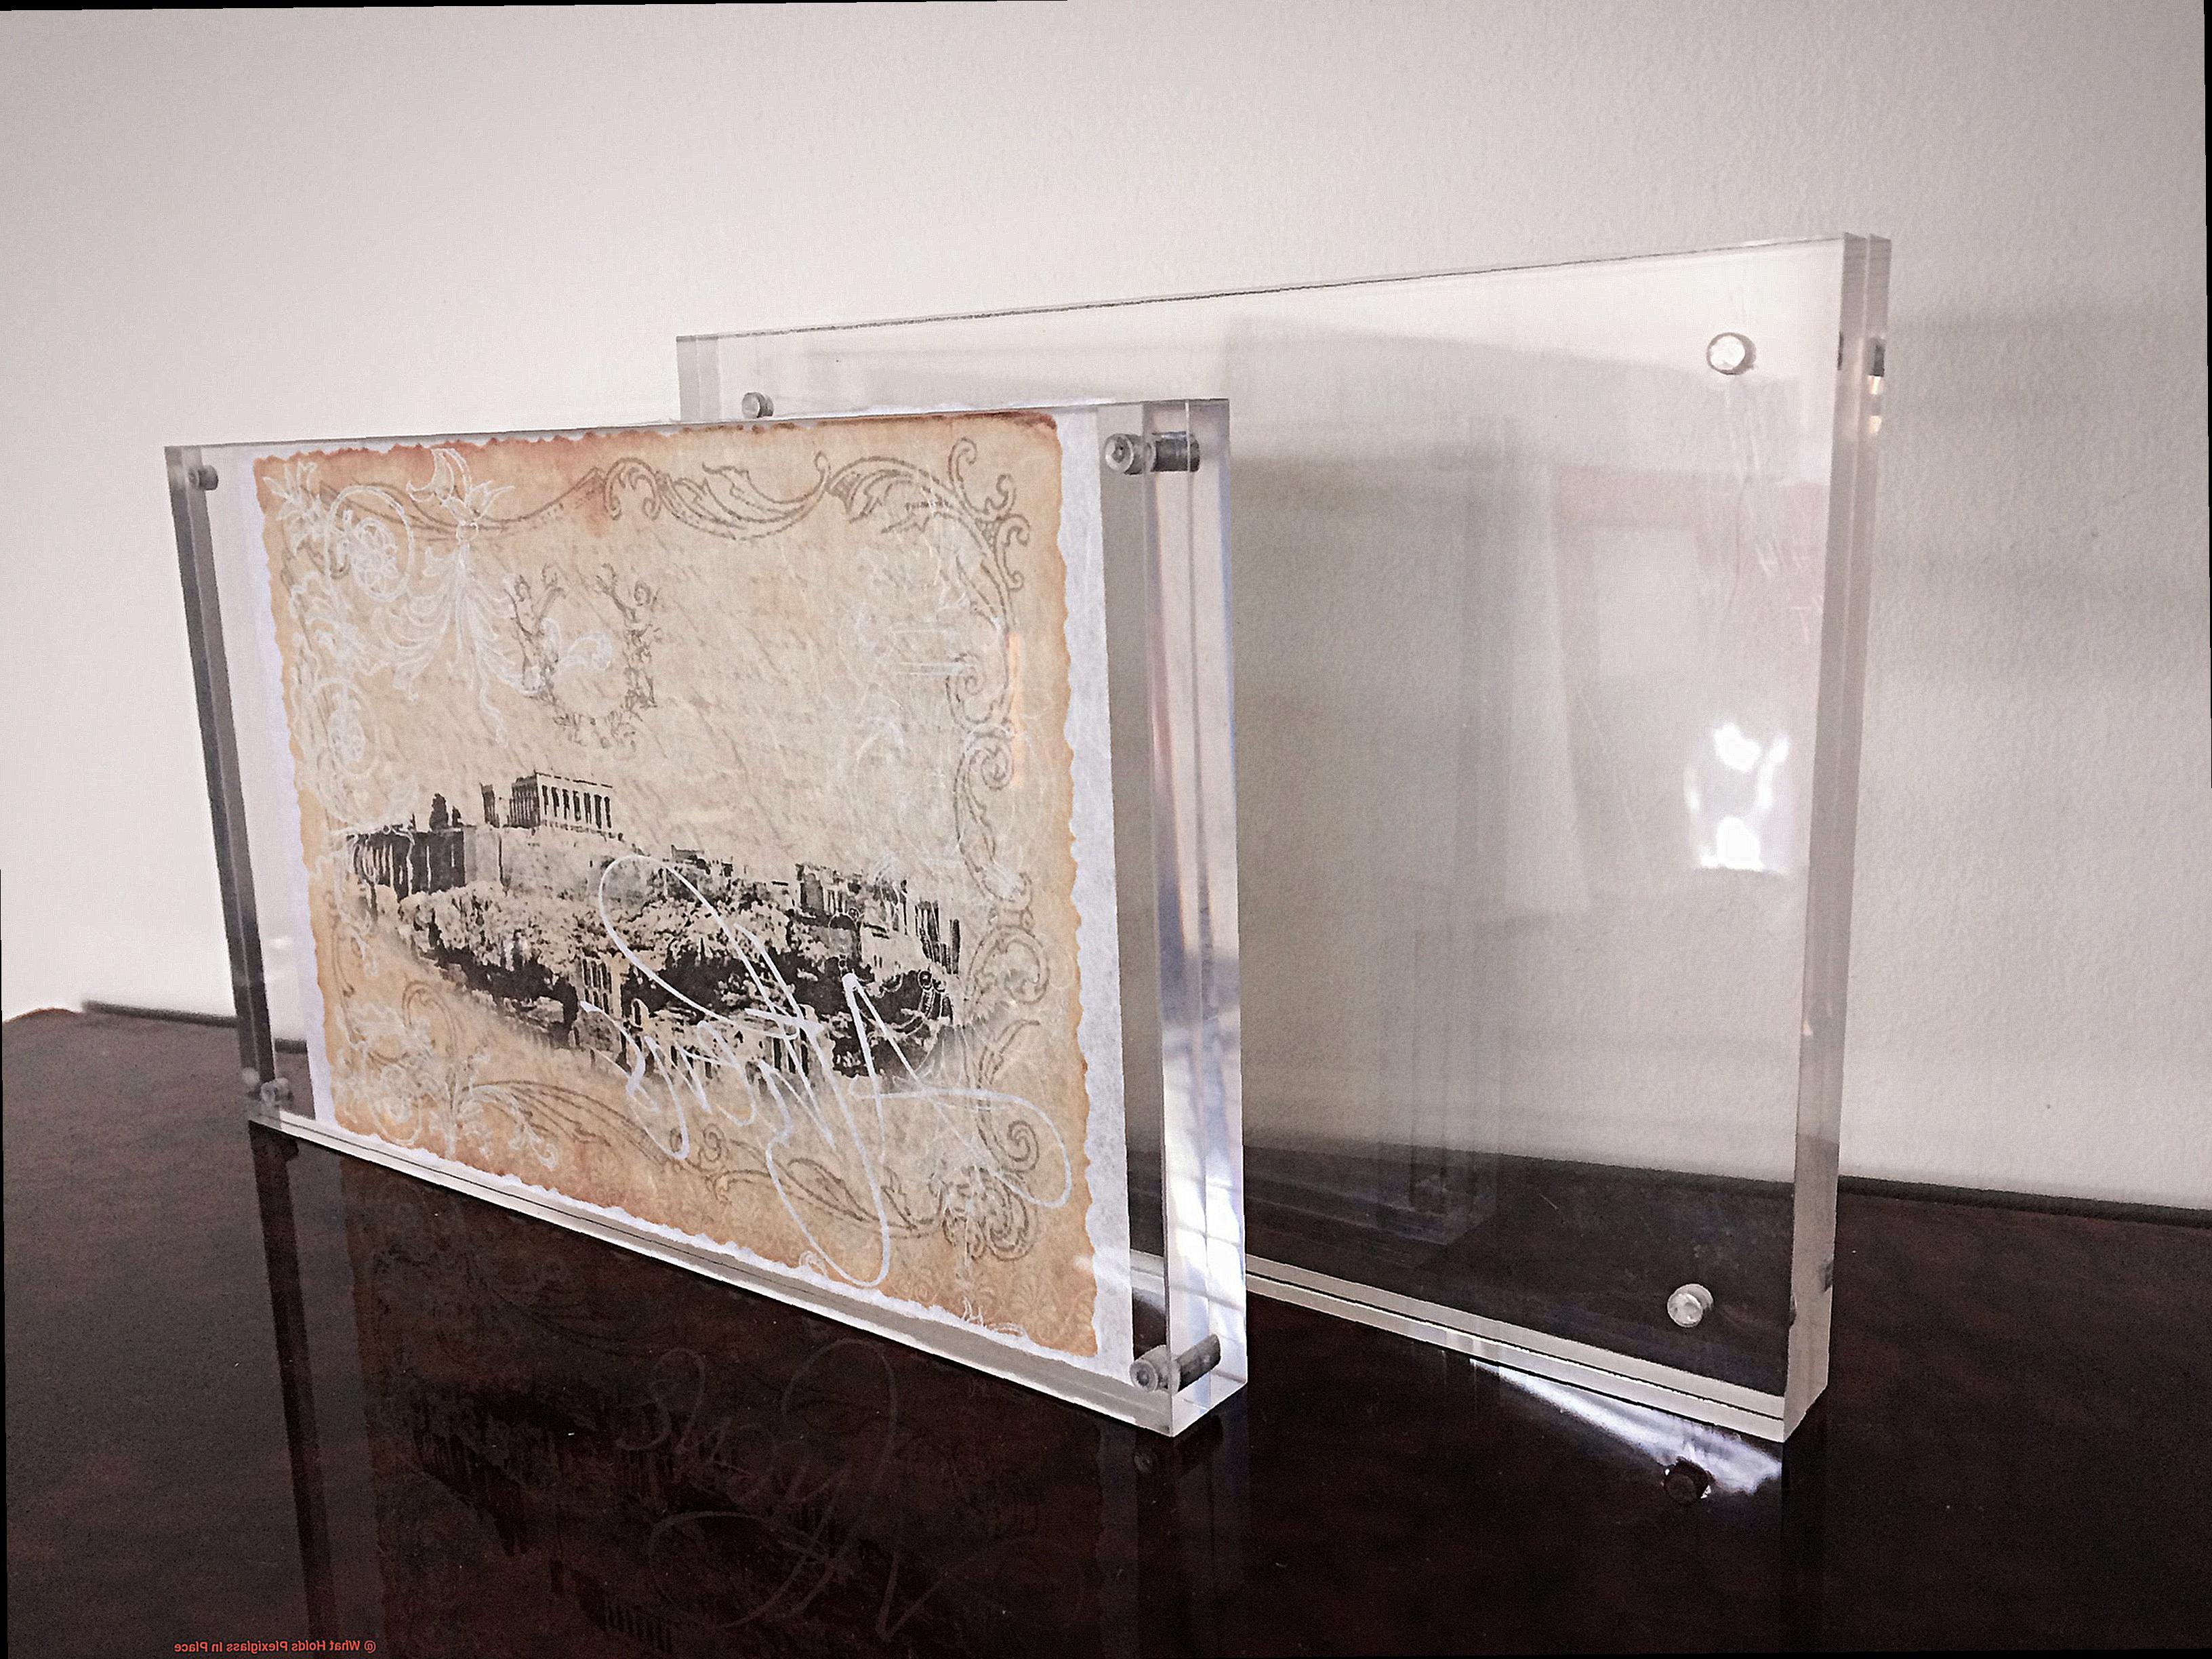
Mechanical Fasteners for Plexiglass
Title: The Power of Mechanical Fasteners: Unleashing the Strength of Plexiglass
Introduction:
Welcome to the fascinating world of mechanical fasteners for plexiglass. Picture yourself as the protagonist of an epic DIY adventure, armed with the might of screws, bolts, rivets, and clips, ready to conquer any fastening challenge. With these powerful tools at your disposal, your plexiglass creations will be securely locked in place, standing strong against the test of time. So tighten your grip on that tool belt and prepare for an exploration into the realm of mechanical fasteners for plexiglass.
Screws: The Unsung Heroes
Screws, the reliable backbone of fastening, are a popular choice when it comes to securing plexiglass. By creating a threaded connection between the material and its attachment, screws offer a secure hold. To prevent unwanted cracks or splits, remember to pre-drill holes before inserting the screws. And for added protection, don’t forget about washers – the unsung heroes that evenly distribute the load and shield your precious plexiglass from harm.
Bolts: Strength in Numbers
For those seeking an extra dose of strength, bolts are the trustworthy companions you need. With their larger diameter and requirement for a corresponding nut, bolts provide a secure fastening solution suitable for heavy-duty applications and structures that demand unwavering integrity. When building your fortress-like plexiglass creation, rest assured that bolts will have your back every step of the way.
Rivets: The Secret Agents of Fastening
Now, let’s unravel the mystery behind rivets – the inconspicuous yet indispensable agents of mechanical fastening. These metal pins are inserted through holes in the plexiglass and secured by deforming or “swaging” their ends. Once in place, they form an unbreakable bond with your plexiglass masterpiece, offering a permanent and tamper-resistant solution. Rivets are the secret agents of the fastening world, ensuring your plexiglass remains securely in place.
Pre-Drilling Holes in the Plexiglass
Plexiglass, also known as acrylic glass, is a versatile and visually appealing material used in various applications. However, its brittle nature makes drilling directly into it a risky endeavor. That’s why pre-drilling holes in plexiglass is crucial to ensure a secure installation without any cracks or damage.
Before you embark on this drilling adventure, gather your trusty tools: a power drill with adjustable speed, plexiglass suitable drill bits (high-speed steel or carbide-tipped), masking tape, a ruler or measuring tape, and a clamp or vise for stability.
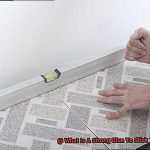
Precision is key in this mission. Measure and mark the exact location where you want the hole to be drilled on the plexiglass. Imagine your drill bit as a sharpshooter aiming for perfection.
Stability is essential to avoid any unwanted movement. Secure the plexiglass on a stable surface using a reliable clamp or vise. We can’t have our plexiglass pulling disappearing acts during the operation.
But wait, we’re not done yet. Give your plexiglass a protective shield by applying masking tape over the marked area. This superhero tape will defend against chipping and cracking, ensuring a successful drilling mission.
Now comes the moment of truth – selecting the perfect drill bit size. Remember, we want a snug fit for our screws or fasteners. Choose a drill bit slightly smaller than their diameter, sparing the plexiglass from unnecessary stress.
It’s showtime. Insert the chosen drill bit into your trusty power drill and adjust the speed to low or medium. Plexiglass is sensitive to heat, so let’s avoid any melting or cracking incidents. Start slow and steady, allowing the drill bit to create a pilot hole.
As you continue drilling, periodically withdraw the drill bit slightly to remove any accumulated debris. This keeps the drill bit and plexiglass in top shape for a flawless execution.
Congratulations, you’ve successfully pre-drilled holes in your plexiglass. Now it’s time to secure it in place with screws or fasteners, knowing that your careful preparation has ensured a sturdy and unblemished installation.
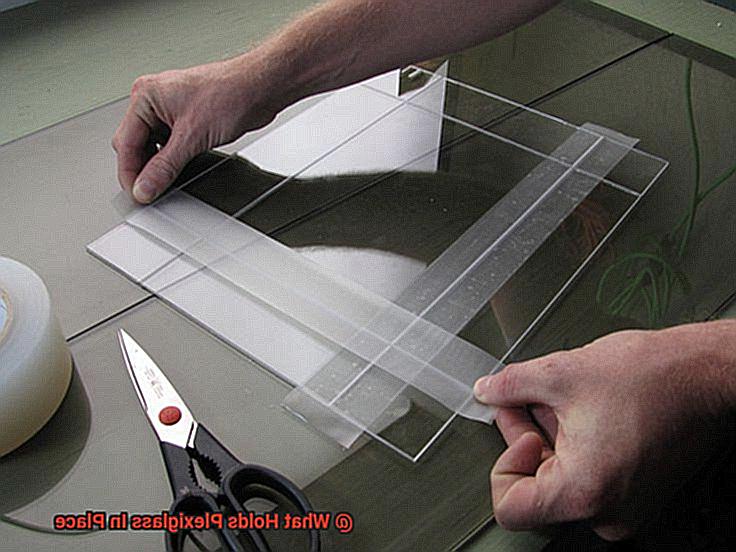
Edge Bonding Technique
Unlock the secrets of edge bonding techniques and harness the full potential of plexiglass. In our previous section, we explored the precision required for drilling and the importance of superhero tape for protection. Today, we delve into the world of edge bonding techniques, unleashing the power of this method to securely hold plexiglass in place. Grab your tools and prepare to be amazed.
Unveiling the Magic Behind Edge Bonding:
Intricately joining the edges of multiple plexiglass pieces is an art form that demands attention to detail. Enter edge bonding, a tried-and-true technique that utilizes a bonding agent to create an unbreakable bond and maintain the structural integrity of plexiglass.
Discovering Bonding Agents:
- Solvent Cement: Embrace the power of solvent cement, a specially formulated adhesive designed for bonding acrylic materials like plexiglass. As this remarkable substance softens the surface of the plexiglass, it allows for fusion when the solvent evaporates. The result? A robust molecular bond that defies gravity and ensures your plexiglass stays firmly in place.
- Epoxy Adhesive: Witness the strength and resilience of epoxy adhesive, a two-part marvel consisting of a resin and hardener. When these components unite, they trigger a chemical reaction that forms an unyielding bond between plexiglass pieces. Marvel at its high resistance to moisture and its unwavering ability to withstand the test of time.
- Beyond Expectations: The world of edge bonding offers a plethora of options beyond solvent cement and epoxy adhesive. Enter cyanoacrylate adhesive, commonly known as super glue, which provides instant adhesion and is perfect for smaller-scale projects. UV-curing adhesives offer rapid curing when exposed to UV light, making them ideal for time-sensitive applications.
Preparing the Path to Perfection:
Before embarking on the bonding journey, proper surface preparation is paramount. Cleanse the edges of the plexiglass meticulously, ensuring no debris, grime, or grease interferes with the bonding process. A specially formulated solvent cleaner for acrylic materials is your trusted ally in this task.
Choosing the Right Adhesive
Welcome back, fellow adhesive enthusiasts. In our previous section, we delved into the fascinating world of bonding agents and their role in securely holding plexiglass in place. Today, we embark on a deeper exploration of the crucial task of choosing the right adhesive for this purpose. Prepare to be captivated by the secrets and nuances of adhesive selection.
Factor #1: Plexiglass Type Matters:
Imagine the horror of discovering that your chosen adhesive is incompatible with your beloved plexiglass. To avoid such adhesive nightmares, it is paramount to consider the specific type of plexiglass you are working with. Cast acrylic or extruded acrylic? Each may require a distinct adhesive, so be sure to consult the manufacturer’s recommendations for a harmonious pairing.
Factor #2: Strength for Unyielding Bonds:
When it comes to bonding plexiglass, strength reigns supreme. After all, none of us desire our masterpieces to come crashing down unexpectedly. To ensure an unbreakable bond, it is wise to opt for adhesives with exceptional bonding strength, such as epoxy or structural adhesives. Your plexiglass will undoubtedly thank you for the unwavering support.
Factor #3: Clean Surfaces Are Key:
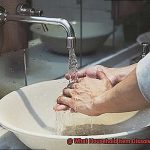
Remember, my dear adhesive aficionados, cleanliness is not just a virtue; it is an essential prerequisite for impeccable bonding. Prior to applying any adhesive, it is imperative to meticulously cleanse the surfaces involved. Dust, oil, and debris are formidable foes that can sabotage your bonding endeavors. Arm yourself with rubbing alcohol or a mild detergent and give those surfaces a thorough scrubbing. Your adhesive will undoubtedly appreciate the concerted effort.
Factor #4: Temperature Resistance for All Seasons:
Ah, Mother Nature’s unpredictability. If your plexiglass is destined to brave extreme temperatures or fluctuating weather conditions, it is paramount to select an adhesive that can withstand the elements without compromising its bonding properties. We certainly wouldn’t want your bond to crumble when things get hot or frosty.
Proper Surface Preparation
Today, we’re delving into the realm of proper surface preparation for the ultimate hold on your plexiglass. Picture this: an adhesive that refuses to let go, a bond that withstands the test of time. How do we achieve this? By following these crucial steps for surface preparation. Get ready to witness the magic unfold.
Step 1: The Cleanliness Chronicles
Imagine a pristine surface, free from dirt, dust, and debris. That’s the canvas we need for our adhesive masterpiece. To ensure an unbreakable bond, start by banishing any contaminants with a mild detergent or specialized plexiglass cleaner. Remember, avoid harsh chemicals or abrasive materials that could mar our precious plexiglass canvas.
Step 2: The Dry Spell
Moisture, the arch-nemesis of adhesion. We must eradicate it completely. Armed with a clean, lint-free cloth, embark on a mission to eliminate any remnants of moisture. Leave no nook or cranny unexplored, for even the tiniest water droplets can threaten our bond. Let’s make sure our adhesive sticks with confidence.
Step 3: A Gentle Roughening Dance
Sometimes, a little roughening adds that extra oomph to our bonding power. If our chosen adhesive calls for mechanical bonding, it’s time to bring out the sandpaper or sanding block with a fine grit. But tread lightly. With gentle strokes, roughen the surface without leaving visible scars. Remember, we seek a secure bond, not a scratched-up spectacle.
Step 4: Primed to Perfection
Following Manufacturer’s Instructions
To ensure your masterpiece stands tall, follow the manufacturer’s instructions as your compass. With their secret recipe for success, you’ll unlock the true potential of plexiglass.
Expert Knowledge: Masters of the Plexiglass Realm
Manufacturers possess unrivaled wisdom when it comes to their craft. Their extensive research and testing have forged a path to perfection in holding plexiglass securely. Deviating from their instructions risks a tragic outcome—a mural without its canvas.
Adhesive and Fastener Wizardry: Aligning the Stars
Not all plexiglass is born equal, my friends. Thickness, purpose, and environmental factors determine the adhesive or fastener required. The manufacturer’s instructions will be your guiding star through this adhesive universe, ensuring a bond that withstands time’s relentless tug.
Surface Preparation: The Dance of Adhesion
Imagine trying to unite Velcro without cleaning it first—a futile endeavor indeed. Proper surface preparation holds the key to forging an unbreakable bond between plexiglass and its substrate. The manufacturer’s instructions will unveil this sacred dance, exorcising any dirt or oils that threaten your creative vision.
Safety First, Always: Embrace Your Inner Protector
In this realm of craftsmanship, safety goggles are the ultimate fashion statement. The manufacturer’s instructions offer tailored safety precautions for their product—gloves, goggles, or even protective suits may be essential during installation. By donning this armor, not only do you safeguard yourself but also ensure precision in handling materials.
Warranty: The Shield of Confidence
Ah, the embrace of warranty coverage—a sanctuary for the daring. Follow the manufacturer’s instructions to the letter, and your plexiglass journey will be fortified by their unwavering support. No longer will you tremble in the face of repairs or replacements; your warranty shall be your shield.
3KzZDi-aXD4″ >
Conclusion
Plexiglass, also known as acrylic glass, is held in place by various methods depending on the application. One common way is through the use of adhesives specifically designed for bonding acrylic materials. These adhesives create a strong and durable bond that keeps the plexiglass securely in place.
Another method is through mechanical fasteners such as screws or bolts. These fasteners are strategically placed along the edges of the plexiglass to hold it firmly against a surface or frame. They provide stability and prevent any movement or displacement.
In some cases, channels or grooves are created in the supporting structure where the plexiglass fits snugly into. This allows for a secure fit without the need for additional adhesives or fasteners.
For larger installations or structural applications, metal frames or brackets may be used to hold the plexiglass panels together. These frames not only provide support but also add aesthetic value to the overall design.
Regardless of the method used, it is essential to ensure proper installation and adherence to safety guidelines. This will ensure that the plexiglass remains securely in place, providing both functionality and visual appeal.
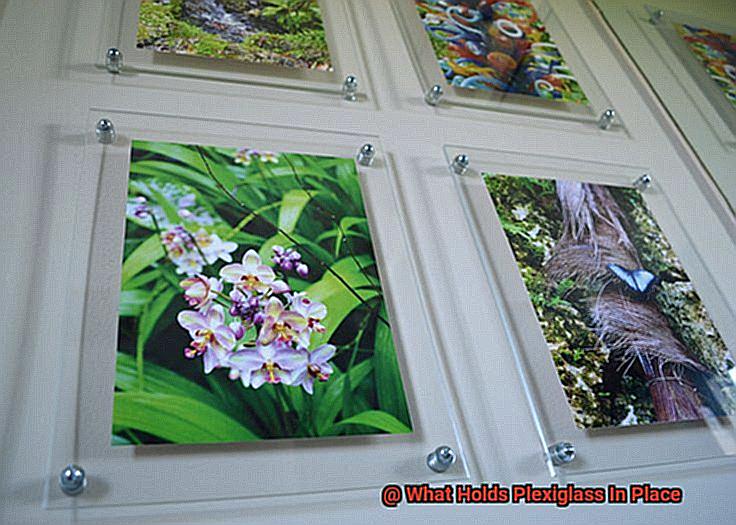
So next time you come across plexiglass, whether it’s in a window display, a protective barrier, or even an art installation, take a moment to appreciate how it is held in place.