Imagine this scene: you’ve just transformed your space into a work of art, meticulously placing each tile with care and precision. It’s time for the final touch – grouting. Ah, the sweet satisfaction of completion. But wait a minute, eager decorator.
Jumping the gun and grouting too soon can wreak havoc on your hard work. Today, we’re diving into the world of tile grouting to uncover the consequences of impatience.
From tiles that shift to weakened adhesion, join us on this captivating journey as we explore what happens when you rush into grouting.
What is Grouting?
Contents
- 1 What is Grouting?
- 2 Why is it Important to Wait for Adhesive to Cure Before Grouting?
- 3 Potential Problems with Grouting Tile Too Soon
- 4 Weak Adhesion of the Tiles
- 5 Cracking and Shrinking of the Grout
- 6 Discoloration or Staining of the Grout
- 7 Achieving an Even Finish
- 8 Difficulty in Cleaning
- 9 Conclusion
Grouting is an essential step in tile installation that should never be underestimated. But what exactly is grouting? In this article, we will delve into the depths of grouting, exploring its purpose, various types, and the potential risks if done prematurely.
Whether you’re a DIY enthusiast or a professional contractor, understanding the intricacies of grouting will ensure a stunning and enduring tiled surface.
Purpose and Benefits of Grouting:
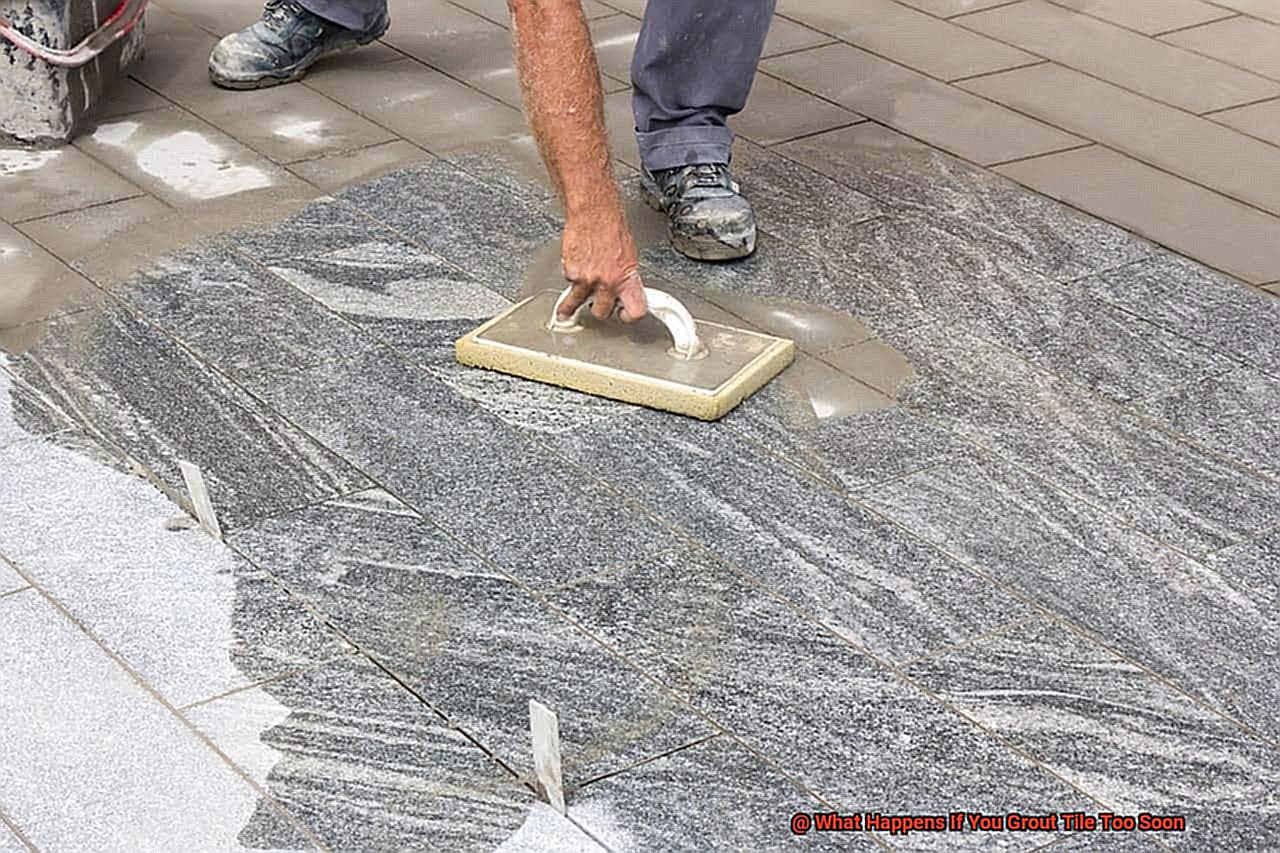
Grouting entails filling the gaps between tiles with a mixture of cement, sand, and water. It serves multiple purposes and offers a plethora of benefits that cannot be overlooked:
- Ensuring Secure and Stable Tiles: Grout acts as a robust adhesive, firmly anchoring the tiles in place and preventing any movement or shifting. This reduces the risk of unsightly cracks or damage.
- Aesthetic Enhancement: Grout elevates the overall appearance of the tiled area by creating seamless lines between tiles. It can be infused with color pigments to complement or contrast with the tiles, adding a personal touch and visual appeal.
- Moisture and Dirt Prevention: By filling in the gaps between tiles, grout forms a protective barrier that prevents moisture and dirt from permeating through. This makes cleaning a breeze and upholds the hygiene of the tiled surface.
Types of Grout:
Grouts come in two main types: sanded and unsanded, each catering to different joint sizes:
- Sanded Grout: This type is ideal for wider joints exceeding 1/8 inch. The inclusion of sand particles enhances its strength, making it more resistant to cracking and damage.
- Unsanded Grout: With its smooth texture, unsanded grout is perfect for narrower joints less than 1/8 inch wide. Its ease of application makes it a popular choice for meticulous work.
Potential Risks of Grouting Too Soon:
While grouting is an indispensable part of tile installation, performing it prematurely can lead to various complications:
- Weak Adhesion: Grouting before the adhesive has fully cured and set can result in inadequate adhesion between the grout and tiles. This may cause weak adhesion, leading to potential loosening of the tiles over time.
- Cracking and Shrinking: Grout requires ample time to dry and harden properly. If exposed to moisture or excessive movement before complete curing, it is prone to cracking or shrinking. This jeopardizes both the visual appeal and structural integrity of the tiled surface.
- Discoloration and Staining: Premature grouting may cause the grout to absorb water or other substances, resulting in unsightly discoloration or staining. This gives rise to blotchy or discolored grout lines that mar the overall aesthetics.
- Uneven Finish: Hastily performed grouting can lead to an uneven and inconsistent finish. Proper curing allows the grout to settle and level out, ensuring a smooth and uniform appearance that is pleasing to the eye.
- Challenging Cleaning Process: Incompletely cured grout is more susceptible to damage or erosion during cleaning. This weakens the grout over time, necessitating more frequent maintenance or even regrouting.
Why is it Important to Wait for Adhesive to Cure Before Grouting?
When it comes to tiling projects, one golden rule stands above the rest: wait for the adhesive to cure before grouting. But why is this step so essential? In this article, we will explore the reasons behind this rule and uncover why patience truly is a virtue in tile installation.
Securing Tiles in Place:
The primary purpose of adhesive, also known as thinset or tile glue, is to firmly bond the tiles to the surface. Waiting for the adhesive to cure ensures that the tiles stay securely in place, avoiding any unwanted shifting or cracking over time.
Preventing Tile Displacement:
Grouting involves applying pressure on the tiles. If grouting is rushed before the adhesive has fully cured, it can disturb or dislodge the tiles. This can lead to an uneven surface, compromised integrity, and costly repairs down the line.
Ensuring Proper Adhesion:
Incomplete curing of the adhesive can result in poor adhesion between the tiles and the substrate. As a consequence, tiles may become loose or develop cracks over time, undermining the durability and longevity of your tile installation.
Promoting Effective Grout Bonding:
Waiting for adhesive cure time before grouting is critical to ensure proper bonding between the grout and tiles. Uncured adhesive may have a slightly moist or soft surface that makes it difficult for the grout to adhere effectively. This can lead to weak joints that are prone to cracking or crumbling.
Allowing for Shrinkage:
Some adhesives may shrink slightly as they dry and harden. By waiting for the adhesive to cure before grouting, you allow any potential shrinkage to occur. This prevents gaps from forming between the tiles that cannot be adequately filled with grout.
Avoiding Slow Curing:
Grouting too soon can interrupt or slow down the curing process of the adhesive. Moisture from the grout can hinder the drying and hardening of the adhesive, resulting in a weaker bond between the tiles and the substrate.
Potential Problems with Grouting Tile Too Soon
Tile installation is a meticulous process that requires attention to detail and patience. One crucial step that should never be rushed is grouting. The potential problems that arise from grouting tile too soon can compromise the integrity and longevity of your beautifully tiled surface. Let’s dive into some key issues you may encounter:
- Improper Bonding: Grouting before the adhesive has fully cured can hinder the tiles from adhering properly to the surface. This can result in loose or shifting tiles, turning your once-stable floor or wall into a dangerous obstacle course.
- Cracked or Shrunken Grout: Grout needs time to dry and cure completely in order to harden properly. If you jump the gun and apply grout too early, it may not have enough time to set, leading to unsightly cracks or shrinkage as it dries. This not only compromises the appearance of your tiles but also weakens the overall structure of your tiled surface.
- Hazy or Cloudy Appearance: Grouting prematurely can cause moisture from the grout to get trapped beneath the surface of the tiles. As this moisture evaporates, it leaves behind a residue that creates an annoying haze or cloudiness on your once-pristine tiles. Talk about a buzzkill.
- Uneven Grout Lines: Applying grout before the adhesive has fully cured can cause the tiles to shift or settle unevenly. This results in wonky grout lines that are difficult to fill and smooth out. Get ready for some serious frustration.
- Reduced Durability: Properly cured grout provides strength and stability, preventing cracks and water damage. However, when grout is applied prematurely, it may not have enough time to fully harden, leaving it vulnerable to wear and tear. Nobody wants to deal with premature grout failure and the headache of repairs or regrouting.
Weak Adhesion of the Tiles
Today, we embark on a journey into the intricate world of adhesives and grouting to uncover the key to a successful tiling project. Imagine this: after hours of meticulous effort, carefully placing each tile, you find them shifting and cracking shortly after grouting. What could have gone wrong? The culprit? Hasty grouting, leading to weak adhesion.
Here, we will delve into the reasons why patience is paramount when it comes to grouting and explore how to sidestep the pitfalls that arise from rushing the process.
Why Grouting Too Soon Leads to Weak Adhesion:
- Incomplete curing: Grouting prematurely denies the adhesive sufficient time to set and cure properly. This hampers the formation of a robust bond between the tiles and the substrate, setting the stage for potential issues down the line.
- Loosening tiles: Weak adhesion can cause tiles to loosen or shift over time, compromising both the aesthetic appeal and safety of your tiled surface.
- Moisture and temperature sensitivity: Insufficiently cured adhesive may fail to withstand moisture or temperature changes, resulting in gradual degradation. This can lead to tiles popping off or cracking, disrupting the integrity of your installation.
Preventing Weak Adhesion:
- Follow manufacturer’s instructions: Different adhesives have unique curing times, so it is paramount to strictly adhere to the guidelines provided by the manufacturer regarding drying times before grouting.
- Prepare the substrate thoroughly: Prior to tiling, ensure a solid foundation for proper adhesion by meticulously cleaning and removing any debris from the substrate. In some cases, priming may be necessary as well.
- Allow ample curing time: Patience is key. To ensure proper adhesive curing before grouting, it is generally recommended to allow 24 to 48 hours. Rushing through this crucial step can result in long-lasting consequences.
Dealing with Weak Adhesion:
If weak adhesion has already become a problem due to premature grouting, it may be necessary to painstakingly remove the grout and reapply it once the adhesive has fully cured. Although labor-intensive, this process is essential to secure and durable tile installation.
Cracking and Shrinking of the Grout
The satisfaction of a freshly tiled surface can quickly turn sour when cracks and gaps appear in the grout lines. In this article, we will explore the causes and consequences of cracking and shrinking grout, as well as provide essential tips to prevent and address these issues. So, let’s dive into the world of grout and unravel the mysteries behind its cracking and shrinking conundrum.
Causes of Cracking and Shrinking:
- Insufficient Curing Time: Rushing the grouting process by not allowing enough time for the grout to fully dry and cure can lead to cracking and shrinking. Proper curing typically takes around 24-48 hours, so patience is key.
- Premature Stress: Applying weight or pressure on freshly grouted surfaces before adequate curing can result in weakened adhesion between the grout and tiles, causing cracks and shrinkage.
- Environmental Factors: Rapid temperature and humidity changes wreak havoc on grout. These fluctuations cause the grout to expand and contract, putting stress on the surface and exacerbating cracking and shrinking.
Consequences of Cracking and Shrinking:
- Aesthetics: Cracked grout lines compromise the overall appearance of a tiled surface, diminishing its visual appeal.
- Water Damage: Cracks in the grout allow moisture to seep beneath the tiles, leading to water damage, weakened adhesive, and even mold growth.
- Structural Integrity: Weak or compromised grout undermines the structural integrity of the tile installation. Loose tiles may shift or become dislodged entirely if not addressed promptly.
Prevention Techniques:
- Follow Manufacturer Guidelines: Adhere to recommended curing times provided by the manufacturer to ensure sufficient bonding between the grout and tiles.
- Maintain Consistent Environment: Keep the tiled area at a consistent temperature and humidity level during the curing process to minimize stress on the grout.
- Proper Installation Techniques: Ensure the correct ratio of water to cement in the grout mixture and thorough mixing to promote optimal adhesion.
Addressing Cracking and Shrinking:
If faced with cracking or shrinking grout, follow these steps:
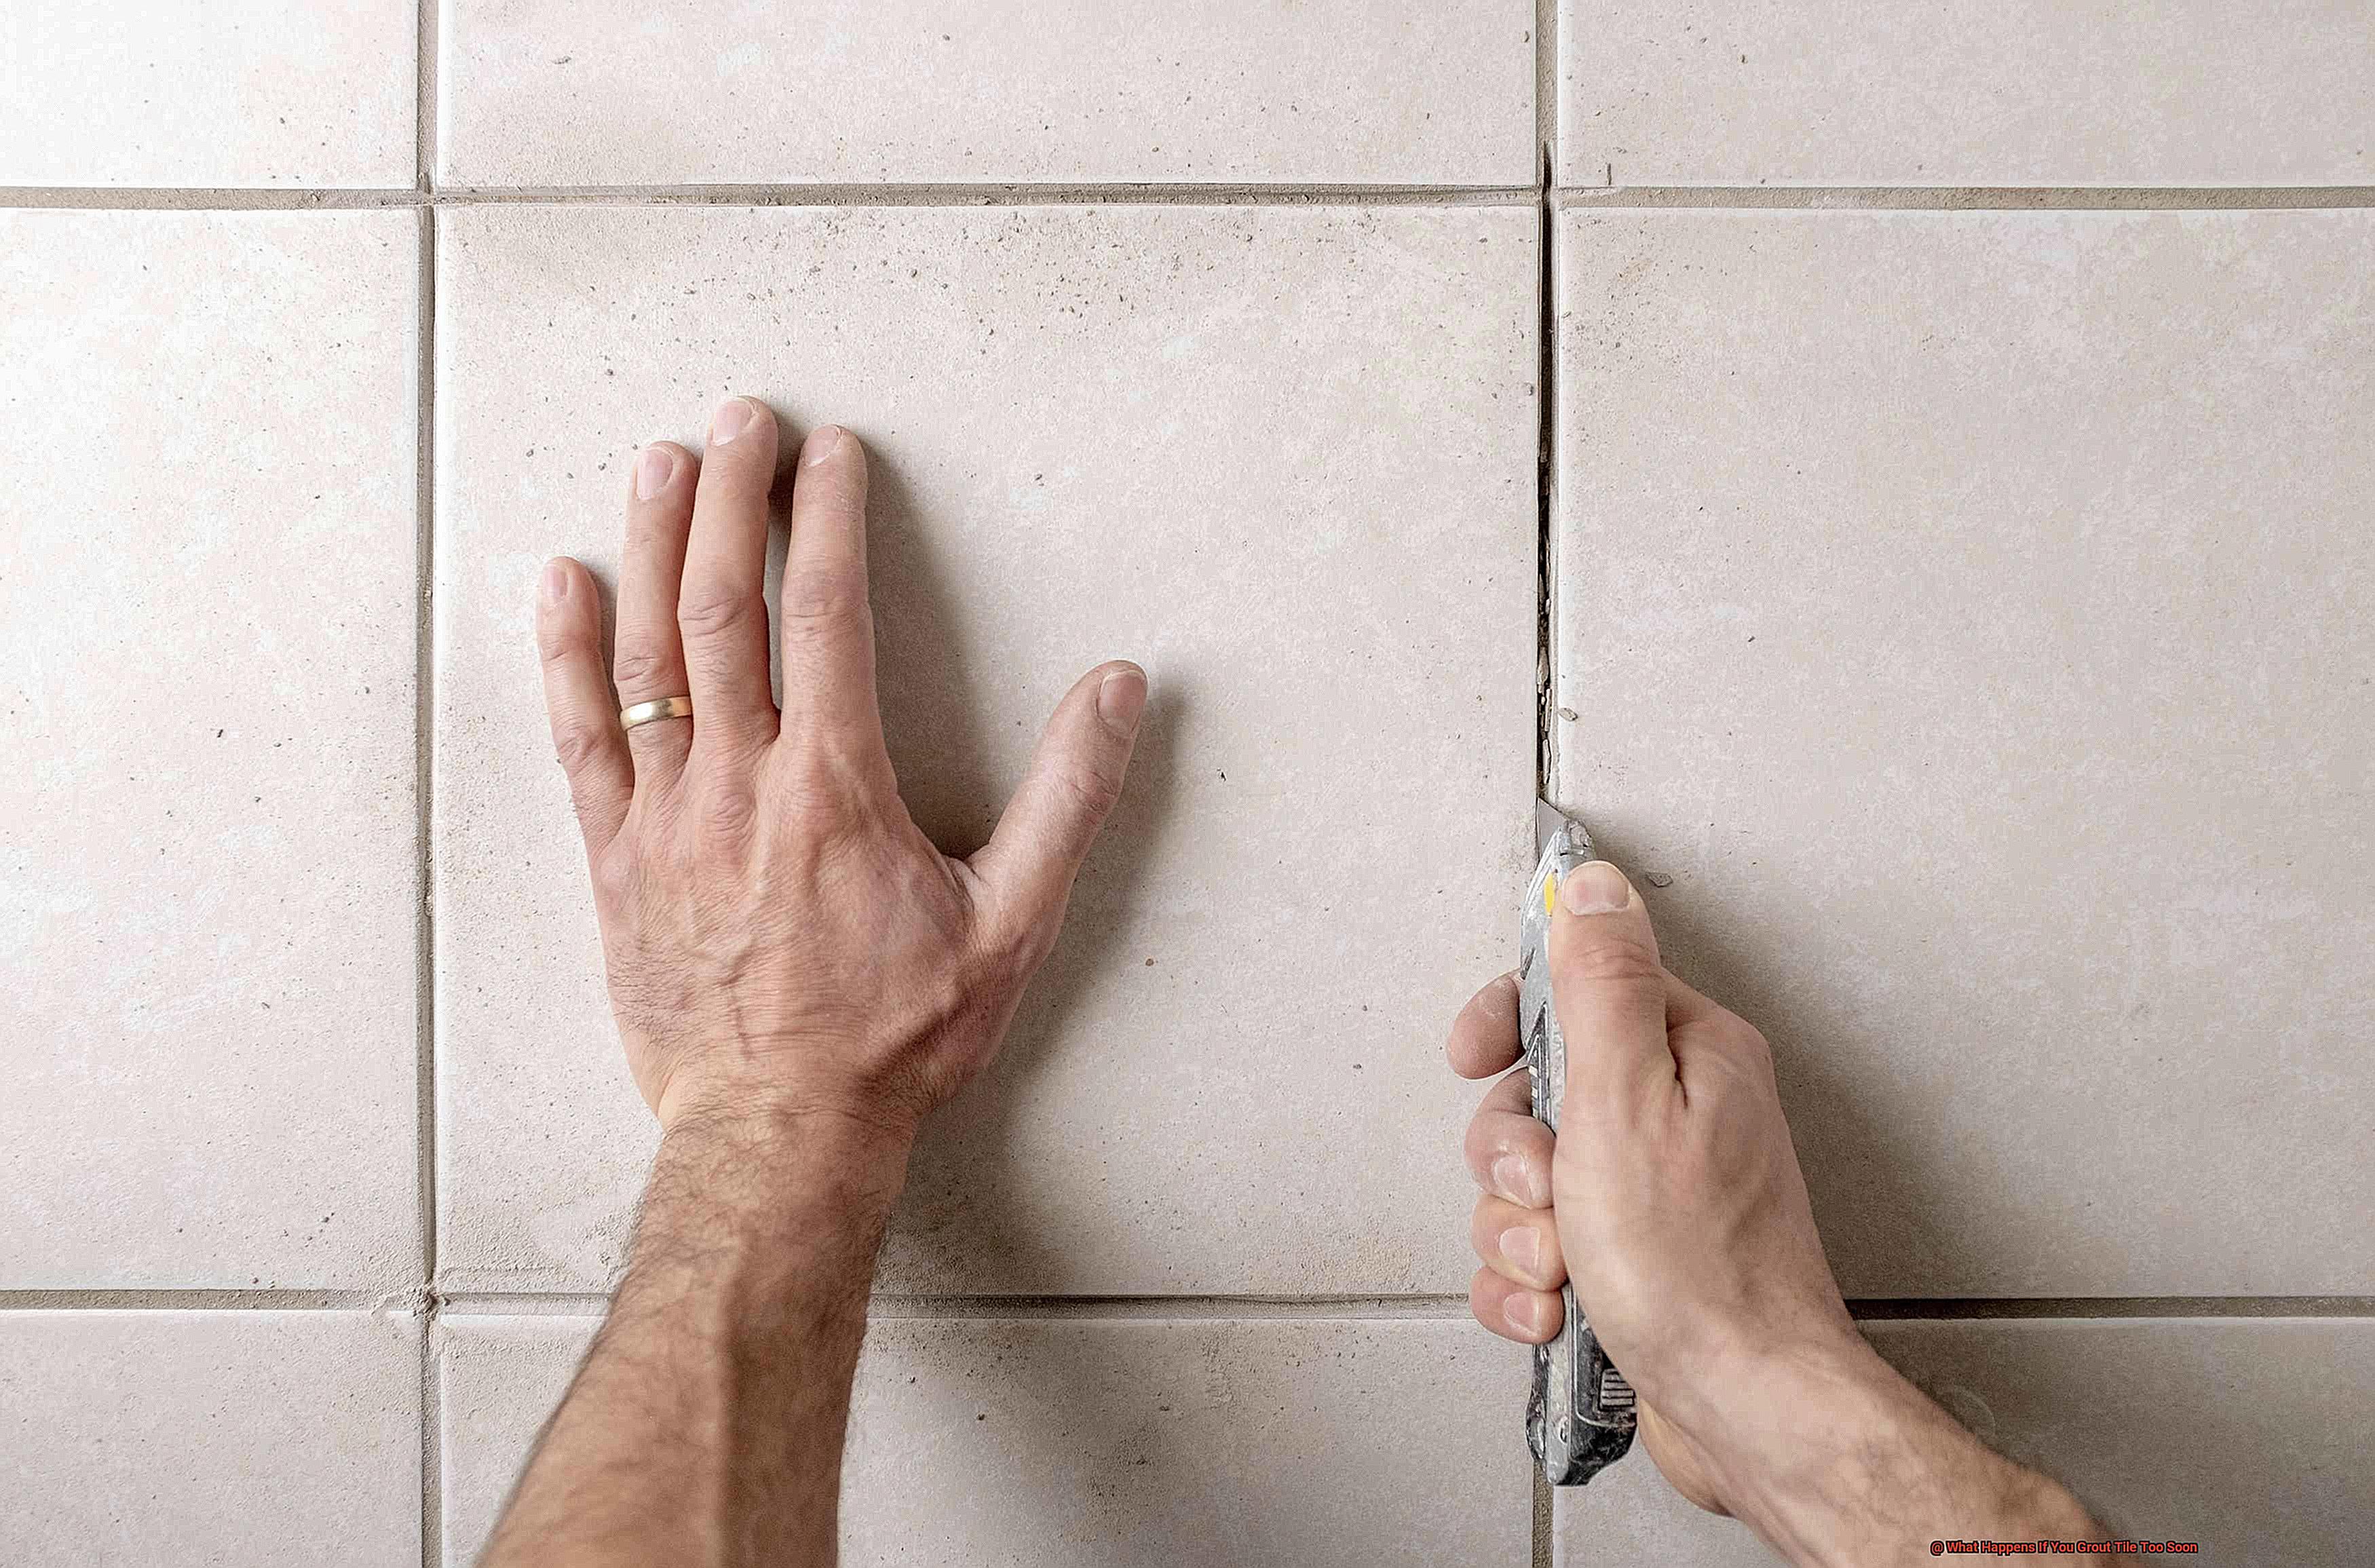
- Remove Damaged Grout: Use a grout removal tool or utility knife to carefully eliminate the cracked or shrunken grout from the affected areas.
- Reapply Fresh Grout: Once the damaged grout has been removed, wait until the adhesive has fully cured before reapplying fresh grout.
Discoloration or Staining of the Grout
Rushing the grouting process can lead to unsightly discoloration and staining of your grout. But fear not. In this article, we will explore the reasons behind this problem and provide tips on how to prevent or fix it. So, let’s dive in.
Causes of Discoloration or Staining:
Premature Grouting:
When grout is not given enough time to fully cure and harden, it becomes more porous and susceptible to absorbing moisture and staining agents. This can happen if you rush the process and grout too soon after tile installation.
Moisture:
Moisture can come from cleaning solutions, spills, or excessive humidity. When uncured grout absorbs moisture, it brings along dirt, debris, or pigments, resulting in stains. The moisture disrupts the curing process, making the grout more vulnerable to discoloration.
Staining Agents:
Certain types of cleaners or chemicals can penetrate uncured grout and leave behind stains or discoloration. These staining agents can interact with the porous surface of the grout and permanently alter its color.
Prevention and Solutions:
Proper Installation Procedures:
Follow the recommended curing time before grouting. Typically, you should wait at least 24-72 hours after tile installation. This allows the tile adhesive to set properly and any excess moisture to evaporate.
Sealing:
Consider sealing your grout after it has fully cured. This adds an extra layer of protection against future stains and discoloration. Always follow the manufacturer’s instructions or consult with a professional to ensure proper application.
Grout Colorants or Stains:
If you’re facing stained grout, there are solutions. Grout colorants or stains can be used to restore the original color of the grout. These products penetrate the grout and provide a uniform color, effectively covering up the stains.
Grout Replacement:
In severe cases or when colorants cannot resolve the issue, removing and replacing the affected grout may be necessary. While this can be a labor-intensive process, it is often the most effective way to restore the appearance of the tiled surface.
Achieving an Even Finish
It may be tempting to rush ahead and grout your newly installed tiles, but taking the time to properly dry and cure the tile adhesive and grout is absolutely crucial for achieving a flawless, even finish. So, let’s delve deeper into the intricacies of this essential step.
The Perils of Premature Grouting:
Grouting before the tile adhesive has completely dried and cured can result in an uneven finish that is not only visually displeasing but also compromises the durability of the grout. This hasty grouting can cause the tiles to shift or move, leading to irregular spacing that becomes nearly impossible to rectify once the grout has dried.
Moreover, it weakens the adhesive bond between the tiles and the surface, potentially causing tiles to crack or break during or after the grouting process.
The Importance of Proper Drying and Curing Time:
To achieve a flawlessly even finish, it is imperative to adhere to the manufacturer’s instructions for both the adhesive and grout. Generally, tile adhesive requires a drying and curing period of 24 to 48 hours, although this timeframe may vary depending on the type of adhesive used. Exercise patience and allow ample time for the adhesive to set before proceeding with grouting.
Ensuring Firm Bonding and Secure Adhesion:
Before embarking on the grouting process, it is crucial to ensure that your tiles are firmly bonded to the surface. If they are even slightly loose or inadequately bonded, the grout may struggle to adhere properly, resulting in an uneven finish. By taking the time to thoroughly dry and cure the adhesive, you are fostering a strong bond between the tiles and grout.
The Benefits of Durability and Visual Appeal:
By allowing for proper drying and curing time, you are not only guaranteeing a robust and long-lasting bond between your tiles and grout, but also enhancing the longevity of your tiled surface. This preventive measure mitigates the risk of future issues like cracking or shifting. Additionally, a visually pleasing finished result is achieved through even grout lines and an overall professional appearance.
Difficulty in Cleaning
Today, let’s delve into a common error that both DIYers and professionals often make when it comes to grouting tile: rushing the process and neglecting to allow the adhesive sufficient time to dry and cure properly. Believe me, a little patience can spare you from a world of cleaning difficulties. So, let’s dive into the details and explore why granting your grout the time it needs to set is paramount for a flawless finish.
Incomplete Curing: A Recipe for Disaster
When grout hasn’t fully cured, it lacks the strength required to support the tiles adequately. This deficiency can result in unsightly cracks and gaps between the tiles, compromising the structural integrity of your project. Furthermore, attempting to clean uncured grout may lead to smudging or discoloration on the tiles, creating a stubborn mess that won’t be easy to rectify.
Excess Grout on Tile Surface: A Sticky Situation
During the grouting process, some adhesive inevitably finds its way onto the face of the tiles. Rushing to clean before it dries completely will only spread wet grout around, making the cleaning process more challenging and time-consuming. Allowing proper curing ensures that excess grout can be effortlessly wiped away without any hassle.
Hazy Appearance: The Perils of Trapped Moisture
Another consequence of premature grouting is trapped moisture under dried grout on the tile surface. This moisture eventually evaporates, leaving behind a hazy or cloudy residue that can be stubborn to remove. By allowing ample curing time, you’ll prevent this issue and achieve a crystal-clear finish that showcases the beauty of your tiles.
Different Grouts, Different Curing Times
It’s crucial to note that different types of grout require varying curing times. Some may dry in a matter of hours, while others demand several days or even weeks. Always refer to the manufacturer’s instructions to determine the specific curing time for the grout you’re using. Investing a little extra time in research will save you from unnecessary cleaning difficulties down the line.
Tips for a Hassle-Free Cleaning Process
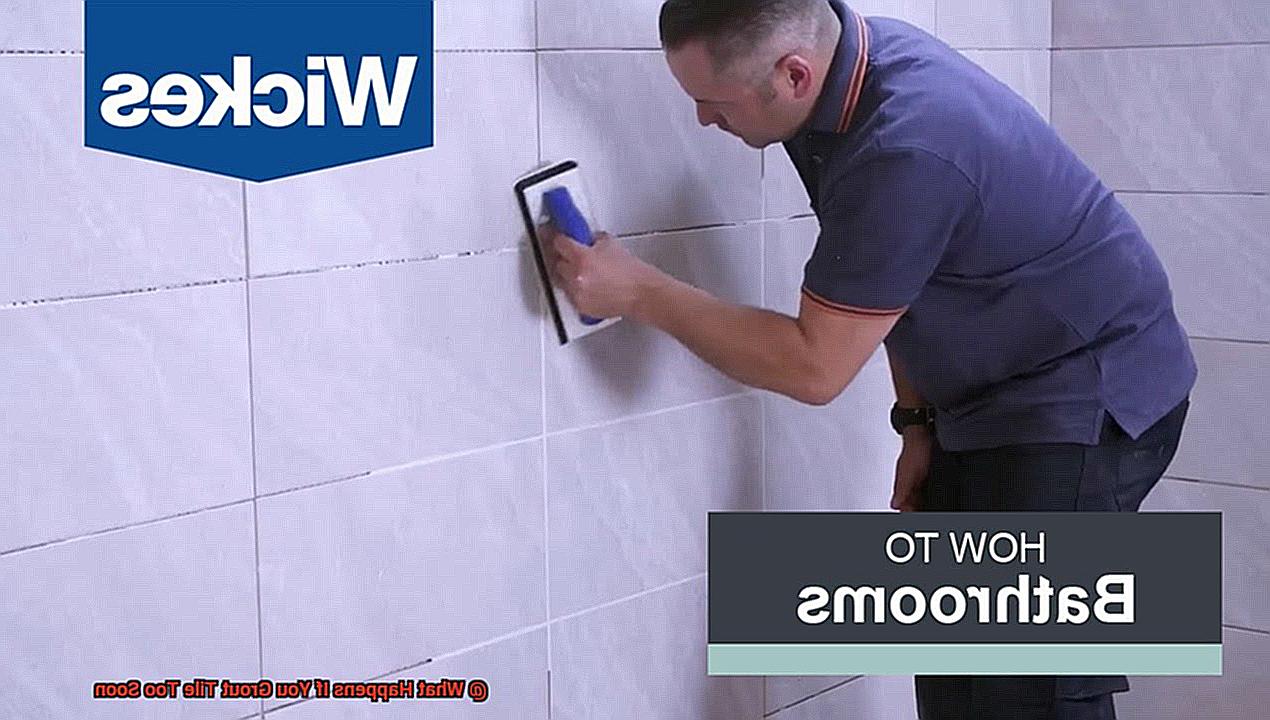
To steer clear of cleaning difficulties, it’s best to wait at least 24 hours after grouting before attempting any cleaning activities. Once the waiting period is over, use a damp sponge or cloth to gently wipe away any excess grout on the tile surface. Avoid applying excessive pressure or resorting to abrasive materials that could potentially damage the tiles, ensuring a safe and efficient cleaning experience.
cOnvsU0Q-eg” >
Conclusion
Grouting tile too soon can lead to a host of problems. The most common issue is that the grout won’t properly adhere to the tiles, resulting in a weak and unstable bond. This can cause the grout to crack and crumble over time, leaving unsightly gaps between the tiles.
Another consequence of premature grouting is that it can trap moisture beneath the surface. When you grout before the tile has had a chance to fully set and dry, any moisture present will become trapped, unable to evaporate. This can lead to mold and mildew growth, as well as potential damage to the underlying structure.
Additionally, rushing the grouting process can result in uneven or lumpy grout lines. If you don’t allow enough time for the adhesive beneath the tiles to cure properly, it may shift or settle unevenly when pressure is applied during grouting. This can create an unattractive finish that detracts from the overall appearance of your tiled surface.
In summary, patience is key when it comes to grouting tile. Waiting until the tiles have fully set and dried ensures a strong bond, prevents moisture issues, and allows for a smooth and even application of grout. Taking shortcuts may save time initially but could ultimately lead to costly repairs and a less-than-desirable outcome.